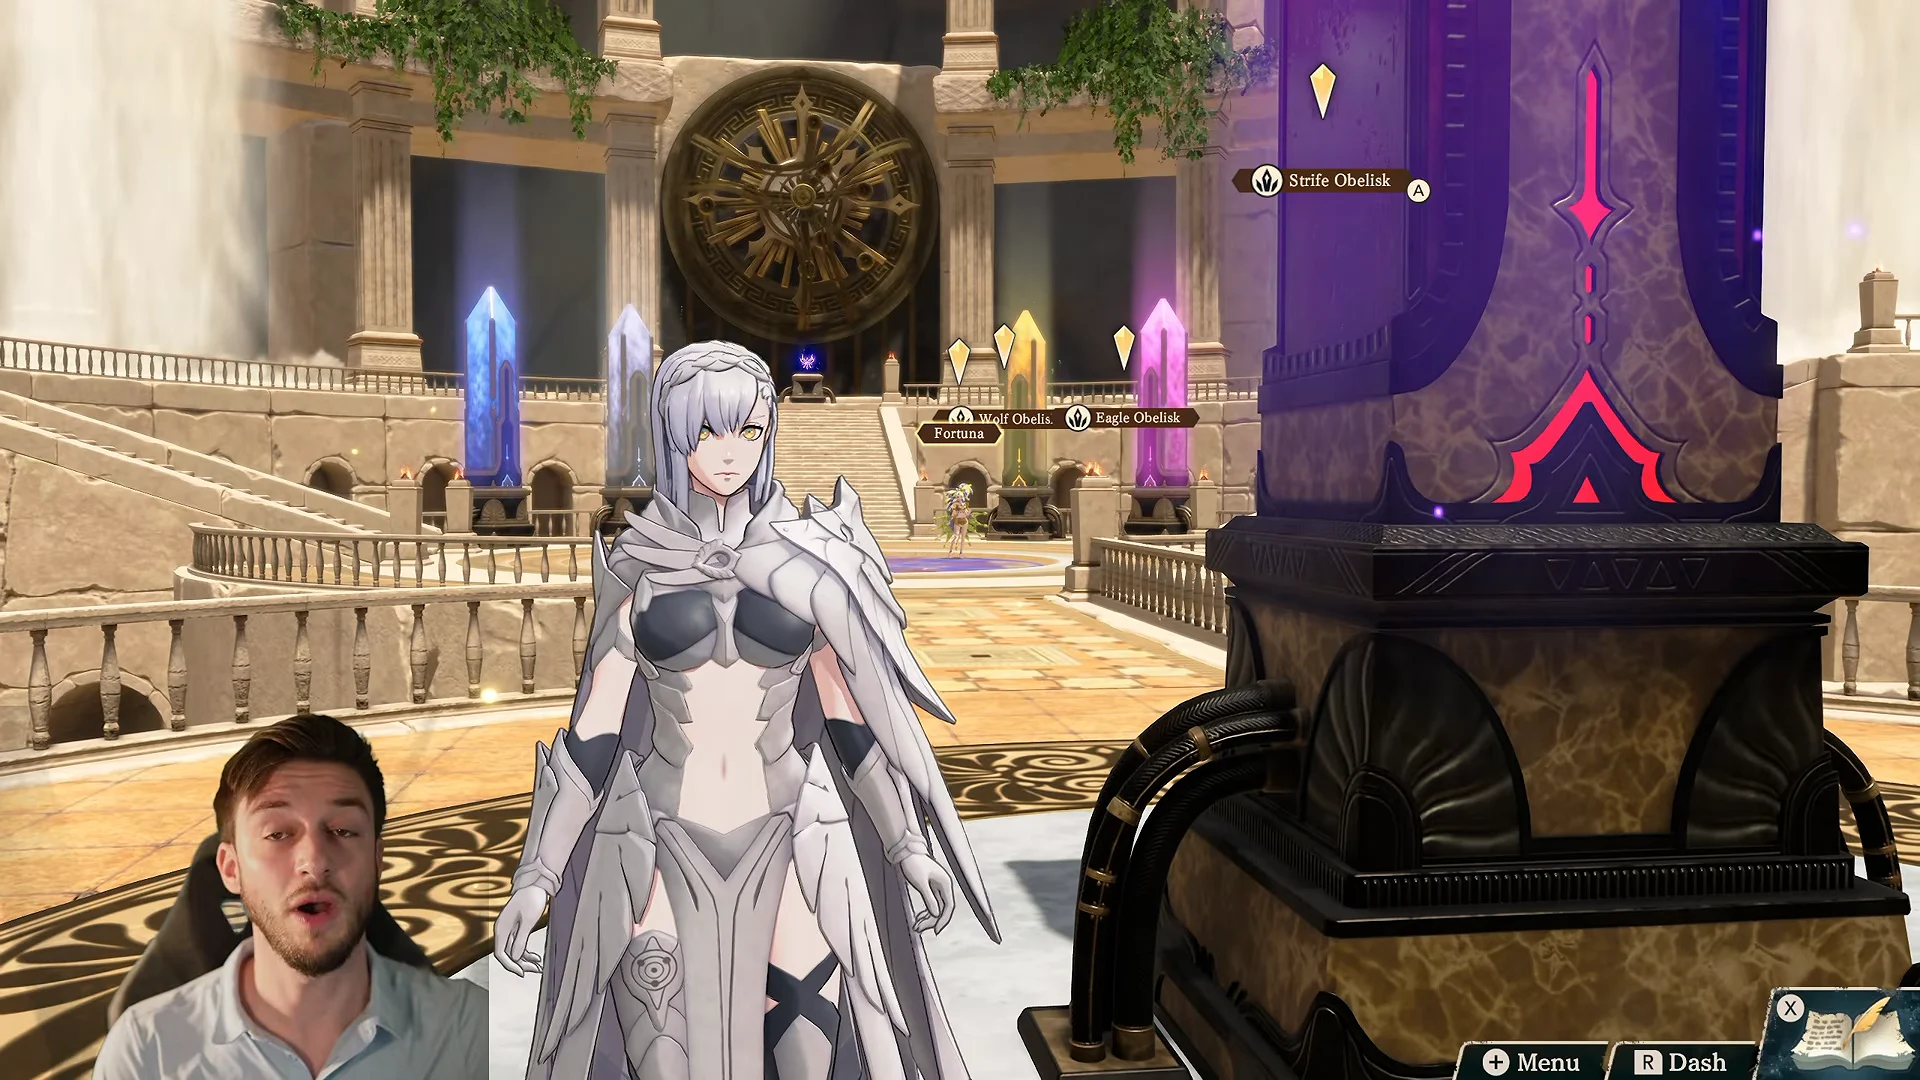
The Drifting Reliquary turns everything you ever carried through Part 1 into a shop with unlimited stock. It lives at the Shrine of Causality in Part 3, and it exists so you can buy back duplicate weapons, materials, mounts, and battalions whenever you have the currency to spend. The trick is that it stays hidden until you clear a route a second time.
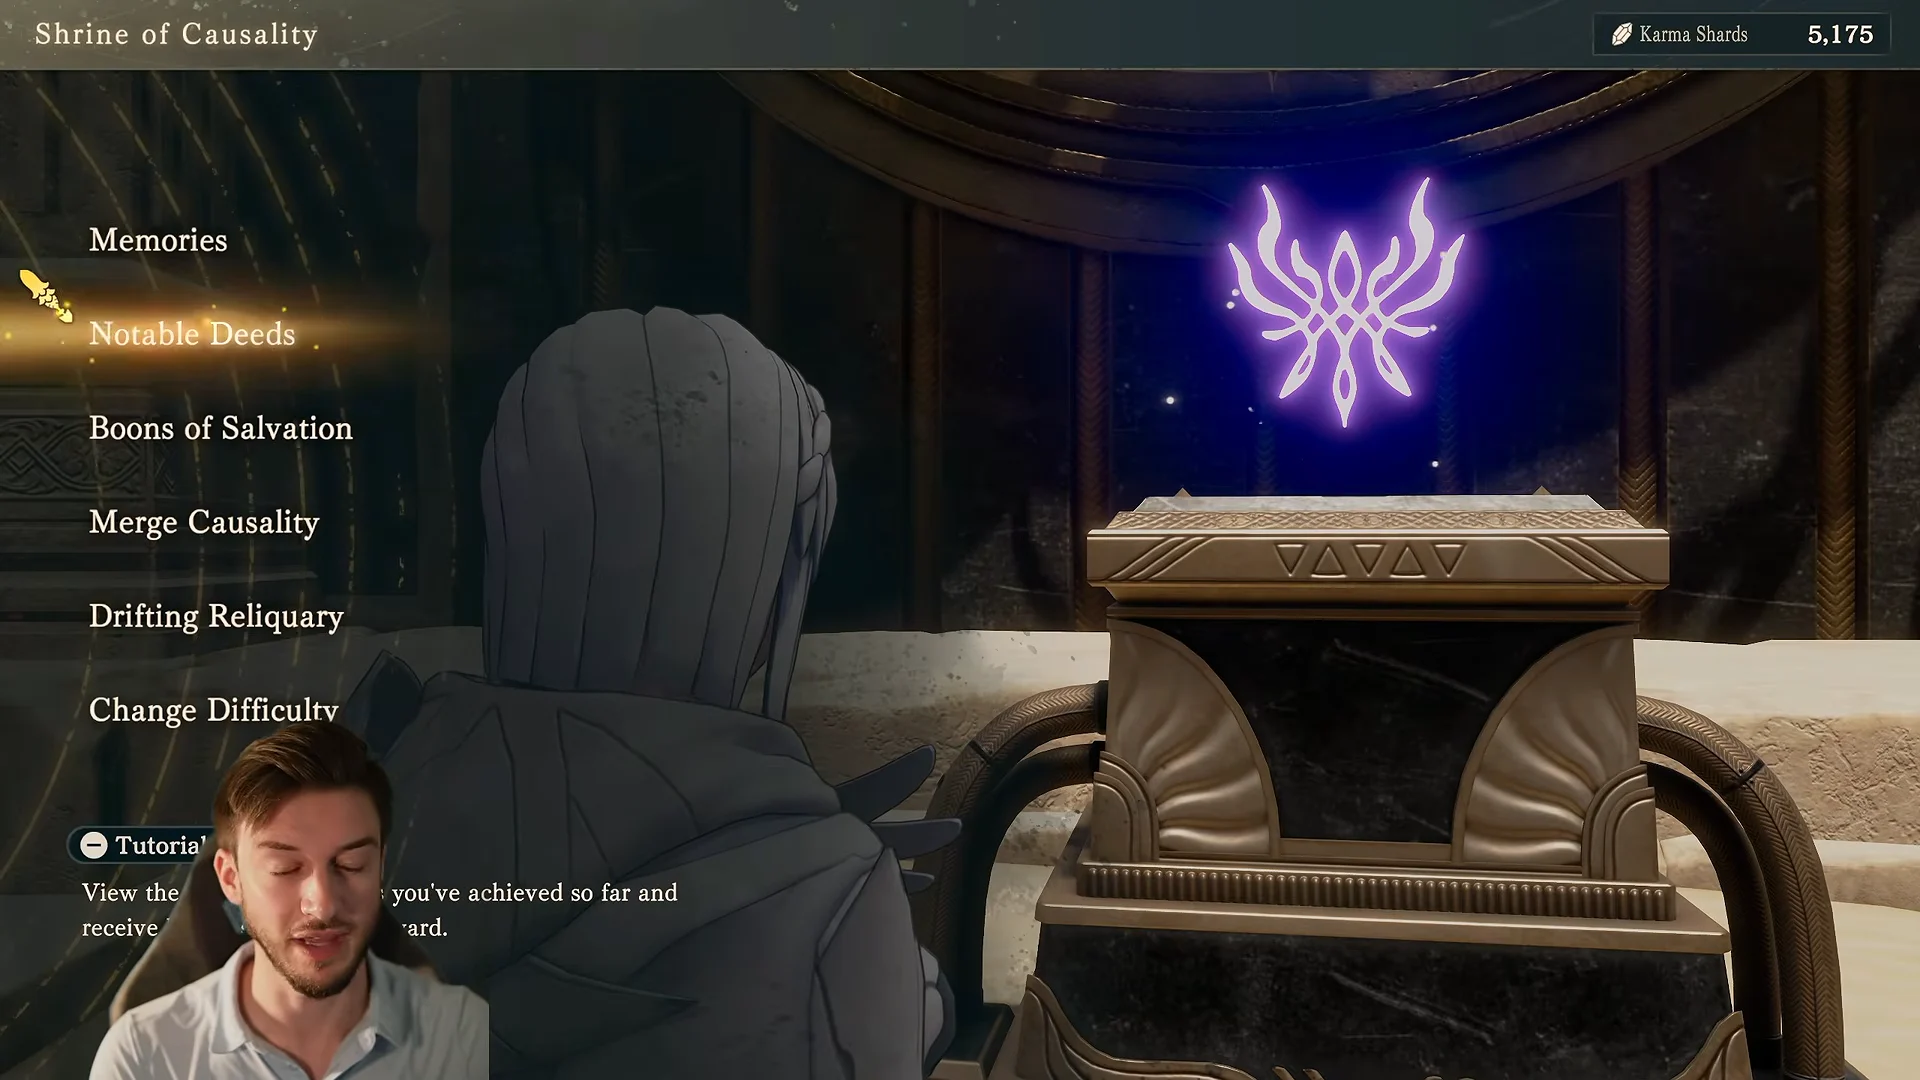
Quick answer: Clear Part 1 and Part 2 of a route once, then replay and clear that same route a second time. A notice confirms items “moved to the Reliquary,” and the Drifting Reliquary appears in the Shrine of Causality menu for you to rebuy copies with Karma Shards.
What unlocks the Drifting Reliquary
The Reliquary is tied to reclearing, not to how many routes you have beaten. It appears the first time you finish Part 2 on a route where you had already finished Part 2 once before. Clearing all four Part 1 stories or a single Part 2 run will not open it on its own.
The menu is essentially a record of all items you possessed when you finished a Part 1 clear. Replaying and completing Part 1 followed by Part 2 with different gear adds those items to the record for good. Entries are never deleted, so the catalog keeps expanding.
There is one important limit on upgradable weapons. Only the highest tier you actually owned appears. If you upgraded a weapon to +2, the +2 shows up; if you never upgraded it, only the base version is available. The three weapons granted by completing Part 2, including Vendetta, Angela, and Dagda’s Club, are added as well, and the free-update weapons Chosen Sword and Chosen Lance appear as their +2 forms.
How to get duplicate weapons step by step
Karma Shard costs for weapons
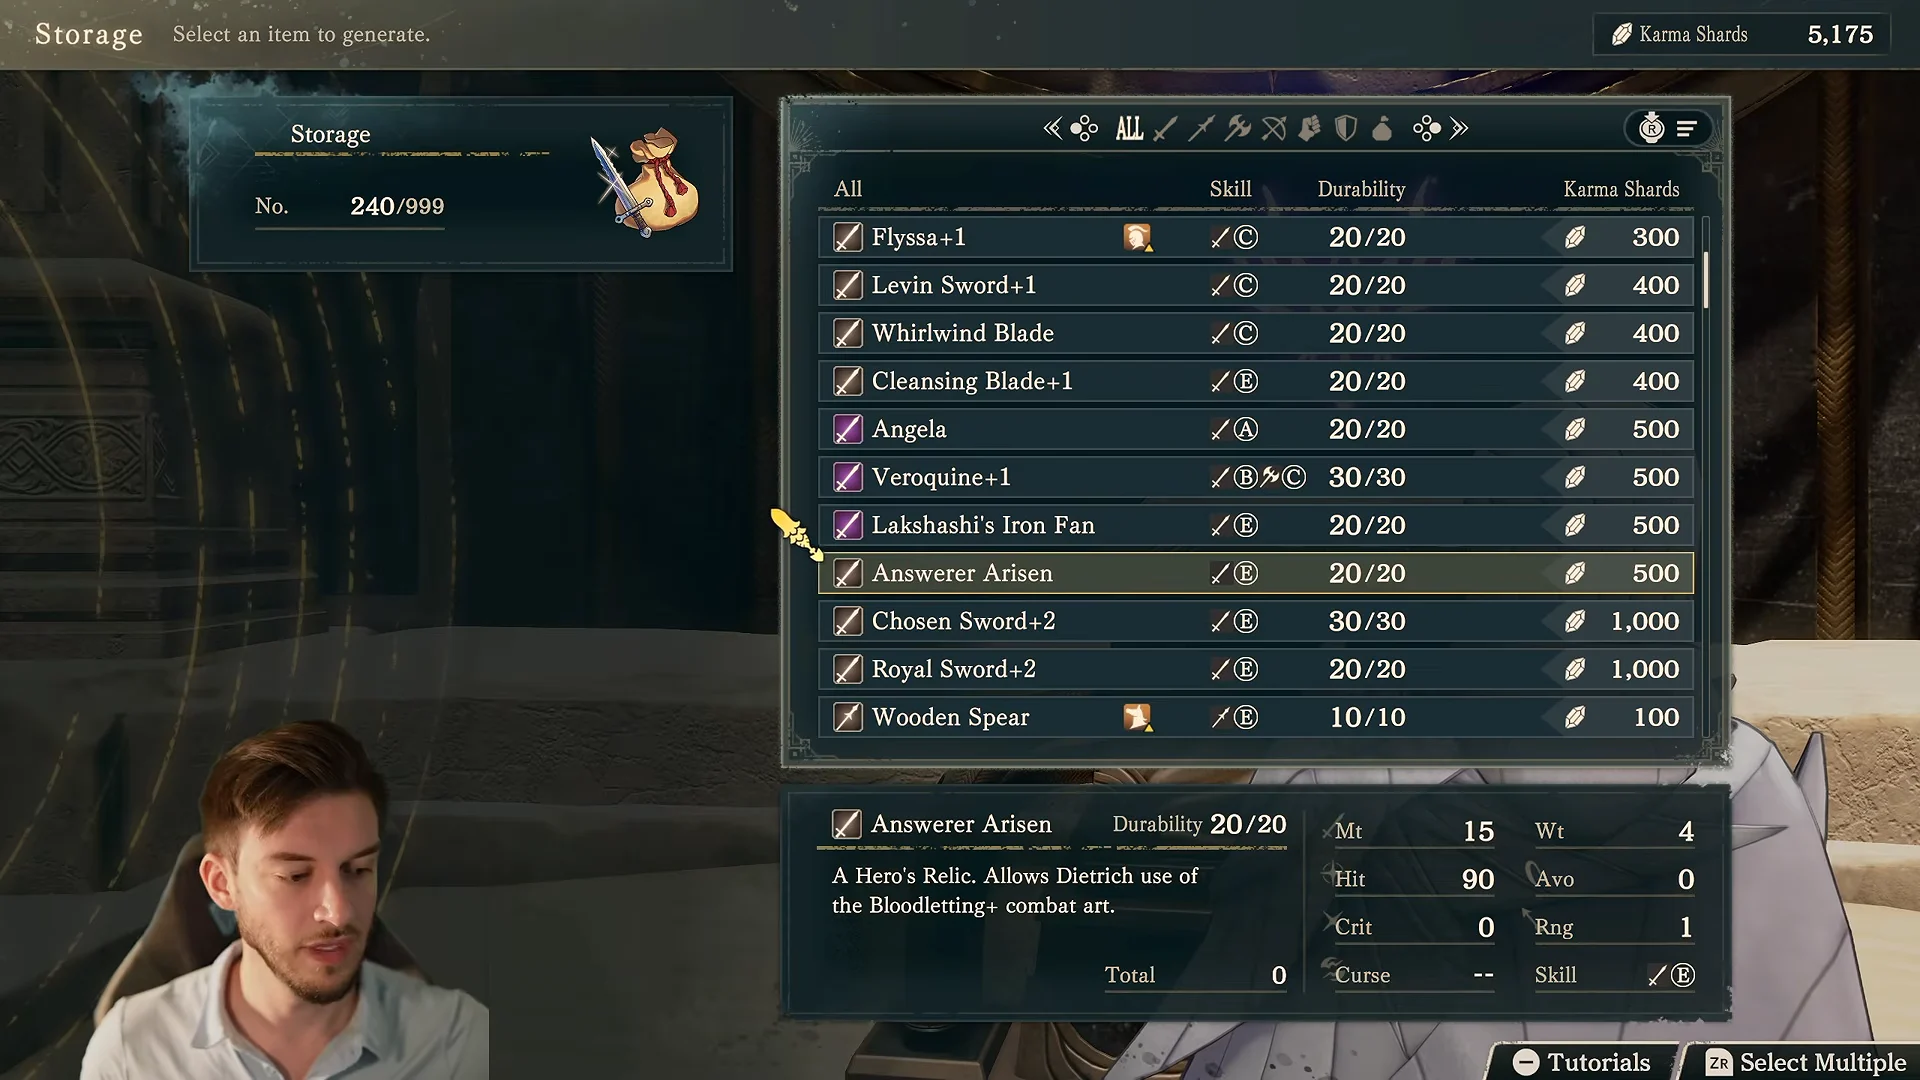
Prices scale roughly with a weapon’s rarity and tier. Basic gear costs a few hundred shards, while high-value swords run into the thousands. Below are confirmed example prices from the Storage catalog.
| Weapon | Durability | Karma Shards |
|---|---|---|
| Wooden Spear | 10/10 | 100 |
| Iron Sword+2 | 20/20 | 200 |
| Javelin+2 | 20/20 | 200 |
| Levin Sword+1 | 20/20 | 400 |
| Killing Edge+1 | 40/40 | 400 |
| Lakshashi’s Iron Fan | 20/20 | 500 |
| Answerer Arisen | 20/20 | 500 |
| Chosen Sword+2 | 30/30 | 1,000 |
| Royal Sword+2 | 20/20 | 1,000 |
Karma Shards appear to be a finite resource across a save file, and no reliable way to farm more has been confirmed. Spend them on duplicates you genuinely need rather than clearing the whole catalog.
Duplicating mounts and battalions
Mounts and battalions have tighter restrictions than weapons. On your first completion of Cai’s path, mounts that aren’t assigned to units go into the Part 3 Stables; Theodora’s path similarly sends battalions there. Equipment assigned to a unit remains linked to that unit’s clear data rather than being added to the inventory.
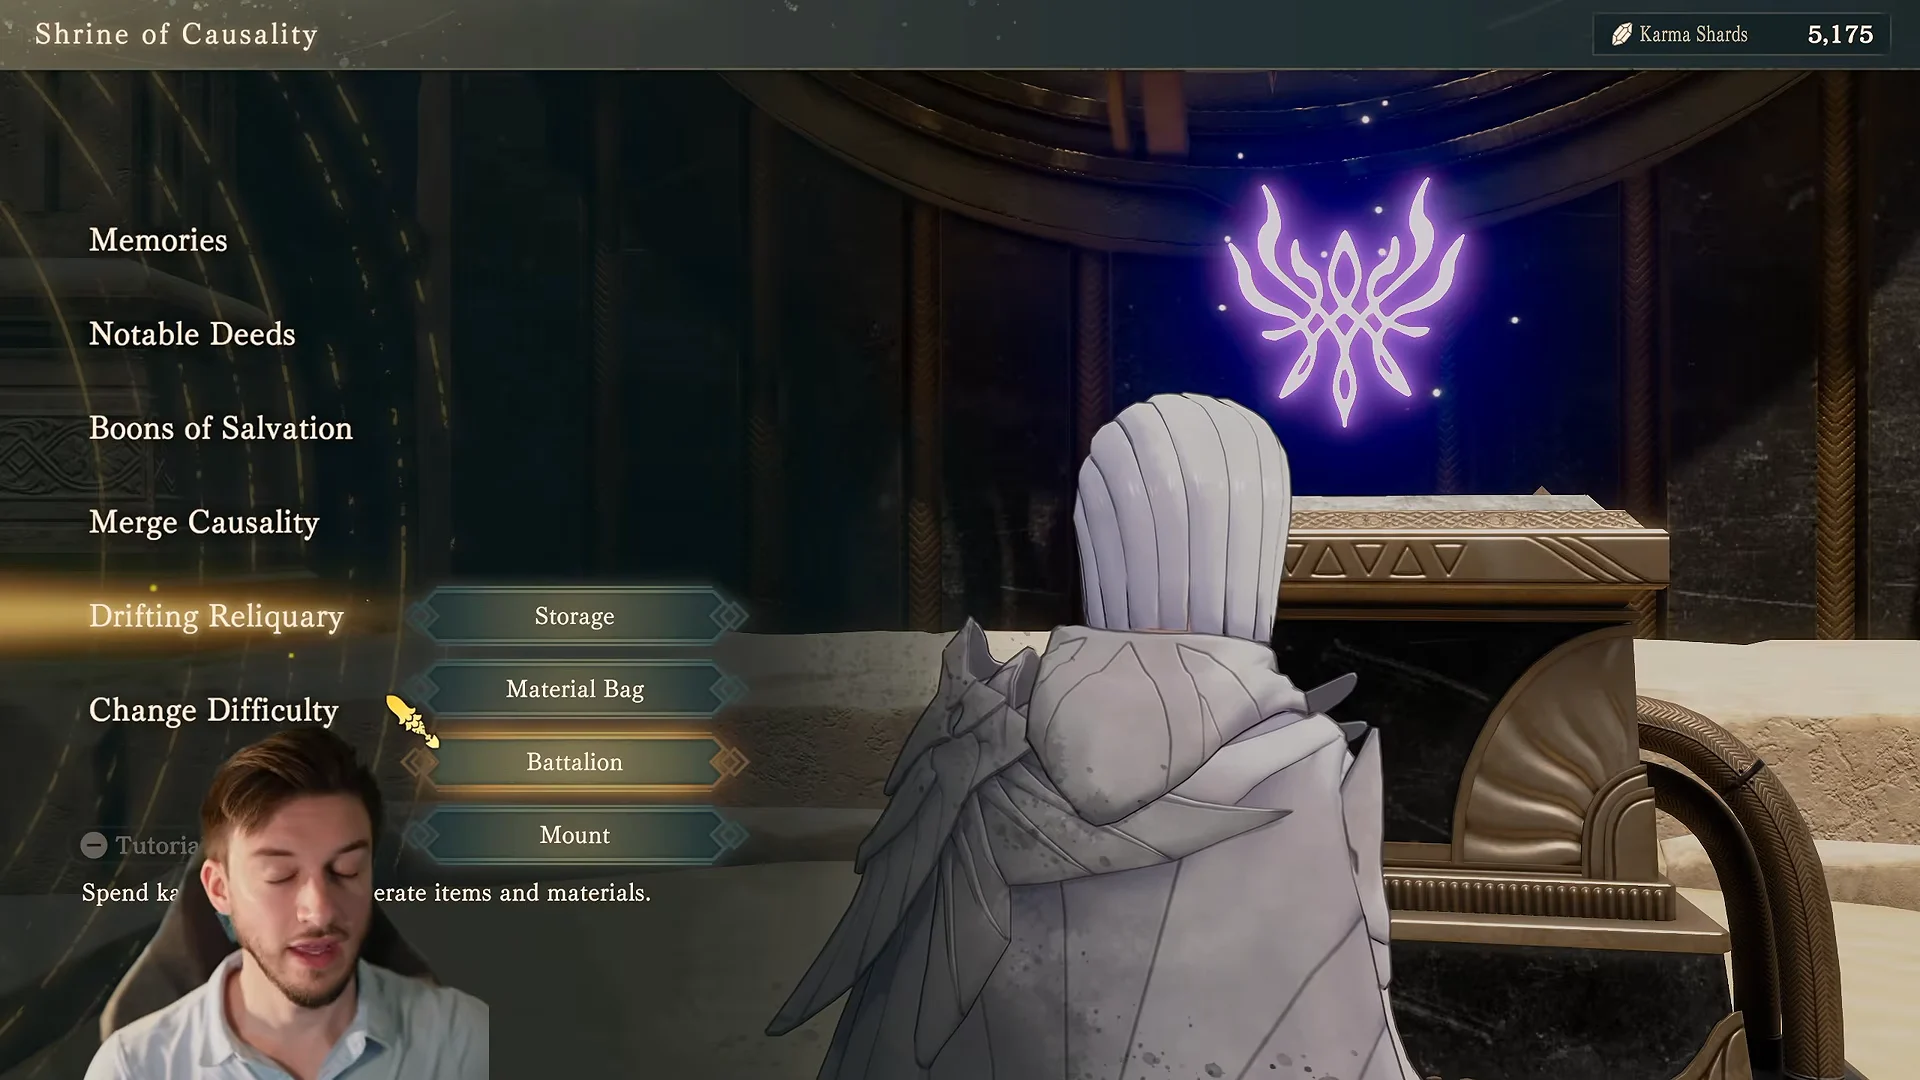
To get an equipped mount or battalion into the Reliquary, unassign it from its unit before you finish Part 2. If you skip that, you can still reclaim a lost mount or battalion by rebuying it with Karma Shards, or by choosing that path’s version of the unit when you recruit them in Part 3.
The game actively blocks direct clones of mounts. If a mount is already sitting in the Stables and you then recruit a unit who has the same mount equipped, it will not let you hold two of the same animal. There is one exception worth knowing. Place Io’s Rocinan or Alexandra’s Bucephalus into the Stables before recruiting them, and the equipped copy renames itself to “Rocinan’s Brother” or “Bucephalus’s Foal,” a functionally identical mount with a different description. Because this depends on the order you act, it is technically missable in Part 3.
Free stat merges from reclearing
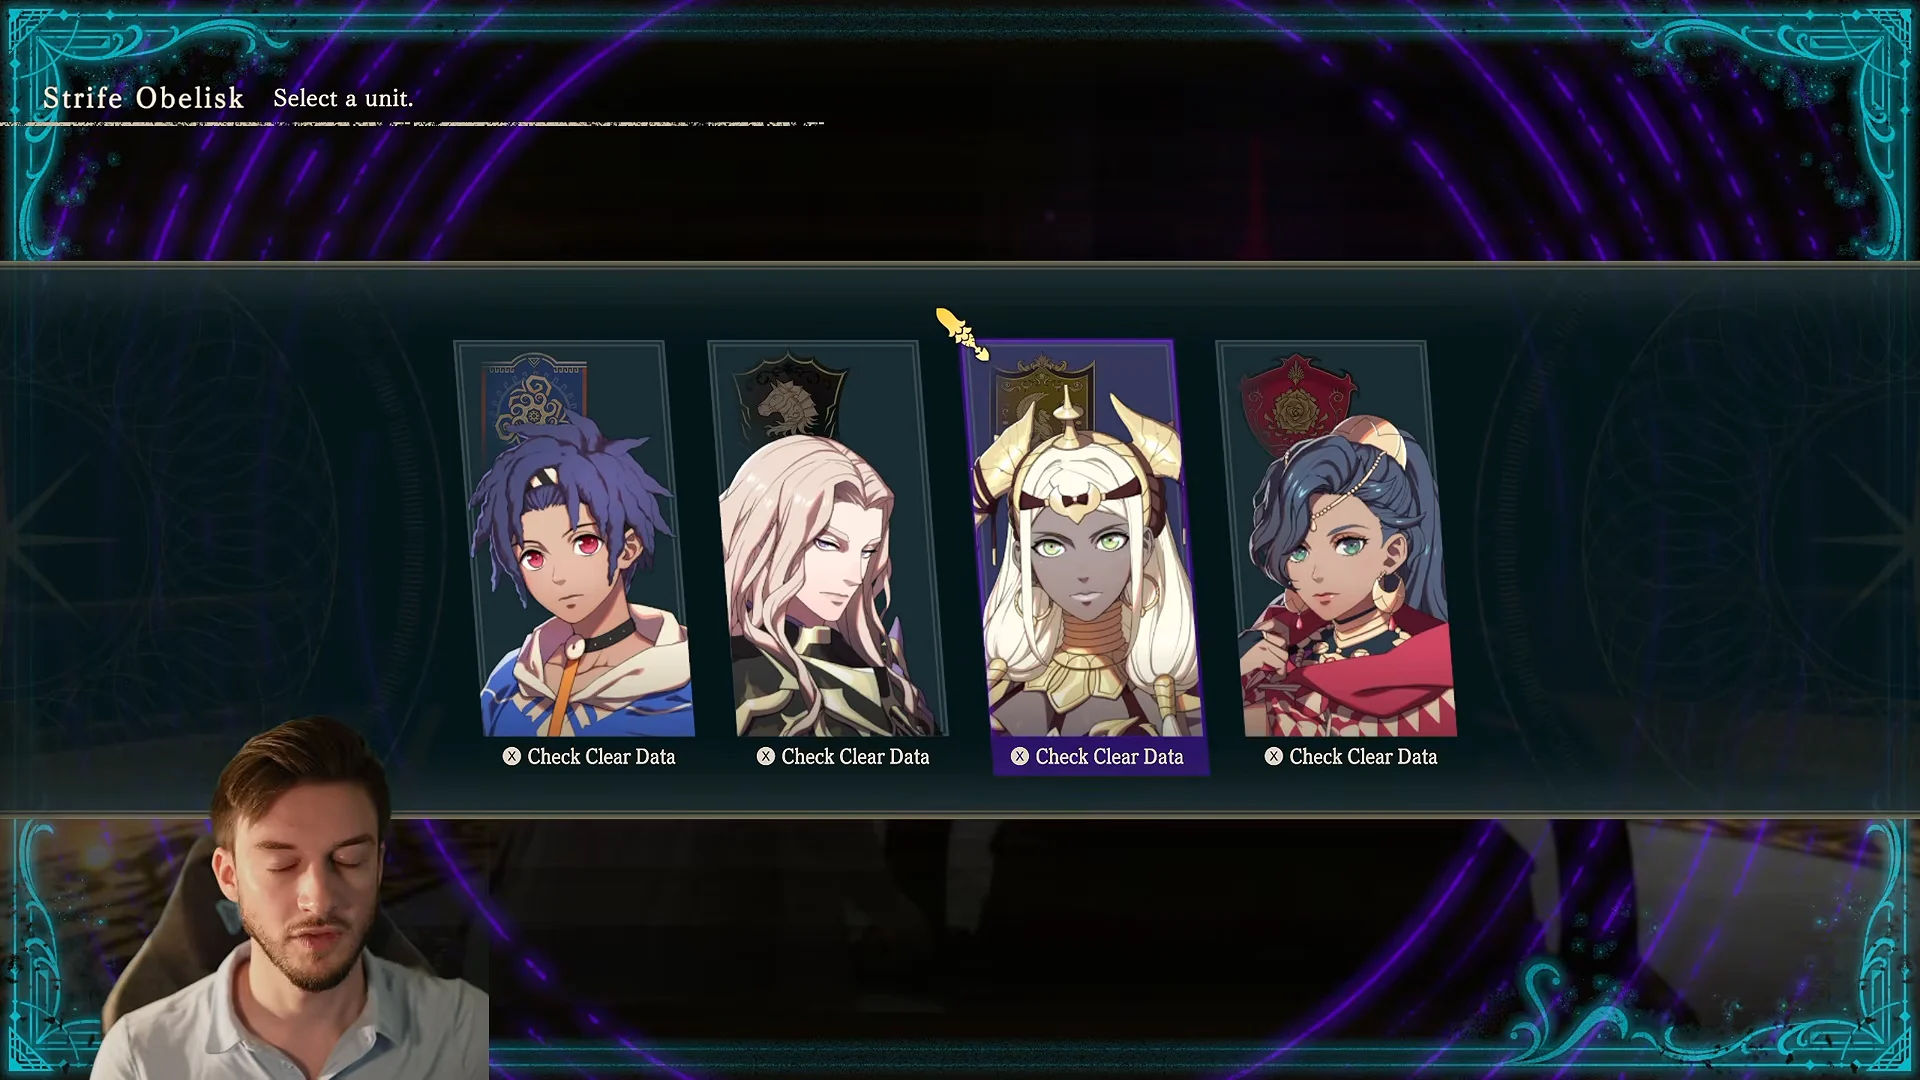
Reclearing a route does more than unlock the catalog. Finishing Part 2 again updates each unit’s clear data at the Strife Obelisk, stacking improvements on top of what was already there. Units are never removed from that data, only improved, so you can replay repeatedly to build a unit up before making them active in Part 3.
The Flame Lords merge automatically on each reclear. For example, Dietrich can combine the stats he gained as a Warrior with those from another class run, pushing his level, strength, defense, and overall rating higher at no cost. Other units can also pull data from another path, but that merge costs Karma Shards and is worth saving for only when you really want cross-route stats.
Confirm it worked and protect your purchases
You will know the Reliquary unlocked when a message states that items were moved to the Reliquary, and the Drifting Reliquary option then shows inside the Shrine of Causality menu. Purchased weapons land in your Part 3 inventory ready to equip.
Do not restart Part 3 chapters with Chapter Select after buying from the Reliquary, especially around Chapter 3 of Part 3. Players have reported purchased items disappearing on chapter restarts, and redoing chapters can also undo causality merges you have already paid for.