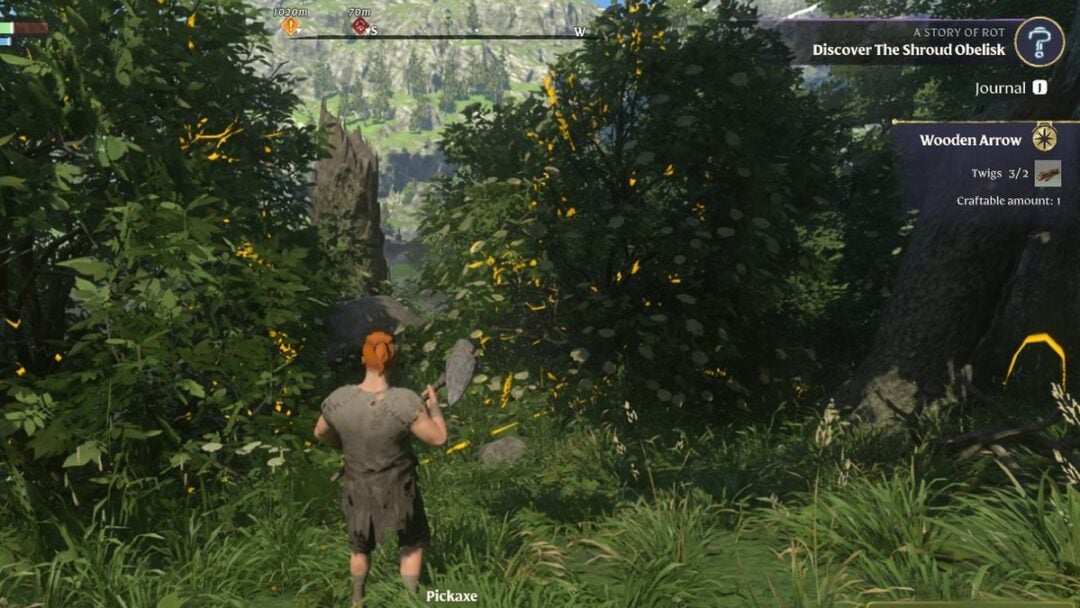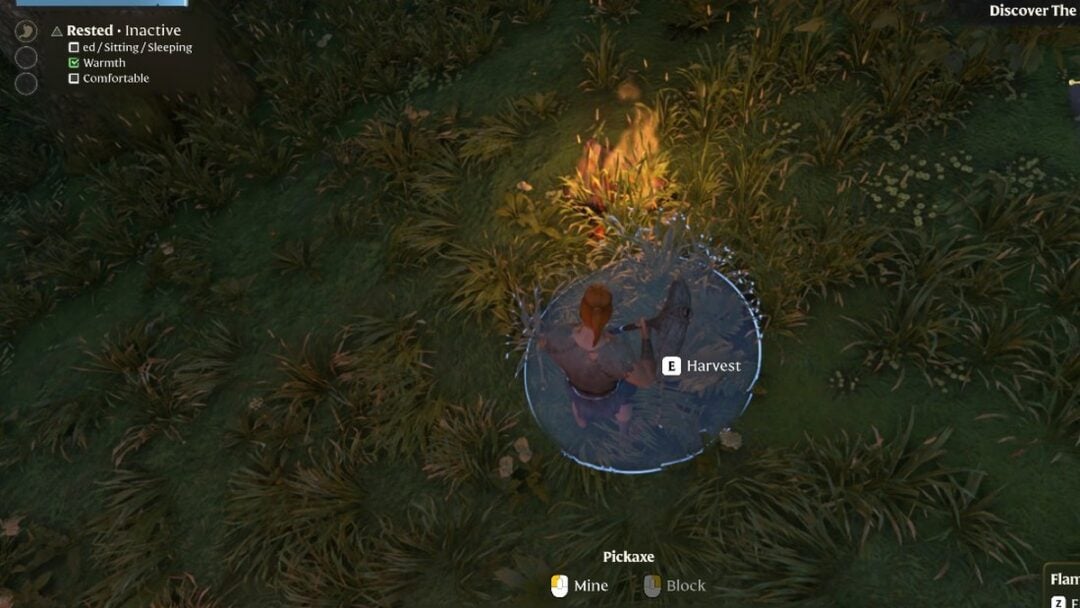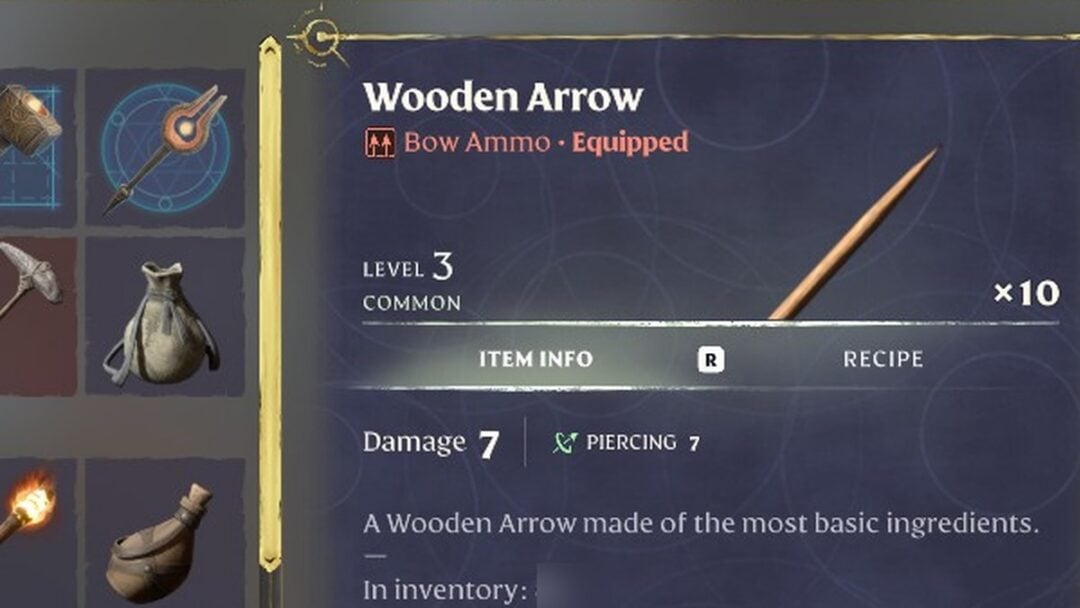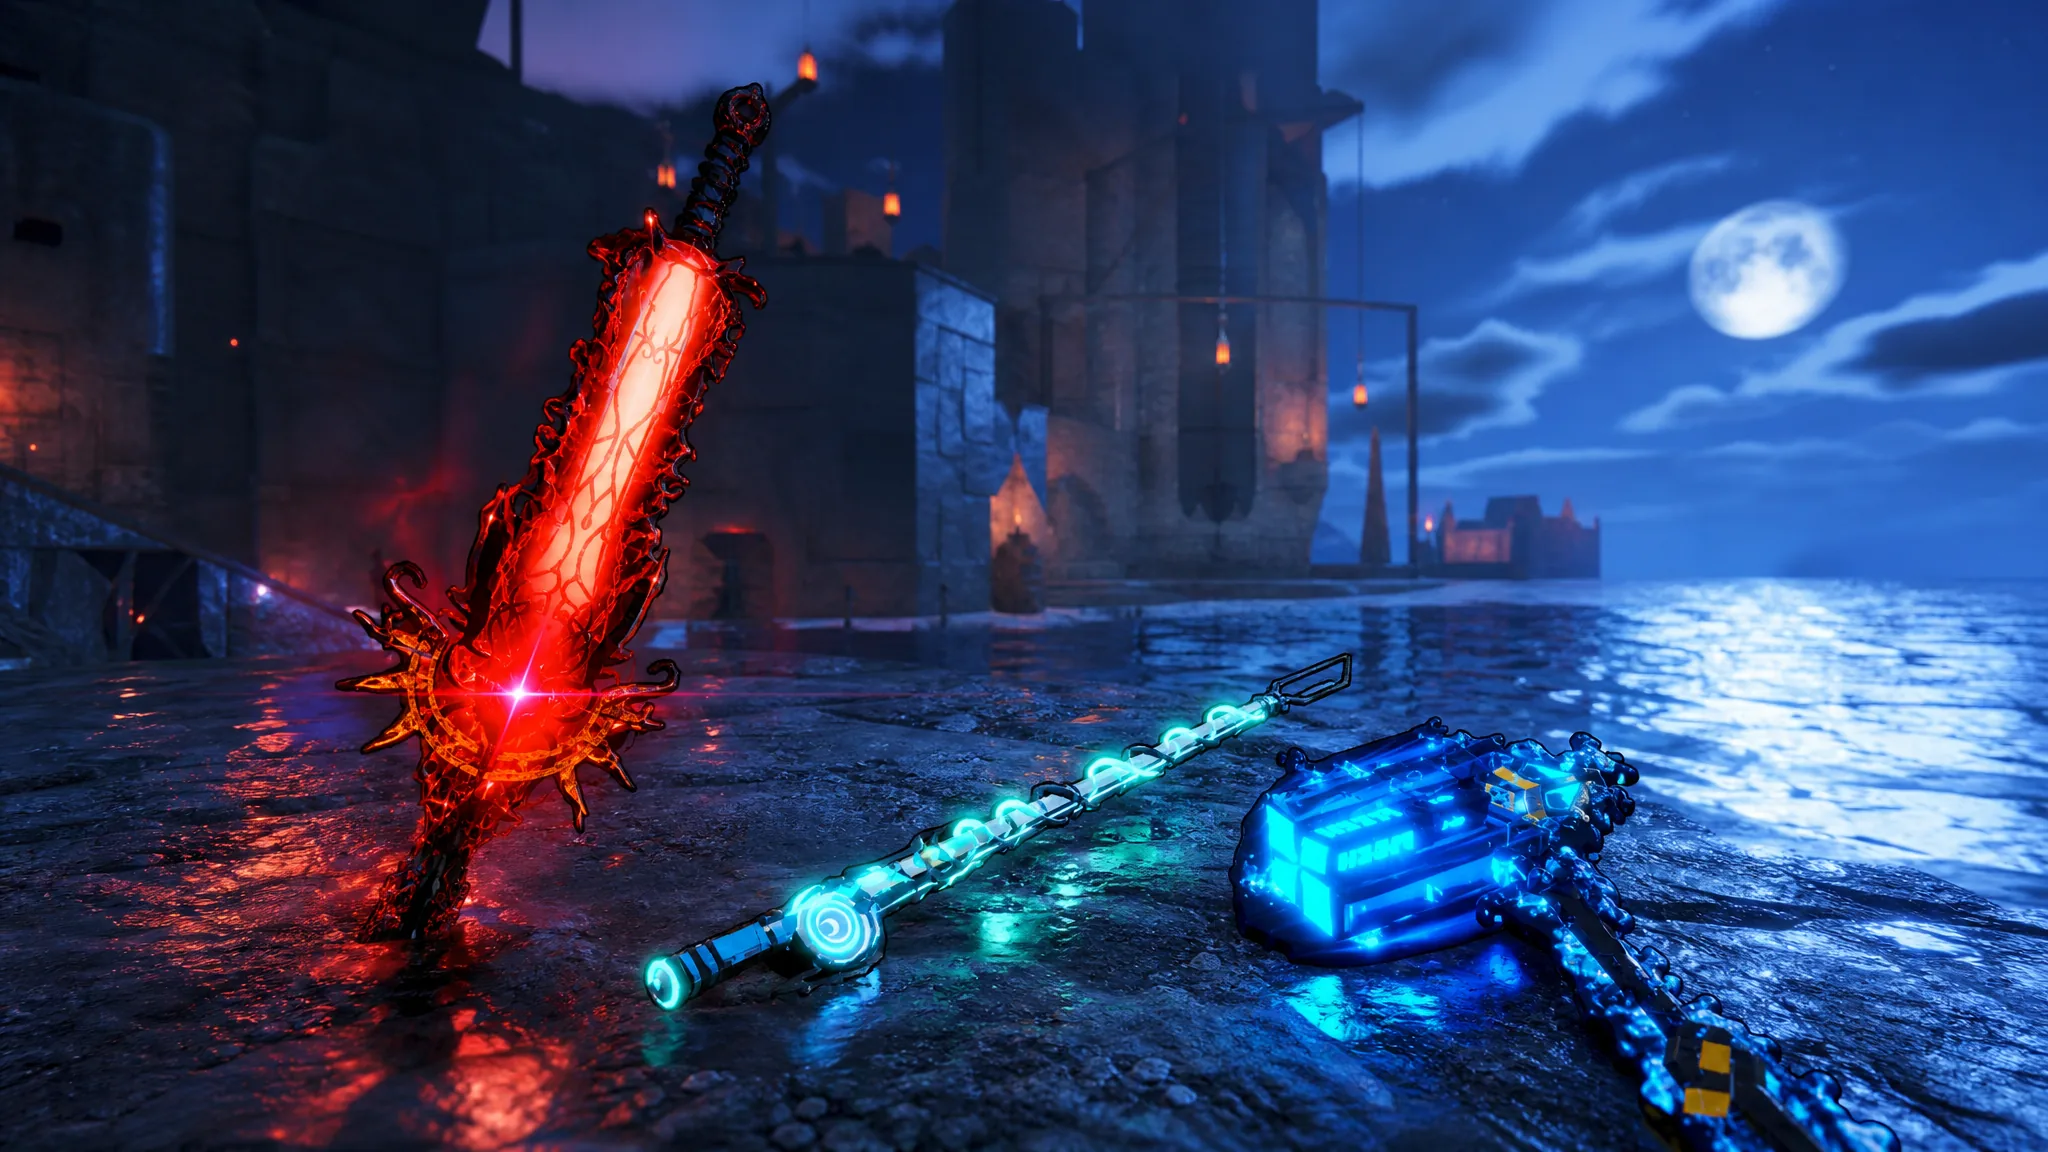
Fisch will sell you dozens of rods. From level 1 to 2000 you only need a short ladder of nine, starting with the Carbon Rod on the Moosewood dock and ending with the Masterline Rod after the Bestiary and Rod Journal are both full.
Quick answer: Buy the Carbon Rod at Moosewood, trade a pufferfish to the Orc for the Magma Rod, then move through the Depth Seeker Rod, Spirit of the Forest, Volcanic Rod, Tidemourner, Ruinous Oath, and Noctis Form. The Masterline Rod unlocks only at 100 percent Bestiary and Rod Journal completion.
Stat checks that force a rod swap
A rod stays useful until one number fails. Max KG is the first hard stop. If a fish is heavier than the rod’s cap, the catch is over. Lure Speed only changes how fast a bite appears. Luck changes how rare the bite is. Control and Resilience decide whether you can keep the bar on a fighting fish.
Early rods die on weight. The Carbon Rod tops out at 600kg. The Magma Rod doubles that to 1,200kg. The Depth Seeker Rod jumps to 70,000kg. From Tidemourner onward the cap is Infinite, so later swaps are about mutation payouts and catch minigames, not whether the line snaps.
| Rod | Max KG | Lure Speed | Luck |
|---|---|---|---|
| Carbon Rod | 600kg | 15% | 25% |
| Magma Rod | 1,200kg | 45% | 55% |
| Depth Seeker Rod | 70,000kg | 55% | 70% |
| Tidemourner | Infinite | 50% | 250% |
| Ruinous Oath | Infinite | 95% | 300% |
| Noctis Form | Infinite | 125% | 290% |
| Masterline Rod | Infinite | 1000% | 350% |
Spirit of the Forest and the Volcanic Rod sit in the middle of that ladder without a full public stat card in the same layout. You still take them for what they do to income and weight, not for a lure-speed race against the later Infinite rods.
Carbon Rod and Magma Rod unlocks
The Carbon Rod is the first real purchase. The Moosewood merchant sells it for 2,000 C$. Base numbers are modest. You get 15% Lure Speed, 25% Luck, 0.05 Control, 10% Resilience, a 15m line, and that 600kg ceiling. It is enough to leave the starter stick and start paying for a boat.
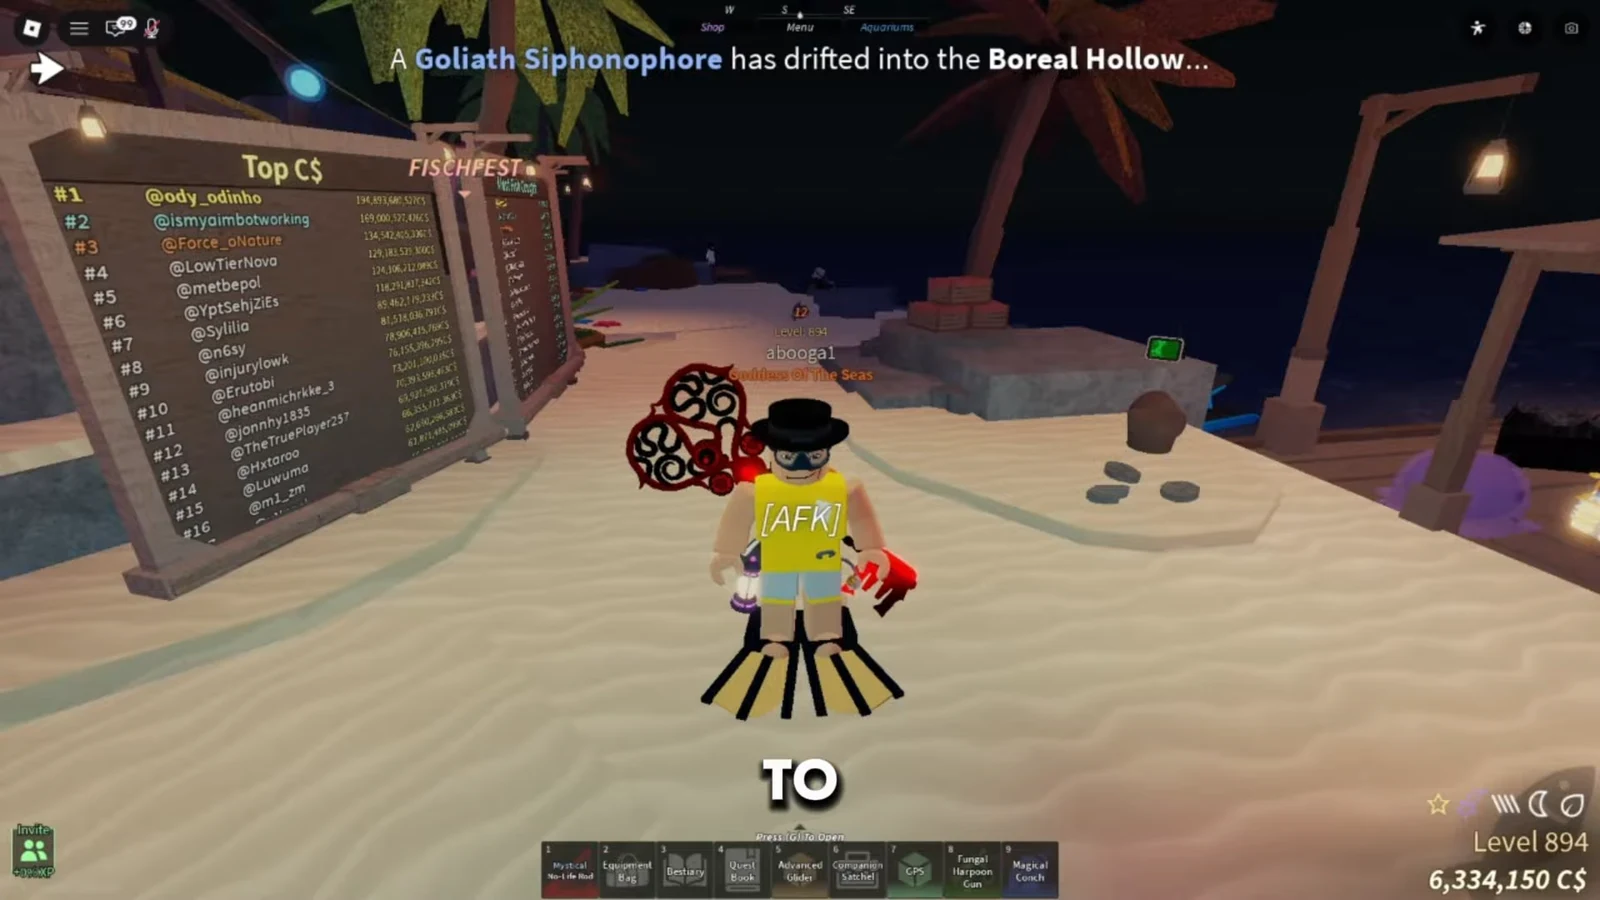
The merchant sits in Moosewood Village on the same paths that run toward the FISCHFEST area. Event banners can already be firing overhead while you are still on this rod. Ignore them until Max KG is no longer the thing killing your casts.
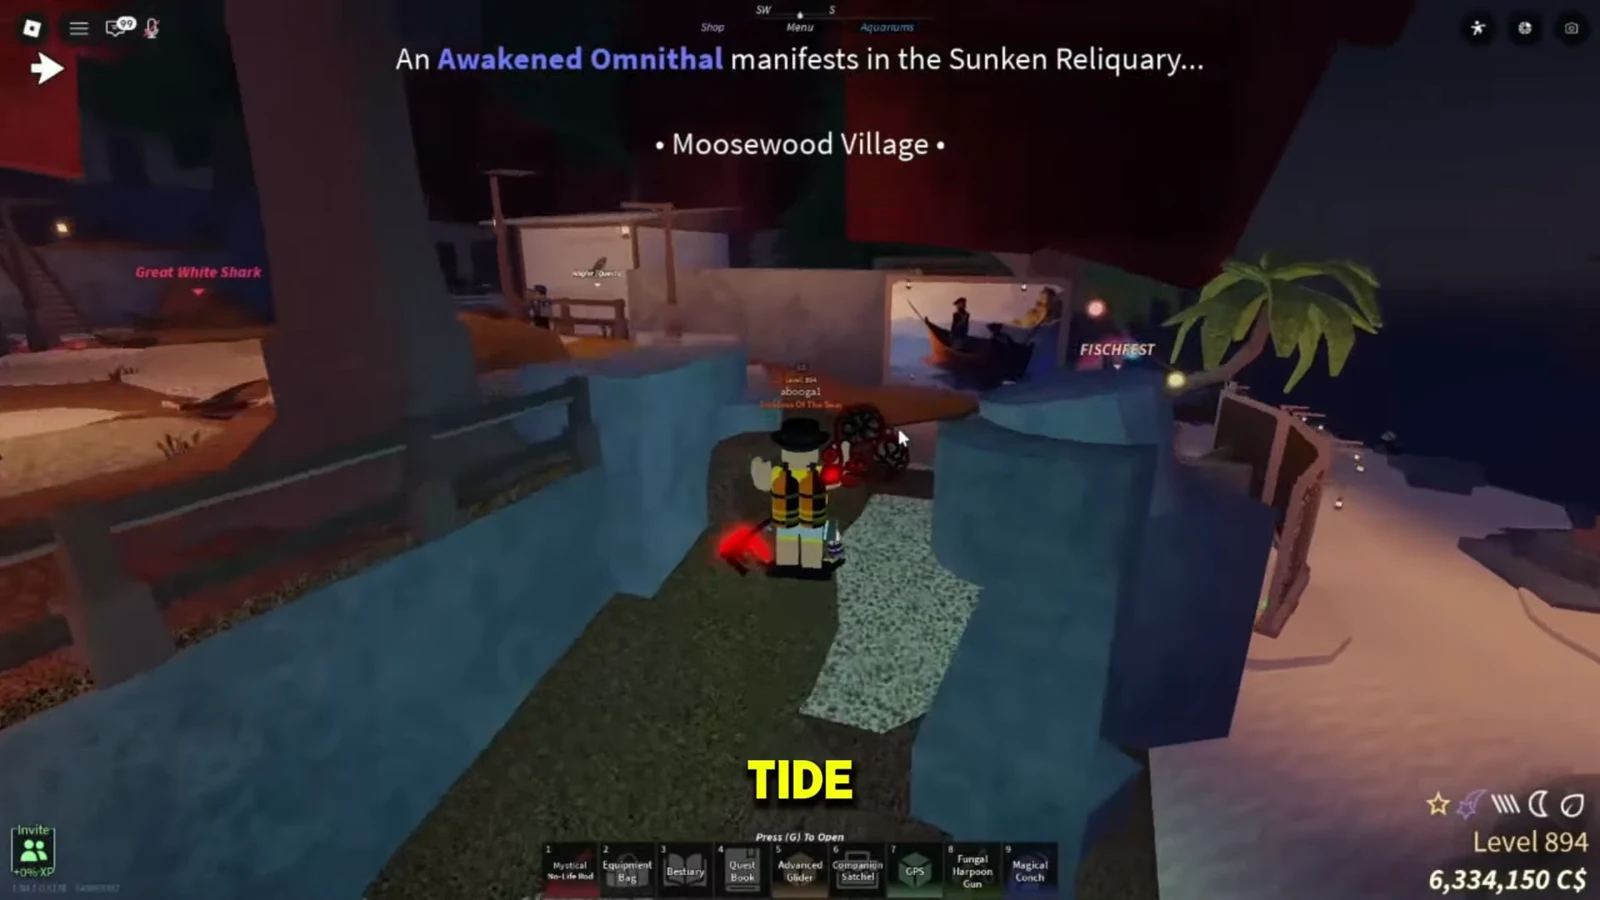
The Magma Rod is the first swap that changes where you can stand. You get it from the Orc after you hand over a pufferfish. Stats move to 45% Lure Speed, 55% Luck, 0.15 Control, 0% Resilience, and 1,200kg. It can fish in lava. It also rolls a 35% chance at the Ember mutation, which sells at 3x.
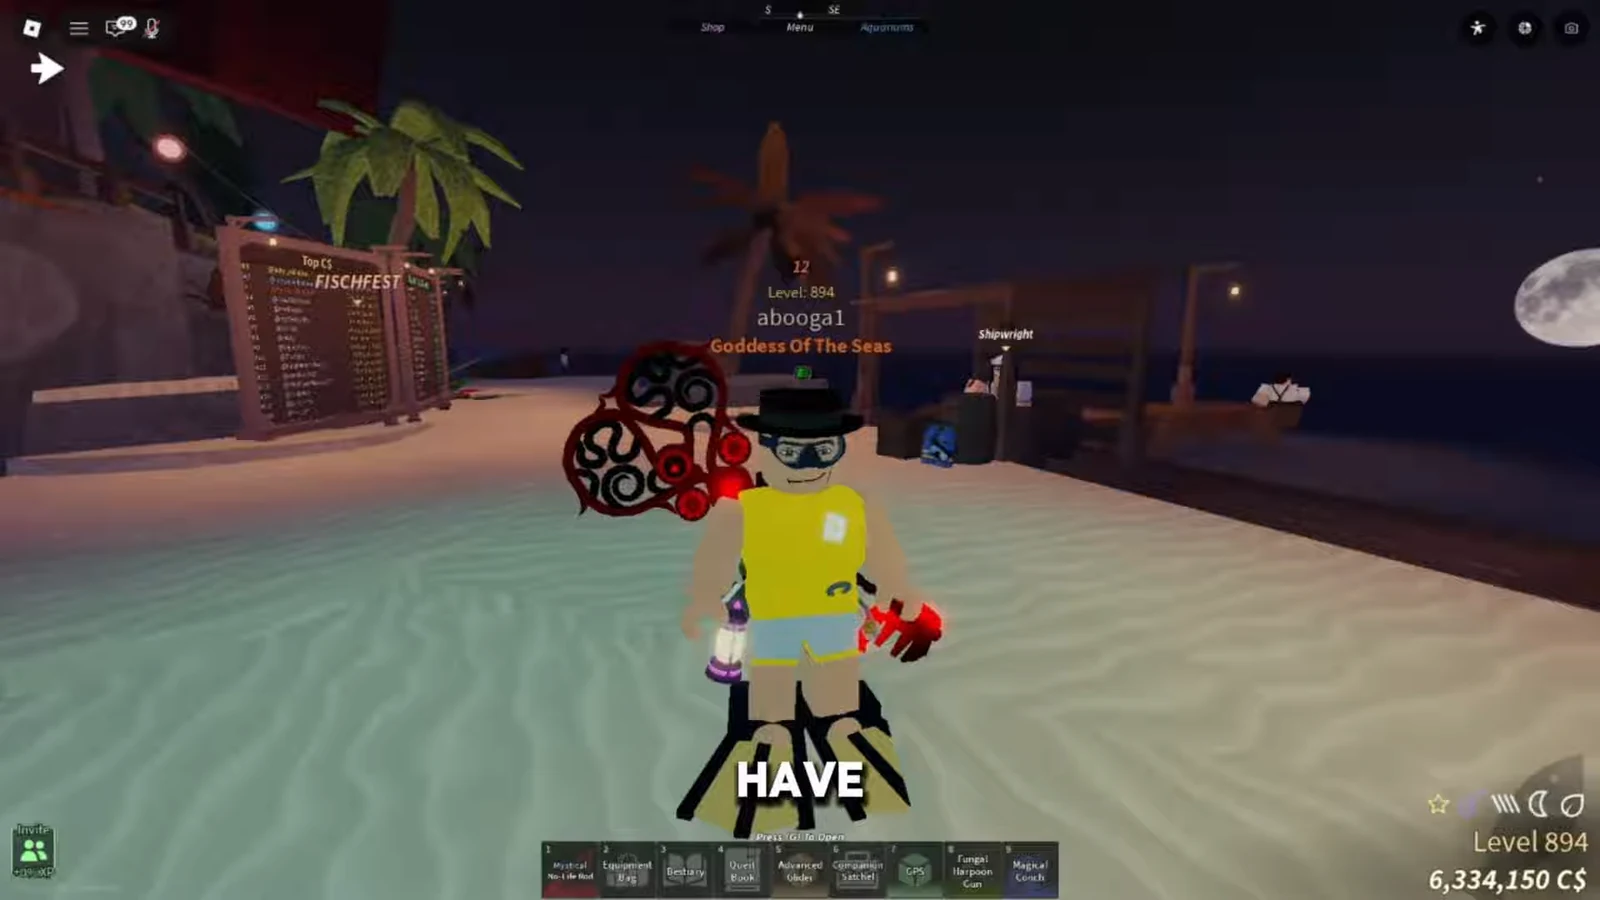
![Roslit Bay shoreline with the player marked AFK and the Press [G] To Open prompt on the hotbar.](https://static.allthings.how/wp-content/uploads/2026/08/the-best-rods-to-use-in-fisch-updated-progression-guide-lvl-3166693868.webp)
Early casts still spend a long time in a WORKING state while you wait on the bite. That is normal on both of these rods. The Magma Rod’s job is lava access, a little more control, and Ember coins, not an instant reel.
Depth Seeker Rod and Volcanic Rod prices
The Depth Seeker Rod is the first coin wall that is worth paying. It sits at Atlantis for 40,000 coins. You pick up 55% Lure Speed, 70% Luck, 25% Resilience, a 50m line, and 70,000kg. The passive adds 5% progression speed. One catch in four can roll Darkened, which sells at 1.5x.
That weight jump is the reason you leave the Magma Rod. Ember is still a better sell multiplier, but 1,200kg will start failing on fish the Depth Seeker Rod can actually land. Fish it in open shallows the same way you fish anywhere else. The rod is a red tool in the hotbar like the ones before it.
The Volcanic Rod is the next paid stop, at 250,000 coins. It is the first rod on this path built for very heavy fish, and it rolls a 30% chance at Ash Fortune, which sells at 5x. You buy it when Ember and Darkened no longer cover the next unlocks. Keep it until an Infinite-weight rod with a stronger mutation is in reach.
Spirit of the Forest seasonal boosts
Spirit of the Forest is the odd rod on the ladder. You pick it up through the questline with Thaler Veyerwood in Everturn Forest. It does not arrive as a finished stat block. It levels as you catch fish, so the longer you keep it equipped, the stronger the numbers get.
The seasonal layer is the reason to park on it for a stretch instead of rushing the next shop. Winter raises Resilience. Spring raises Lure Speed. Summer raises Luck. Autumn raises Control. At night you get Progression Speed. Swap seasons with the catch you actually need that session, then move on when a later rod’s mutation pays more than another Spirit level.
Mutation sell rates on the progression path
Coins for the 40,000, 250,000, and 5,000,000 purchases come from mutations more than from raw fish value. Each rod on this path has one payout that matters. Use the highest multiplier you can currently proc, then sell and buy the next gate.
| Rod | Mutation | Sell rate | Chance |
|---|---|---|---|
| Magma Rod | Ember | 3x | 35% |
| Depth Seeker Rod | Darkened | 1.5x | 25% |
| Volcanic Rod | Ash Fortune | 5x | 30% |
| Tidemourner | Mourned | 7.5x | 35% |
| Ruinous Oath | Mastered | 8x | 25% |
| Noctis Form | Withered | 11x | Zone minigame |
| Masterline Rod | Ascended | 9.9x | 25% |
| Masterline Rod | Blessed | 8.5x | 10% |
Masterline also adds small Shiny and Sparkling chances on top of those two headline rolls. Spirit of the Forest does not live on this table because its value is the seasonal stat swing, not a named sell mutation.
Tidemourner, Ruinous Oath, and Noctis Form minigames
Once Max KG is Infinite, the rod you hold is the minigame you are willing to play. Tidemourner, Ruinous Oath, and Noctis Form all land heavy fish. They do not play the same.
Tidemourner hammer slam
Tidemourner sits at 50% Lure Speed, 250% Luck, 0% Resilience, and Infinite Max KG. A perfect cast can stun the fish. The hammer slam is the follow-up stun during the fight. Mourned at 7.5x on a 35% roll is the first mutation on this path that can fund the multi-million coin rods without a long grind.
Ruinous Oath slashes
Ruinous Oath costs 5,000,000 coins and asks for level 750 at Stage 8. Core stats are 95% Lure Speed, 300% Luck, 0.08 Control, 25% Resilience, and Infinite Max KG. Slashes fill catch progress on their own. A perfect catch pushes progression speed up and Control down, so later fish in a session get faster and harder to steer. Mastered at 8x on a 25% roll is the payout that replaces Mourned.
Noctis Form zones and star beams
Noctis Form comes from the Mysterious Shadow at Stage 10. Numbers jump again to 125% Lure Speed, 290% Luck, 0 Control, 65% Resilience, Infinite Max KG, +4 Disturbance, and a 150m line. The catch is no longer a single bar. Zones appear during the fight, and a star beam can drop extra progress ticks across the bar.
Play the zones cleanly if you want Withered at 11x. Wrong picks punish Control. Enough mistakes end the minigame. This is the last rod you need before the journal lock. It is also the first one that can fail because you misclicked a zone rather than because the fish was too heavy.
Masterline Rod Bestiary unlock
The Masterline Rod is not a shop item. It appears after you finish the entire Fisch Bestiary and the full Rod Journal. If either list still has a hole, the rod stays locked. Filling the last fish or the last journal rod is the trigger. You know it worked when Masterline is claimable in that journal view.
The finished rod is 1000% Lure Speed, 350% Luck, 0.15 Control, 50% Resilience, Infinite Max KG, 200 durability, and +3 Disturbance. Passives include Heaven’s Ray, which blasts and stuns fish, plus progress-speed boosts. Mutation odds sit at 25% Ascended (9.9x) and 10% Blessed (8.5x), with extra Shiny and Sparkling chances on the side.
Nothing else on the level 1 to 2000 path outruns those lure and luck numbers. Keep Noctis Form equipped until both completion bars read 100 percent. Then switch once and stay there.
The water does not change after that unlock. Event banners still drop over the same docks. A Goliath Siphonophore warning on the Fishfest pier is the same shoreline you passed on the Carbon Rod. Only the tool in the hotbar is different.