
The “Critical service failed” error with a Blue Screen of Death (BSOD) is a common problem with Microsoft’s Windows 10. Whenever a service that is critical to the core operating system fails to run or stops abruptly because of an incompatibility with other software installed/running on your PC, the system throws BSOD along with a service failed error message.
Since there is no way to pinpoint the exact cause of the “Critical service failed” blue screen error, we have compiled a list of all known fixes for the issue. Try these fixes one-by-one on your system to resolve the error.
Use the Windows Startup Repair tool
The built-in Startup Repair tool for Windows 10 can come in quite handy when dealing with Critical Service Failed blue screen error. It is one of the first things you should try on your PC to resolve the problem.
- Turn on your PC, wait until Windows loading screen appears, then turn it off immediately. Do this repeatedly until you see Preparing Automatic Repair message on the screen.
- Click the Advanced Options button on the Automatic Repair screen.

- Your PC will restart and the Advanced startup screen will show. Click on the Troubleshoot option.
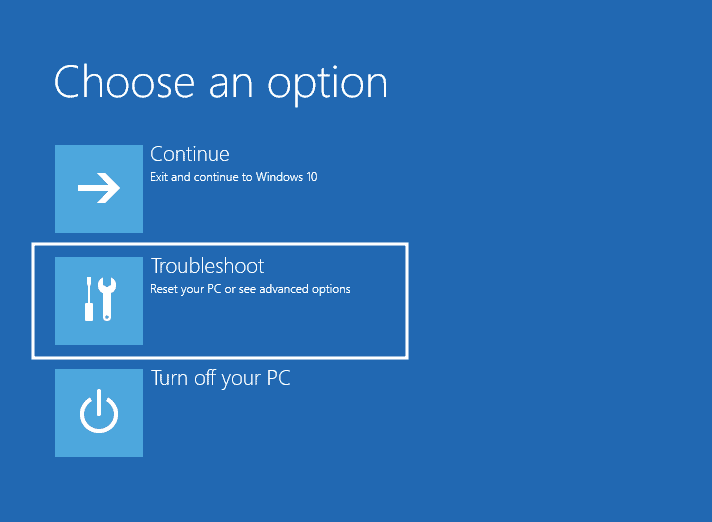
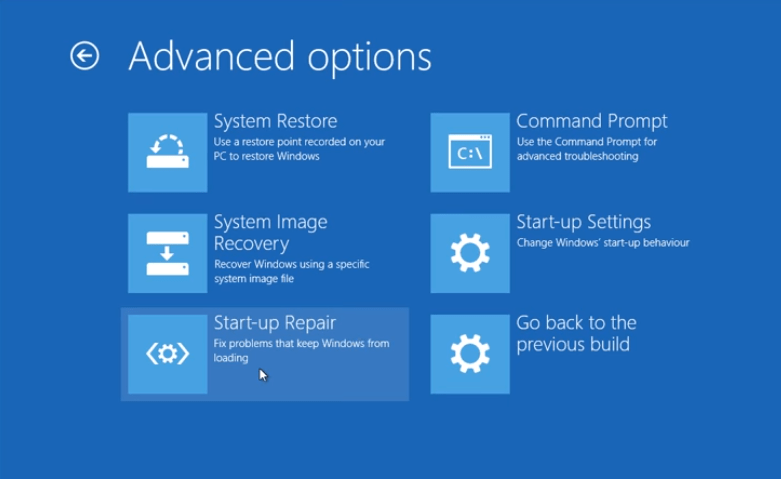
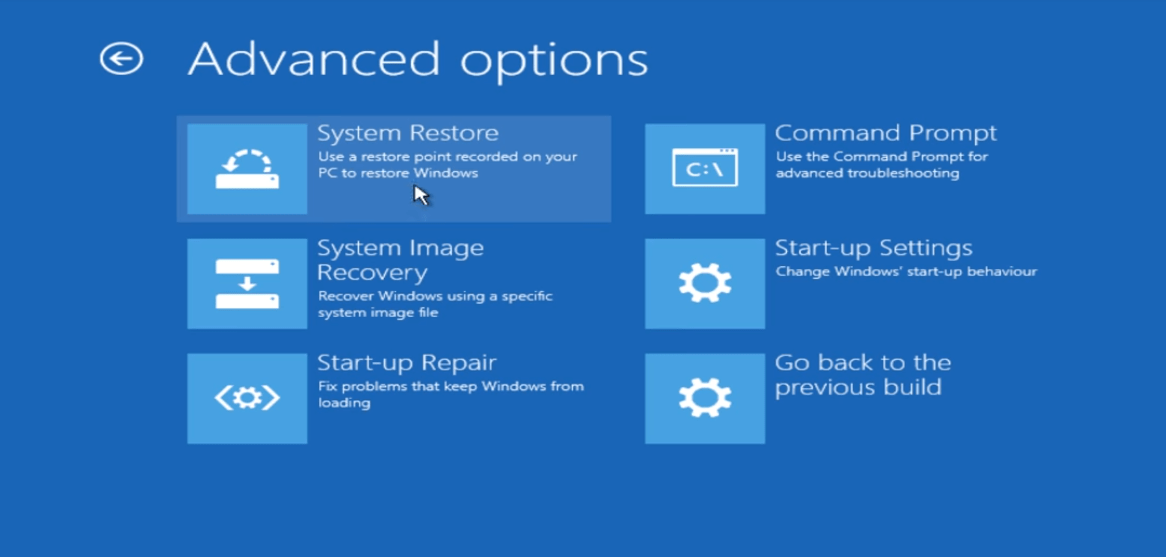
- On the next screen, select Advanced options » then click on Startup Repair.
- Choose your account on the next screen » enter the password and click Continue.
Wait until the repair process finishes. Once done, try using Windows and see if the Blue Screen error pops up again.
Reset Windows Update Components from Command line
If you’re seeing the “Critical service failed” blue screen error right after a Windows update went wrong, then you need to reset the Windows Update components to fix the problem.
- Turn on your PC, wait until Windows loading screen appears, then turn it off immediately. Do this repeatedly until you see Preparing Automatic Repair message on the screen.
- Click the Advanced Options button on the Automatic Repair screen.
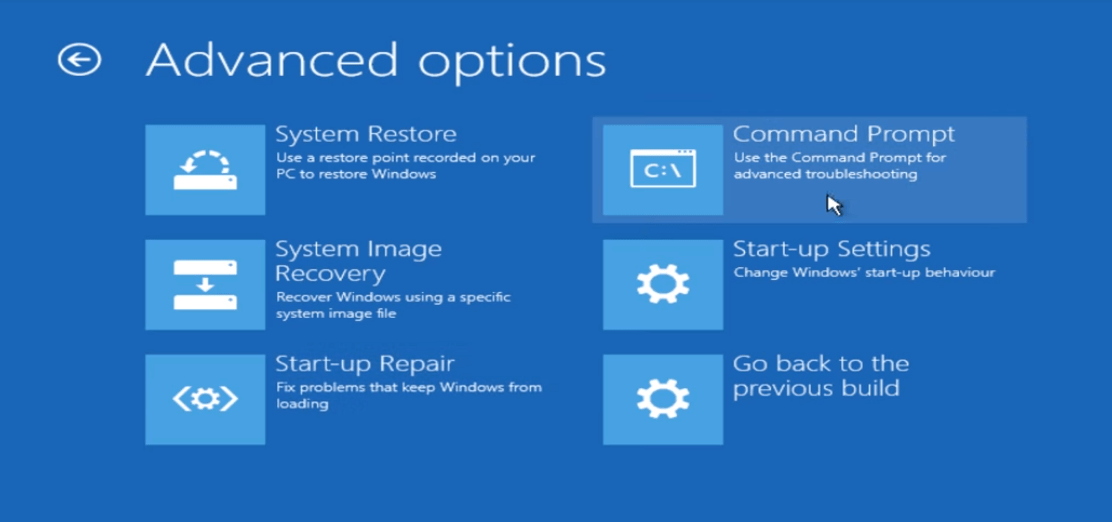
- On the Advanced startup screen, select Troubleshoot » Advanced options » Command Prompt.
- Issue the following commands one-by-one from the command line interface:
ren %systemroot%softwaredistribution softwaredistribution.oldren %systemroot%system32catroot2 catroot2.old - Restart your PC.
Disable Driver Signature Enforcement
The Driver Signature Enforcement feature in Windows 10 ensures that only the drivers signed by Microsoft are loaded when the system boots. If you were trying unsigned drivers, or a driver you’re developing yourself, then it’s likely the reason why Windows 10 is not booting up on your PC.
To fix, you need to disable the Driver Signature Enforcement check in Windows 10 from the Advanced boot options.
- Turn on your PC, wait until Windows loading screen appears, then turn it off immediately. Do this repeatedly until you see Preparing Automatic Repair message on the screen.
- Click the Advanced Options button on the Automatic Repair screen.
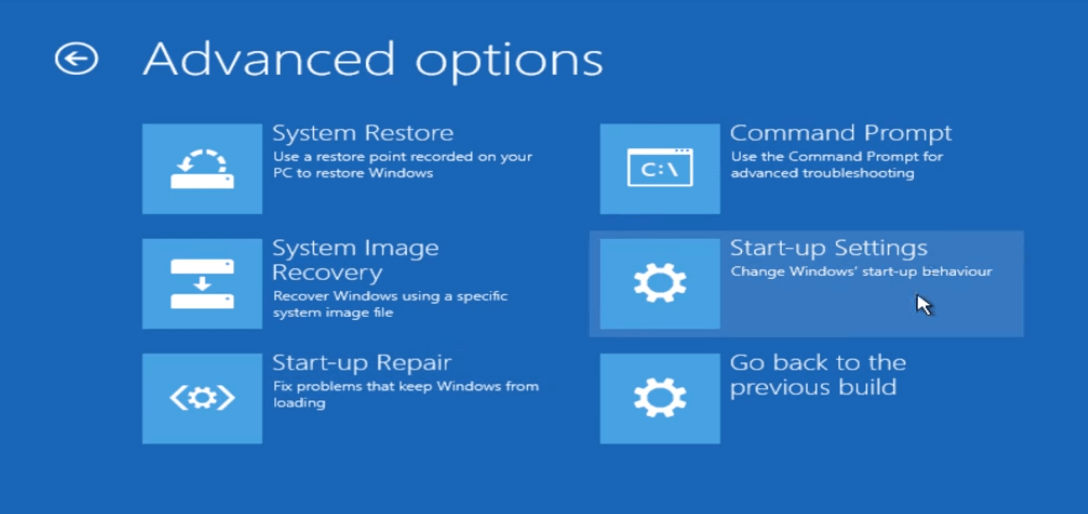
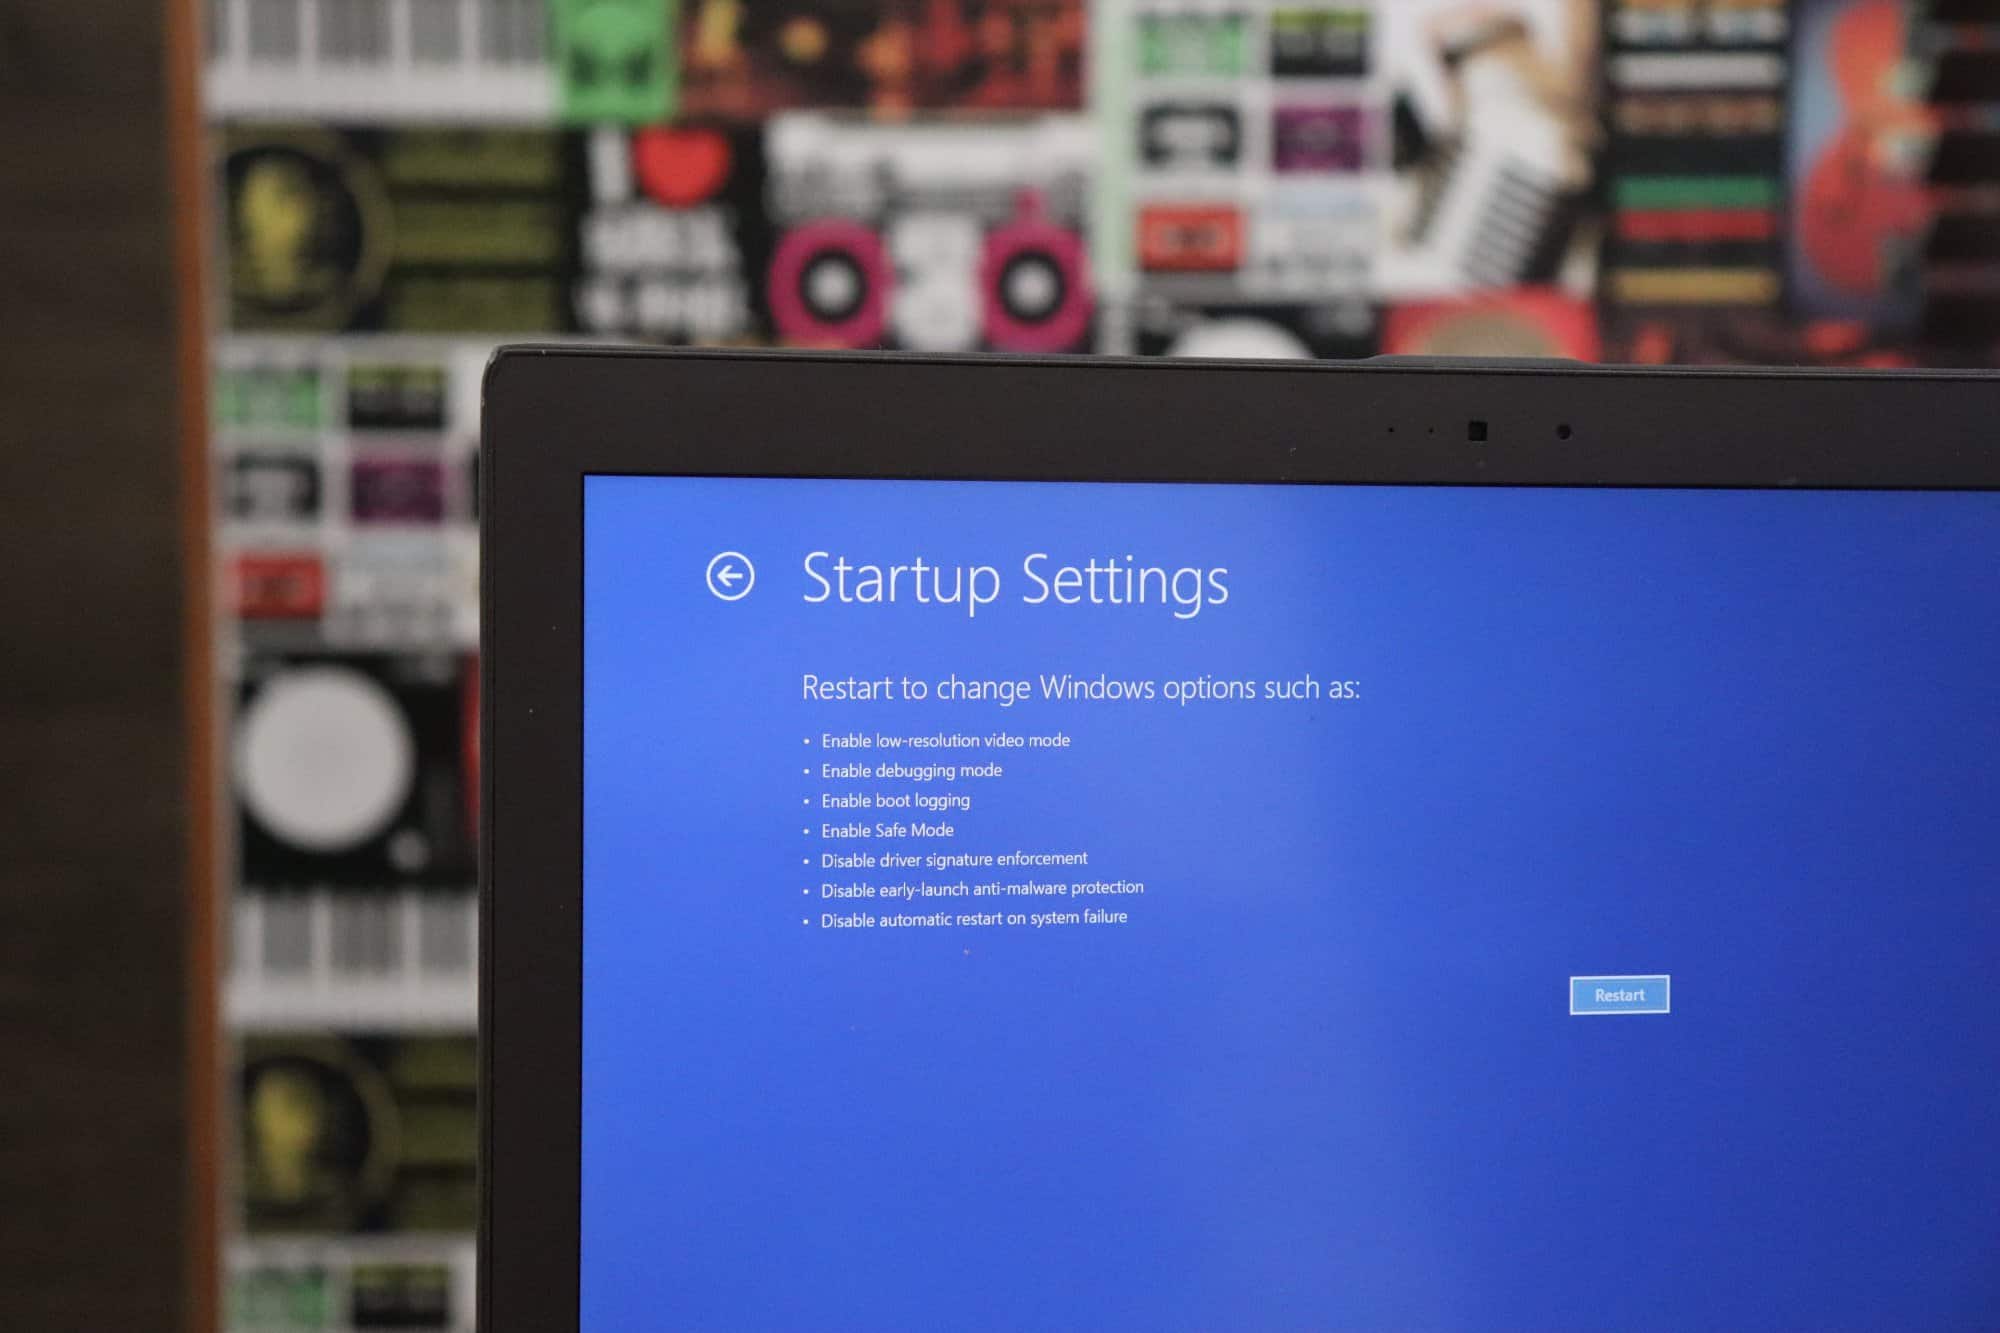
- On the Advanced startup screen, select Troubleshoot » Advanced options » Startup Settings.
- Click the Restart button on the Startup settings screen.
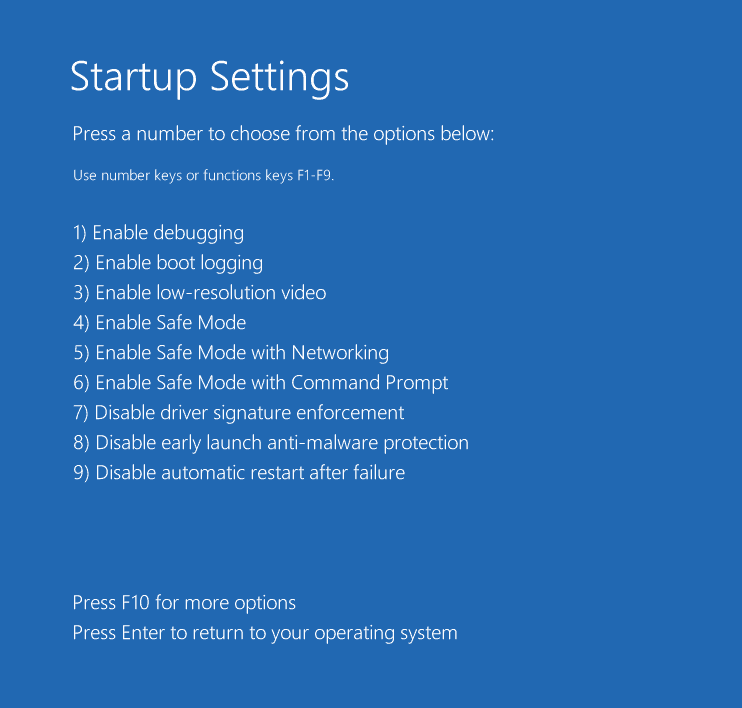
- Your PC will reboot again and show the Startup Settings screen. Here you’ll see all available booting options with their respective numbers. Press F7 to select Disable driver signature enforcement option.
If your PC reboots fine without the Critical Service Failed error after disabling driver signature enforcement, then you need to update all drivers installed on your PC. Or else, you’ll the blue screen again after restarting.
Use a System Restore point
If Windows startup repair failed to help, you can try restoring your system with System Restore point that Windows creates every time you install a software on your PC.
The System Restore point can be accessed from the same Advanced Startup options that we accessed above.
- Turn on your PC, wait until Windows loading screen appears, then turn it off immediately. Do this repeatedly until you see Preparing Automatic Repair message on the screen.
- Click the Advanced Options button on the Automatic Repair screen.
- On the Advanced startup screen, select Troubleshoot » Advanced options » System Restore.
- Select the restore point at which your PC was functioning properly.
- Wait for the process to finish.
Update Windows 10 and all software installed on your PC
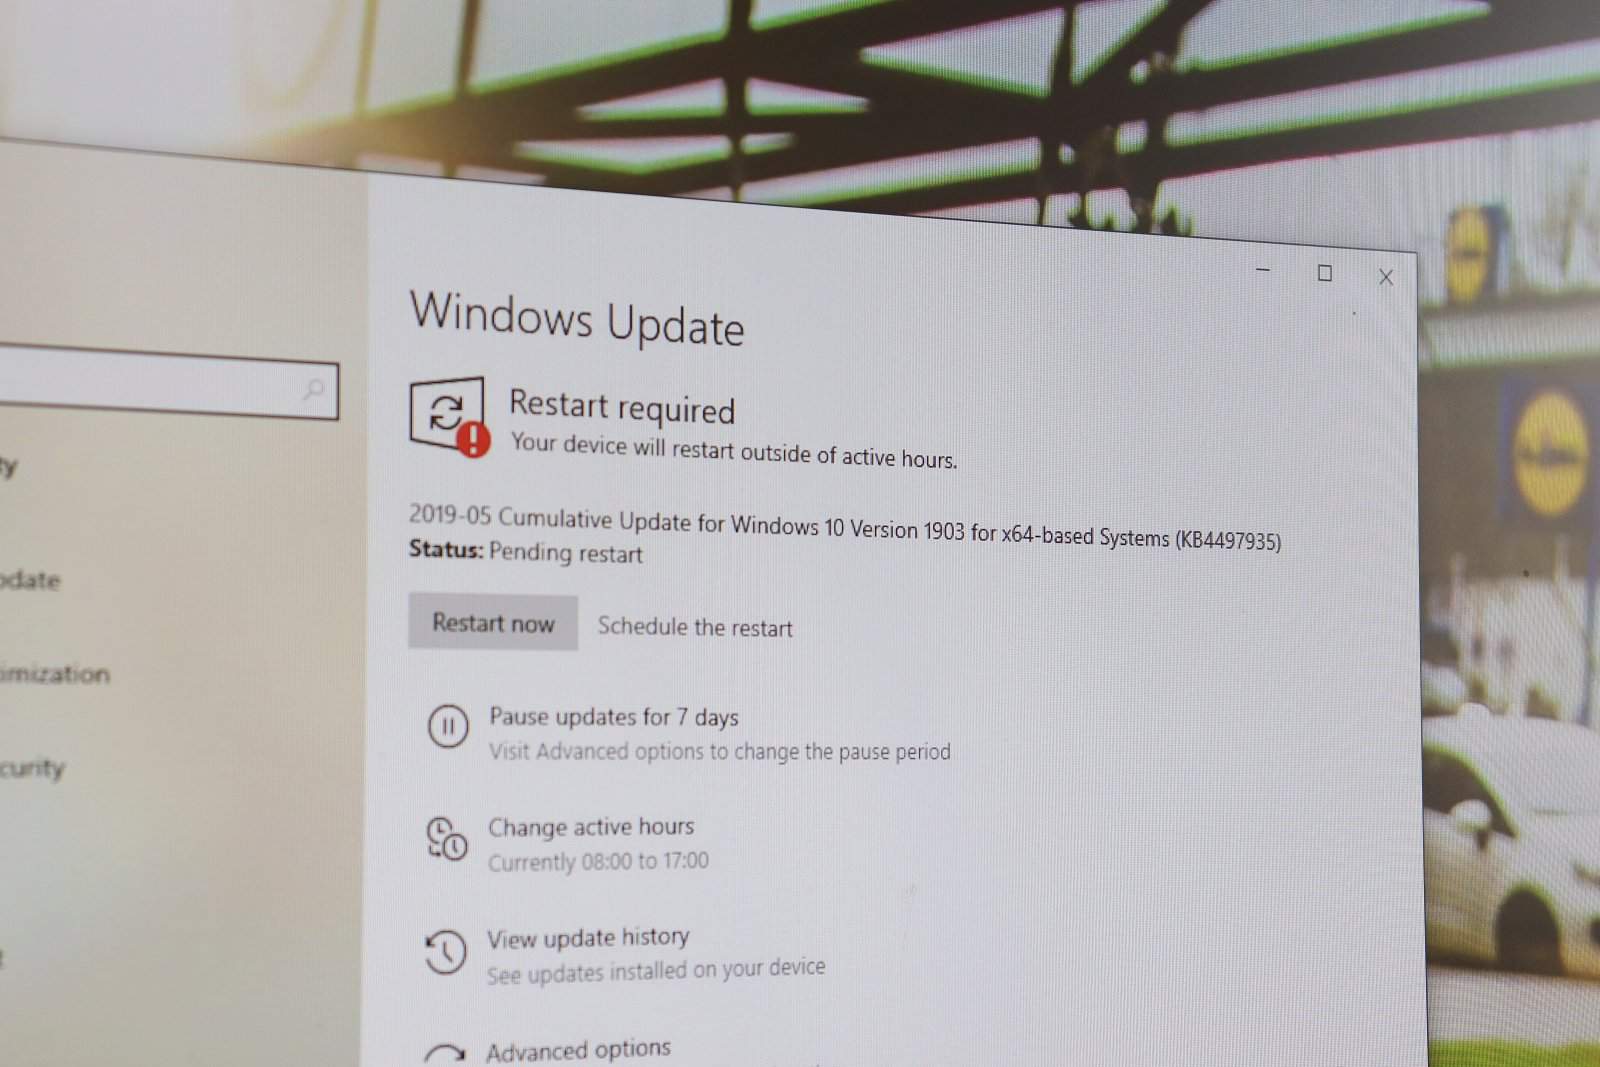
If you are randomly getting the Critical Service Failed error, then make sure you have the latest version of Windows installed on your system as it is critical for the system’s stability as well as its security.
Go to your PC Settings » Update & Security and hit the Check for updates button to download and install all available updates for your PC.
Once you’ve installed the latest version of Windows, also make sure that you update all programs installed on your PC to the latest available versions. You can generally find the option to update a program in its About section.
For apps downloaded from the Microsoft Store, go to the Downloads and Updates section of the store and click on the Get updates button on the top right corner of the screen.
If nothing works. Then resetting your PC is the last option. You’ll lose apps and settings when you reset Windows 10, but your files will be safe.


