
Attempting to copy or download large files in Windows 11 can trigger the error code 0x800700df: The file size exceeds the limit allowed and cannot be saved. This issue typically arises when transferring files via network shares, WebDAV folders, or external drives, and is directly linked to preset file size restrictions in Windows system components. Understanding and addressing these restrictions will restore your ability to manage large files smoothly.
Modify Registry to Increase File Size Limit
Windows enforces a default file size cap for transfers involving the WebClient service, which is often set at 50,000,000 bytes (about 47 MB). When files exceed this threshold, the transfer fails with error 0x800700df. Raising this cap through the Windows Registry is the most direct and effective solution.
Step 1: Open the Run dialog by pressing Windows + R on your keyboard. Type regedit and press Enter to launch the Registry Editor.

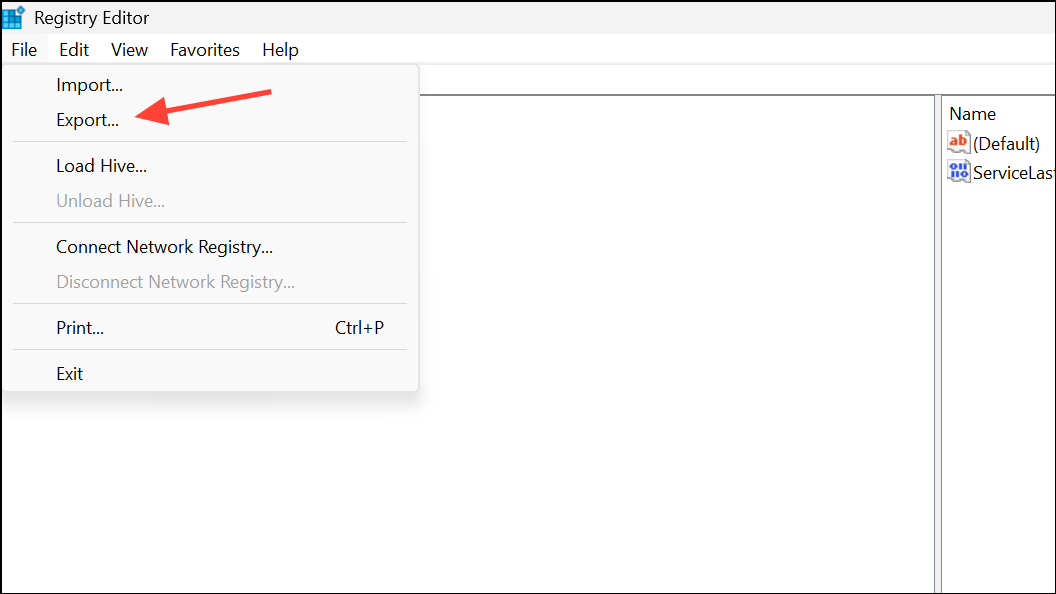
Step 2: Before making changes, back up your registry. In the Registry Editor, click File > Export, select a safe location, and save a backup with the export range set to All. This step ensures you can restore your system if you make an error.
Step 3: Navigate to the following path on the left pane:
HKEY_LOCAL_MACHINE\SYSTEM\CurrentControlSet\Services\WebClient\Parameters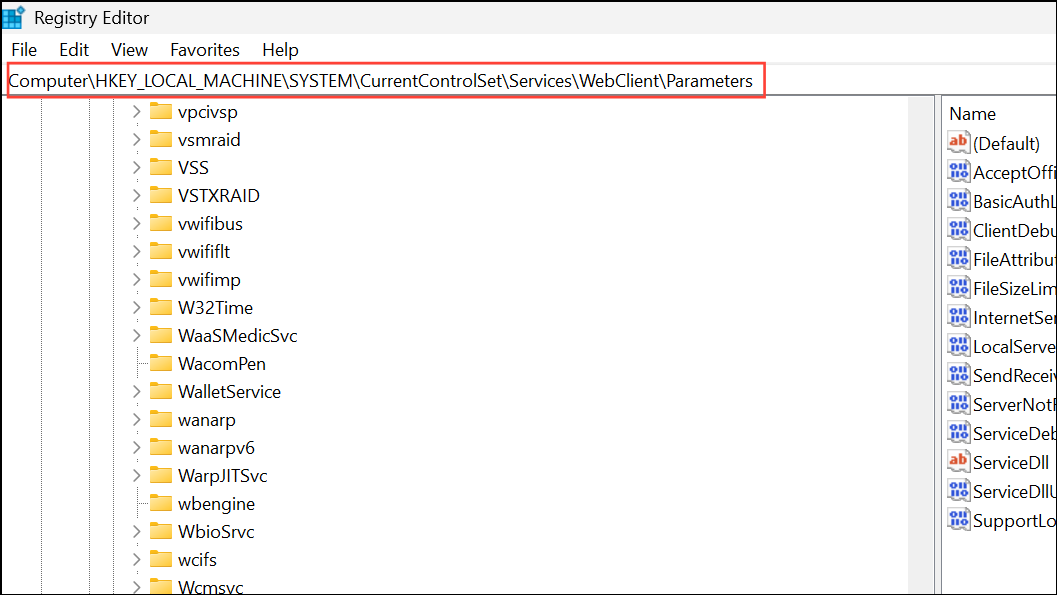
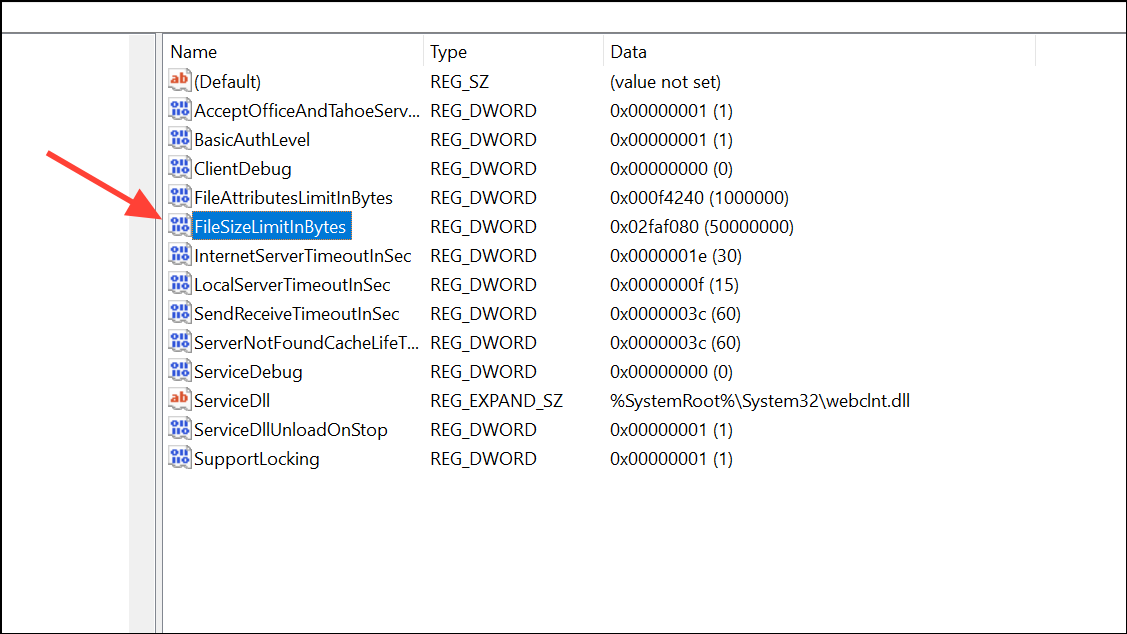
Step 4: Locate the FileSizeLimitInBytes entry in the right pane. If it does not exist, right-click the blank area, select New > DWORD (32-bit) Value, and name it FileSizeLimitInBytes.
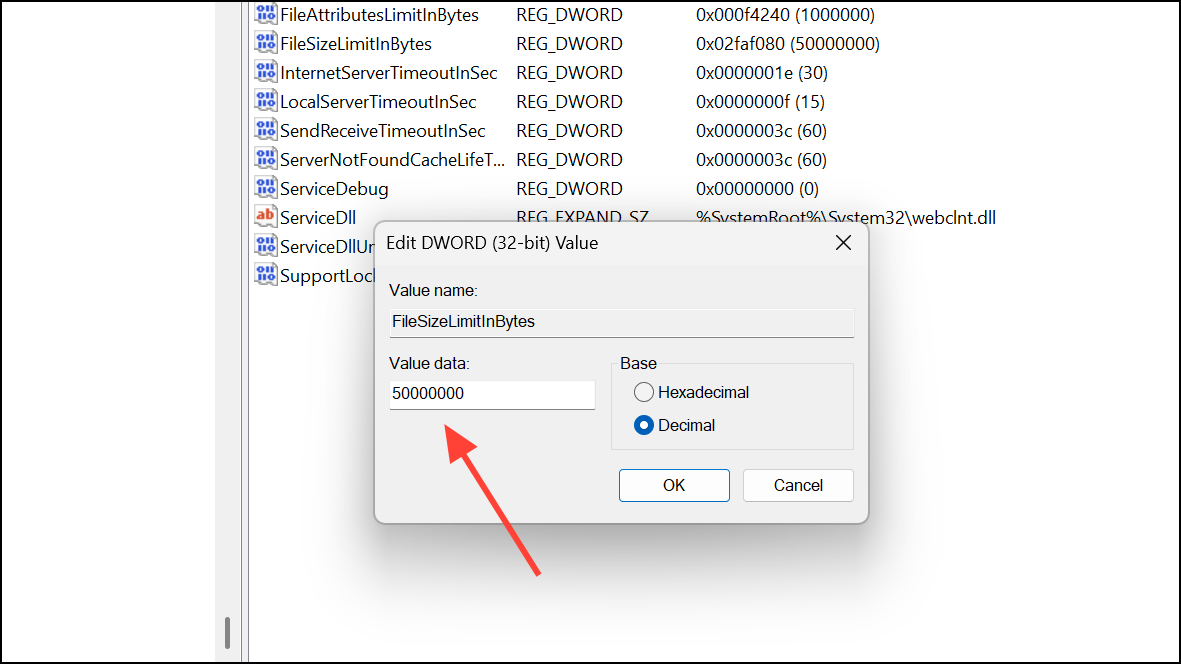
Step 5: Double-click FileSizeLimitInBytes to edit its value. Select the Decimal option, then enter a value larger than the file you wish to transfer. For example, entering 500000000 allows for files up to approximately 476 MB. For maximum compatibility, some users set this value to 4294967295 (the highest possible value for a DWORD in decimal).
Step 6: Click OK to save changes and close the Registry Editor.
Step 7: Restart your computer to apply the new limit. This ensures the WebClient service recognizes the updated file size setting.
Restart or Configure the WebClient Service
The WebClient service is responsible for handling WebDAV and network file transfers in Windows. If this service is not running or is misconfigured, file transfers may fail regardless of registry changes.
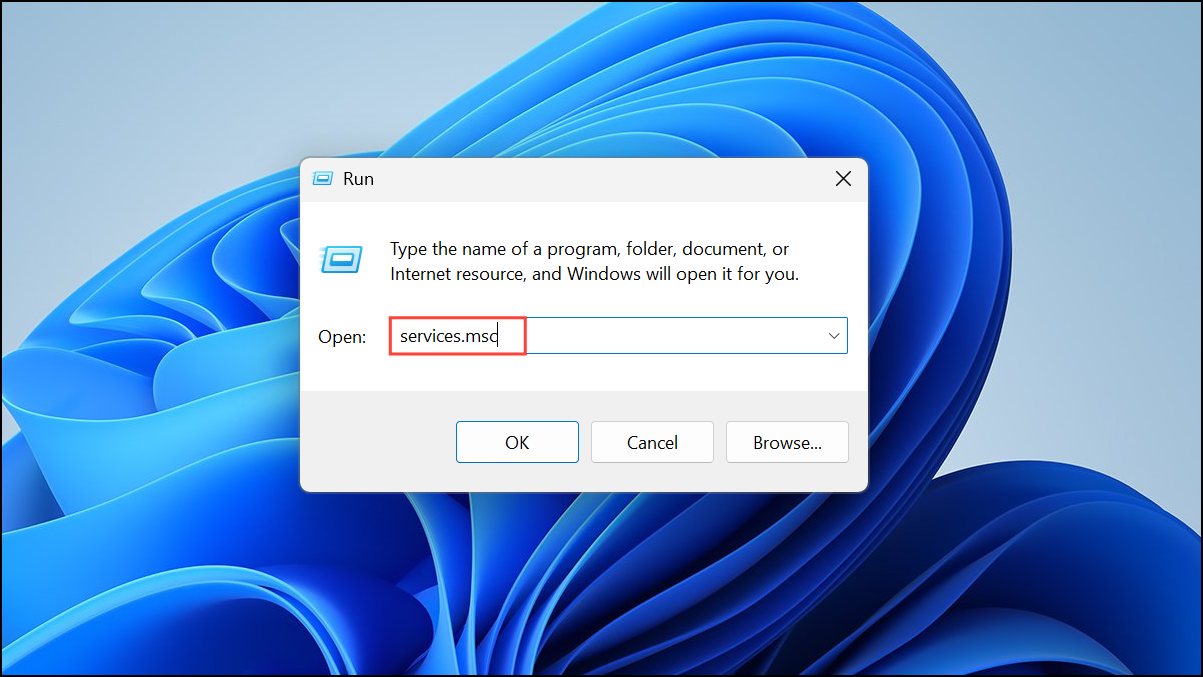
Step 1: Press Windows + R, type services.msc, and press Enter to open the Services window.
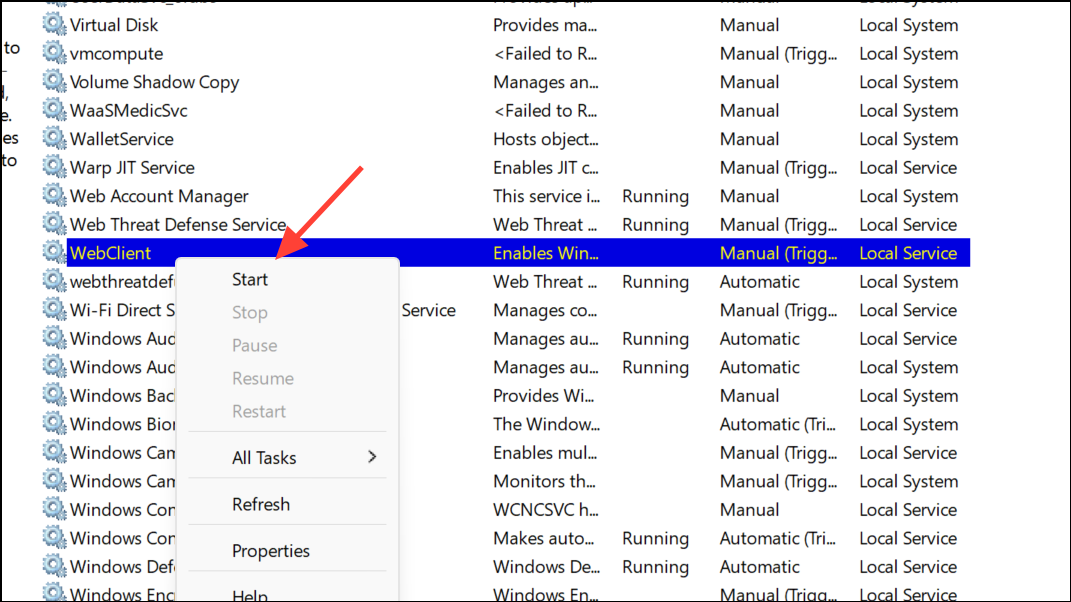
Step 2: Scroll down to locate WebClient. Right-click it and choose Restart to refresh the service. If it is not running, select Start.
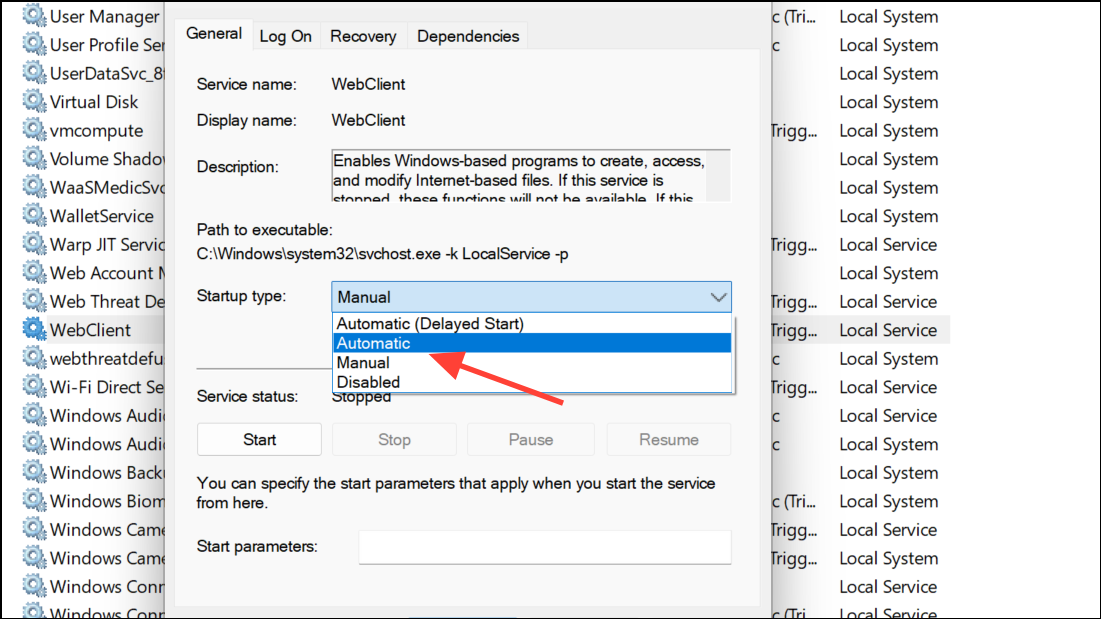
Step 3: Double-click the WebClient service to open its properties. Set the Startup type to Automatic to ensure it runs at every boot, which helps avoid future transfer errors.
Restarting or enabling this service ensures that Windows applies the new file size limit during file transfers.
Format External Drives to NTFS File System
File system limitations can also cause the error, especially when using external drives or USB sticks formatted with FAT32. FAT32 restricts individual files to a maximum of 4 GB, while NTFS supports much larger files.
Step 1: Connect your external drive to your computer. Open This PC and right-click the drive you want to reformat, then select Format.
Step 2: In the Format window, select NTFS as the file system. Optionally, check the Quick Format box for faster processing.
Step 3: Click Start to begin formatting. Note that this will erase all data on the drive, so back up any important files beforehand.
Switching to NTFS removes file size restrictions imposed by FAT32, allowing you to transfer larger files without encountering error 0x800700df.
Scan for Malware or System Corruption
Occasionally, malware or system corruption can interfere with file transfers and trigger error 0x800700df even when size limits are not exceeded. Running a full system scan can identify and resolve such issues.
Step 1: Open Windows Security by typing Windows Security in the Start menu and selecting the app.

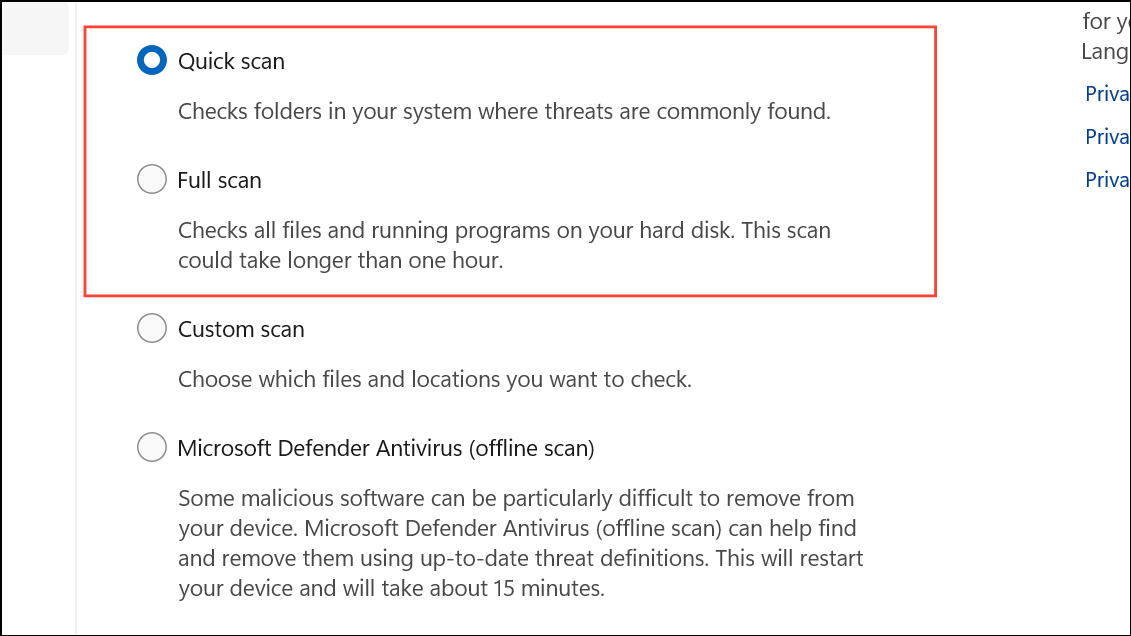
Step 2: Click Virus & threat protection, then select Quick scan or Full scan for a comprehensive check.
Step 3: Follow any prompts to remove detected threats. Restart your system after the scan completes to ensure all changes take effect.
Scanning and removing malware can restore normal file transfer operations and eliminate unexpected interruptions.
Adjust SharePoint or Network Quotas
When transferring files to SharePoint or certain network shares, server-side upload limits may override your local settings. If error 0x800700df occurs in these scenarios, increasing the upload quota on the server is necessary.
Step 1: For SharePoint, access the Central Administration portal. Navigate to Application Management > Manage Web Applications, then select your application and click General Settings.
Step 2: Locate the Maximum upload size setting. Increase the value to accommodate your largest files, then save changes.
Contact your network or SharePoint administrator if you lack permission to change these settings, as server-side restrictions may still block large transfers.
Updating registry limits, ensuring the WebClient service is active, formatting drives to NTFS, scanning for malware, and checking network quotas will resolve error 0x800700df for nearly all Windows 11 file transfer cases. After applying these fixes, file transfers should succeed for files well beyond the previous size limits.