The ‘Video_Scheduler_Internal_Error’ is a common BSOD (Blue Screen of Death) error that many users encounter on Windows 10. It’s categorized under BSOD since a blue screen appears with the error message mentioned on it. This is a common error that can easily be fixed. In the following sections, we will explain the error as well as the fixes.
What is Video_Scheduler_Internal_Error?
Video Scheduler Internal Error is generally encountered when restarting the system and the device freezes for a few minutes while the system tries to collect more information. Some of the most common issues that lead to error are given below.
- Corrupted system files
- Overclocked Graphic Card
- Malware
- Outdated Graphics Driver
- Changes in Hardware/Software
Now that you have a fair idea about the error and the various issues that lead to it, it’s time we walk you through the various fixes to resolve it.
Fix 1: Update Windows
Many a time, running an outdated version of Windows can lead to Video Scheduler Internal Error. With each update, bugs and errors in the previous version are fixed. Whenever you encounter an error, your primary approach should be to update the Windows.
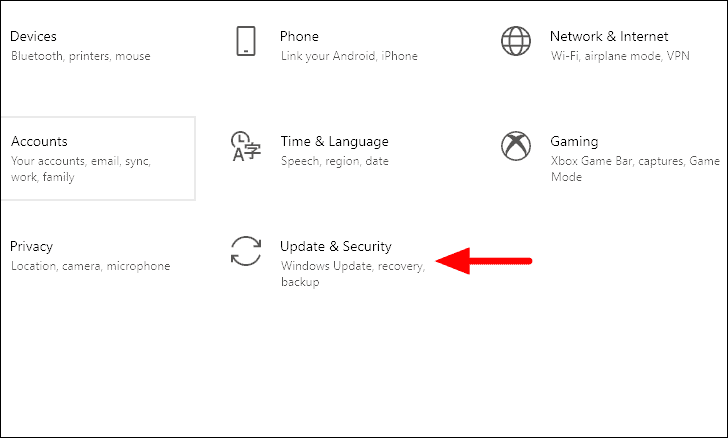
To search for updates, press WINDOWS + I to launch the system ‘Settings’ and then click on the ‘Update & Security’ option.
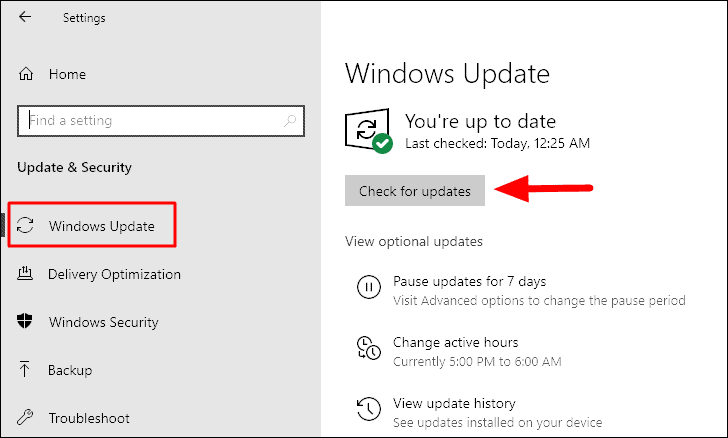
The ‘Windows Update’ tab will open by default. Next, click on the ‘Check for updates’ option on the right to check if there are any available updates.
If there are any available updates, they will be downloaded and installed. Once the update is installed, restart the system and check if the error is fixed.
Fix 2: Run Full System Scan
There is a chance that your system is infected with malware and as a result, you are encountering the Video Scheduler Internal error. You can either run a scan and fix the error with a third-party antivirus, however, the Windows Security app that comes pre-installed is capable of doing the same.
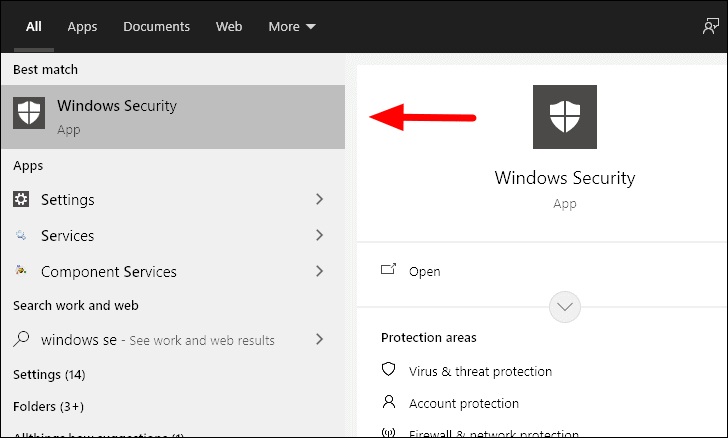
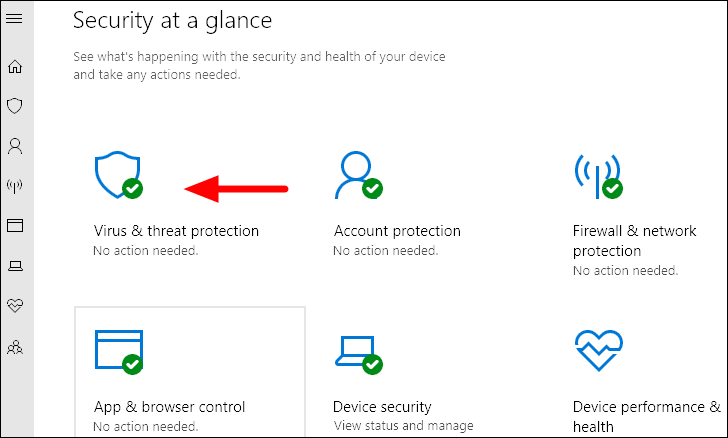
Search for ‘Windows Security’ in the ‘Start Menu’ and then launch the app from the search results.
Next, click on the ‘Virus & threat protection’ from the list of options on the screen.
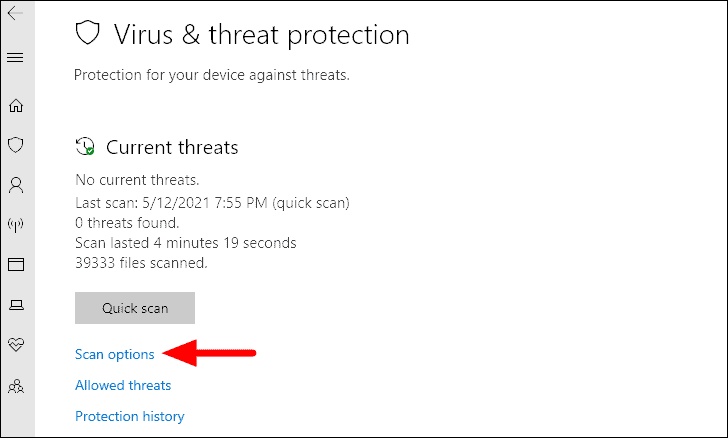
Now, click on ‘Scan options’ to see the various scan options.
Now, select ‘Full scan’ and then click on ‘Scan now’ at the bottom to start the scan.
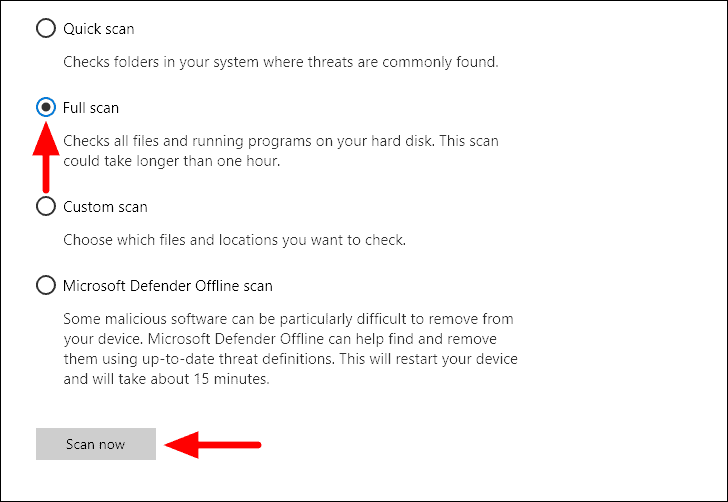
The full scan will now commence and the files on your system will be scanned. Any threats detected along the way will be taken care of by Windows Defender.
Fix 3: Update Graphics Driver
Windows generally look for updates for the drivers on your system and install them automatically. However, there is a chance that Windows couldn’t do the task effectively, which is where manually updating the drivers comes into the picture.
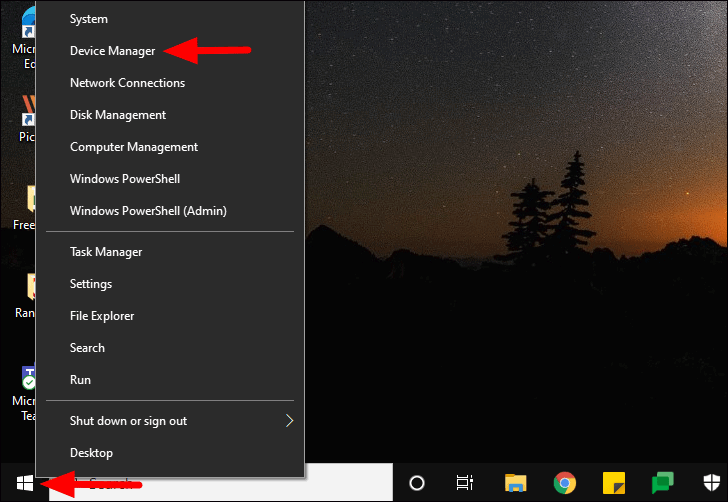
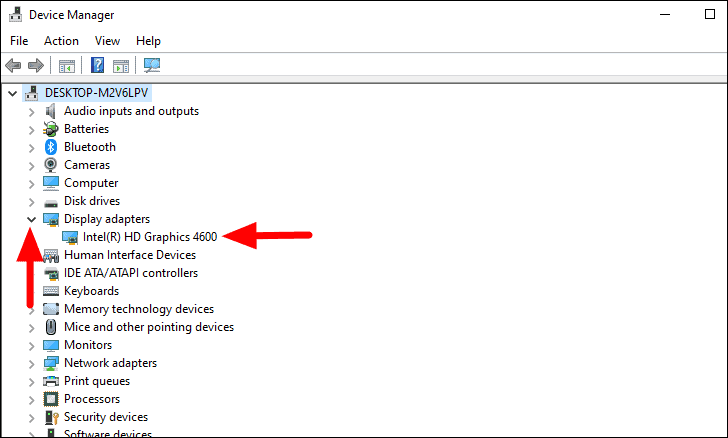
Right-click on the windows icon to launch the ‘Quick Access Menu’, and then select ‘Device Manager’ from the list of options.
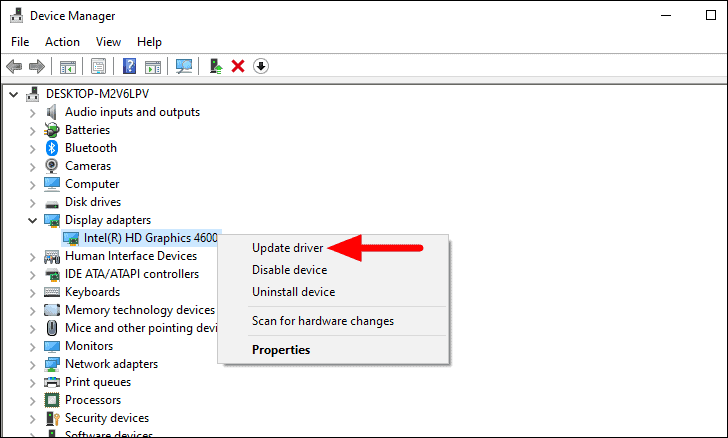
Next, click on the arrow before ‘Display adapters’ to expand the drivers under it. Now, right-click on the display adapter to view the various options.
Click on the ‘Update driver’ option in the context menu.
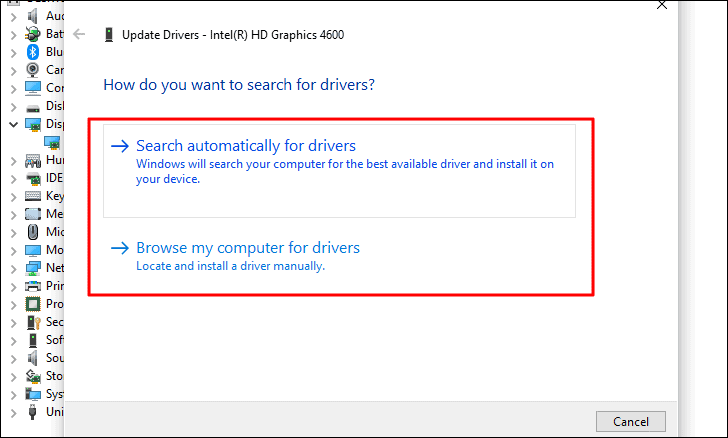
You now have two options, either to let the Windows search for updates or install one manually. If you are not very much into technology, it’s recommended that you let Windows look for updates, since downloading a file from the internet can be a risky affair. If you chose the second option, ensure that the driver is pre-downloaded on the system. Next, locate the file and follow the on-screen instructions to update the driver.
After the driver has been updated, check if the error is fixed. If it still persists, move to the next fix.
Fix 4: Execute SFC and Check Disk Command
Executing Check Disk and SFC scan commands will fix hard drive issues and any corrupt system files, if found on the system. Since the SFC scan only checks the system files, it takes comparatively lesser time to complete as compared to the Check Disk scan. Therefore, it’s advisable that you execute the SFC scan command first and then proceed with Check Disk.
Search for ‘Command Prompt’ in the ‘Start Menu’, right-click on the search result, and then select ‘Run as administrator’ from the menu. Click on ‘Yes’ on the box that pops up.

Before you run start running the scans, it’s recommended to run the DISM (Deployment Image Servicing and Management) tool. It ensures that the corrupt files are fixed for the SFC scan to work effectively.
To run DISM, enter the following command in Command Prompt and press ENTER.
DISM /online /cleanup-image /restorehealth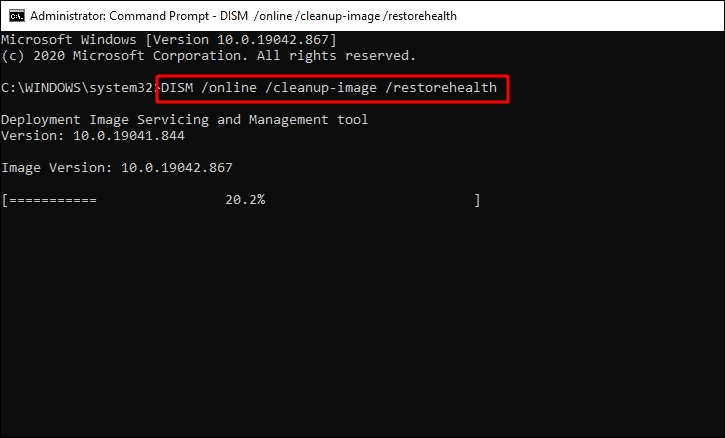
The scan will take a couple of minutes to complete. Once it’s done, you can move to the SFC scan.
Next, enter the following command and press ENTER.
sfc /scannow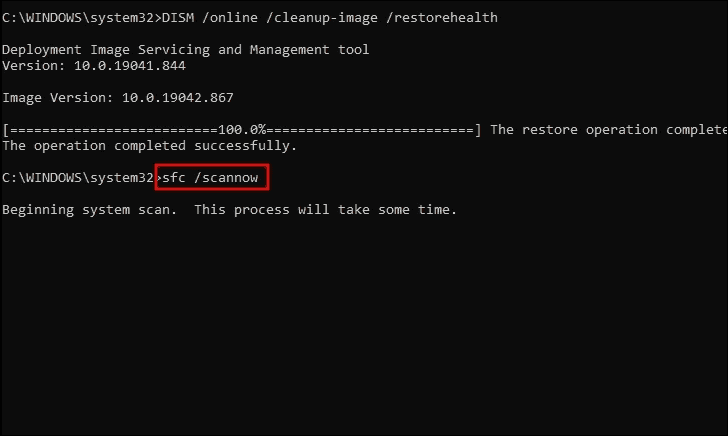
The SFC scan will now start and will take a little while to complete. Once the SFC scan is fully executed, you will be informed if any integrity violations were found.
It’s now time to proceed to the Check Disk command which will scan the whole drive for any issues. Type the following command in the Command Prompt and press ENTER.
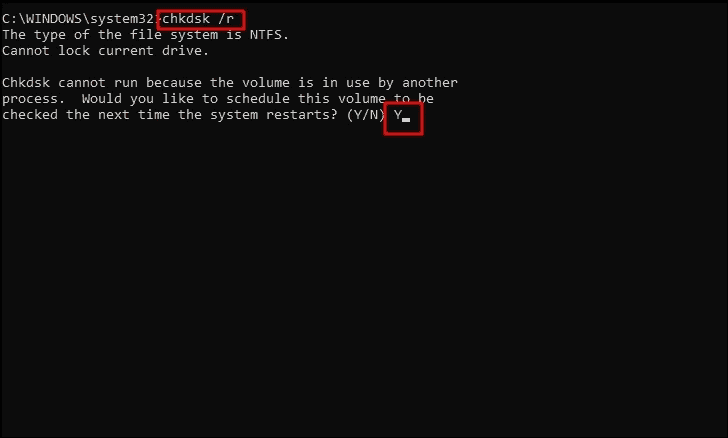
The scan will run and if any issues are found, you will be asked to schedule the process when you next restart the system. To proceed, type ‘Y’ and press ENTER.
Now restart your computer and sit back and relax while the Check Disk utility locates and fixes errors on your system. When the computer restarts, check whether the Video Scheduler Internal error is fixed.
Fix 5: Remove Recently Installed Apps
If you have installed any apps recently and have been encountering the Video Scheduler Internal error ever since, uninstall the program to fix the issue. There is a good chance that the error is occurring because of incompatibility issues.
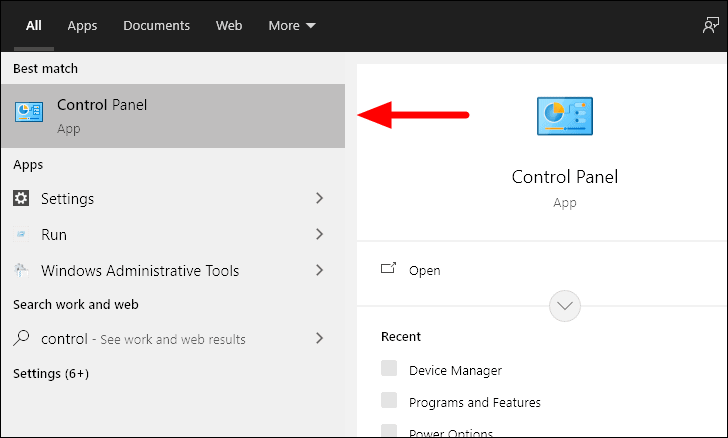
To uninstall a program, search for ‘Control Panel’ in the ‘Start Menu’ and then launch the app from the search results.
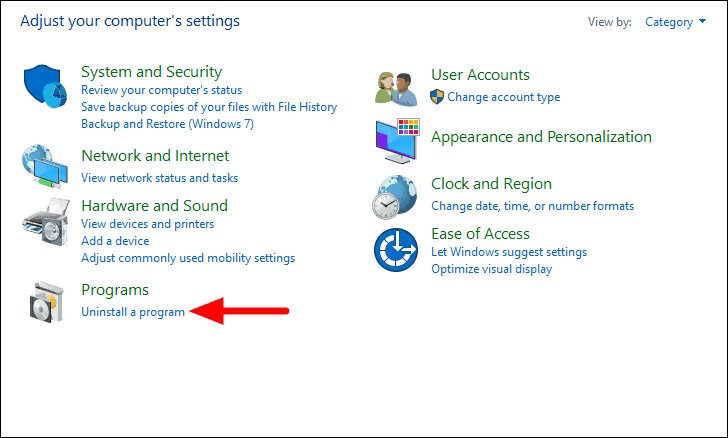
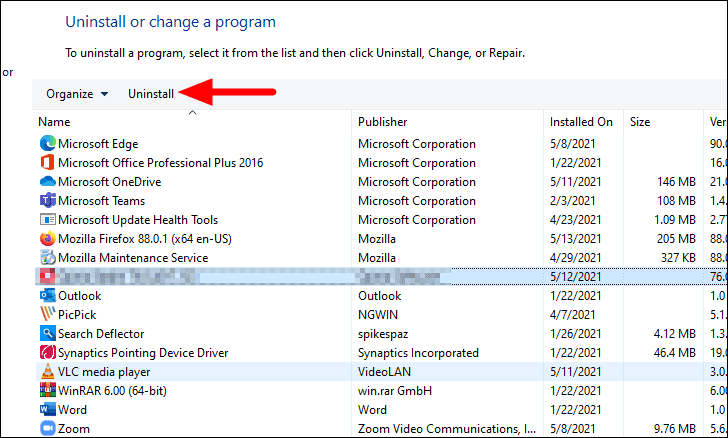
In the Control Panel window, click on ‘Uninstall a program’ under ‘Programs’.
Now, select the program that you recently install and figure might be causing the error, and then click on ‘Uninstall’ at the top.
In case you receive any prompts, follow the on-screen instructions to complete the uninstall process.
Also, if you have added any hardware recently, disconnect it and then restart your computer. Now, check if the Video Scheduler Internal Error is fixed.
Fix 6: Reset Windows
If the above fixes didn’t work, you can reset the Windows. While resetting, you have the option to either keep the files or remove them altogether which makes the computer as good as new.
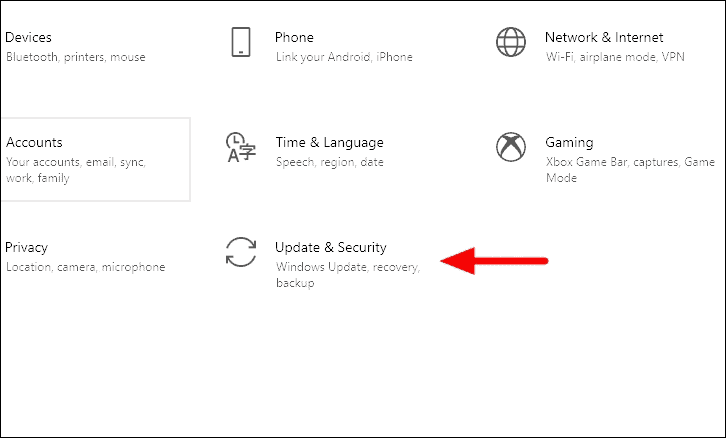
To reset the Windows, press WINDOWS + I to launch system settings and select ‘Update & Security’ from the various options.
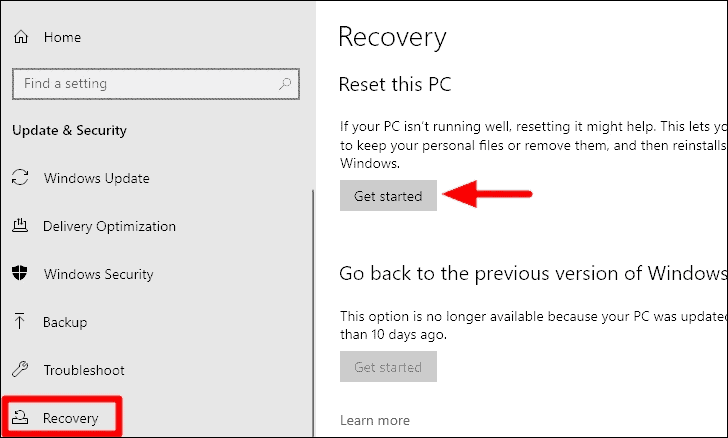
Now, select the ‘Recovery’ tab from the left and then click on ‘Get started’ under the ‘Reset this PC’ heading.
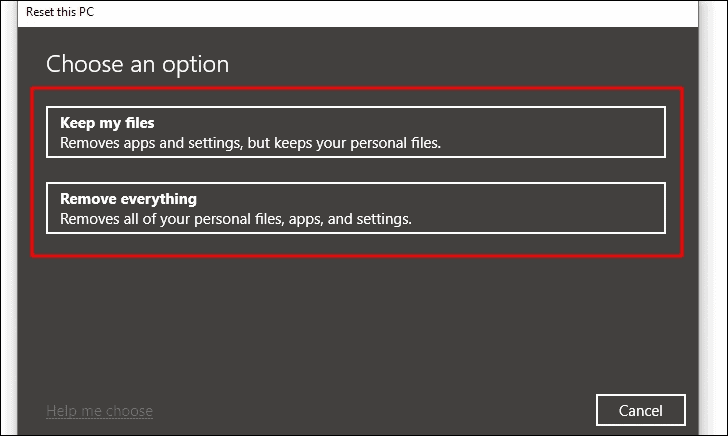
You now have the option to choose whether you want to keep the files or remove them. In both cases, the apps and settings will be removed but the first one keeps the files while the second option removes them as well. Choose the one based you deem suitable.
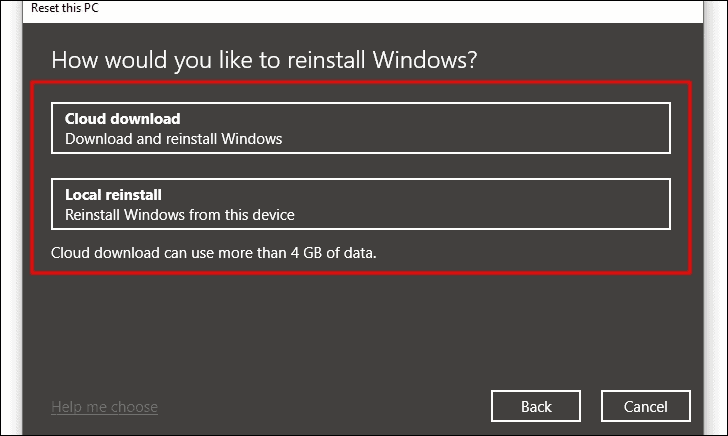
You now have to select whether you want to download and reinstall the Windows from the Cloud or from the device.
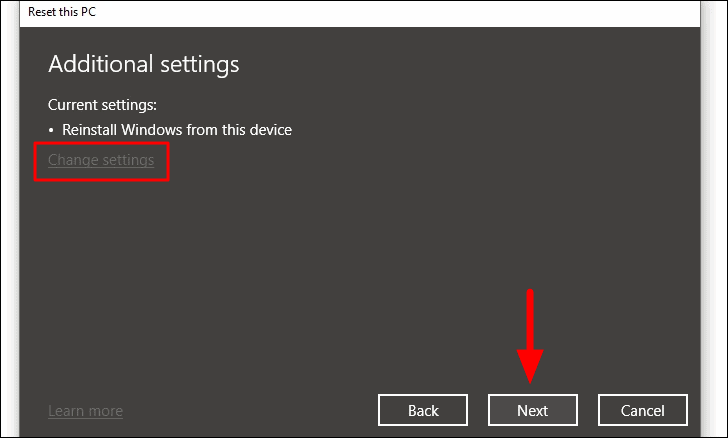
The current reset settings will be displayed on the screen. If you want to make any changes to it click on the ‘Change settings’ option, otherwise click on ‘Next’ to proceed with the current settings.
You can now view the changes that will be made post reset under the current settings. If you want to check the apps that will be removed, click on the ‘View apps that will be removed’ option. After you have verified, click on ‘Reset’ at the bottom. It will take a while for the Windows to reset and your PC will restart to complete the process.

After the system restarts, check whether the issue is resolved. If it’s not, the next method will definitely fix it for you.
Fix 7: Change the Graphic Card
If none of the above methods have worked to fix the Video Scheduler Internal Error, it’s time you replace the Graphic Card. If you have a spare one laying around, install it and check whether the error is fixed. In case it is fixed, the error was probably with the Graphic Card.
If you don’t have a graphic card with you currently, take your device to a technician and get one installed. Also, if you are not sure about the process of removing and reinstalling a Graphics Card, it’s advisable that you seek expert help as any minor lapse can result in further complications.
By now, you know all about Video Scheduler Internal Error and the various effective fixes that will help you resolve the issue. Once the error is fixed, you can resume working on your device without any further interruptions due to Video Scheduler Internal Error.


