Flatten the Mountain drops you in front of a towering block of terrain that is blocking your sun, and your job is to mine it down to the ground. Every block you break pays cash, and that cash funds three upgrade tracks that turn a slow manual grind into an automated mining operation. The core loop rewards steady spending on drones, turrets, and personal stats while you dig through numbered layers toward the bottom.
Quick answer: Mine blocks to earn cash, spend that cash on Drones, Turrets, and Player upgrades in the upgrade menu, dig out buried chests for gems, and use gems in the lobby Pickaxe Store to buy faster pickaxes. Avoid the red warning zone when the eagle attacks.
How the mining loop works
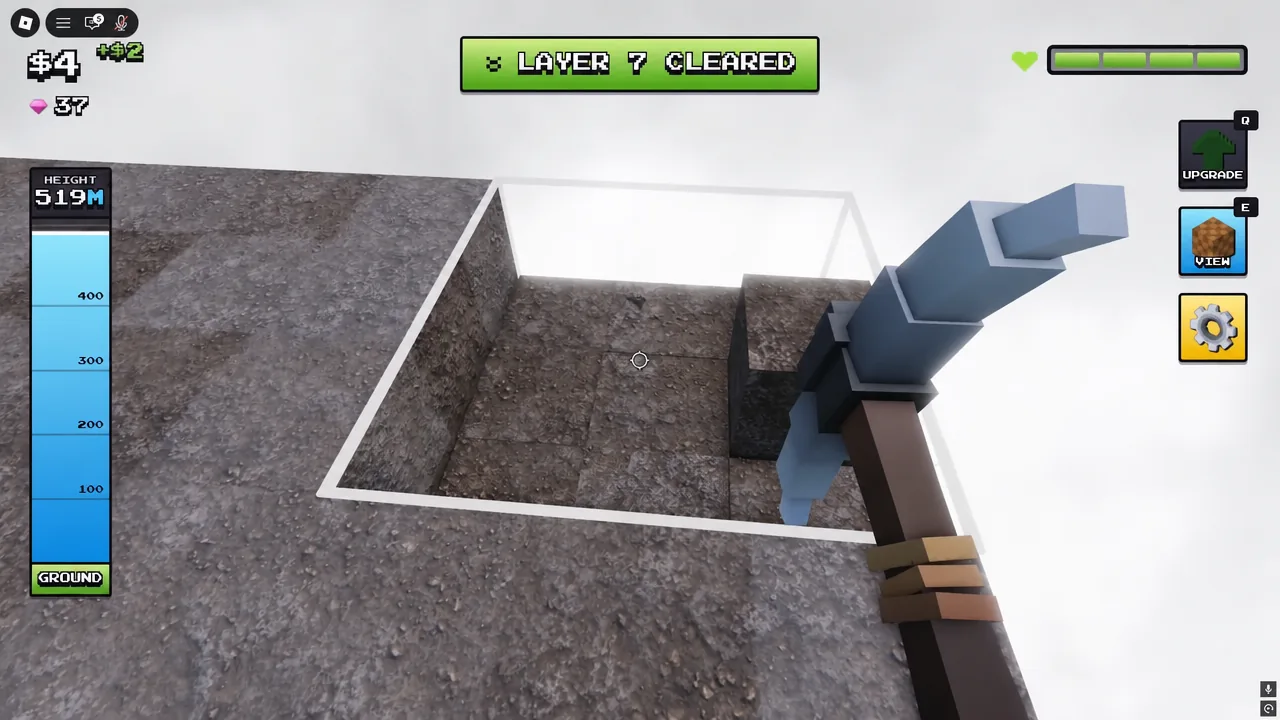
You start in a lobby that can be played solo or shared with up to four players. From there you drop into the mountain and begin breaking blocks with your pickaxe. Each block gives cash, and clearing a full horizontal layer shows a banner like “LAYER 2 CLEARED” so you always know how deep you are.
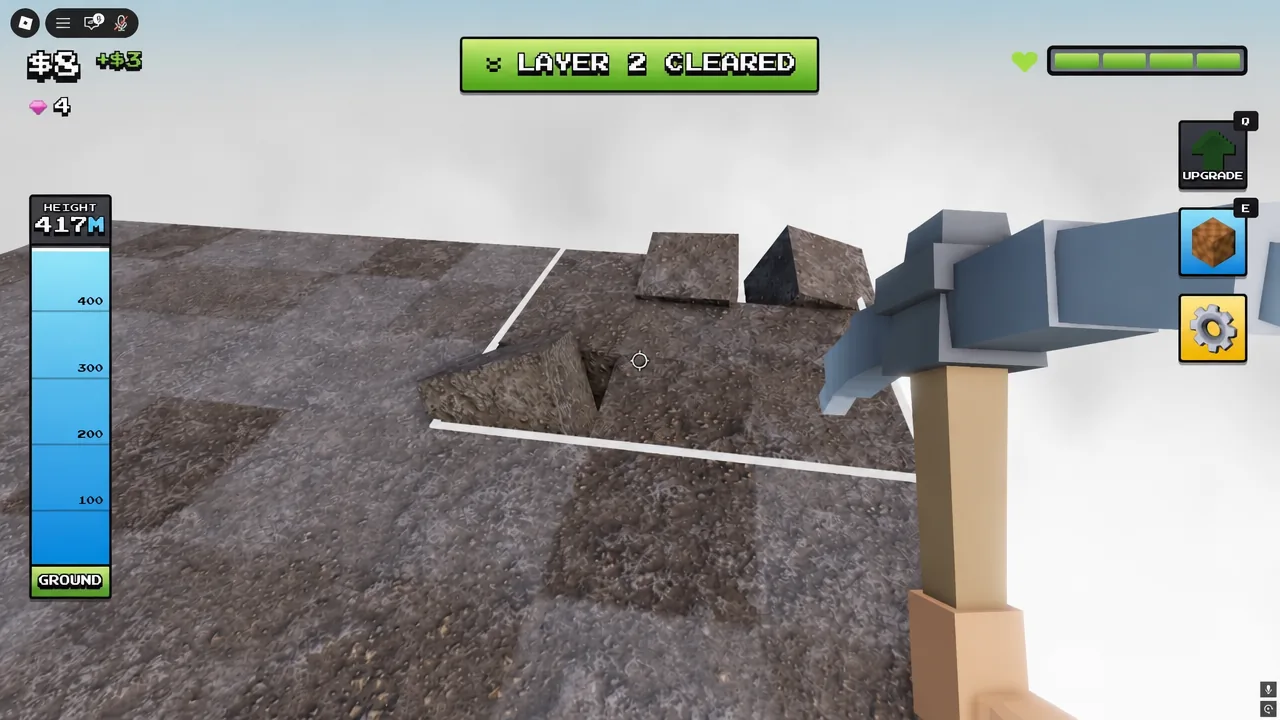
Cash is your main currency, and it comes entirely from mining. The deeper and faster you dig, the more you earn, which is why upgrading your mining output early matters more than saving up. Layers pass quickly once automation kicks in, moving from single digits into the teens and twenties.
Block types and cash payouts
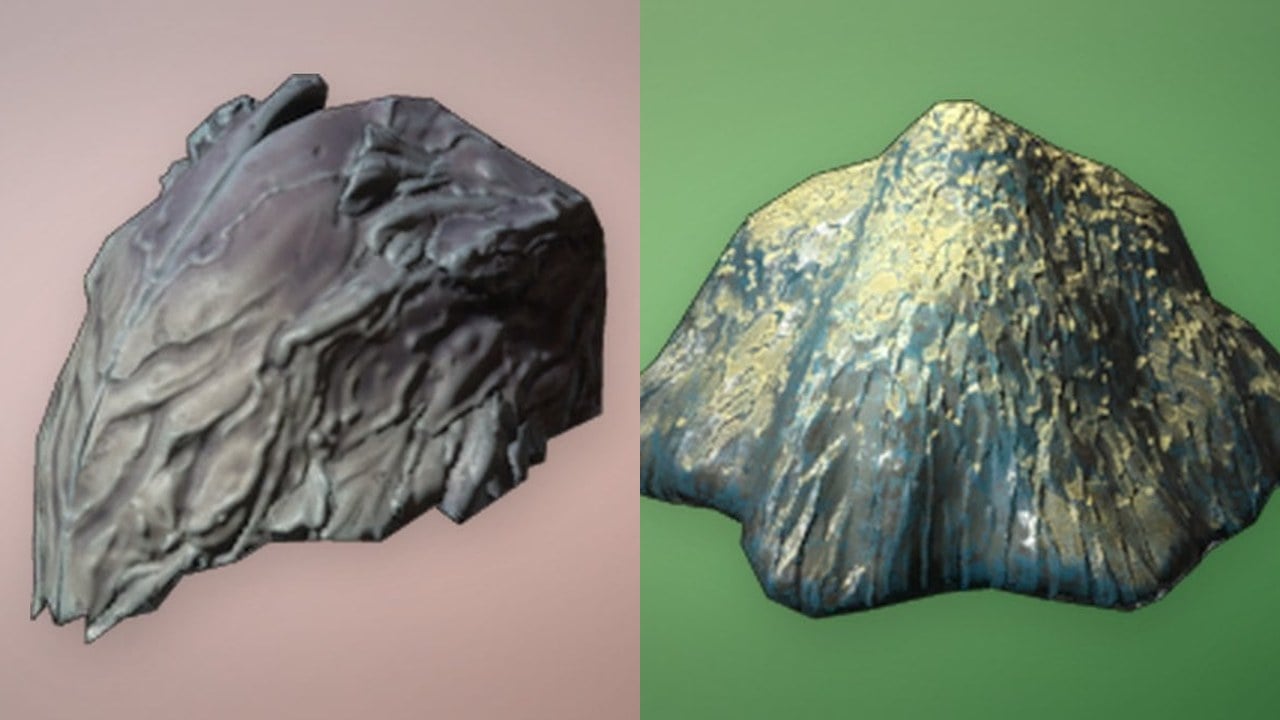
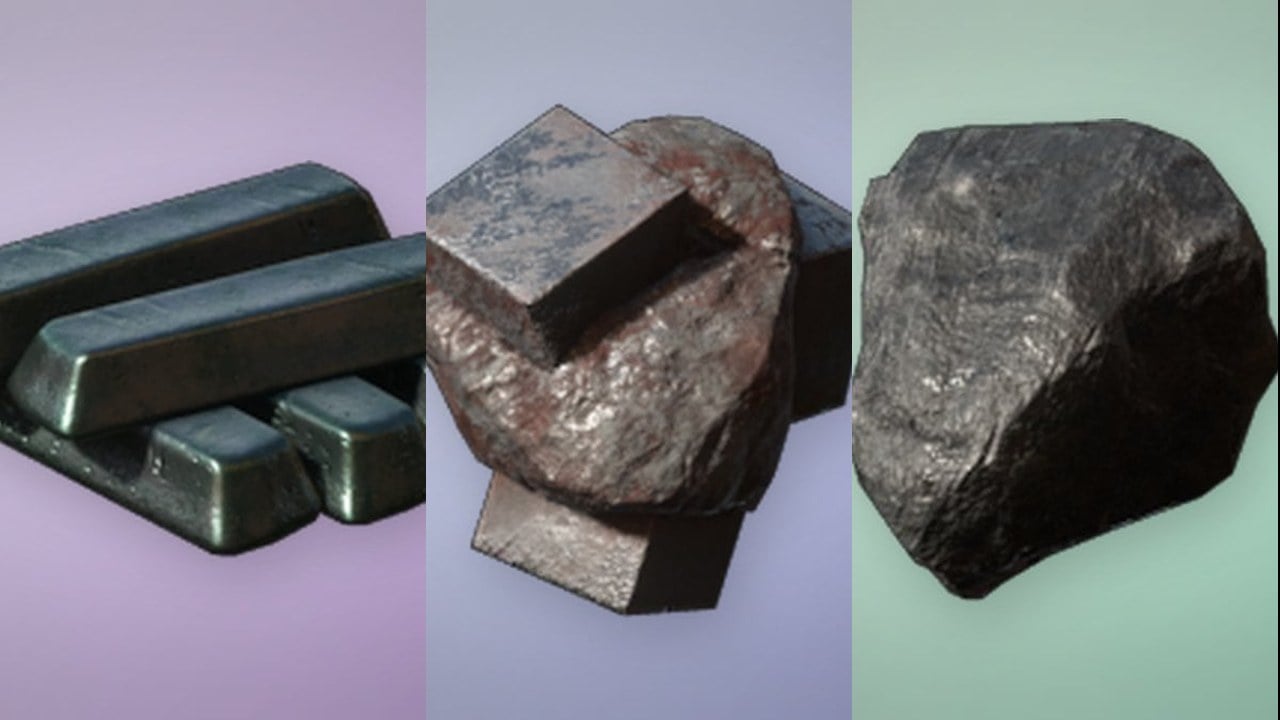
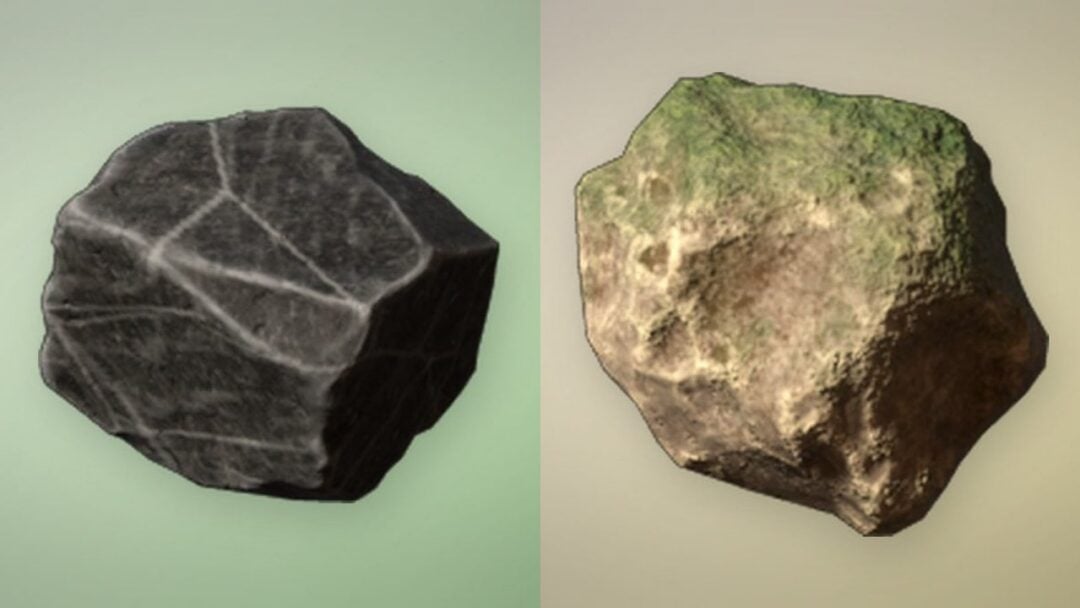
Not every block pays the same. Standard stone is the baseline, but special ore blocks yield much higher cash rewards when you break them. As you dig deeper you start hitting copper, gold, and emerald, each worth progressively more.
| Block type | Cash reward |
|---|---|
| Gold | +$40 |
| Emerald | +$80 |
Prioritizing ore blocks over plain stone speeds up your cash growth considerably. Copper, gold, and emerald blocks are the ones that fund your next round of upgrades, so clear them whenever they appear in a layer.
The three upgrade tracks
Open the upgrade menu to spend cash across three categories. Each one changes how you mine and defend the mountain.
| Category | What it does | Example upgrades |
|---|---|---|
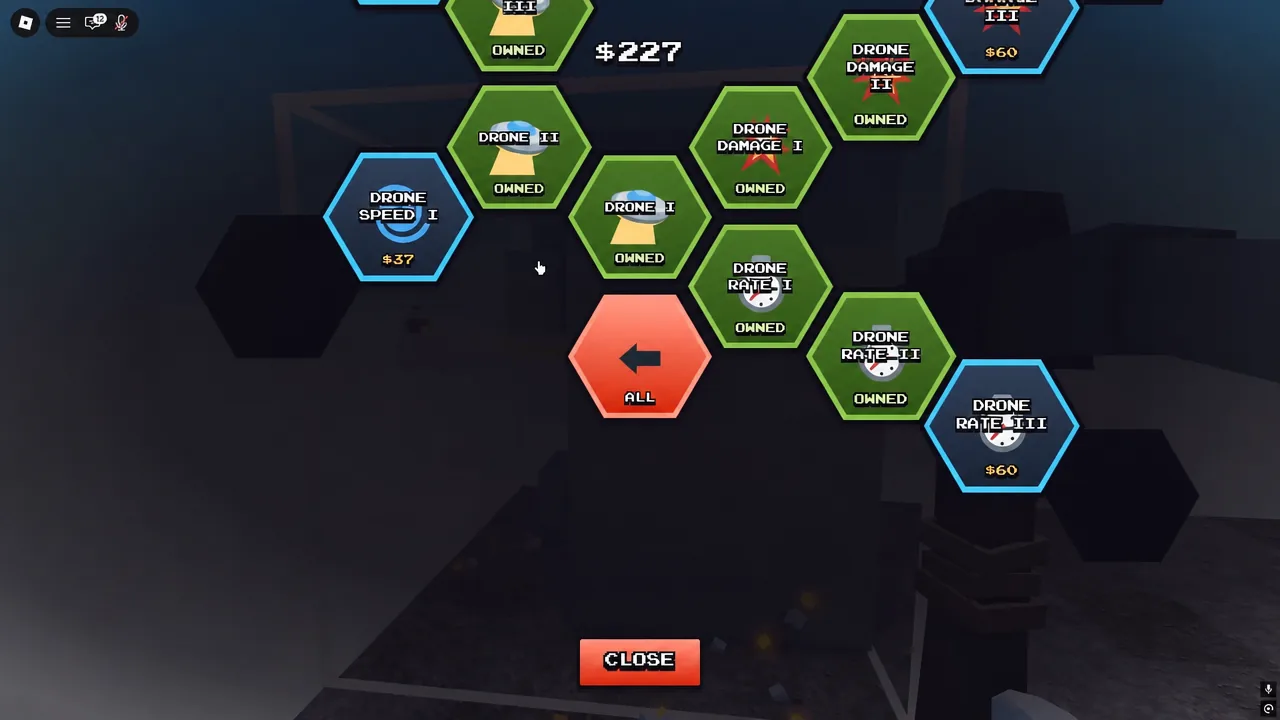
| Drones | Auto-mine blocks around the mountain | Drone I–IV, Drone Damage, Drone Rate, Drone Speed |
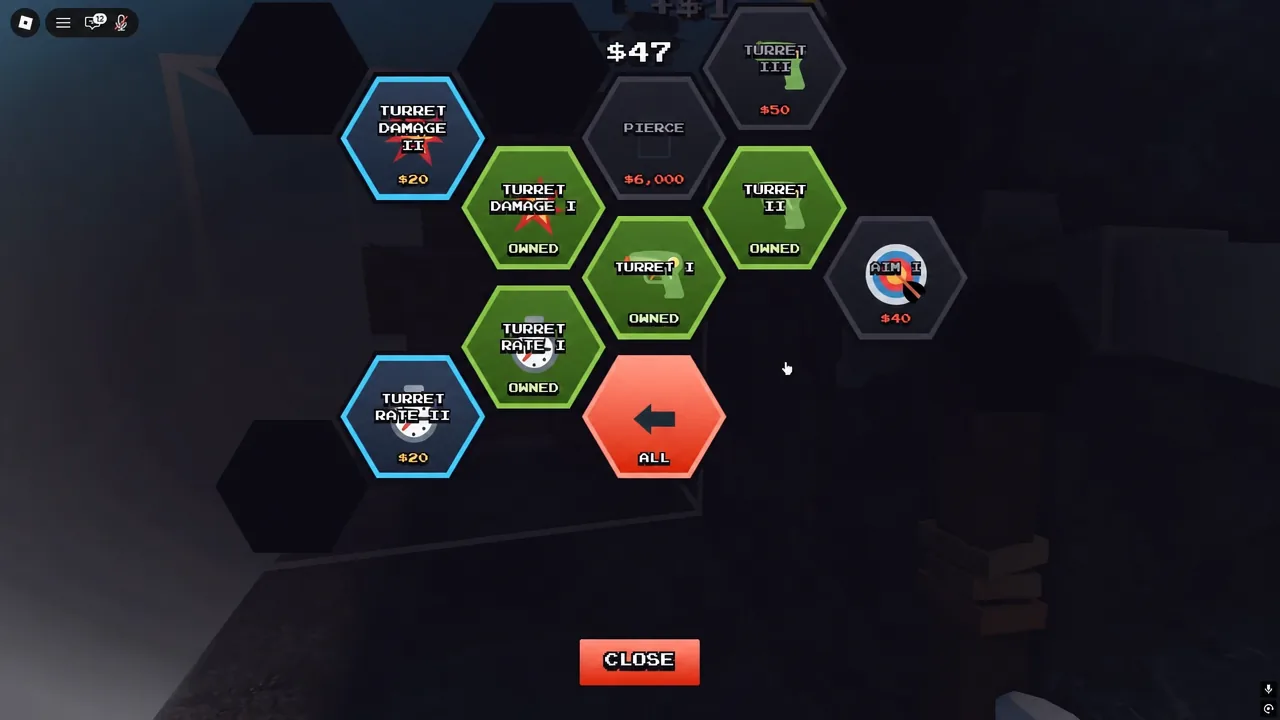
| Turrets | Auto-mine and defend against attacks | Turret I–III, Turret Damage, Turret Rate |
| Player | Improve your own mining stats | Damage, Mine Speed, Mine Distance |
Drones and turrets are the heart of the game’s incremental design. Once placed, they break blocks automatically, so your cash keeps flowing even while you focus on other spots. Buying additional drone and turret tiers stacks a growing fleet that clears layers on its own.
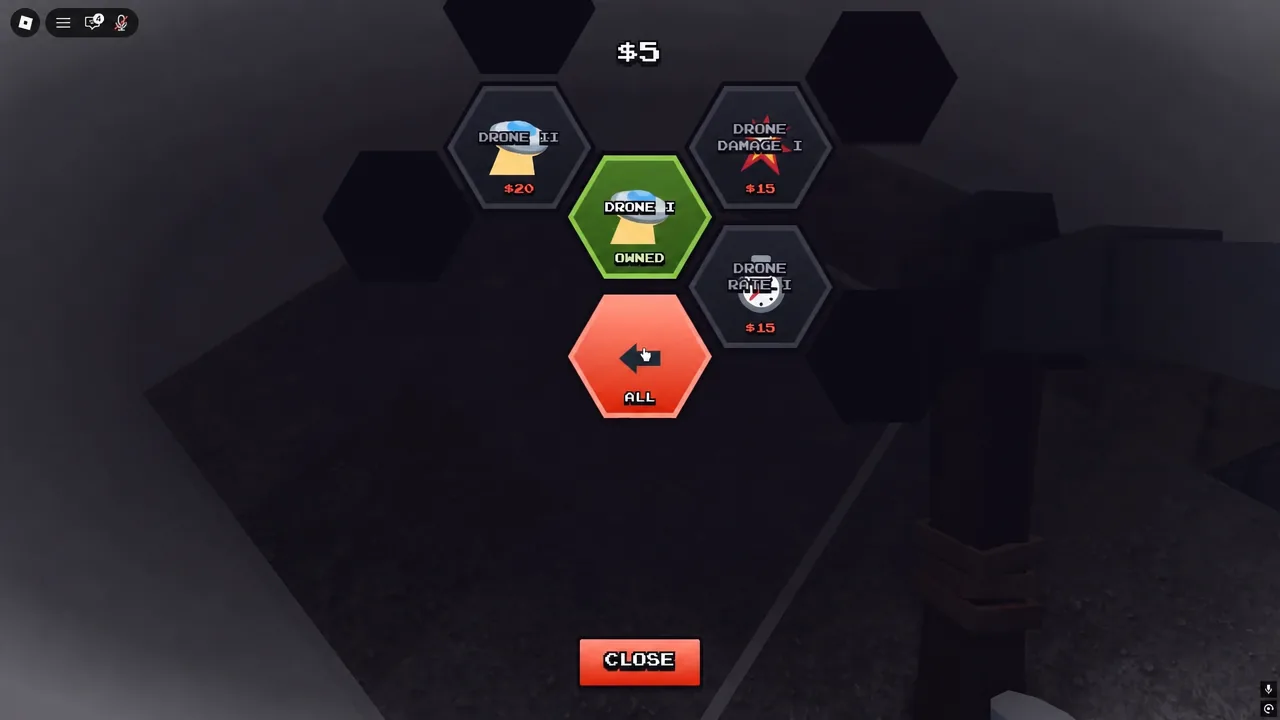
Within each drone tier you can push Damage, Rate, Speed, and Range separately. Damage lets a drone break tougher blocks, while Rate and Speed increase how quickly it works and moves. Balancing these upgrades keeps your fleet clearing layers efficiently rather than getting stuck on harder ore.
Turret upgrades follow the same pattern. You buy the base Turret tier, then raise its Damage and Rate. Turret Damage II, for example, is an early purchasable step at $20 in the turret tree.
Buried chests and gems
As you dig, you will occasionally uncover a buried chest inside the mountain. Opening one awards gems, a secondary currency separate from cash. A single chest can drop a batch such as +50 gems.
Gems are what you spend in the lobby, not inside the mountain. They stack up over multiple runs, so it pays to break every chest you find rather than digging around them. There is also a Claim 100 Gems option in the lobby for a starting boost.
Power-ups while mining
Power-ups appear during a run and give temporary boosts. The 2X Money power-up doubles the cash you earn while it is active, so grab it and mine aggressively before it expires. Picking one up right before hitting a run of ore blocks maximizes the bonus.
Surviving the eagle attack
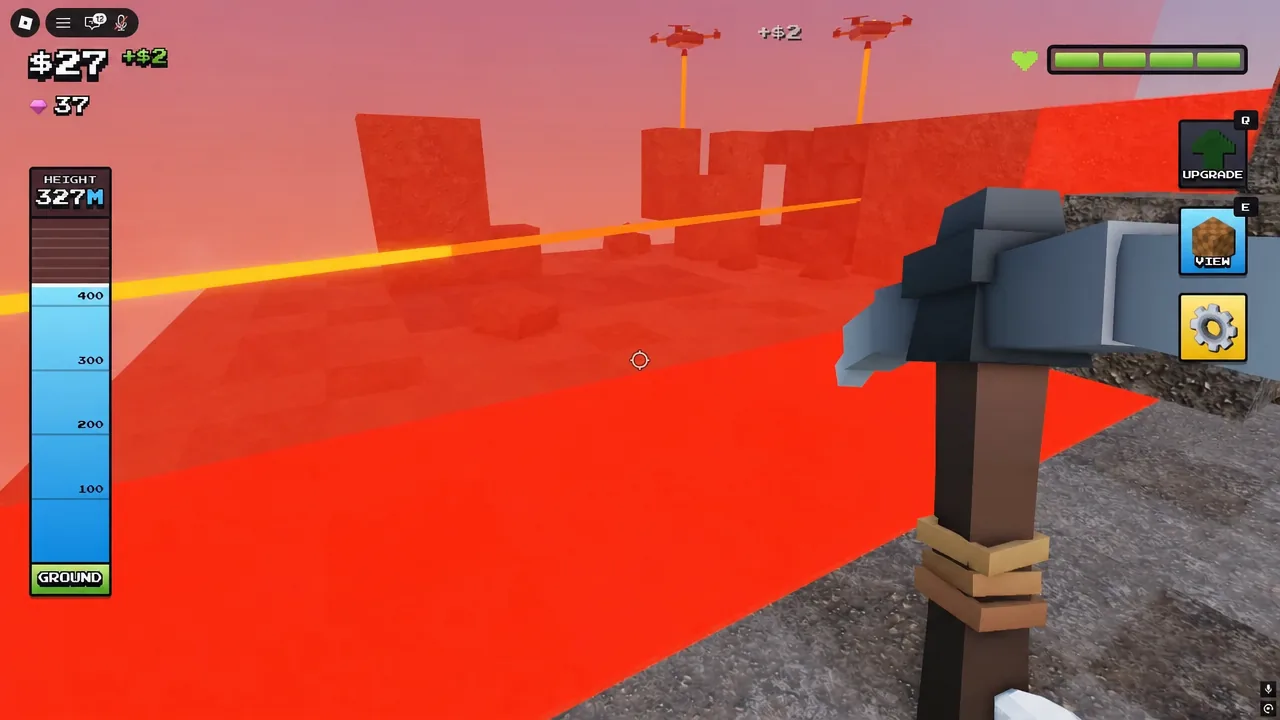
The mountain is not entirely peaceful. A bird — the eagle — attacks at random, and its strike is telegraphed by a red warning zone on the ground. Move out of that zone before the attack lands to avoid taking the hit.
Turrets play a defensive role here as well as a mining one, since they can target threats around the mountain. Keeping your turret tiers current helps you handle attacks without breaking your mining rhythm.
Pickaxes in the lobby store
Back in the main lobby, the Pickaxe Store lets you buy new pickaxes using gems or Robux. Each pickaxe carries a rarity and a unique stat multiplier, so upgrading your pick directly increases how fast and how much you mine in the next run. Rarities run from Common through Uncommon, Rare, Epic, and Legendary.
The store stocks a wide range of picks to work toward as your gem supply grows.
- Stone Pick
- Golden Pick
- Darkite Pick
- Amethyst Pick
- Miner’s Dream
- Glitch Pick
- Nature Pick
- Angel Pick
- Lava Pick
- Storm Hammer
A Starter Pack is also available if you want an immediate boost when you begin. Because pickaxes scale your manual mining output, a stronger pick pairs well with a full drone and turret fleet for the fastest layer clears.
Leaderboards and run modes
The lobby also tracks Fastest Times across different team sizes, so clearing the mountain quickly can land you on the boards. Times are split by group size, giving each format its own ranking.
| Mode | Players |
|---|---|
| Solo | 1 |
| Duo | 2 |
| Trio | 3 |
| Squad | 4 |
Playing with others speeds up how fast the mountain comes down, since more picks and fleets are chipping away at once. Solo runs give you full control of upgrade spending and route.
A recommended spending order
You can jump into Flatten the Mountain on its official Roblox experience page from DomBlox Games. With drones and turrets automating the dig and a stronger pickaxe cutting your manual time, flattening the mountain to the ground becomes a matter of steady, well-timed spending.