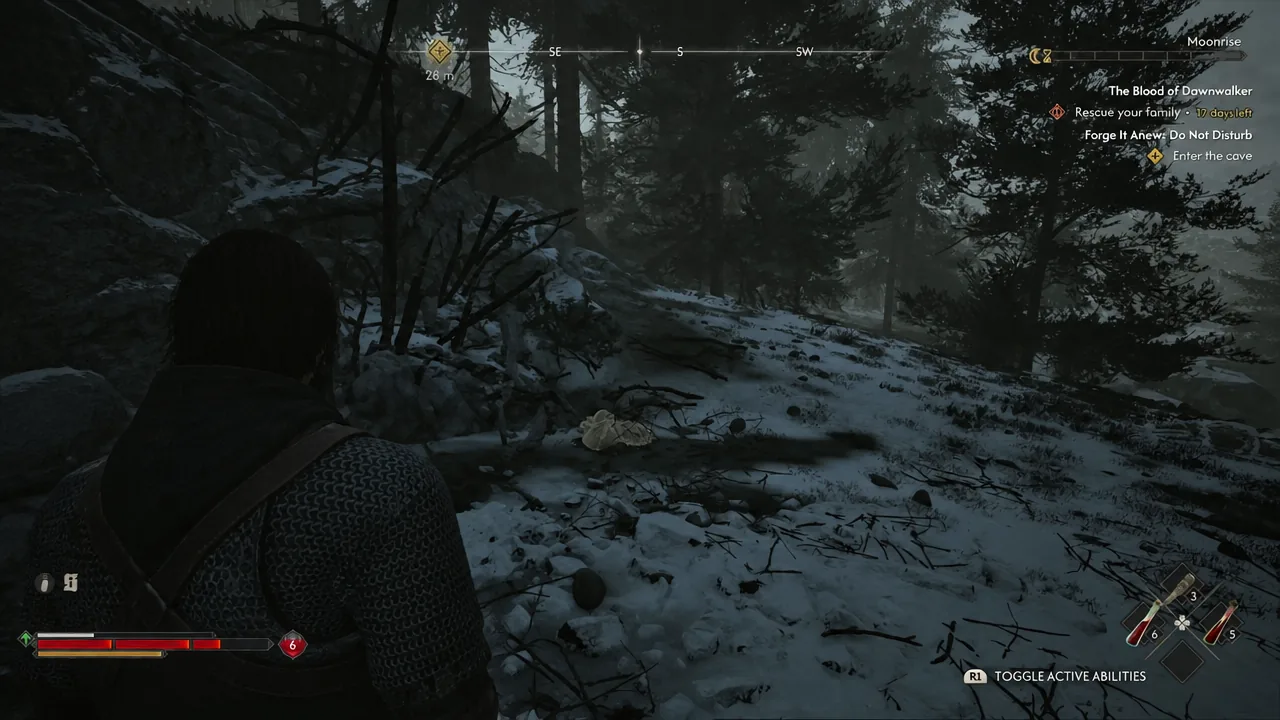
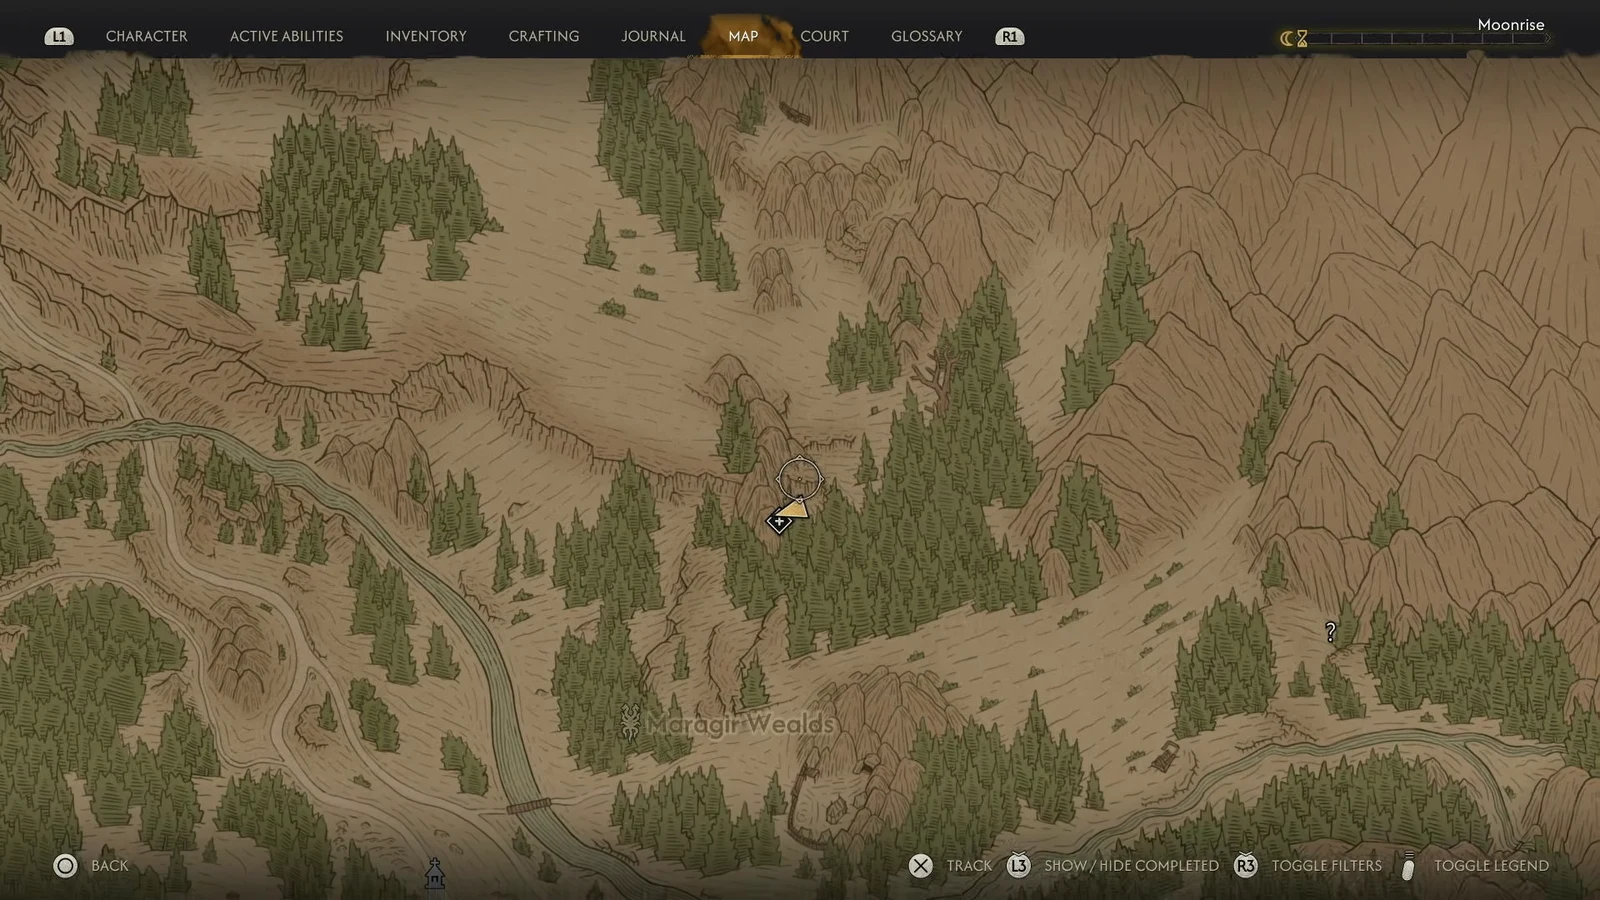
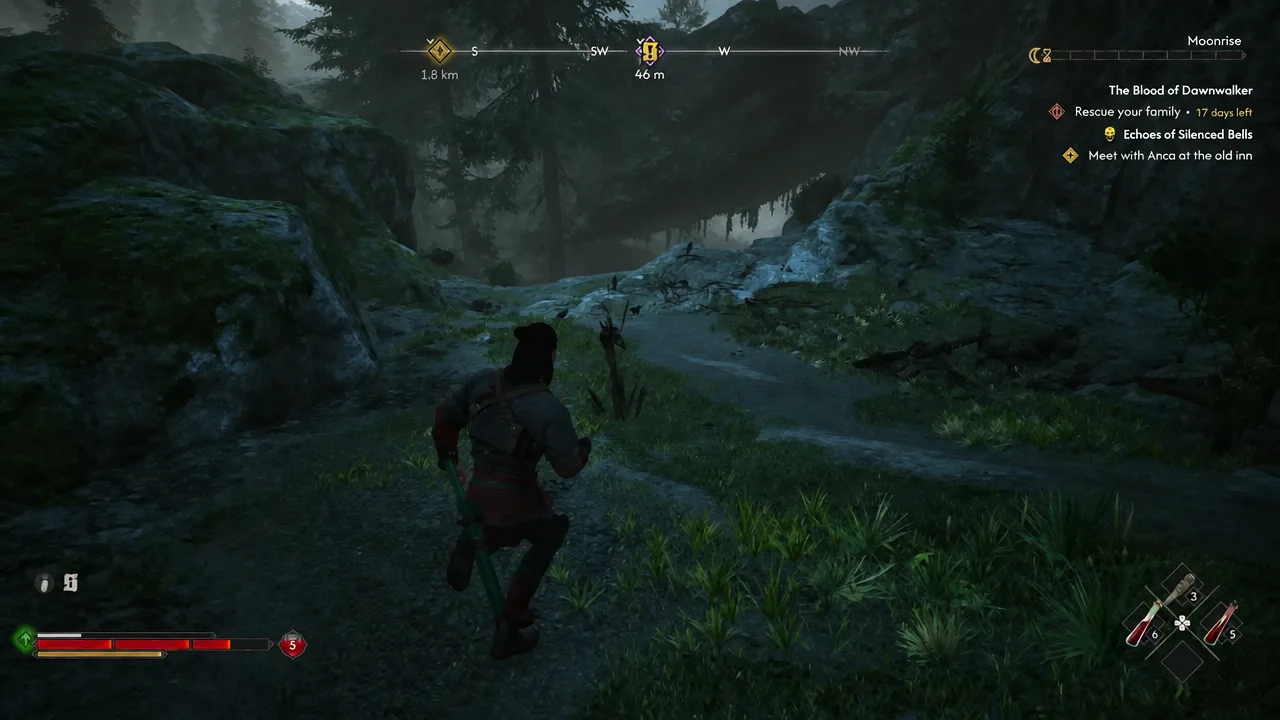
Forge It Anew: Do Not Disturb is the sub-quest that hands you the first of three Sword Shards needed to rebuild St. Mihai’s blade. It sits in the woods above Maragir Wealds, it has no formal quest giver, and it only appears in Coen’s journal once you walk into an abandoned camp and start poking around with Focus Mode.
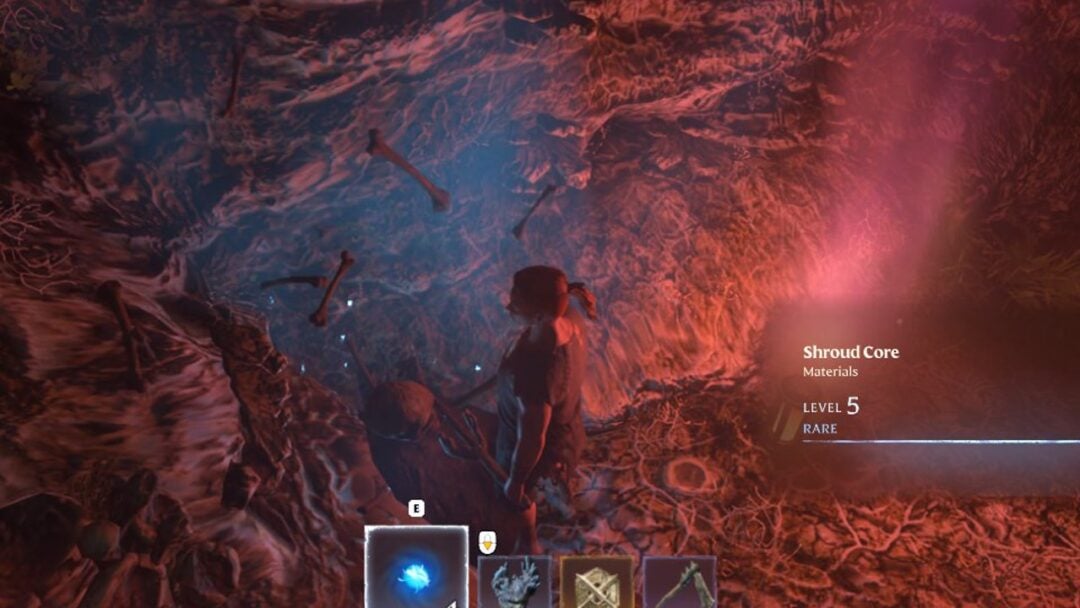
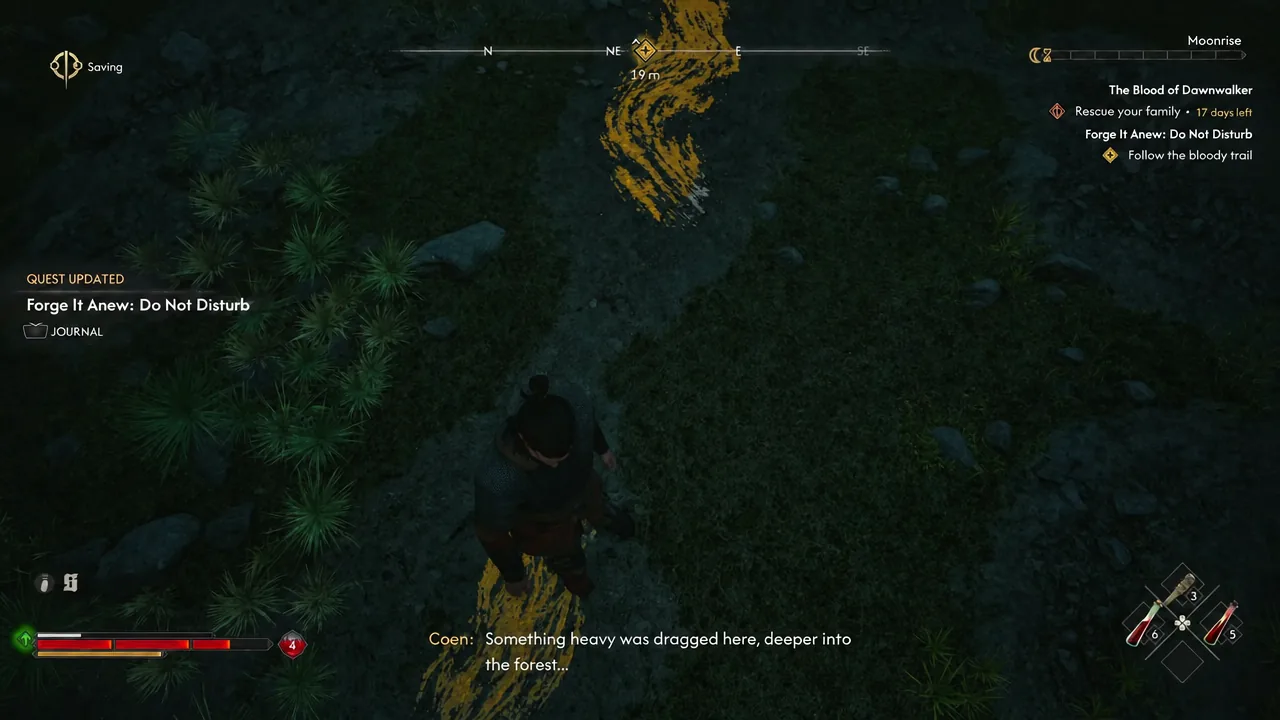
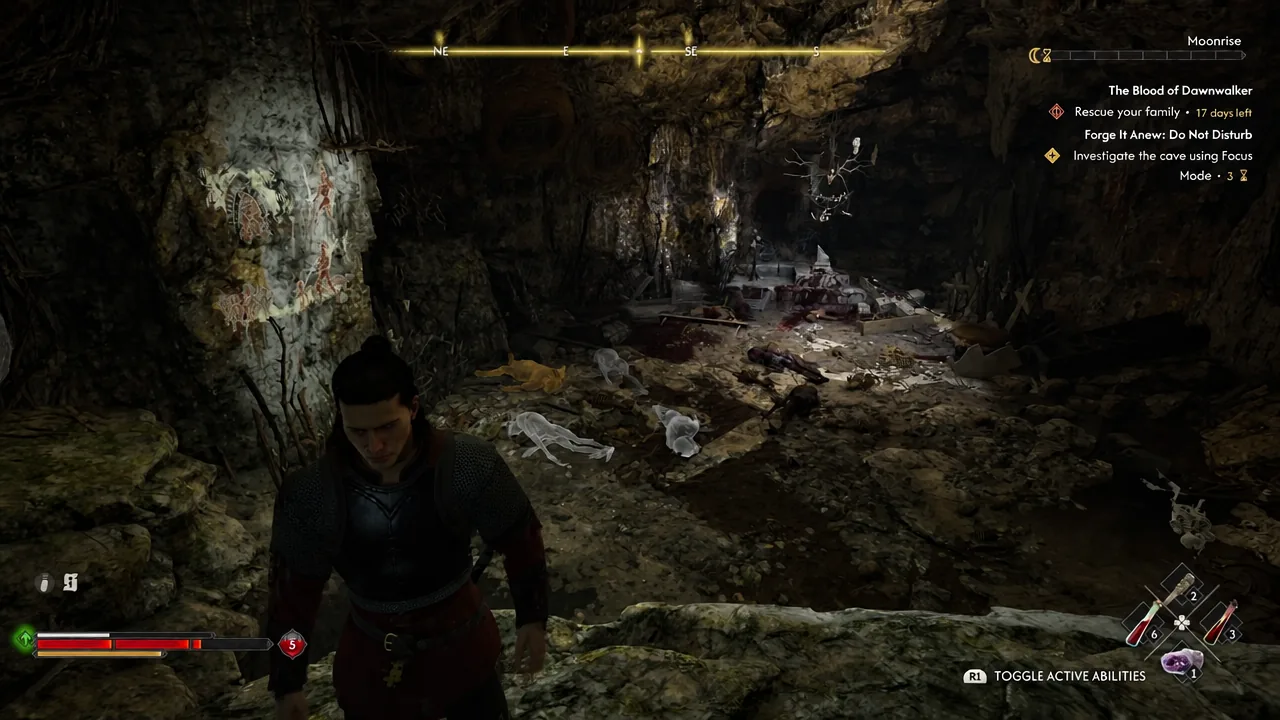
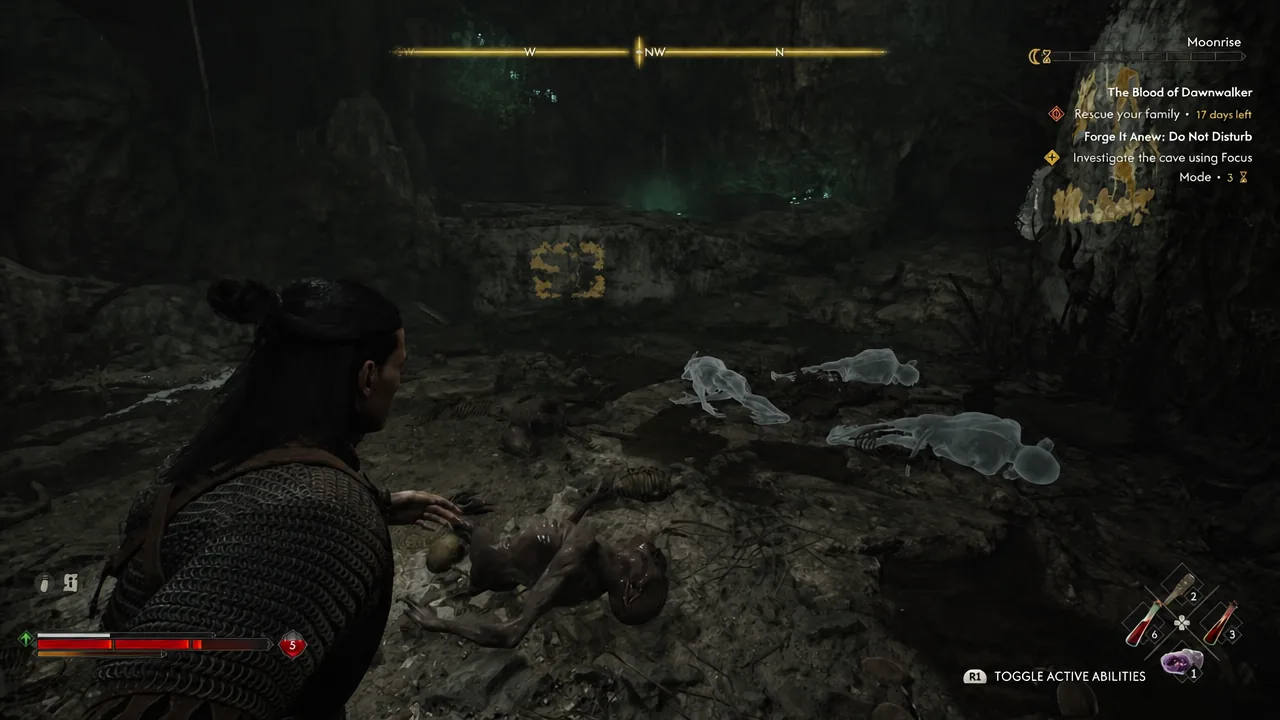
Quick answer: Travel to the marker north of Maragir Wealds, investigate the bloody camp with Focus Mode to pick up Florin’s Orders, follow the drag trail and hand symbols uphill to a kobold cave, kill the kobolds inside and out, inspect the wall mural, then take the Sword Shard from the defiled shrine’s altar by spending 3 Time Segments.
Do Not Disturb quest details and rewards
| Detail | Value |
|---|---|
| Location | North of the Maragir Wealds marker, along the mountainside road |
| How it starts | Approaching the abandoned camp (no NPC needed) |
| Enemies | Kobold packs outside and inside the cave |
| Time cost | 3 Time Segments to lift the Sword Shard |
| Reward | Silver Sword Shard (1 of 3) |
| Also unlocks | Forge It Anew: Executive Order and Forge It Anew: Hostile Takeover |
Note: the shard on its own does nothing. It is combined later with the Broken Sword of St. Mihai from A Monk and a Saint, and the two quest lines can be tackled in either order.
Before you set off: Level and gear
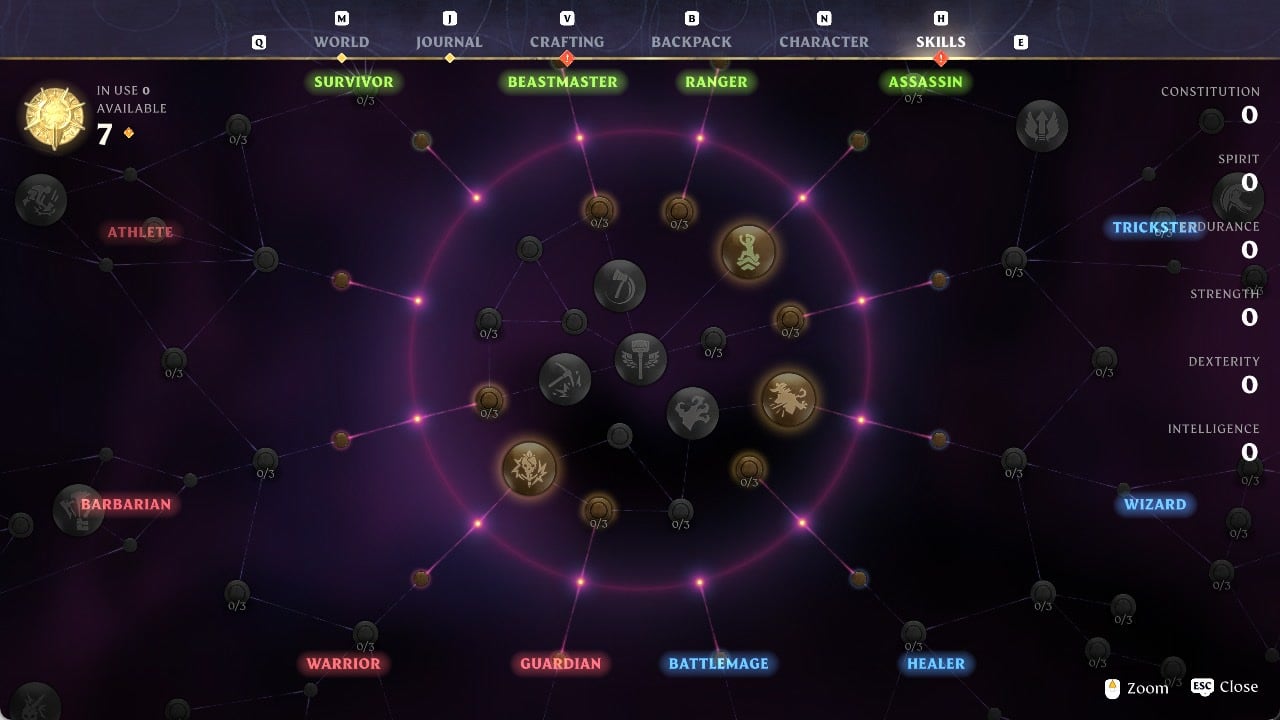
Do Not Disturb is the gentlest of the three shard hunts, but Coen is often underleveled when the marker first shows up. The wider Forge It Anew chain ends in encounters built for around level 21, so spend skill points and clear nearby content if the kobolds are shredding you. Bring healing consumables — the ambush outside the cave and the pack waiting inside come back to back with no safe pause between them.
If you have not spotted the marker yet, climb the Maragir Wealds tower at night and scout. A question mark appears to the north of the region, and that is the camp.
Do Not Disturb walkthrough
How to confirm Do Not Disturb is complete
Once the shard is in your inventory, the journal moves Forge It Anew: Do Not Disturb into the completed list and the parent Forge It Anew entry stays active with two remaining objectives. Open the world map and you should see the Shrike’s Crag and Tantari sites marked. If both are showing and the silver Sword Shard is sitting in your quest items, the leg is done.
Two things commonly stall people here. Walking past the camp without entering Focus Mode means the blood trail never appears, so nothing points you toward the cave. And declining the 3 Time Segment cost at the altar leaves the shard in place, which keeps the sub-quest open until you come back and accept it.
What comes after the first Sword Shard
With the mural read, the order no longer matters. Hostile Takeover sends you to a kobold burrow in the hills near Shrike’s Crag, guarded by the poison-spitting miniboss Munch-Munch. Executive Order points you to a ransacked cave southeast of St. Tyna’s Grove where soldiers already took the shard, forcing a fight at their camp to get it back. Each of the other two pickups also costs 3 Time Segments.
All three shards, plus the broken sword from A Monk and a Saint, go to the uriash blacksmith northwest of Briar Sloughs. She rebuilds the weapon into the Restored Sword of St. Mihai, then sends you to a vine-covered cave to temper it — a wave-based fight that ends with the Imbued Sword of St. Mihai, a level 21 Legendary greatsword with bonus damage against supernatural enemies.
Do Not Disturb is the cheapest entry point into that chain, and because the cave mural reveals the whole map at once, it is the one worth doing first even if you plan to come back for the harder two at a higher level.