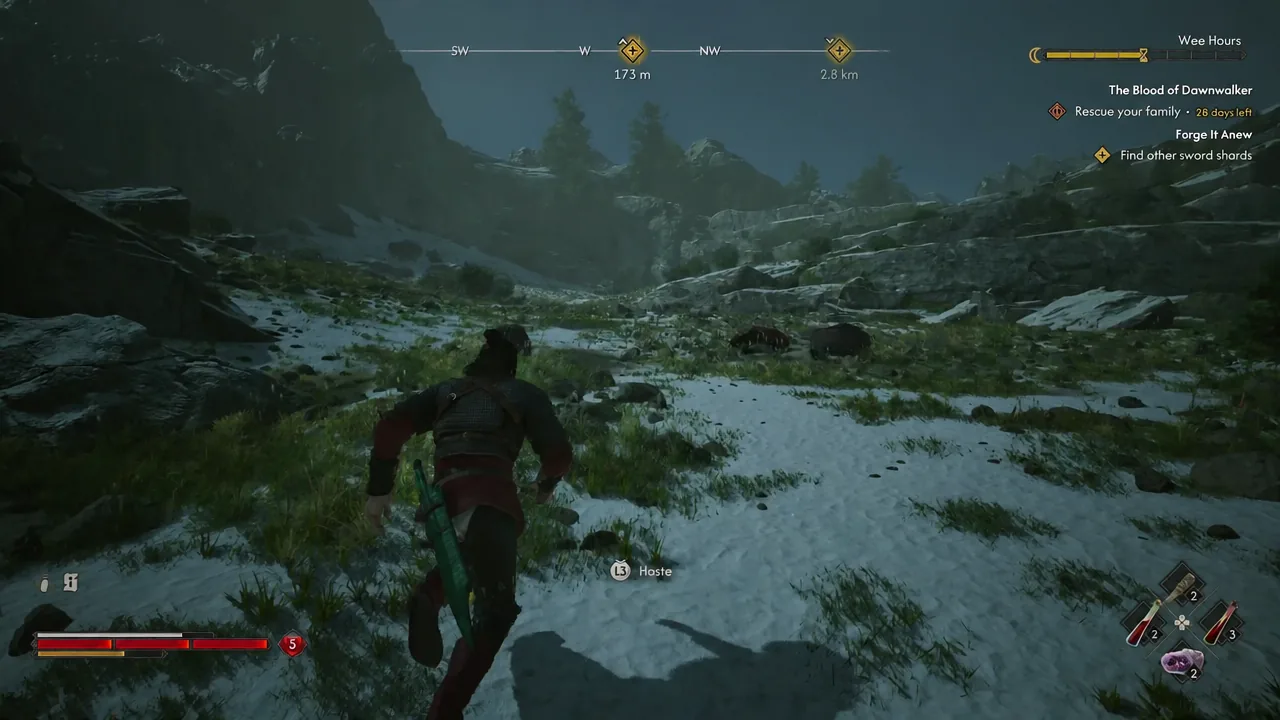
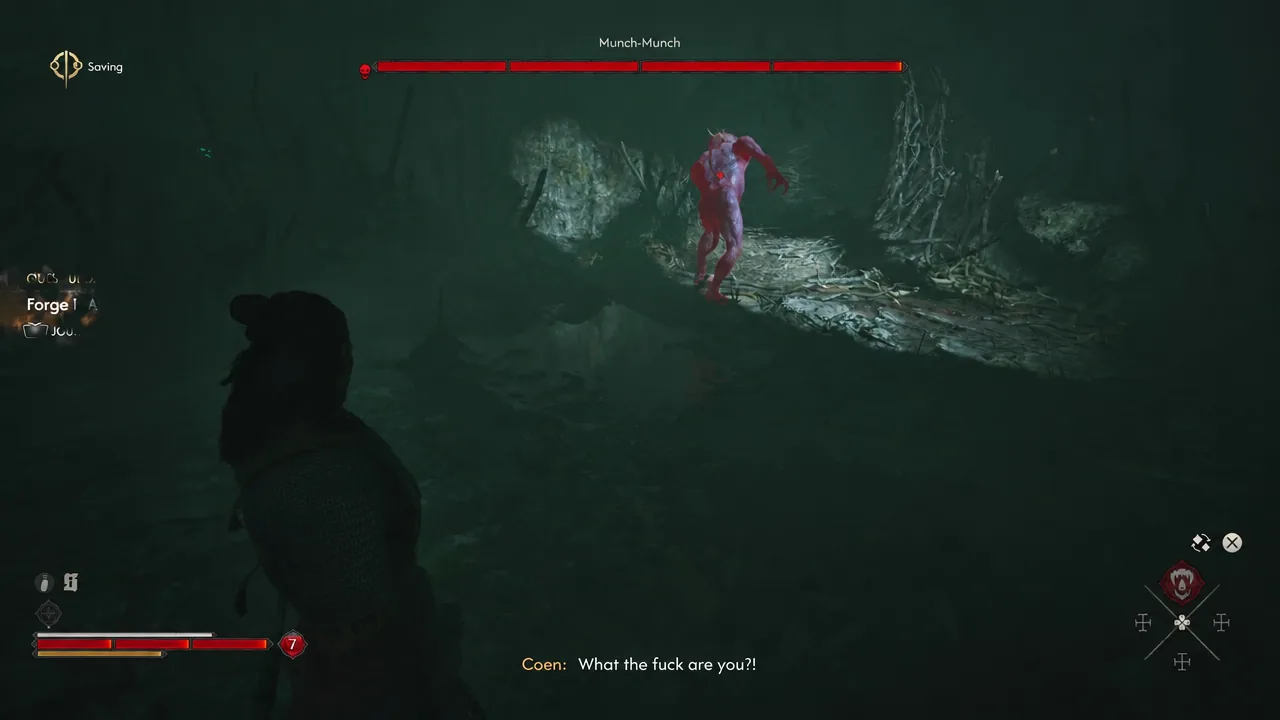
Hostile Takeover is one of three sub-quests under Forge It Anew, the side questline in The Blood of Dawnwalker that rebuilds the shattered blade of St. Mihai. This one hides its Sword Shard inside a kobold burrow in the hills near Shrike’s Crag, and the resident guarding it is a poison-heavy miniboss called Munch-Munch. Clearing it takes one fight and a short bit of looting.
Quick answer: Travel to the kobold cave north of Rockfalls near Shrike’s Crag, kill Munch-Munch inside, then interact with its nest and spend 3 Time Segments to pick up the Sword Shard. The quest ends the moment the shard enters your inventory.
Where the Hostile Takeover cave is near Shrike’s Crag
The cave sits in the mountains west of Svartrau City, tucked into the high ground above the quarry at Shrike’s Crag. It is not a spot you stumble into on a road — you have to climb. Several nearby landmarks can be used to line up the approach depending on which shrines you have already unlocked.
| Landmark | How to reach the cave from it |
|---|---|
| Rockfalls | Head north and climb the hills; the entrance is hidden in the rock |
| Westridge Outpost shrine | Travel east through the forest, then up over the mountains |
| Giant’s Pawns shrine | Continue just past it, southwest of Boar’s Back |
| Svartrau City | Go west toward the Shrike’s Crag quarry area |
A large cross planted outside marks the burrow, and there are wolves prowling the slope plus dead kobolds scattered near the mouth. Once you get close enough, the quest updates to Forge It Anew: Hostile Takeover with the objective “Enter the cave.”
What you need before entering
You do not need to have started Forge It Anew to trigger this. Walking up to the cave starts the sub-quest on its own, and the mural inside will reveal the rest of the shard locations. If you already picked up the Broken Sword of St. Mihai from A Monk and a Saint, the objective “Find other sword shards” will be sitting in your journal.
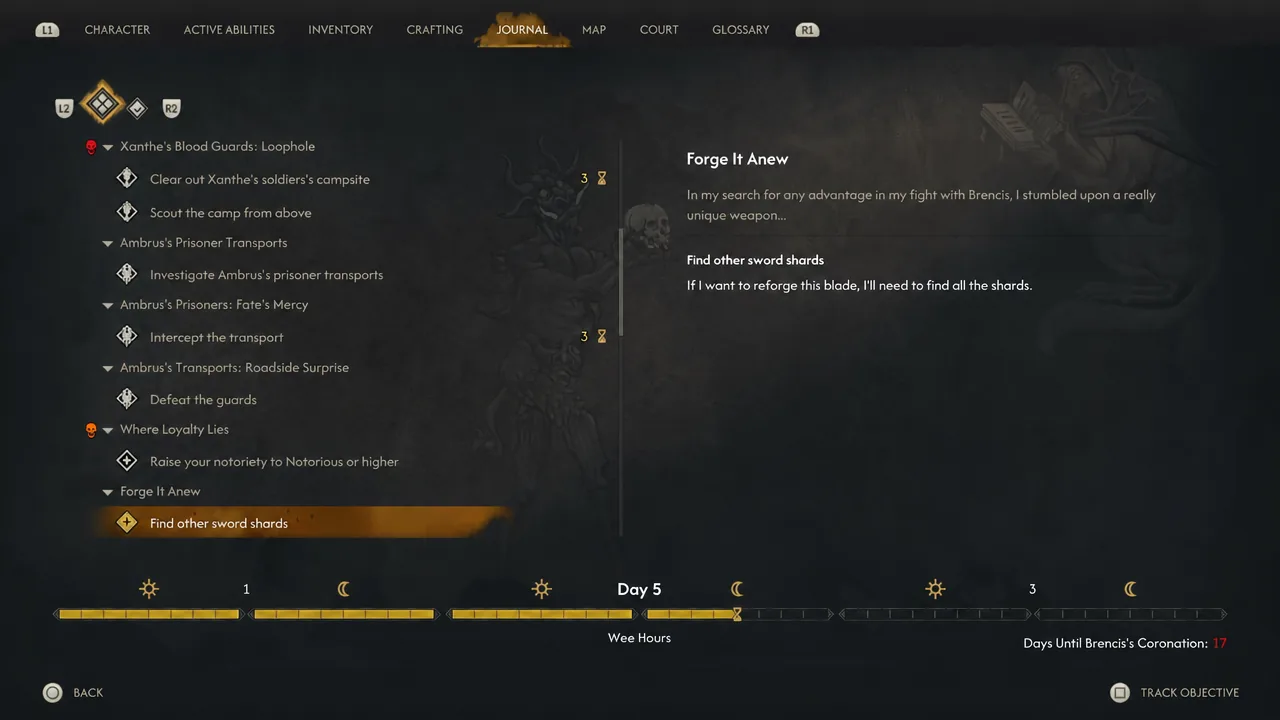
Two practical things to sort out first. Munch-Munch hits hard and applies poison, so bring healing consumables and expect the fight to go badly if you are far under-levelled. Looting the shard afterwards also costs 3 Time Segments, so budget that against whatever else you have running on the clock.
Note: the three sub-quests can be done in any order. Nothing about Hostile Takeover requires you to have cleared Do Not Disturb or Executive Order first.
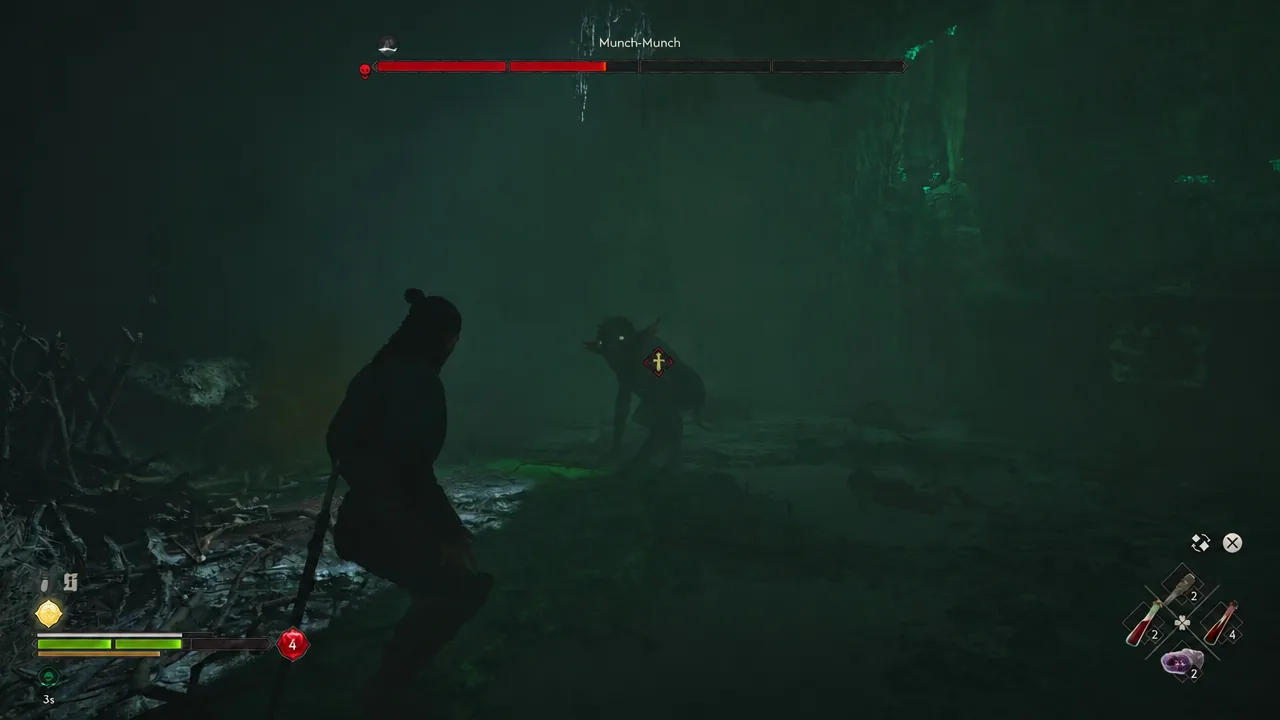
How to beat Munch-Munch inside the kobold nest
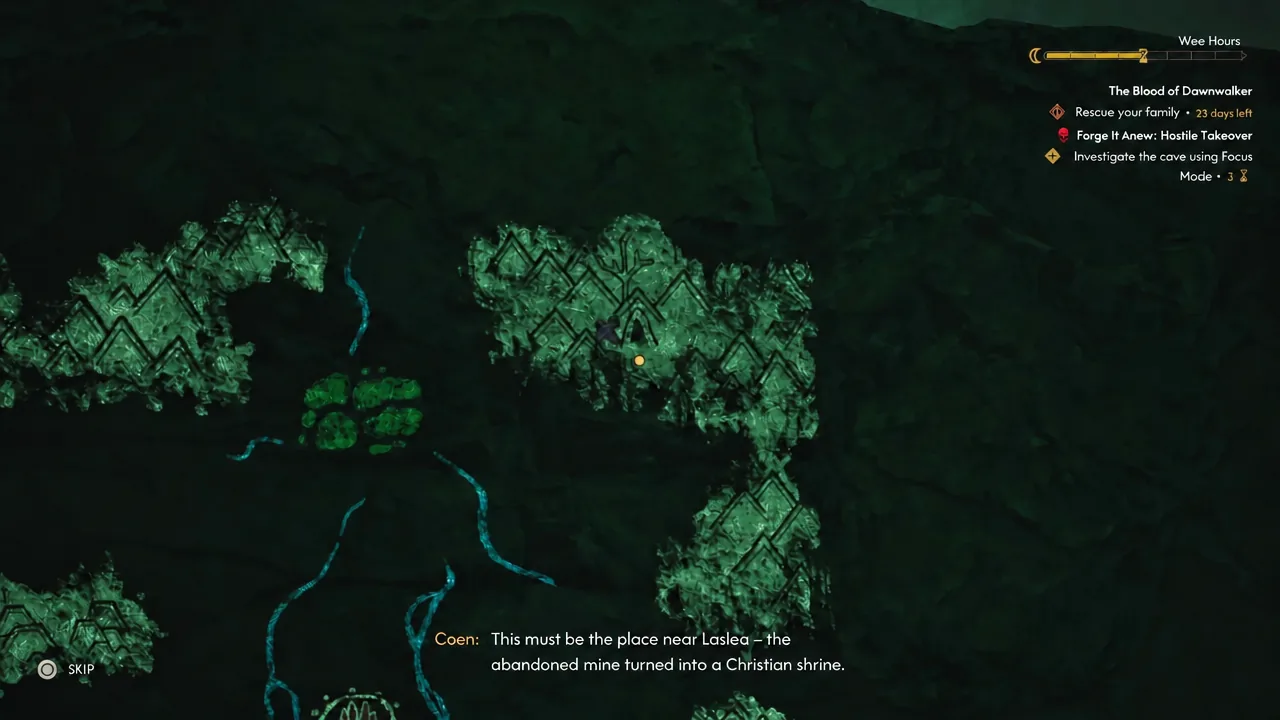
Reading the wall mural and looting the Sword Shard
How to confirm Hostile Takeover is complete
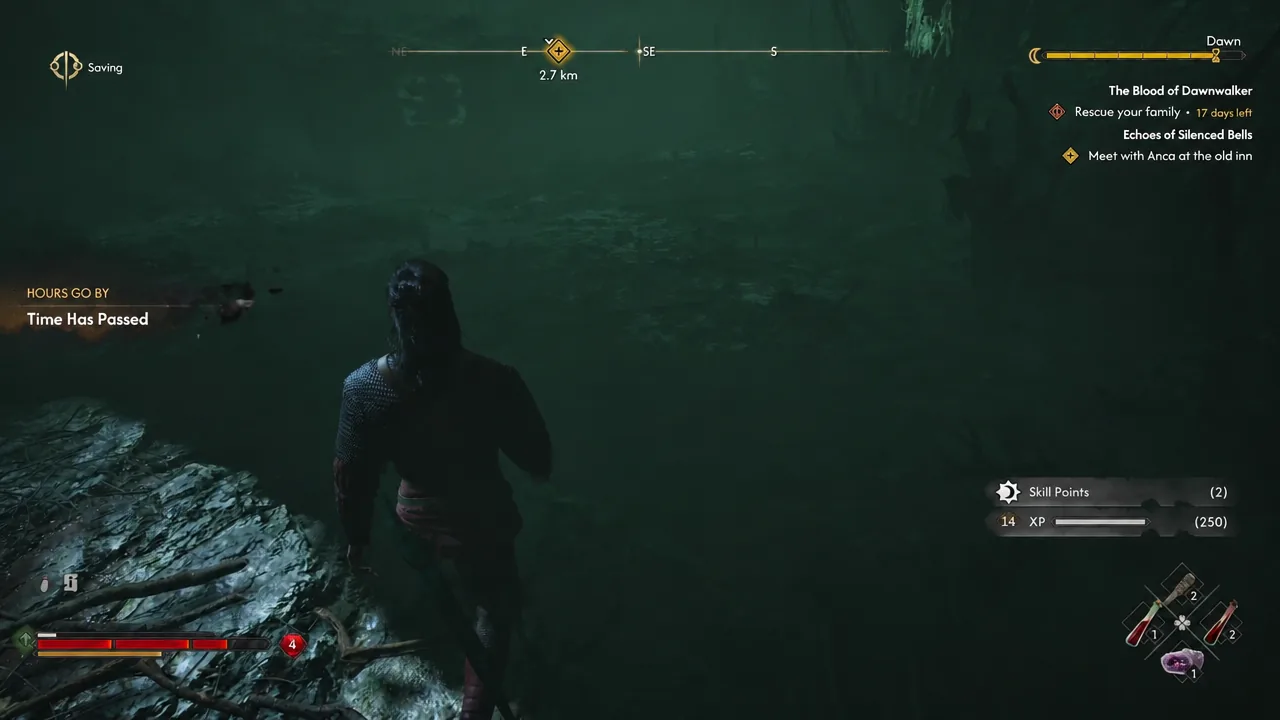
Picking up the shard is the completion trigger. You get a “QUEST ENDED” banner on screen, the Sword Shard lands in your inventory, and 250 XP is awarded — often enough to push a mid-game character to the next level outright. Open the journal and Forge It Anew: Hostile Takeover should now be filed under completed quests.
| Detail | Value |
|---|---|
| Miniboss | Munch-Munch (corrupted kobold, inflicts poison) |
| Time cost to loot | 3 Time Segments |
| Quest reward | Sword Shard, 250 XP |
| Extra loot | Kobold Bile, Tainted Marrow, Kobold Brain, Kobold’s Blood |
| Completion cue | “QUEST ENDED” banner and journal update |
If the quest has not closed out, the shard is still in the nest. Clearing Munch-Munch and inspecting the mural on their own do not finish anything — only confirming the pickup prompt does, and that prompt requires you to accept the time cost.
That shard on its own does nothing. It has to be handed over alongside the other two, from Do Not Disturb and Executive Order, to the Uriash Hermit blacksmith in the northwest of the map, who forges the Restored Sword of St. Mihai. From there the blade still needs to be tempered at the ruin nearby before it becomes the Imbued Sword of St. Mihai, a level 21 Legendary Greatsword built for the fight against Brencis.