Defend Terminals is one of the World Missions you can queue into from Droid Tycoon, the Star Wars tycoon mode built by FOAD and Blzn Studios that landed in Fortnite on May 1st 2026. The objective sounds simple — hold a terminal pad on Tatooine while droids pour out of the ground — but the mission punishes bad positioning and rewards anyone who brings the right companion and weapon combination. Get those two things right and the star tiers fill on their own.
Quick answer: Stand on the red semi-circle marking next to the cave entrance, not on the terminal pad, and fire charged Wookiee Bowcaster shots into the droid clusters from all three tunnels.
How the Defend Terminals spawn pattern works
Enemies do not rush the terminal from a single direction. Three cave tunnels feed the arena, and each wave pulls from a randomized pool of droid types, so you cannot memorize a route and camp one exit.
- B1 droids — the most common filler enemy, low health, usually arriving in packs.
- B2 droids — rarer, with a noticeably larger health pool.
- KX variants — the toughest of the three and the slowest to burn down.
- All three tunnels can go active at once, so single-lane coverage will leak enemies.
Because spawns are random, the only reliable answer is a spot that sees every tunnel mouth at the same time. That is what makes positioning the single most important decision in the mission.
Where to stand: the red semi-circle, not the terminal pad
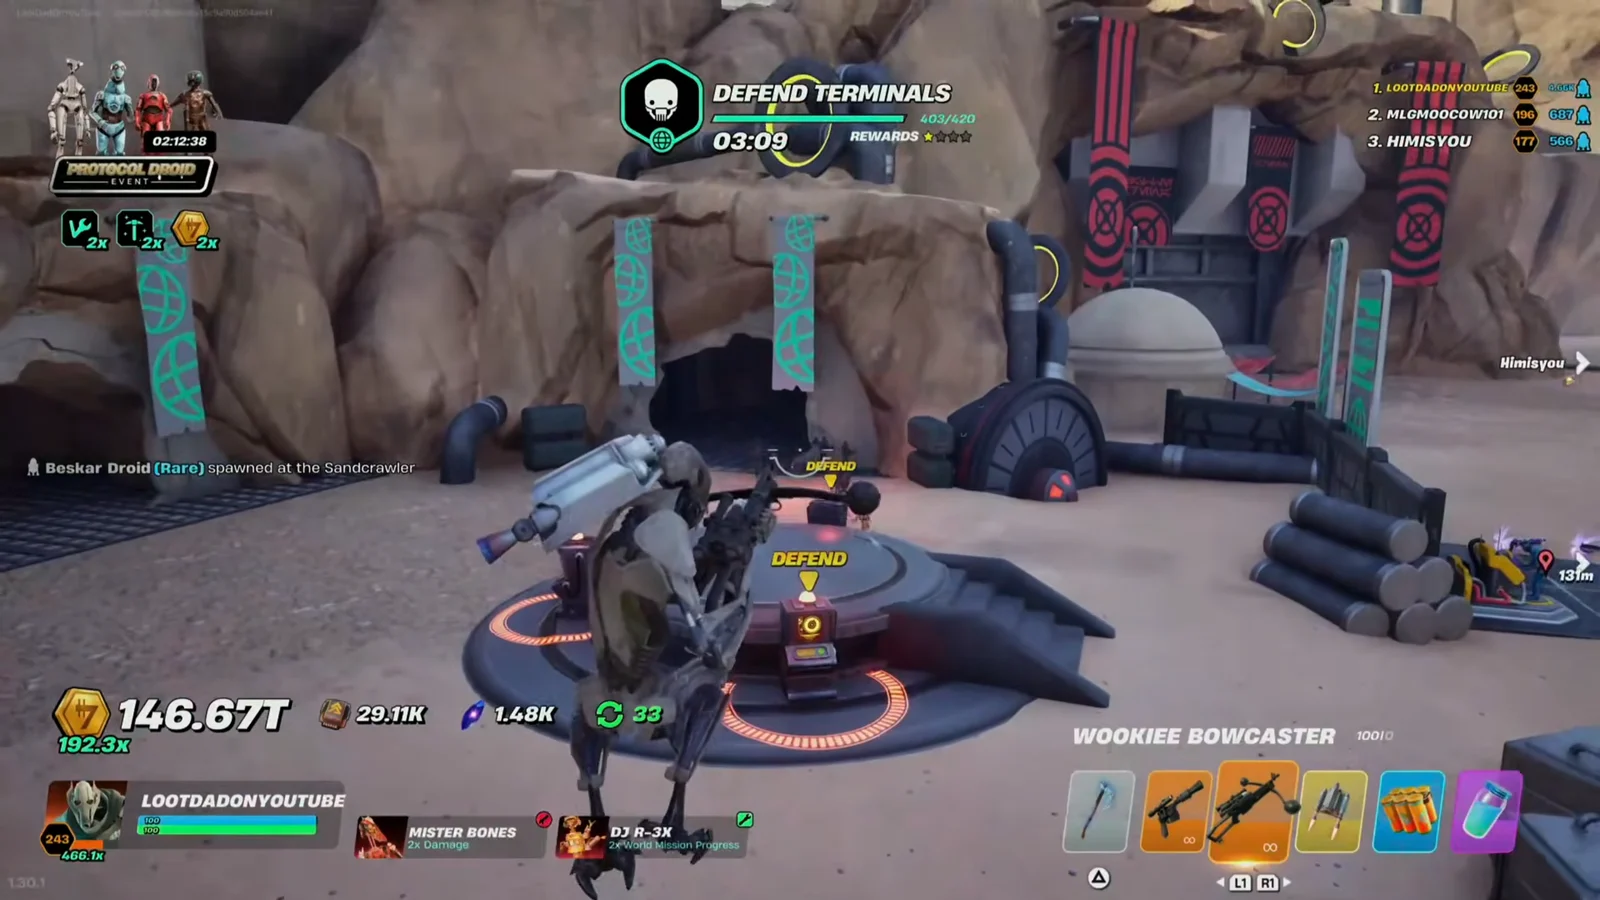
There is a red semi-circle painted on the ground beside the cave entrance. Park yourself on it. From there you keep clear lines of fire across all three tunnels without rotating, and every droid that steps out walks into your crosshair instead of behind you.
The central terminal pad is the spot to avoid. Standing on it puts you inside the crossfire of everyone else defending the objective, and you will take damage from teammates for no benefit. Holding the mission does not require you to physically stand on the terminal.
Best companion droids for World Mission progress
Your two companion slots decide how fast the mission’s star tiers climb and how much you walk away with. These are the three worth slotting.
| Droid | Effect | Use it for |
|---|---|---|
| DJ R-3X | Double World Mission progression | Reaching four-star ratings faster |
| Mister Bones | Double damage, bonus credits | Killing KX variants quickly |
| BB-8 | More chips from eliminated droids | Chip farming instead of raw damage |
DJ R-3X should be locked in every run. Doubling mission progression is the difference between grinding star tiers and coasting through them. Pair it with Mister Bones by default, since the extra damage shortens each wave and the credit bonus stacks on top of what the droids already drop.
Swap Mister Bones for BB-8 when you are short on chips rather than credits. You lose the damage multiplier, so expect waves to take longer.
Weapon and mobility loadout
The Wookiee Bowcaster is the weapon to bring. Hold the fire input to charge a shot, then release it into a cluster of droids as they emerge from a tunnel. Charged shots tear through grouped enemies, which is exactly the shape every wave arrives in, and the credits pile up fast enough to push you through star tiers in a single sitting. It unlocks in the Armory after 1 Rebirth.
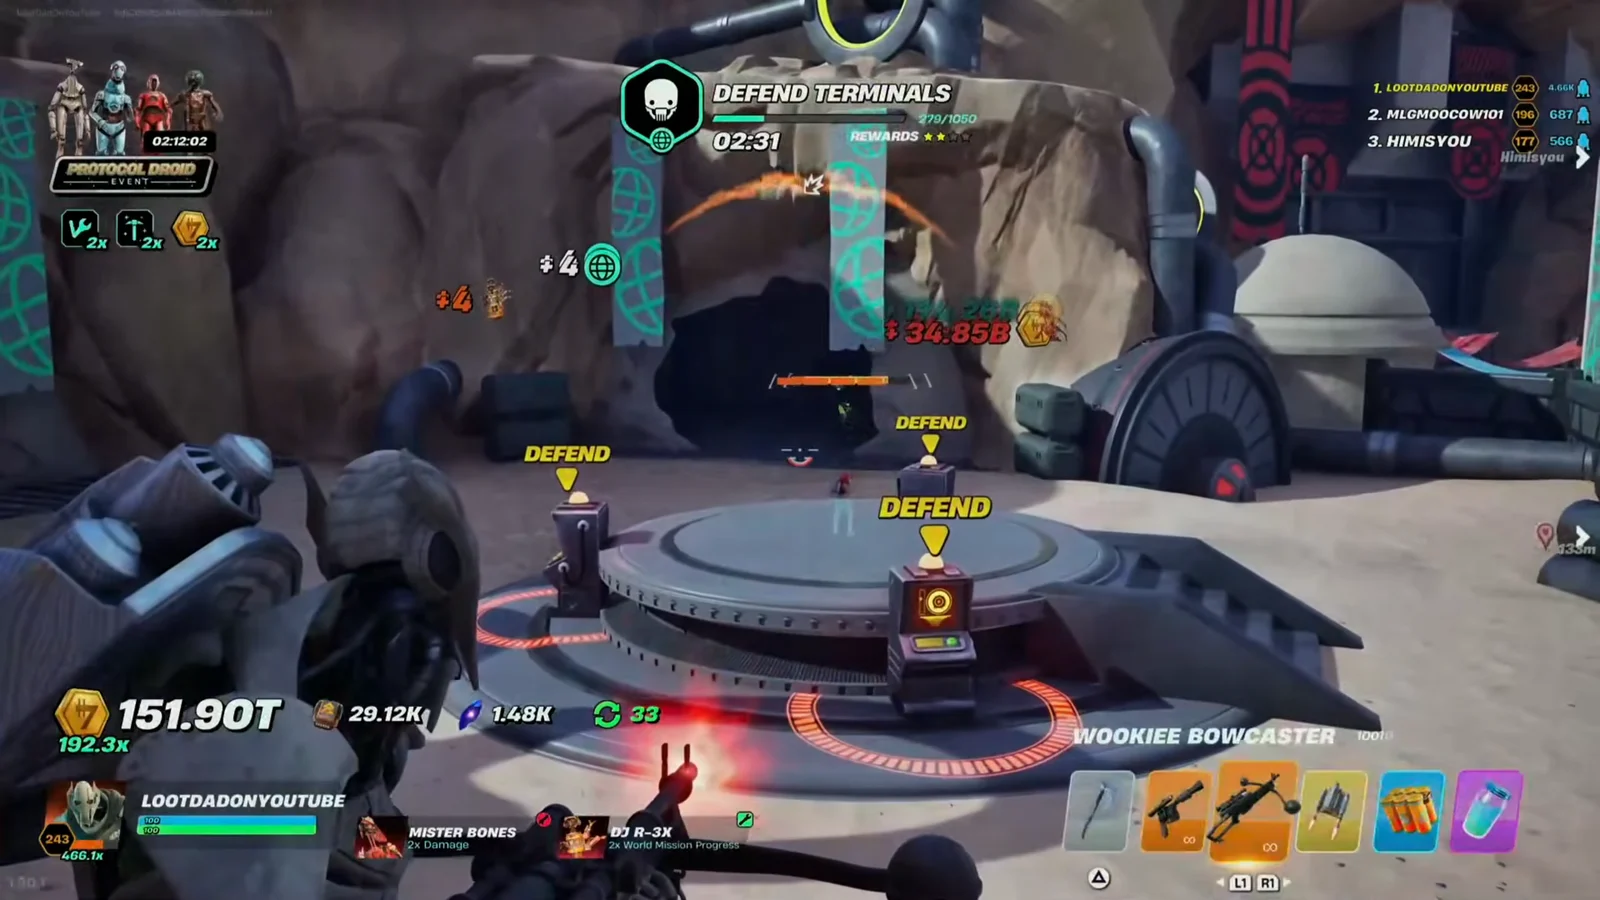
A jetpack is the optional extra. It gives you the mobility to reposition if a tunnel floods or you need to break line of sight, though it is not required to hold the objective. The Enhanced Mandalorian Jetpack is an Armory unlock at 7 Rebirths.
Set up your base before you queue
World Missions are a credit sink as much as a credit source, and the base is what keeps your economy moving while you are away. Early on, put your money into the pickaxe upgrade so you can mine scrap piles, rather than spending starting cash on low-level droids that earn almost nothing.
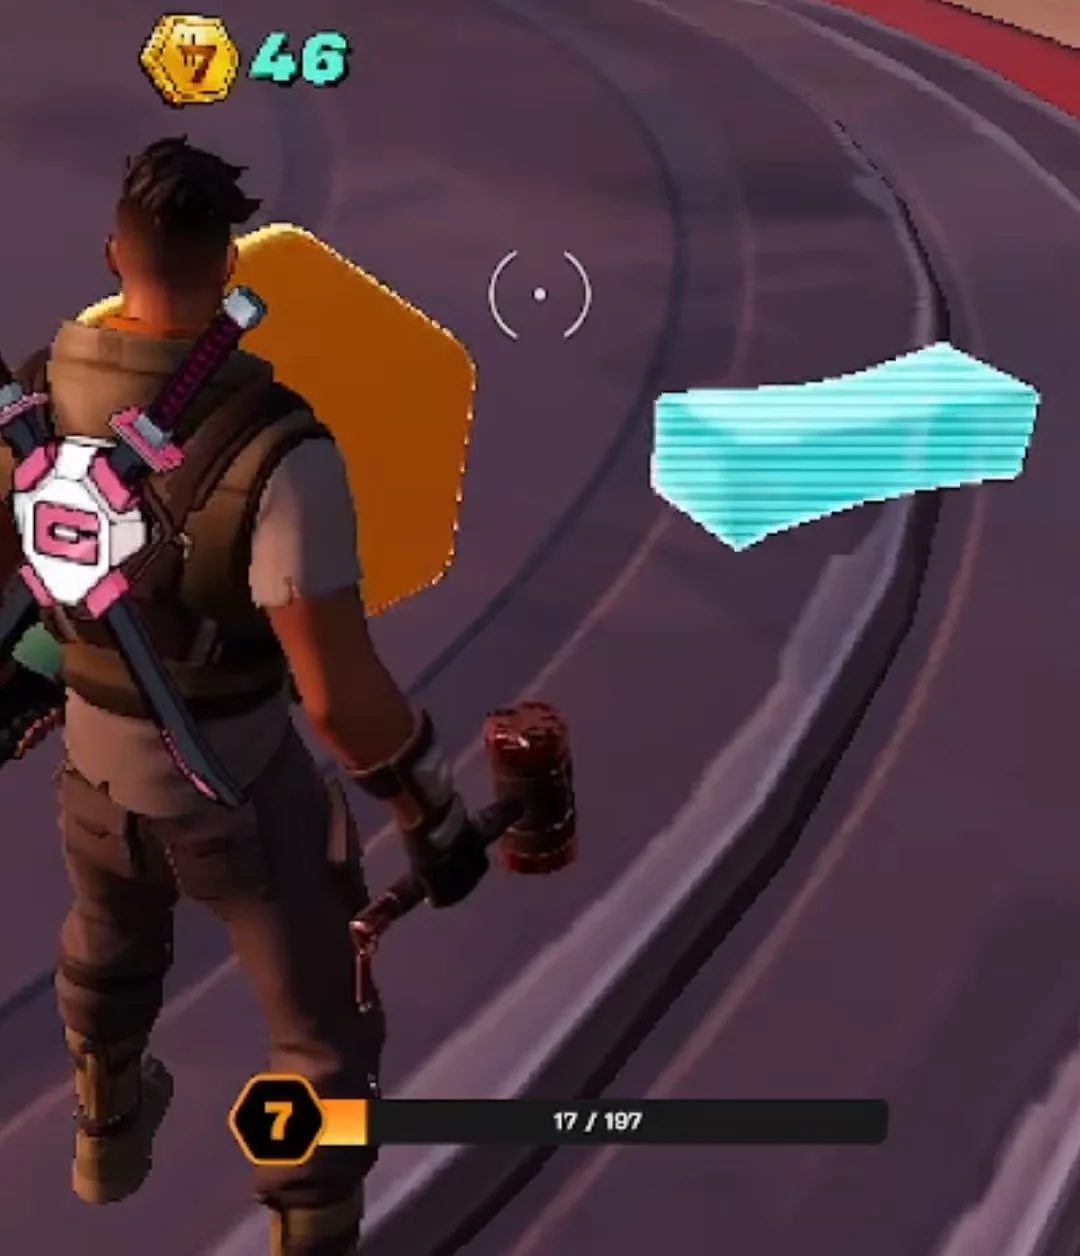
Then check your station slots. High-earning droids should stay assigned to stations generating credits, not follow you around as companions — that is what the mission-specific companions above are for. The Shipyard pads run missions to different planets on their own timers while you are out defending terminals.
The mode itself runs on island code 7865-8305-9184 if you need to launch Droid Tycoon directly.
How to confirm the mission counted
Star tiers fill visibly as you eliminate droids during the run, and a completed defense pushes your World Mission total up by one. The counter to watch is in the rewards menu, where World Mission Paint tracks against a 500 World Missions requirement and sits next to Super Flawless Paint.
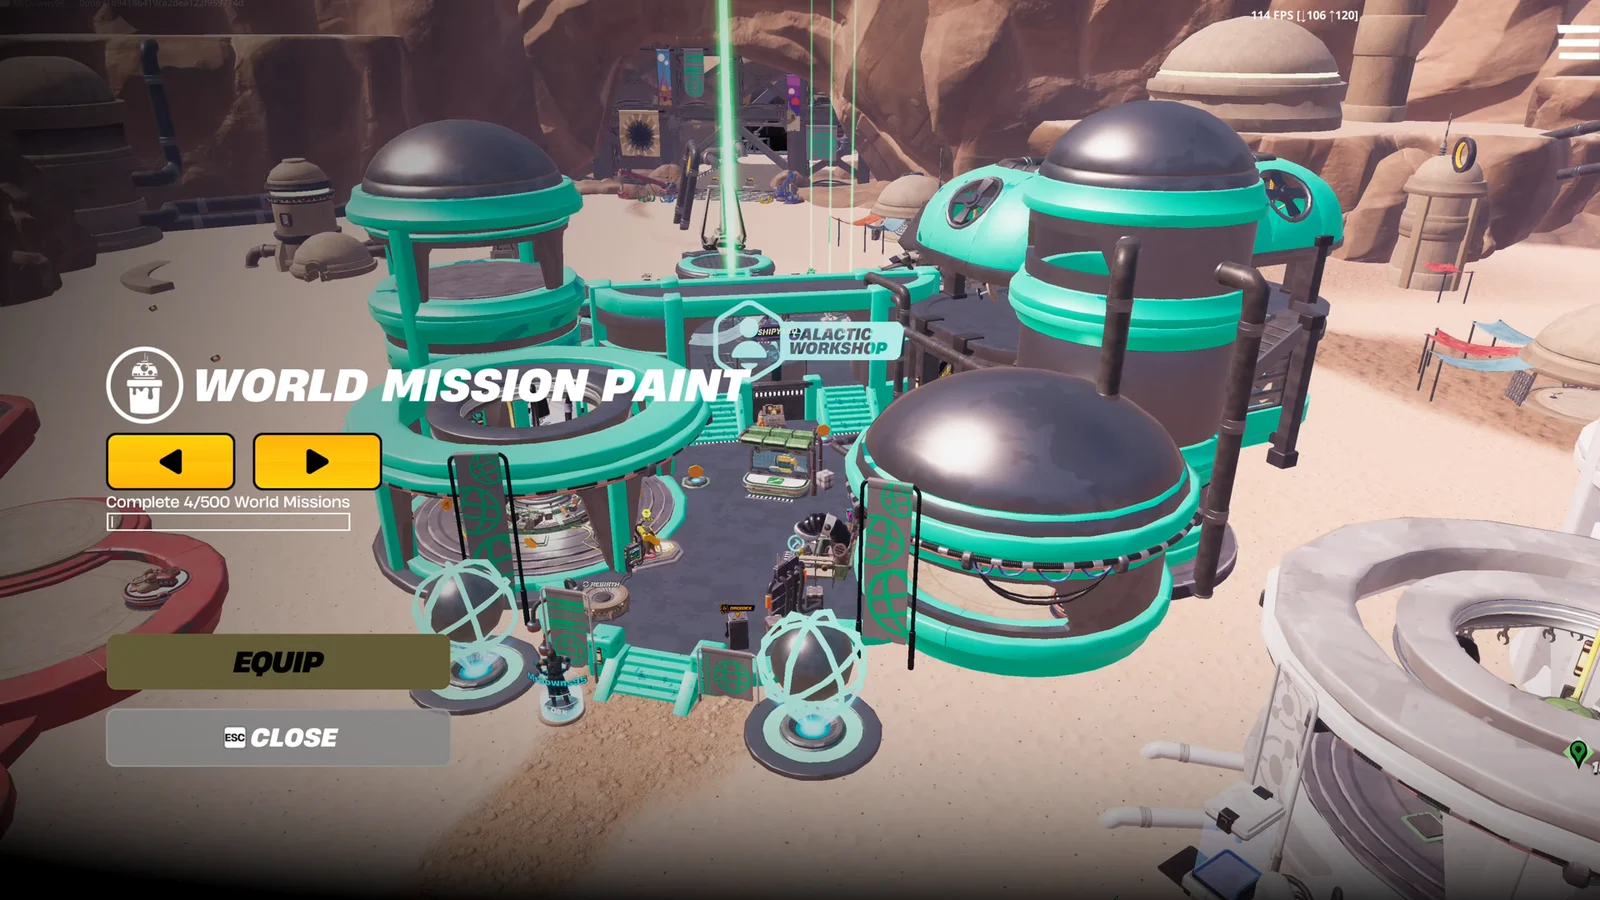
If that number is not moving after a clear, check that DJ R-3X is still equipped — the doubled progression only applies while it is in a companion slot, and it is the easiest thing to lose track of after a rebirth resets your setup.