The Override loot pool reshuffles most of what carried you through the last season, so the weapons and utility items that win fights now are not the same ones you leaned on before. What follows sorts the current pool into clear tiers so you know what to grab first when you land and what to leave on the ground.
Quick answer: Run a Pump Shotgun or 8-Bit Shotgun as your primary, pair it with a Drum Gun or Assault Rifle for spray, and pick up Midas’ Masterpiece or the Enhanced Assault Rifle whenever they appear.
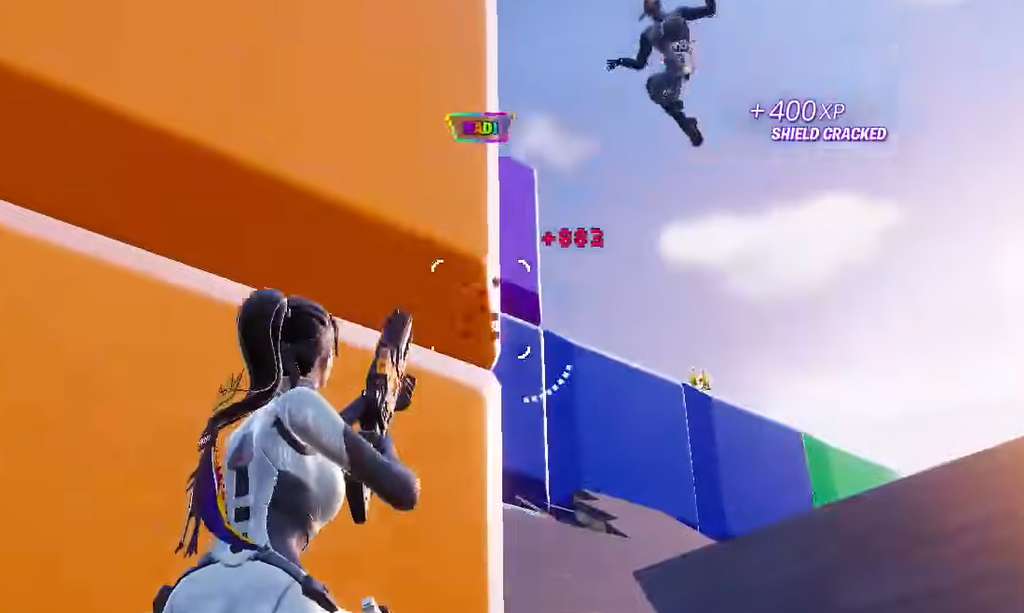
Override loot pool ranking (Chapter 7 Season 4)
This ranking covers items unique to the Override season and inside the current weapon pool. Zero Build-specific gear and healing items are set aside, though Chug Jugs and Shield Potions remain the safe defaults if you are unsure what to carry. Placement weighs damage output, reliability across ranges, and how consistently each item swings a fight, not one-off gimmicks. It reflects the Chapter 7 Season 4 pool as it stands in August 2026, and note that some entries may not appear in Ranked or Competitive playlists.
| Tier | Items |
|---|---|
| S | Pump Shotgun, Drum Gun, Enhanced Assault Rifle, Midas’ Masterpiece |
| A | 8-Bit Shotgun, Assault Rifle, Tactical Pistol, Minigun, Overdrive Grenades, Flare Gun |
| B | Ranger Assault Rifle, Mega Buster, Bass Boost |
| C | Sonic Power Sneakers, Oni Shotgun |
| D | Dual Pistols, Tetris Rift |
S-Tier: the items that decide fights
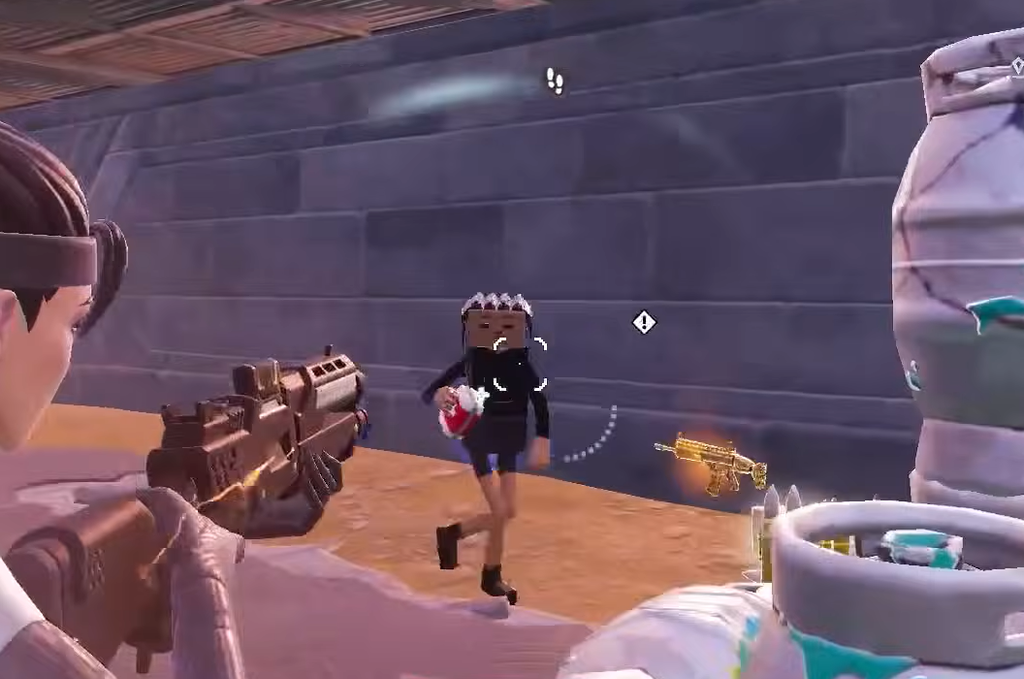
The Pump Shotgun is the Build player’s default close-range weapon. At Legendary rarity it lands up to 205 damage to the head, which is enough to remove a full-health player in a single shot. The trade-off is a slow pullout, so it works best when you have a fast spray weapon ready to follow up.
The Drum Gun is that follow-up. Its high DPS and large magazine tear through builds in box fights, which makes it the strongest partner for either shotgun. Accuracy drops off at distance, so keep it for close and mid-range work.
The Enhanced Assault Rifle is a Mythic version of the standard AR dropped by the Hush boss, found at Reality’s Reign or The Battlewoods. It keeps the base rifle’s handling while adding more damage and a quicker fire rate, which makes it a strong pick for long-range trades or general spray.
Midas’ Masterpiece is the outlier. Usually only one exists per match, and it rewards precise aim with a headshot that deals 3,000 damage, effectively a guaranteed elimination. Even a body shot lands a flat 120 damage, so it stays dangerous when your aim slips. Grab it if you trust your accuracy.
A-Tier: strong, dependable picks
The 8-Bit Shotgun is a real alternative to the Pump and can out-trade it in the right hands. It behaves like a Tactical Shotgun, firing semi-automatically and dealing 100-plus body damage from Uncommon upward, which gives you a reliable two-shot in Builds or a three-shot in Zero Build.
The standard Assault Rifle is the go-to secondary when you have not found the Enhanced version. It tap-fires well at range, holds up close, and covers nearly every situation without a glaring weakness.
The Tactical Pistol is this season’s meta sidearm. It is full-auto, fires quickly, carries a 2x headshot multiplier, and stays usable out to medium and even long range. The rest of the A-Tier is utility. Overdrive Grenades remain the best mobility tool in the game, launching you like a Shockwave Grenade while granting infinite stamina, faster movement, and higher jumps for a short window, though they cannot break structures. The Minigun returns with a punishing fire rate that chews through builds and holds decent range, topping out at Mythic rarity. The Flare Gun is a limited-time pickup that tags nearby enemies within a set radius on firing, giving you built-in wall vision for a third slot while it stays in rotation.
B-Tier: situational but usable
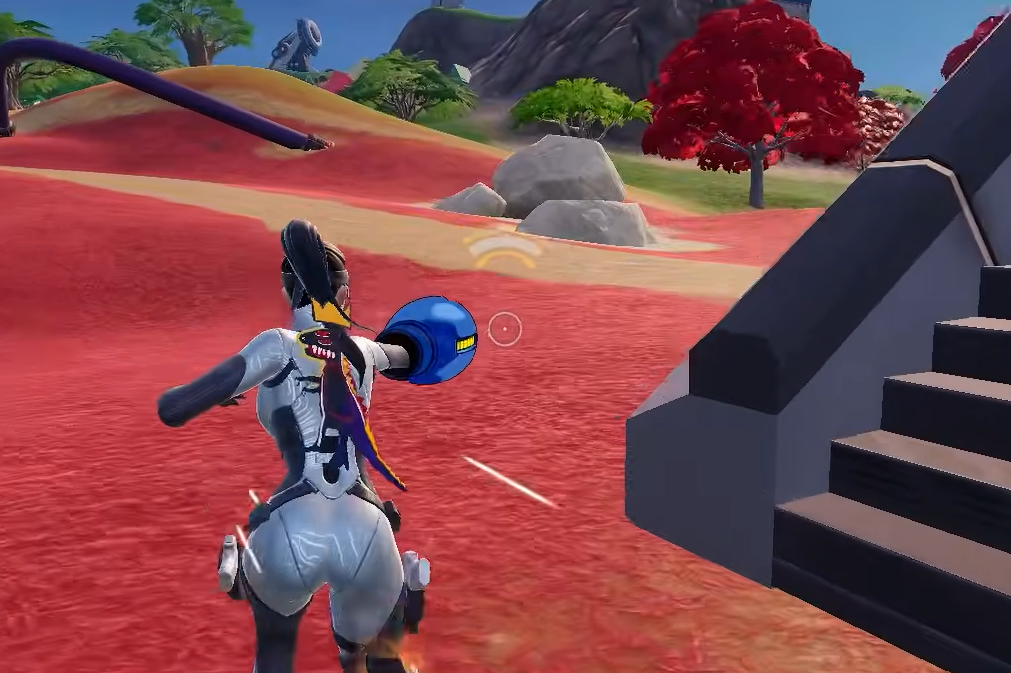
The Ranger Assault Rifle hits harder per shot than the standard AR but fires slower, so it shines when you tap-fire at range and struggles up close. The Mega Buster is weak on its own, yet its charged shot deals 120 damage and breaks structures, so it pays off when you open with it from height or after a mobility move, then swap to finish. Bass Boost is not a killing tool, but pressing fire while grounded destroys structures and holds you in place, letting you crack open enemy boxes for a quick shotgun follow-up.
C-Tier: viable in a pinch
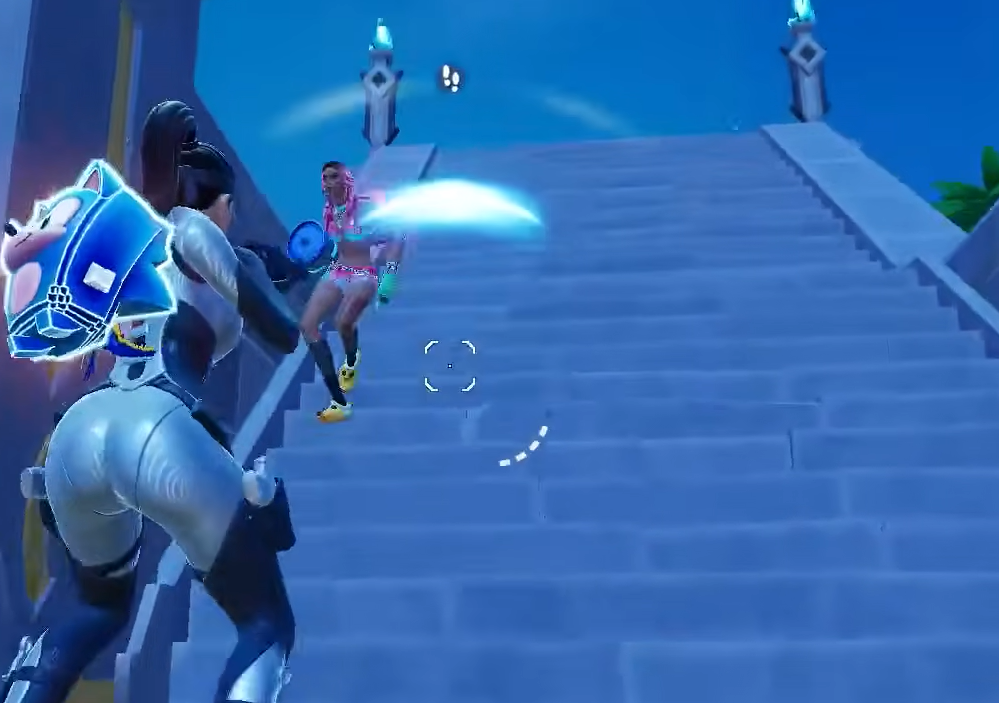
Sonic Power Sneakers are a solid mobility option with many uses and a short cooldown, so you can cover long distances quickly. The catch is the larger hitbox while using the Spin Dash, which leaves you exposed. The Oni Shotgun trades close-range forgiveness for a tight pellet spread and better damage at distance, essentially a ranged shotgun. That spread punishes you up close, where accuracy becomes mandatory and two-shot damage runs low. It works, but it never reaches the top picks, and it is only around for a limited time.
D-Tier: skip these
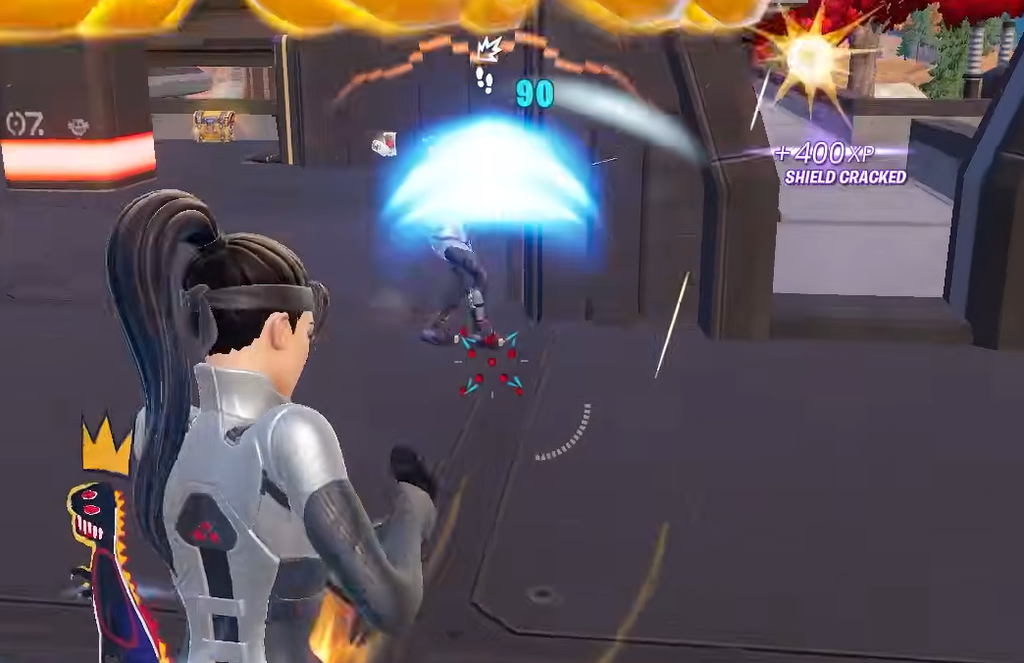
The Dual Pistols fire two rounds per trigger pull and can do respectable damage, but their poor range makes them redundant next to the Assault Rifle and Drum Gun. There is little reason to spend Sprite Dust unlocking them. The Tetris Rift is the weakest item in the pool. In Zero Build it spawns cover and slowly heals anyone within a 2-meter radius, but that healing applies over roughly 8 seconds and forces you to stay pinned near the wall to get the full effect, which rarely fits an active fight.
If you want a loadout that holds up in almost any engagement, pair a Pump or 8-Bit Shotgun with the Drum Gun or an Assault Rifle, slot Overdrive Grenades for movement, and keep an eye out for Midas’ Masterpiece or the Enhanced Assault Rifle as match-defining upgrades. Everything in B and below is worth carrying only when the top options are not available.