

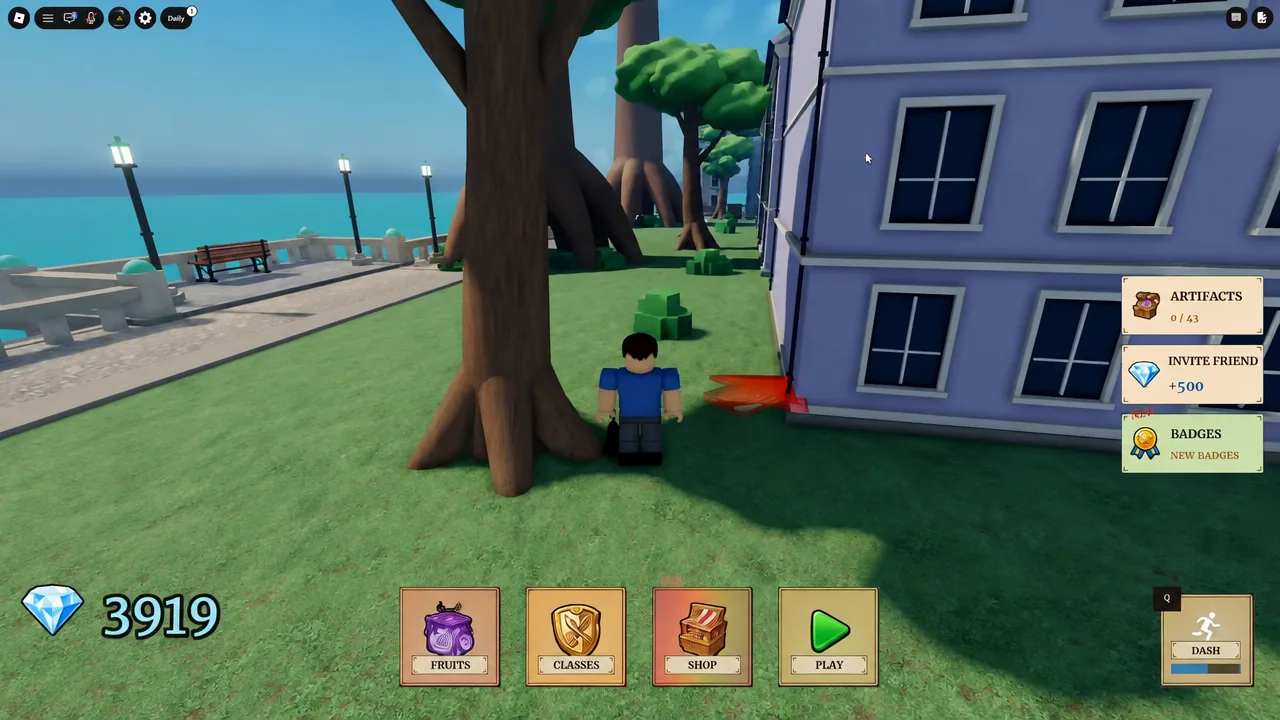
Fruit Zombie Survival is a co-op horde game on Roblox where you pick a One Piece character, eat one of 20 Devil Fruits, and hold out against endless zombie waves with bosses mixed in. The twist is that two currencies run in parallel. Berries only matter inside the current run, while Diamonds carry over and buy the things that decide how far you actually get.
Quick answer: Sweep the 12 hidden Diamonds scattered around the lobby before you queue, put your first 2,500 Diamonds into the Sand fruit, then save toward Aokiji at 20,000 Diamonds for crowd control or Enel at 32,000 Diamonds for damage. Every class and fruit can be playtested for free first, so try before you spend.
How a run works: waves, Berries, and co-op revives
Runs start from the lobby docks. Walk onto the marked dock, hit the Play prompt, and you are dropped into a map such as the Corrida Colosseum to fight waves back to back. Servers hold 20 people, but a squad is capped at four players, and downed teammates can be revived mid-fight.
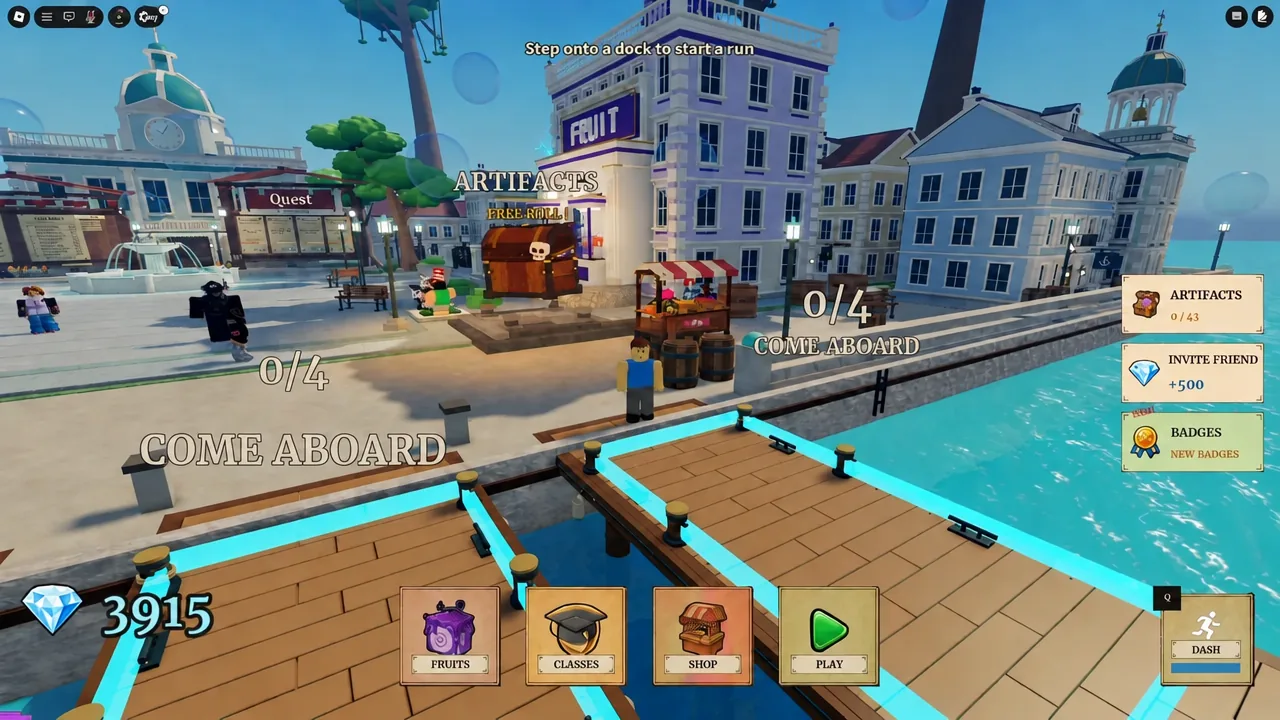
Berries are the in-run currency, and they are meant to be spent, not hoarded. Buy health, damage, or cooldown upgrades as you earn them so the mid-wave difficulty spike does not catch you at base stats. Your character also places special builds during the run, which is why the class you own changes how a wave plays out, not just how much damage you do.
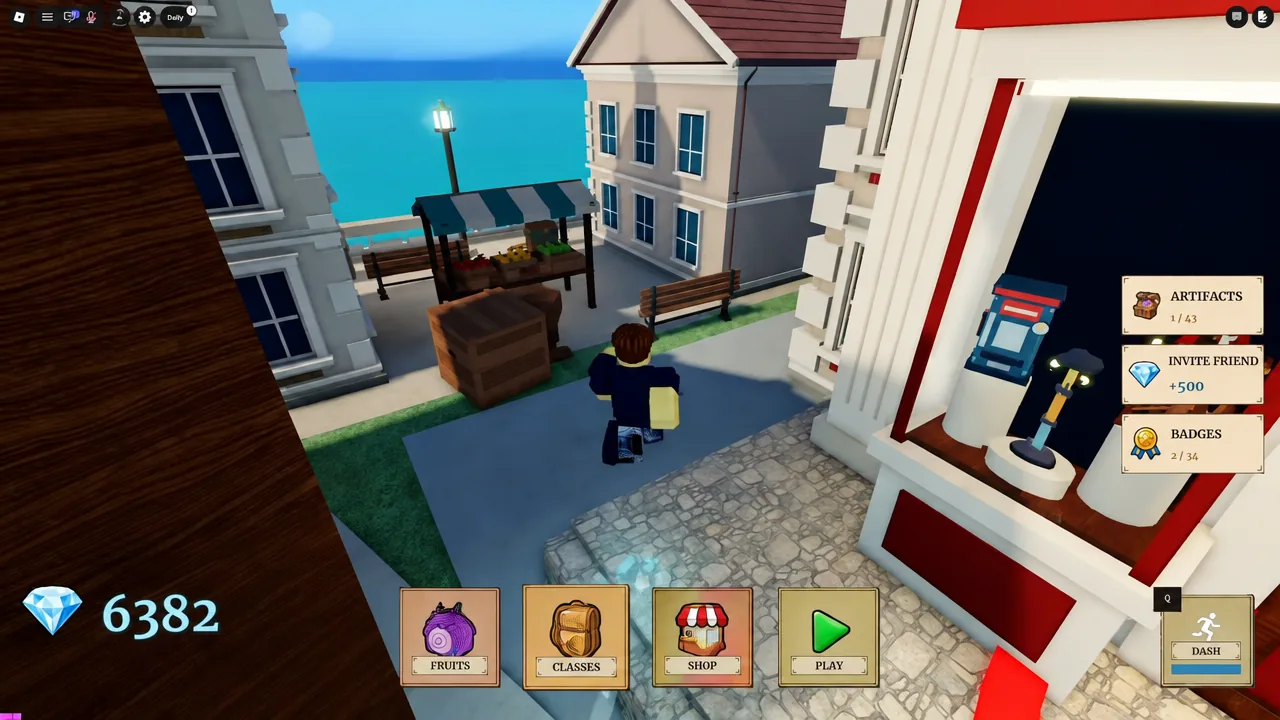
Diamonds are the long game. They come from the quest board, hidden lobby pickups, and invites, and they are what the fruit and class shops take. You can launch the experience from the official Fruit Zombie Survival Roblox page on PC, phone, or tablet.
The 12 hidden Diamonds in the lobby
There are 12 hidden Diamonds tucked around the main lobby map. They are one-time pickups per account, so the fastest thing a new player can do is ignore the dock for a few minutes and walk the whole lobby first, collecting each one by running into it. It is a free head start toward your first fruit purchase and it never needs repeating.
Tip: do the sweep before you spend anything. Clearing all 12 plus a couple of quest board turn-ins can cover the 2,500 Diamonds that the budget fruit costs, which means your first real run is not on a starter power set.
How to farm Diamonds after the lobby sweep
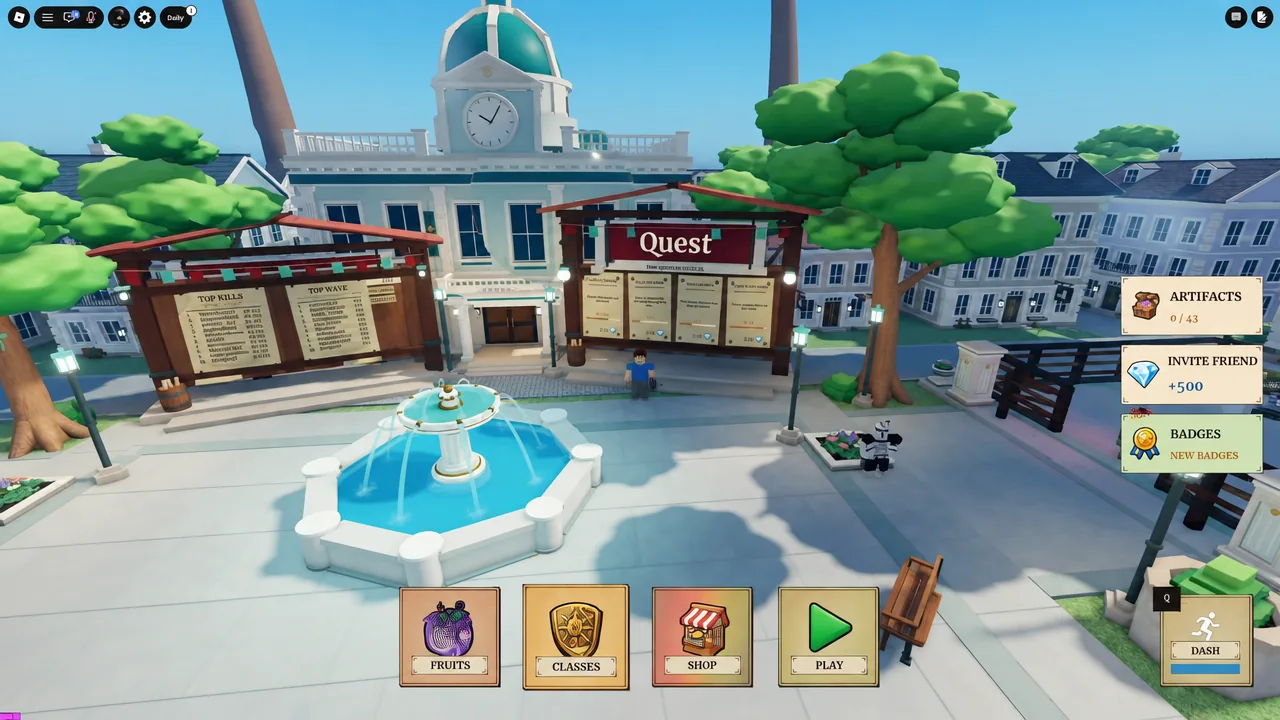
Once the hidden pickups are gone, the quest board becomes the steady source. It hands out objectives that pay Diamonds for things you are already doing during waves, so check it between runs rather than grinding it directly.
The invite system is the one large lump sum available early. Bringing a friend in pays you 500 Diamonds, but it only unlocks once that friend reaches wave 5, so it is worth staying in the run with them long enough to get them there.
Best classes to buy: Aokiji and Enel
The class roster covers Pirate, Nami, Franky, Usopp, Chopper, Aokiji, and Enel. Two of them are clearly ahead of the rest for pushing waves, and they solve different problems. Enel is the damage pick when you need bosses to die quickly. Aokiji is the crowd control pick, which matters more when the wave count climbs and the horde starts arriving faster than you can kill it.
| Class | Cost | Role |
|---|---|---|
| Enel | 32,000 Diamonds | Highest damage output; best against boss waves |
| Aokiji | 20,000 Diamonds | Best crowd control; keeps large groups locked down |
| Pirate, Nami, Franky, Usopp, Chopper | Cheaper roster | Serviceable while you save; playtest before buying |
Aokiji is the better first big purchase simply because it costs 12,000 Diamonds less and solves the problem that ends most runs. Before you commit either way, use the free playtest option on any class so you are not spending 32,000 Diamonds on a kit you dislike.
Best Devil Fruits: Sand early, Phoenix at the top
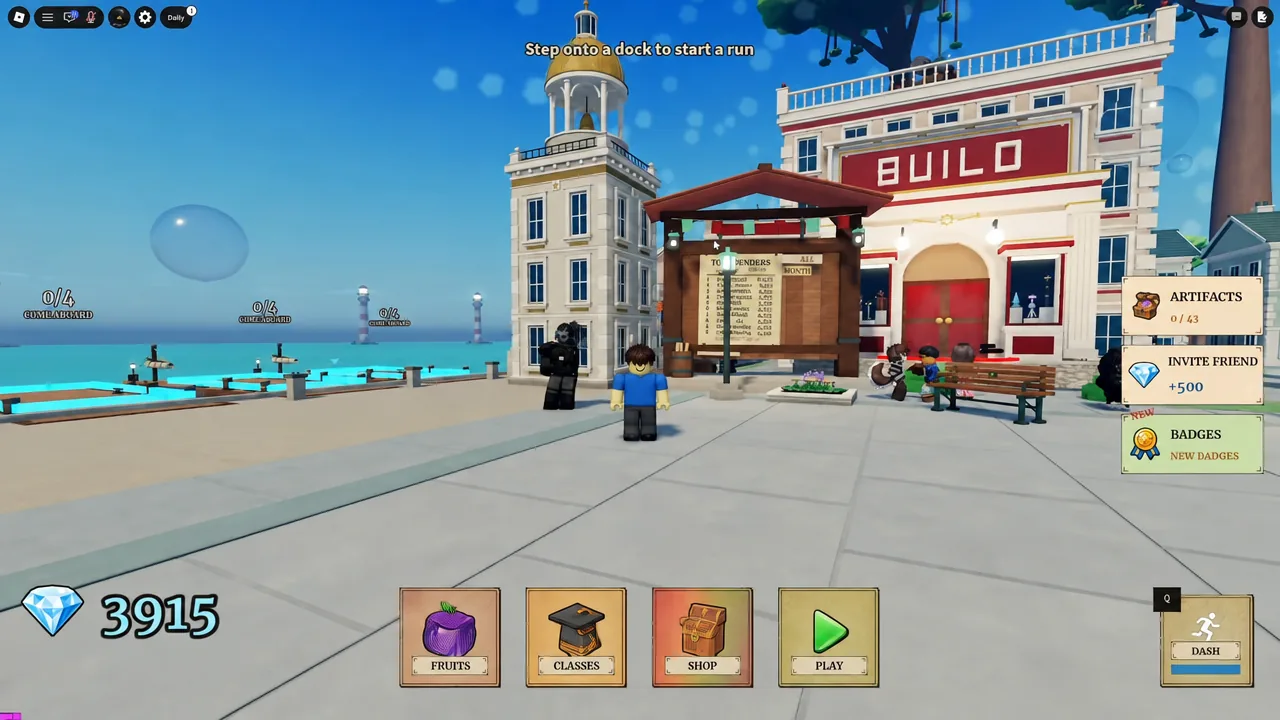
Twenty Devil Fruits sit in the shop across different rarity bands, including Flame, Chop, Sand, Bloom, String, Dark, Gravity, Ice, Rubber, Light, Magma, Leopard, Lightning, Dough, Phoenix, Quake, and Dragon. Most of that list is a collection goal. Only two really change your plan.
| Fruit | Cost | Why it matters |
|---|---|---|
| Sand | 2,500 Diamonds | Best budget option; strong enough to carry early and mid waves |
| Phoenix | Higher-tier unlock | Strongest fruit overall; the long-term target |
Sand at 2,500 Diamonds is the single most efficient purchase in the game for a new account. Phoenix is the endpoint, so treat everything in between as optional unless you are chasing the full collection. As with classes, fruits can be tested for free, which is the honest way to find out whether a flashy kit actually clears zombies faster than Sand does.
Artifacts and the passive buffs they add
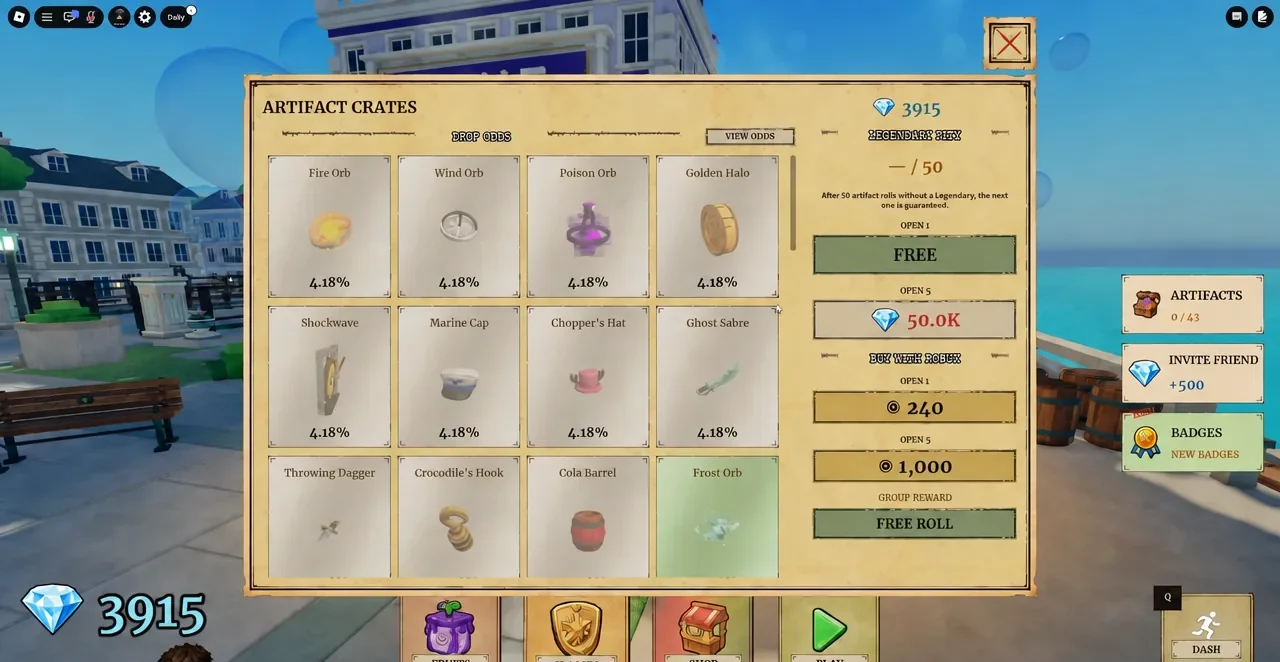
Artifacts are the newest layer of power and they work entirely passively. You roll for them from artifact crates, equip what you get, and the effects apply automatically in combat, so there is no extra button to press mid-wave. Frost Orb is a good example of the scale involved, slowing enemies by 35% for three seconds.
Crates offer a free roll on a timer, which is worth claiming every time you load in, and artifact sets run from Common up to Mythic bands. Equipping one is the step people forget. A rolled artifact sitting in your inventory does nothing until it is slotted, so check the equip screen after every crate opening.
Wave badges that confirm your progress
The clearest way to check whether your build is improving is the badge list. Badges award the moment you hit the wave in question, and the completion rates give you a sense of where the difficulty walls sit.
| Badge | Rarity | What it signals |
|---|---|---|
| Achieve Wave 10 | 79.3% (Cake Walk) | Baseline; reachable on a starter loadout |
| Achieve Wave 25 | 52.0% (Easy) | Needs Berry upgrades spent properly |
| Achieve Wave 50 | 27.5% (Challenging) | Realistic target once you own a strong class and fruit |
If wave 50 keeps ending your runs, the usual causes are the same three things. Berries left unspent, a powerful skill burned on trash mobs right before a boss spawns, and standing still while a group closes in instead of kiting it. There is also a revive badge tied to picking teammates back up, which is a reminder that a four-player squad with someone watching for downs outlasts four people playing solo in the same lobby.
Codes
| Code | Reward |
|---|---|
| w0w8kCCU | 1 Artifact Crate Roll with x2 Luck |
| 1kDiscordGG | 1 Artifact Crate Roll |
| Up5ndc0ming | 1 Artifact Crate Roll |
| FiveKccU | 2,500 Diamonds |
| Disc0rd | 1,500 Diamonds |
| VibeStarter | 1 Revive |
Open the Settings gear in the top-left corner, paste one entry into the text box exactly as written, and press Redeem to see the reward land instantly.
The game is still moving quickly, with the most recent update landing on September 11th, 2026, and a new fruit plus event listed on its Roblox page for Wednesday, September 16th at 4:00PM. That makes the safe approach a simple one. Bank Diamonds through the quest board, keep the free artifact roll claimed, and hold off on any 32,000-Diamond commitment until you have tested it for free first.





