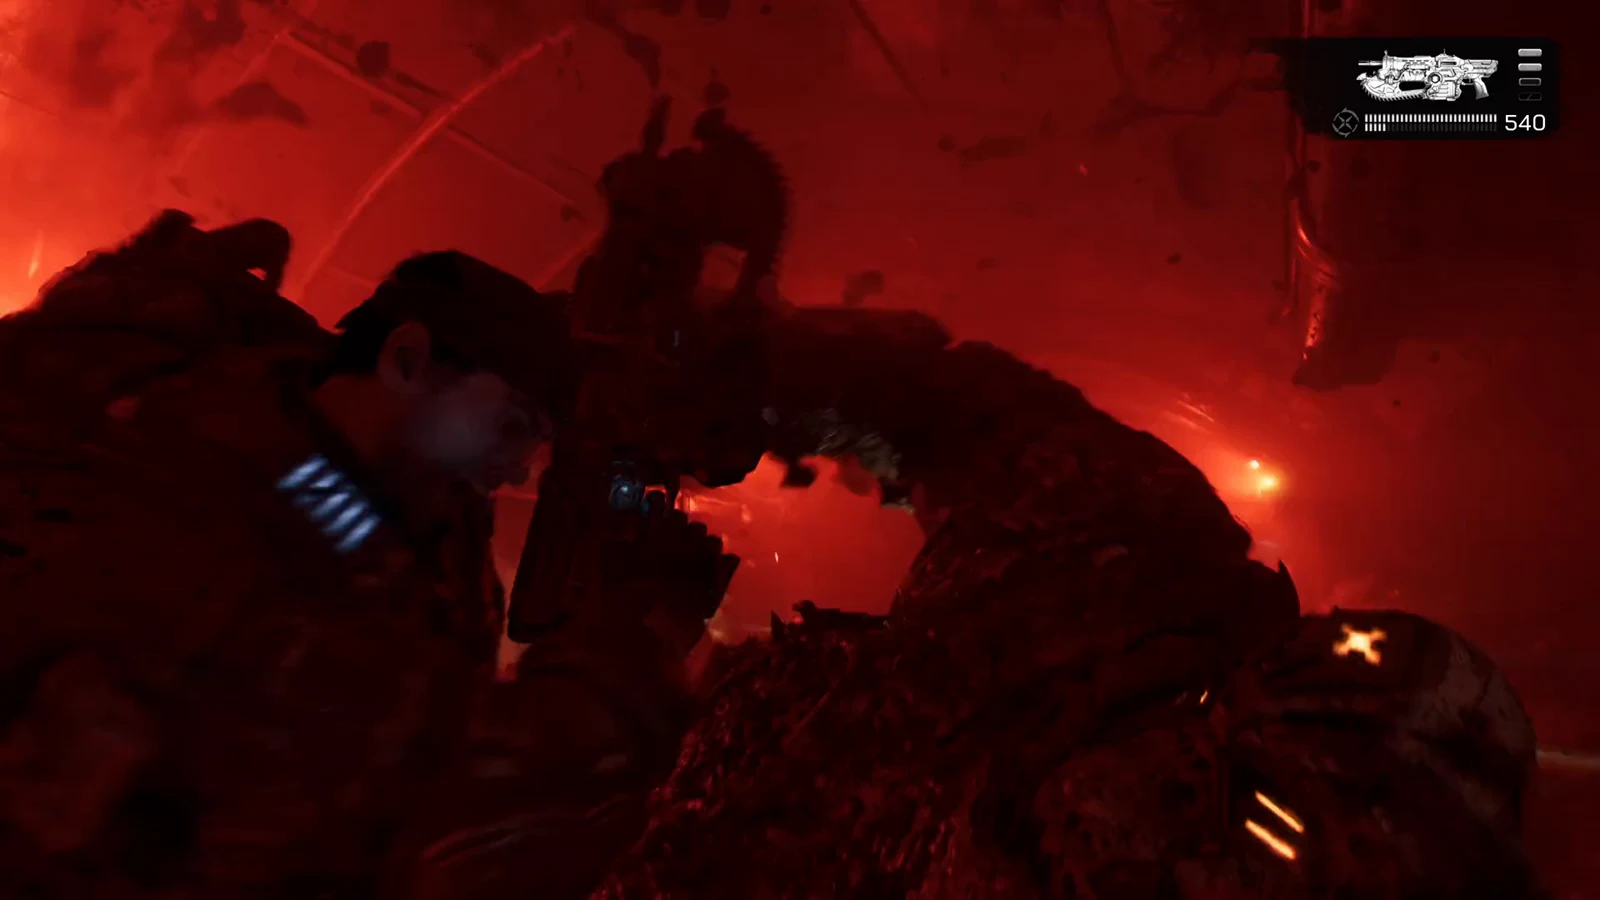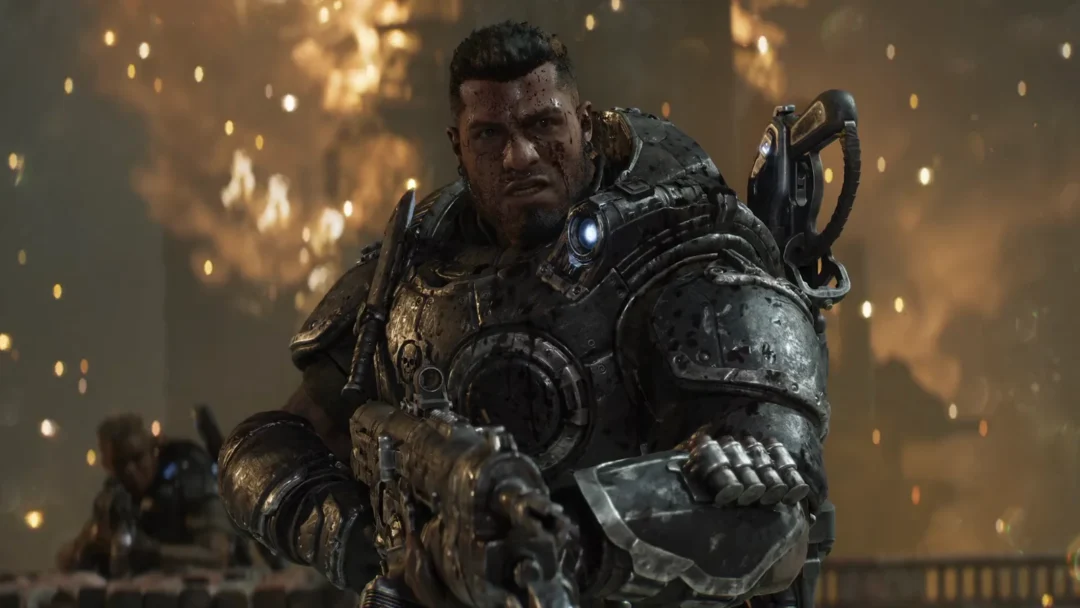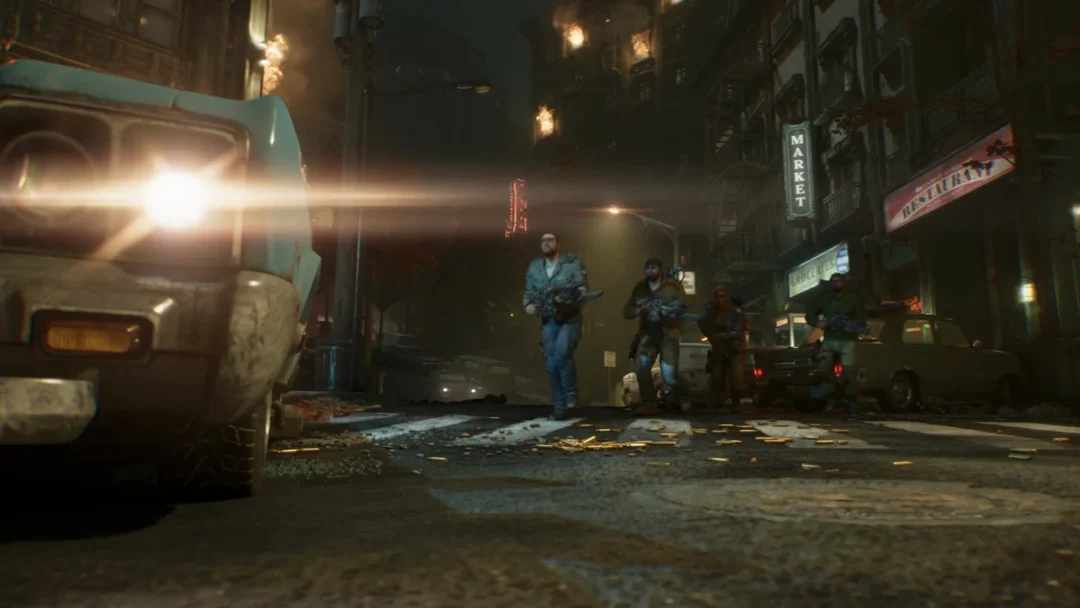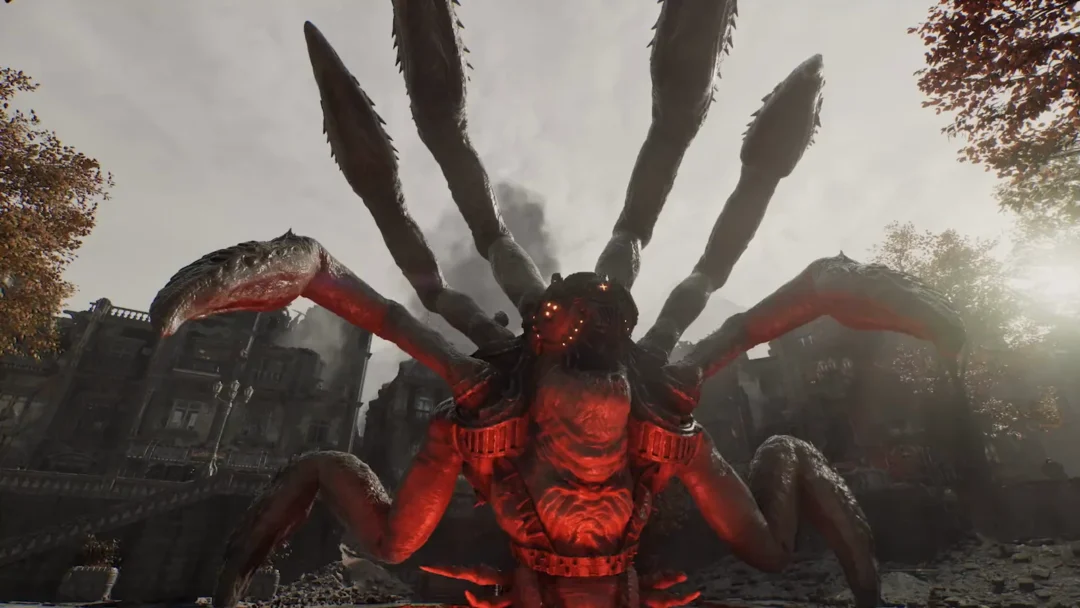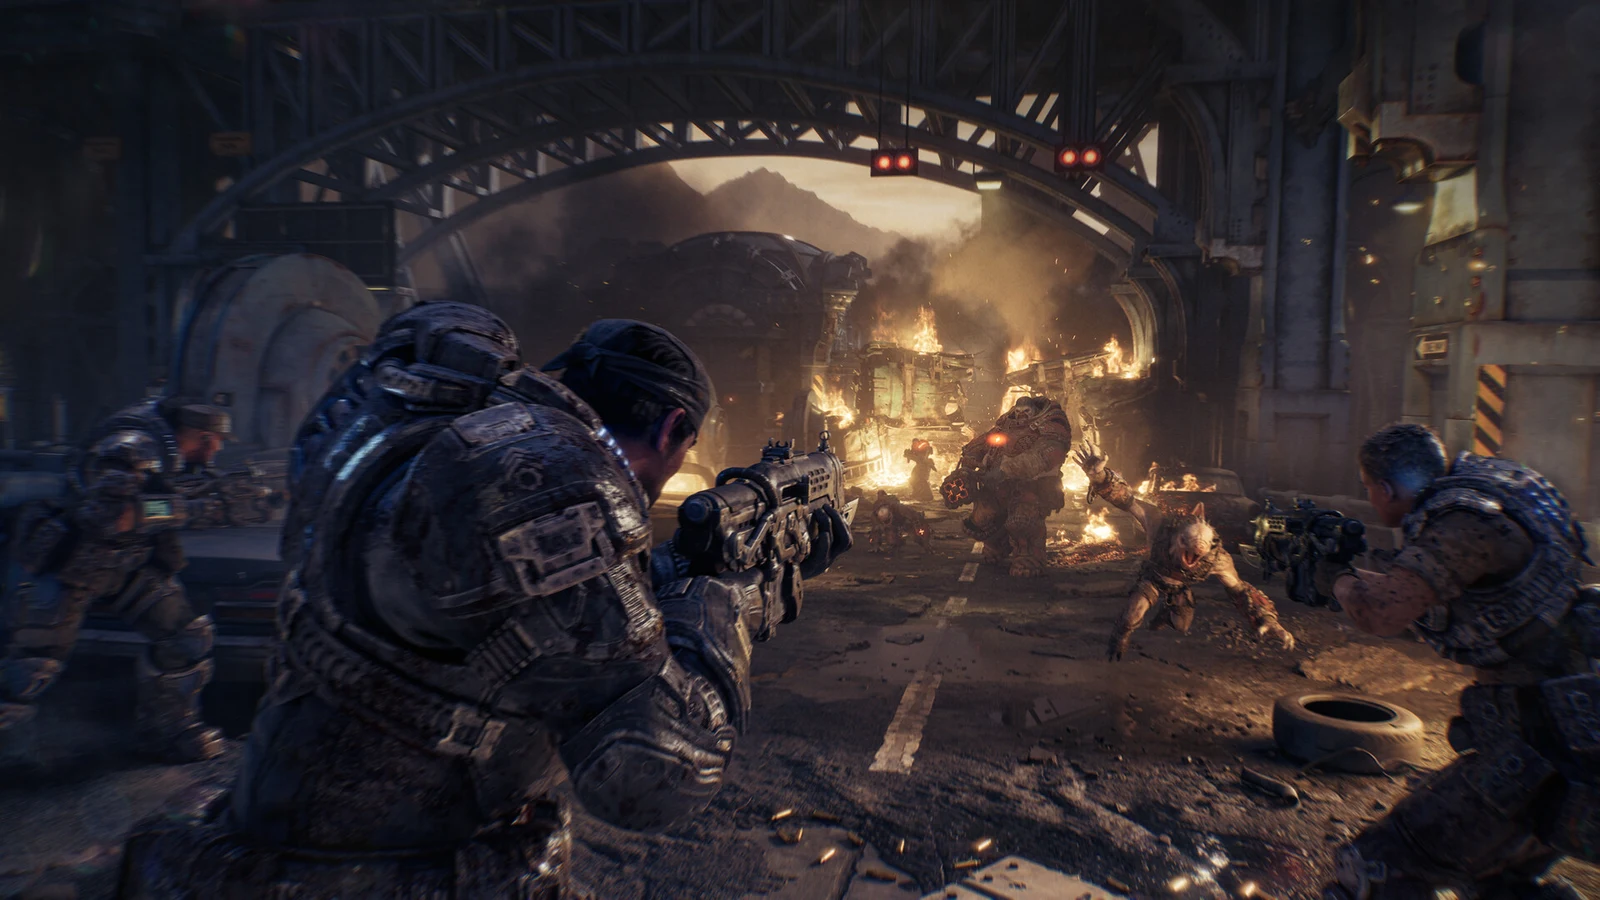
Survival of the Fittest picks up right after Emergence, dropping the Gears inside the Kalona Police HQ as the Locust tear through the city. The run breaks into a handful of clear beats: find the Armory, fight through the station, clear the streets, push to the Recruitment Center, and walk the survivors back home. Four collectibles are tucked into those stops, and none of them force a detour off the critical path.
Quick answer: Reach the Armory underground, survive the Rusher QTE by mashing X, clear the shooting range and station, save the civilians at the bus, then escort the Recruitment Center group back to the station to end the chapter.
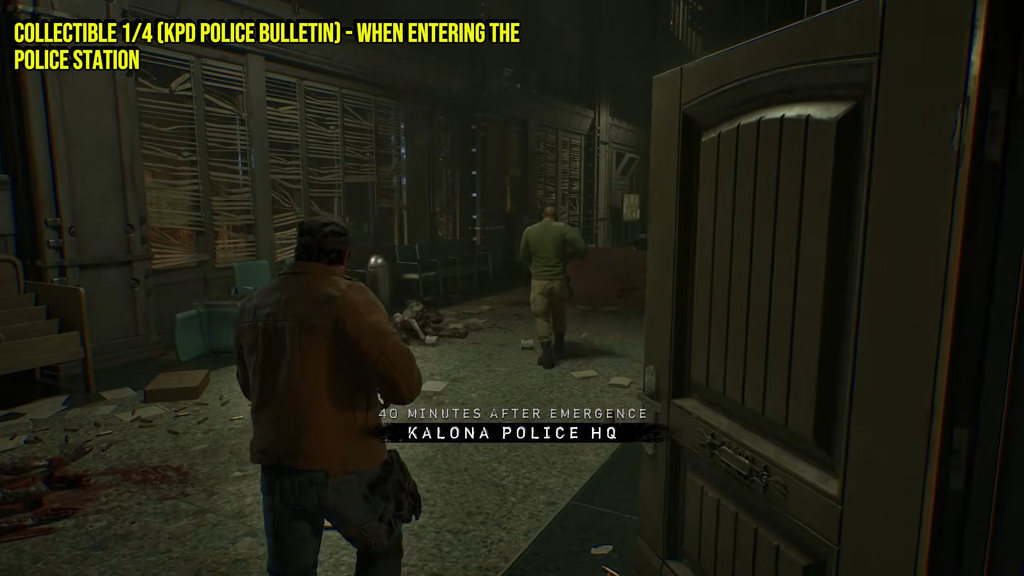
Find the Armory in the Kalona Police HQ
The station is empty of living cops when you take control. Your job is to work down into the basement and reach the Armory, picking up supplies from the bodies on the way.
Shooting range fight and clearing the station
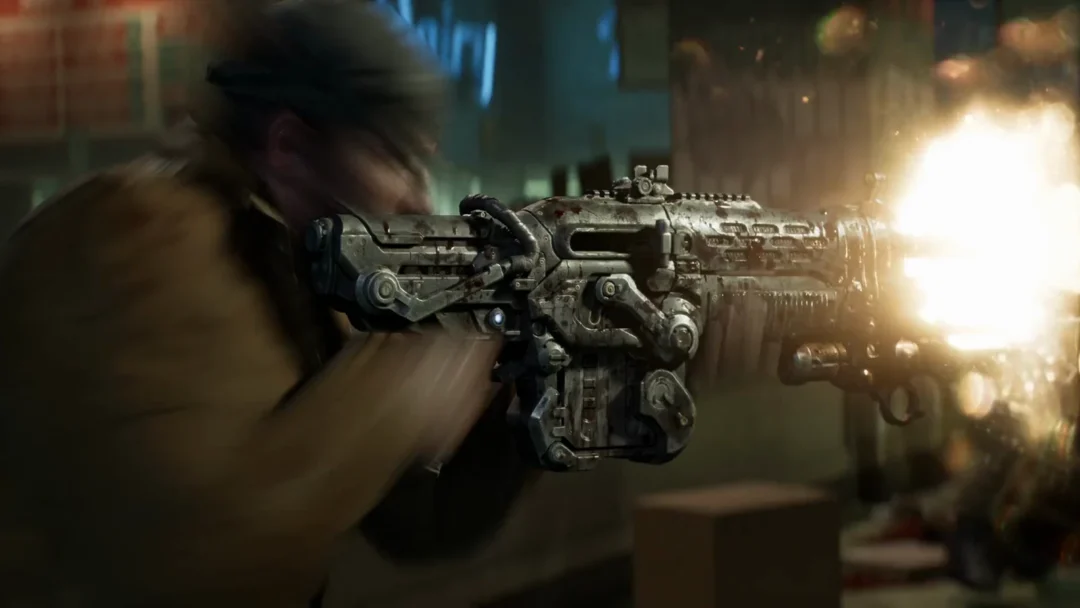
Inside the Armory, pick up one of the Lancer Mk1s on the floor in front of you and grab ammo for it. Once the squad is armed, move through the metal door into the shooting range.
Press the button at the firing lane to start moving targets and get a few practice shots in. Seconds later the floor opens and Locusts swarm the range. Use the aim you just warmed up and go for headshots to drop them fast.
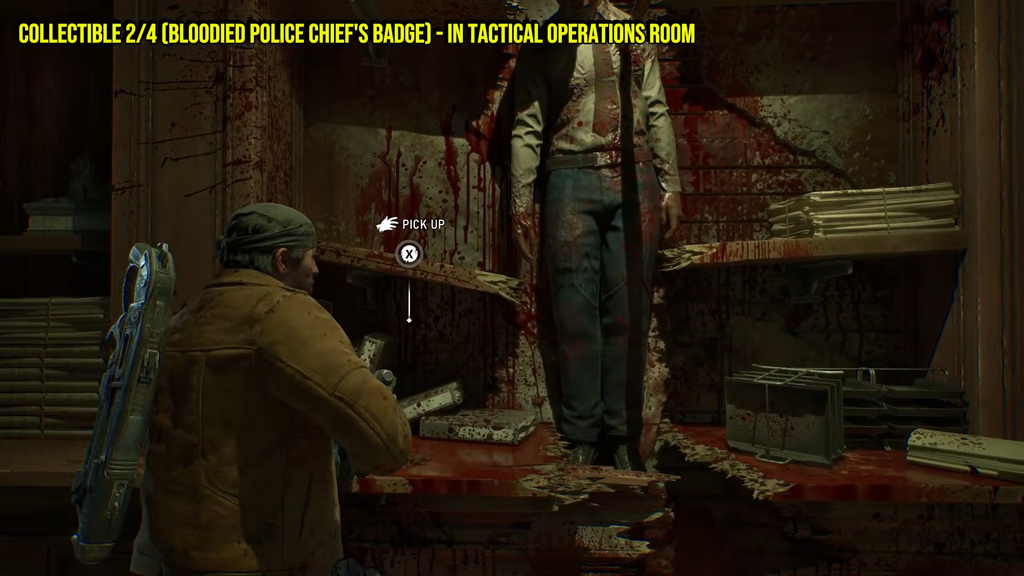
With the range clear, take the door on the left, go down the staircase, and follow the corridor into the Tactical Operations room full of computer stations. A police officer’s body is spiked into the shelf here. Search the shelf beside it to collect the Bloodied Police Chief’s Badge, your second collectible. Keep going through the next room and out the exit door.
Save the civilians at the bus
Outside, Locusts are cutting down civilians across the lot. Clear every enemy to end the massacre. The Gnasher is the stronger pick against Rushers up close, and if one pins you or a teammate, mash X to break free and stab it.
Once the area is quiet, open the door of the bus in the center to let the trapped survivors into the station. A man then runs up to warn you that more civilians are pinned down at the Recruitment Center.
Reach the Recruitment Center
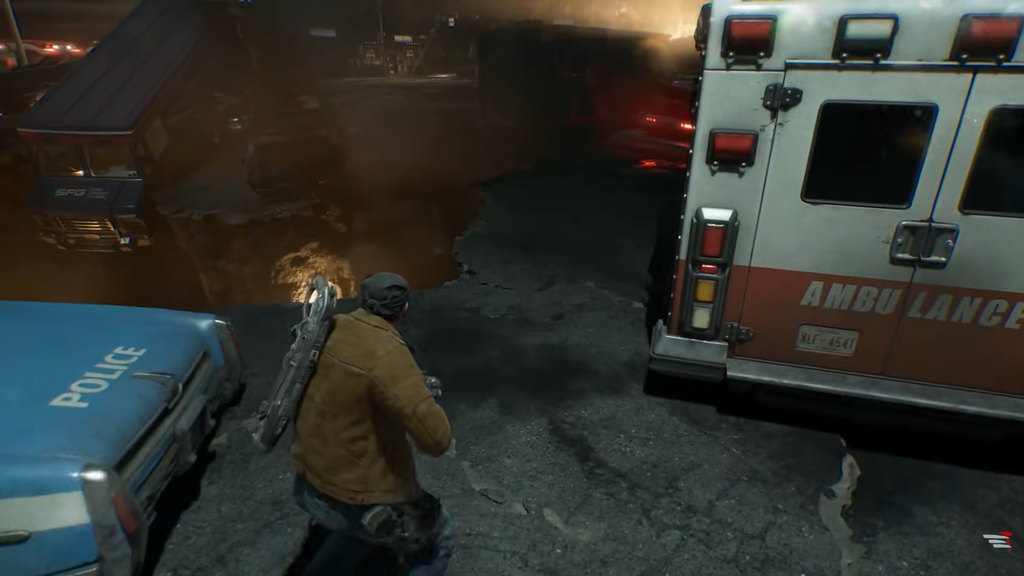
Follow Lucas down the left road toward the next block. Climb over the car and truck to reach the street ahead, turn left, and keep moving. Gunfire guides you forward.
At the blockage, turn right into the alley. A Drone opens fire at the intersection and takes some patience to drop. Use the dumpster for cover and aim carefully. Once it and the others are down, grab the Hammerburst rifle further along.
Climb the metal ladder on the left and vault through the broken window. Enemies open up from a building in the distance, so stay in cover and pick them off. Jump out the window on the right, drop down, and finish clearing the Groundwalkers outside the Recruitment Center before heading to its main door.
Both Recruitment Center collectibles
Inside the lobby you’ll find the last two collectibles close together. The Army Recruitment Pamphlet sits on the reception table, straight behind the counter. The Try On Pilot Helmet is on the display to the right of that same counter. Grab both before you move the group out.
Escort the civilians back to the station
Finish by escorting the rescued group to the police station. Use the building’s right-side exit and continue straight ahead. Look for an opening beside the road on your right, drop down through it, and proceed to the station.
A cutscene triggers as you arrive, confirming the chapter is complete. From here the campaign moves on to Act 1, Chapter 3, “A Gear in Need.”
All four Survival of the Fittest collectibles
| # | Collectible | Location |
|---|---|---|
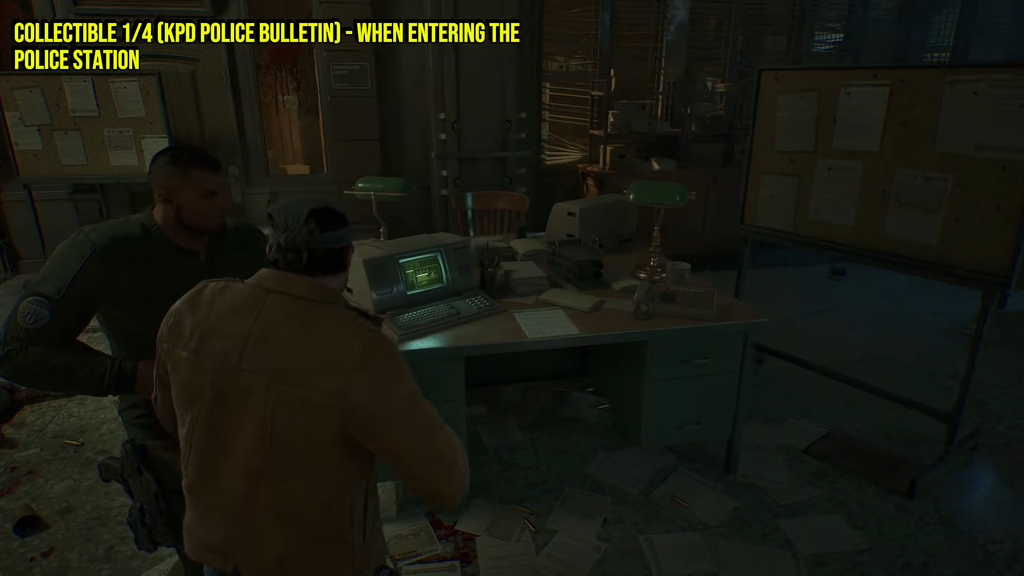
| 1 | KPD Police Bulletin | On a table to the left at the very start of the chapter. |
| 2 | Bloodied Police Chief’s Badge | On the shelf beside the impaled officer in the Tactical Operations room. |
| 3 | Army Recruitment Pamphlet | Behind the reception counter in the Recruitment Center lobby. |
| 4 | Try On Pilot Helmet | On the display to the right of the same counter. |
All four collectibles sit directly on or just off the critical path, so you can finish the chapter with every pickup in one run without backtracking.