Dire is the sixth and hardest difficulty in Stygian Onslaught, and the Version 7.0 lineup pairs three level 110 bosses that each ignore raw damage until you solve their shield. The Chimeric Winged Lion, Veteran Wind Operative, and Knuckle Duckle all open the fight by making themselves nearly immune, and the reaction you bring is what decides whether the run takes 60 seconds or times out.
Quick answer: Bring a Stellar-Conduct team to the Chimeric Winged Lion, a Bond of Life carry such as Arlecchino to the Veteran Wind Operative, and a Lunar-Charged team to Knuckle Duckle, with zero shared characters, weapons, or artifacts between the three battlefields. Finish all three inside 180 seconds total to earn the weapon skin reward.
Dire difficulty rules that shape your rosters
Dire is not just a stat increase over Fearless. The restrictions below are what force players to build three genuinely independent squads rather than recycling one strong core.
| Rule | Effect on your run |
|---|---|
| Enemy level 110 | Highest level in the mode; resistances and HP pools are at their peak |
| Solo only | Co-Op is unavailable, and Dire requires clearing Fearless in single player first |
| No repeat characters | A character cleared in one battlefield cannot appear in another |
| Shared gear wipes records | Moving a weapon or artifact used by a cleared team to another character erases that record |
| Exalted Ones inactive | The HP, ATK, and DEF buffs from other players’ clears do not apply here |
| Two minutes per battlefield | Menacing and above cut the per-boss timer from ten minutes down to two |
| 180-second total objective | The weapon skin reward requires the full three-battle run to finish under 180s, roughly 60s per boss |
Note: the Version 7.0 cycle runs from August 19 to September 22, 2026. The following cycle begins September 30, 2026, and the boss lineup changes with it.
Boss HP and shield mechanics on Dire
| Boss | Dire HP | Defensive mechanic | What removes it |
|---|---|---|---|
| Chimeric Winged Lion | 23.35 million | 40-gauge Electro Ward, plus an Anemo orb phase | Elemental reactions; a Stellar reaction strips 16 gauge instantly |
| Veteran Wind Operative | 17.5 million | White Damage Shield from Hunt Down, plus mass Bond of Life | Direct damage into the shield, which is then reflected back |
| Knuckle Duckle | 25.9 million | White Damage Shield with very high RES, backed by Stamping Devices | Destroying the devices, fastest via Electro-Charged or Lunar-Charged |
Chimeric Winged Lion: Strip the Electro Ward with Stellar reactions
A few seconds into the fight the Lion covers itself in an Electro Ward worth 40 gauge units. Every elemental reaction chips that gauge in proportion to the element applied, but a Stellar reaction removes 16 units in a single hit, so three well-timed triggers end the shield phase almost immediately.
When the Ward breaks, the Lion takes damage equal to what it absorbed and drops into a downed state with heavily reduced Cryo and Anemo resistance. It then flies up to attack, and afterwards spawns Anemo orbs that explode when they touch Pyro, Hydro, Electro, or Cryo. Landing Stellar Glimmer damage during that phase also knocks it down, letting you skip the orb cleanup entirely.
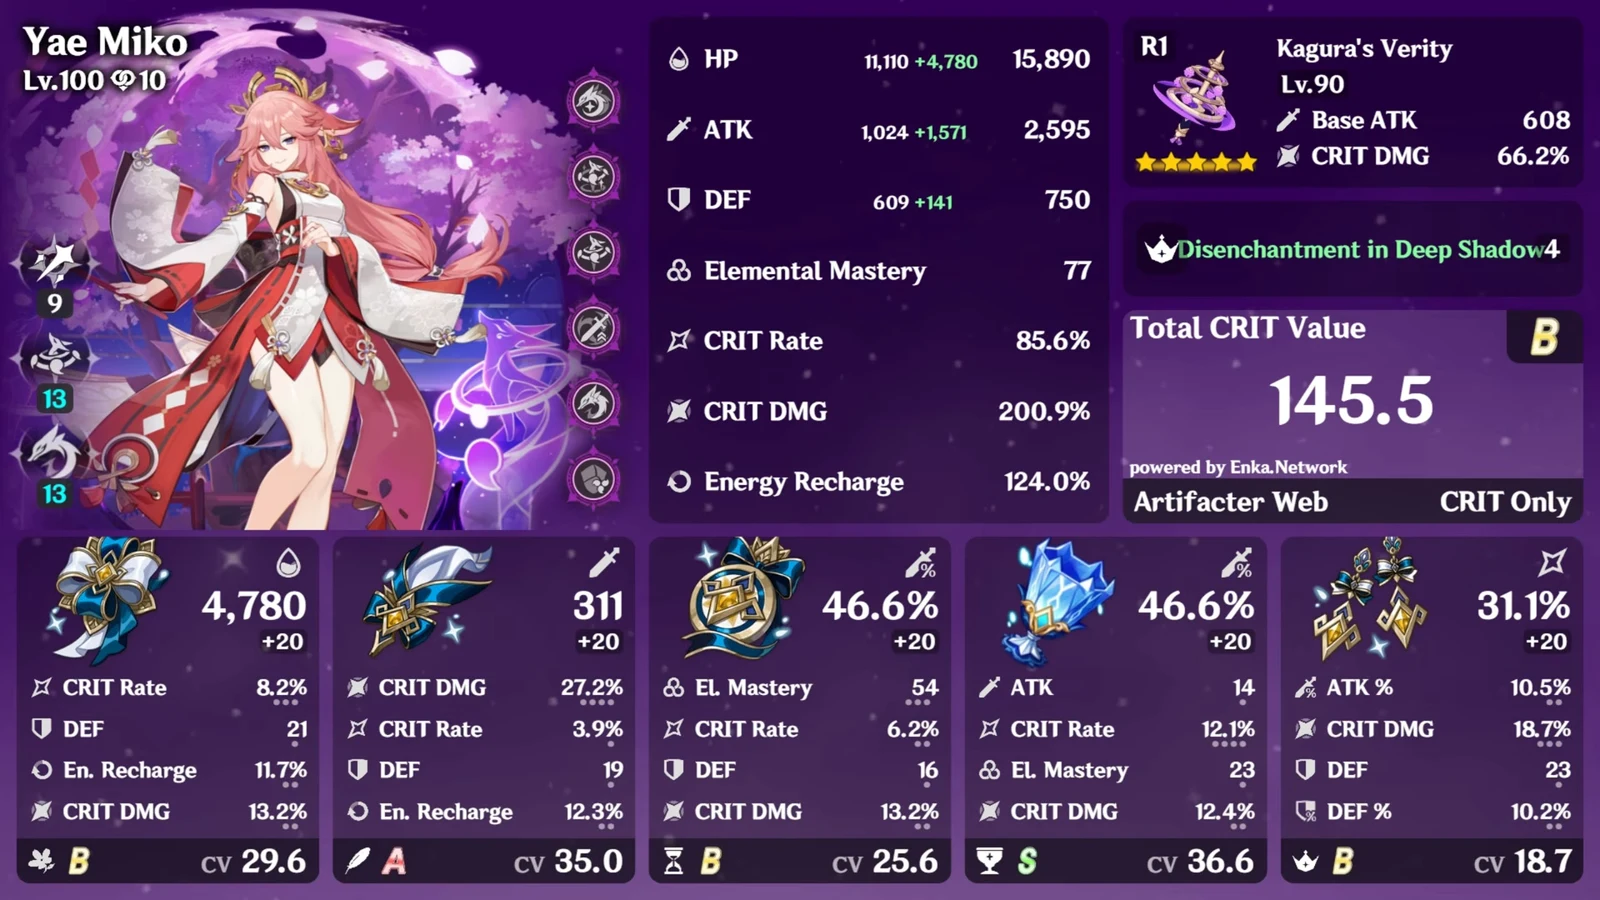
Stellar-Conduct is the cleanest answer because the boss supplies its own Electro aura. A Cryo on-field carry such as Sandrone, Wriothesley, or Cryo Traveler paired with Odette covers both the reaction and the Cryo application needed for fast ward breaks. Yae Miko or a C6 Alyosha fills the third slot, with Nicole, Qiqi, or Escoffier flexing in. Stellar Swirl works too, and non-Stellar options with strong off-element application — Mavuika, Arlecchino, Skirk, Lohen, Nefer — can force it down if their damage is high enough.
Veteran Wind Operative: Bond of Life is the reward, not the punishment
The Operative opens with Hunt Down, spending part of her own HP to gain a White Damage Shield and launch an attack. If that attack connects with an unshielded character, she heals and leaves a heavy damage-over-time debuff on your active unit. While her shield holds, she stacks a very large, effectively unhealable Bond of Life on the whole party.
That Bond of Life is exactly what Arlecchino and Clorinde want, which makes an Arlecchino team the strongest and most forgiving pick here. Support choices are open — Nicole, Chevreuse, Fischl, Mona, Sucrose, Citlali, and Xilonen all fit. Because a White Damage Shield blocks the bonus from Vaporize and Melt, amplifying reactions are worth less than usual until the shield falls.
Bring a shield of your own or commit to dodging. Citlali or Nicole handle it, and even a partial shield is enough to block the Hunt Down debuff. Break the shield fast and the boss eats the stored damage; do it quickly enough and she can put it back up roughly three times across the fight. Her Anemo resistance is raised, so Anemo-heavy damage is the one thing to avoid.
Knuckle Duckle: Kill the Stamping Devices, not the boss
Knuckle Duckle shields itself almost immediately and pairs that shield with resistance high enough that brute force is not realistic. It also spawns small Stamping Devices, and each one destroyed cuts a meaningful chunk out of the boss’s Ward. The devices die to normal damage, but they also count instances of Electro-Charged and Lunar-Charged, and dismantle themselves once they have taken enough.
Clearing every device drops the Ward, removes the extra resistance, and further lowers the boss’s Electro RES for a window. Flins with Columbina and Ineffa is the benchmark team, with Sucrose or another grouper in the flex slot; Ineffa’s Electro shield matters because the boss deals heavy Electro damage while you are busy with the adds. Columbina and Ineffa cores hold up with other on-fielders too, and Zibai, Nefer, Lauma, Mavuika, Arlecchino, or Skirk teams can clear it if they are vertically invested.
Splitting twelve characters across three battlefields
Plan all three lineups before you enter anything. The strongest units usually want to be in two places at once — Arlecchino, Mavuika, and Skirk are all valid answers to more than one boss — so assign them where they are irreplaceable first. The Lion demands a Stellar core, the Duckle demands a Lunar-Charged core, and the Operative is the most flexible of the three, which makes it the natural home for whichever high-damage team is left over.
Gear counts as part of the roster. If a cleared team’s weapon or artifact set moves onto a character in another battlefield, the game warns you and confirming wipes the earlier record. Duplicate sets like Marechaussee Hunter, Golden Troupe, Noblesse Oblige, Scroll of the Hero of Cinder City, and Tenacity of the Millelith need to exist twice if two teams both want them.
Test each rotation before you spend a Dire attempt
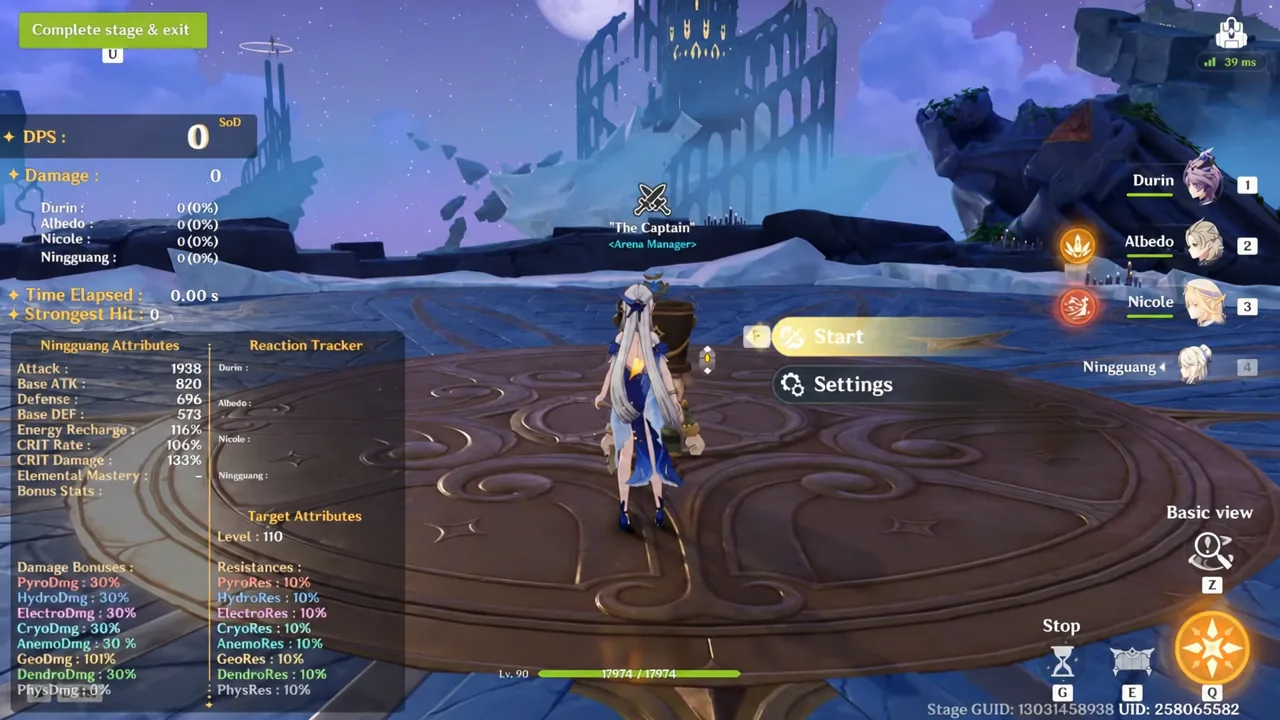
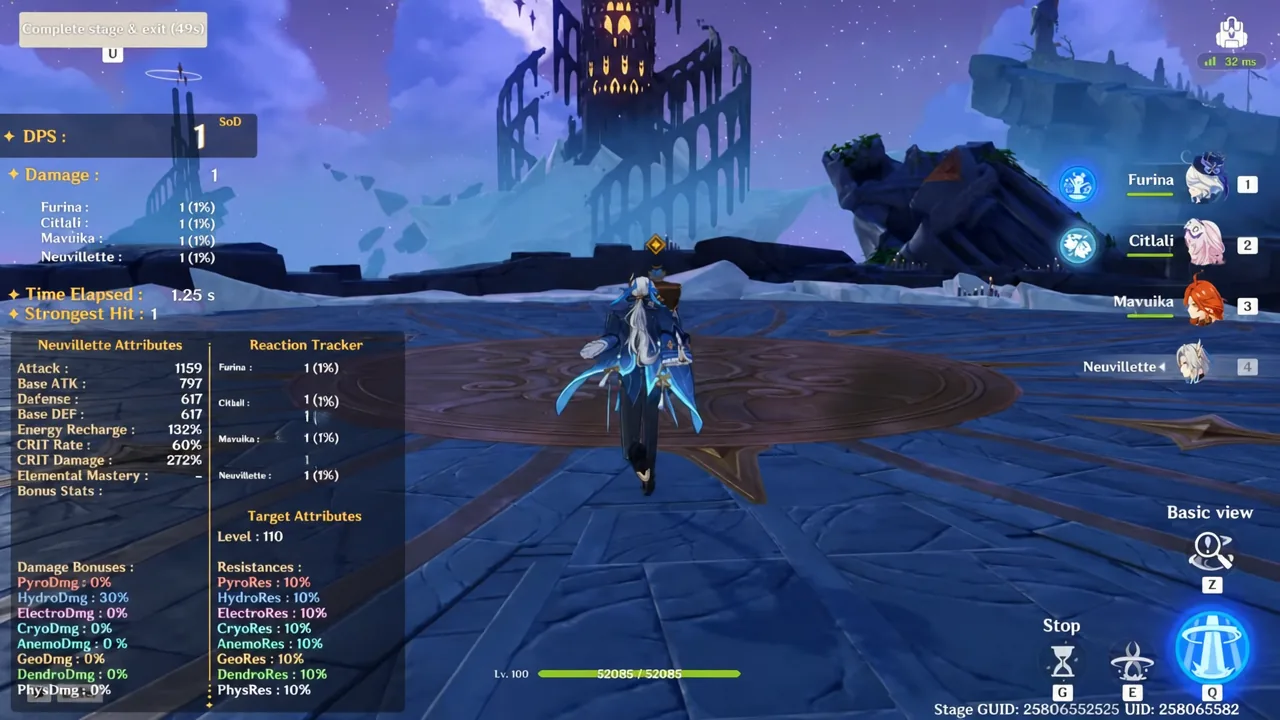
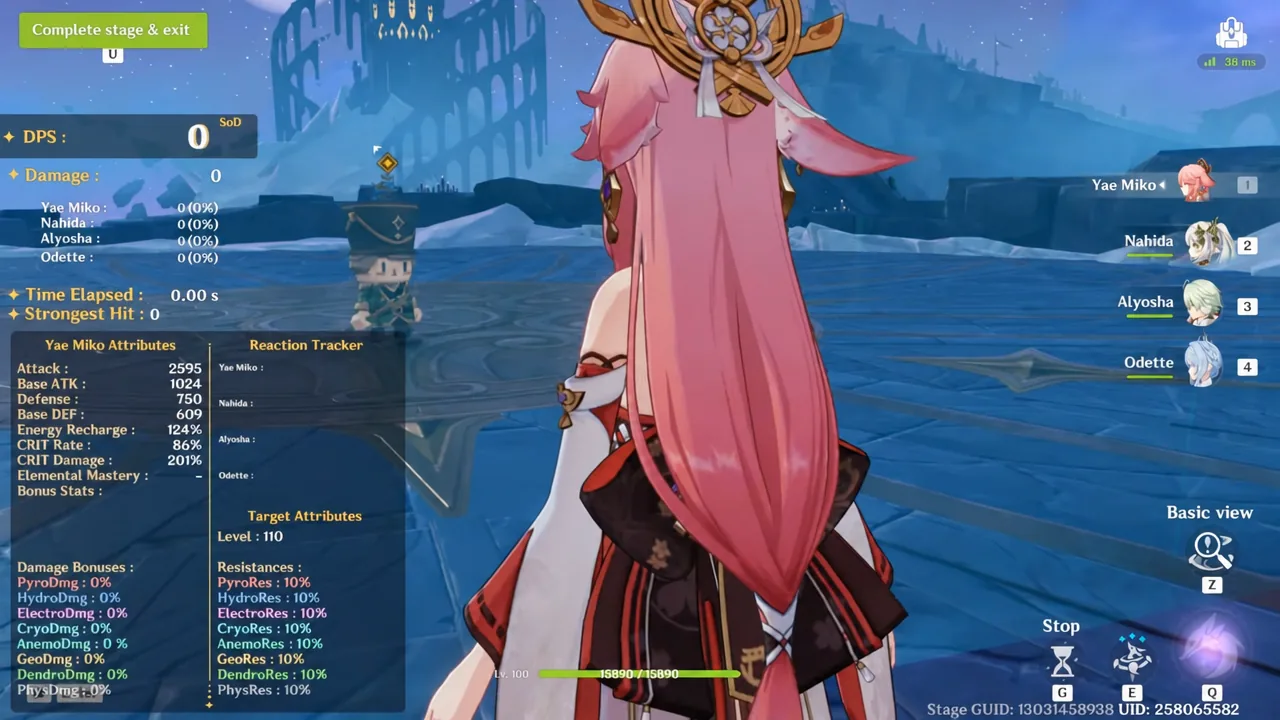
Because Dire gives you two minutes per battlefield and a 180-second total target, it is worth knowing what each rotation actually outputs before you commit. A Level 110 Ruin Guard is a convenient benchmark since it matches Dire’s enemy level.
Clear times and how to confirm the run counted
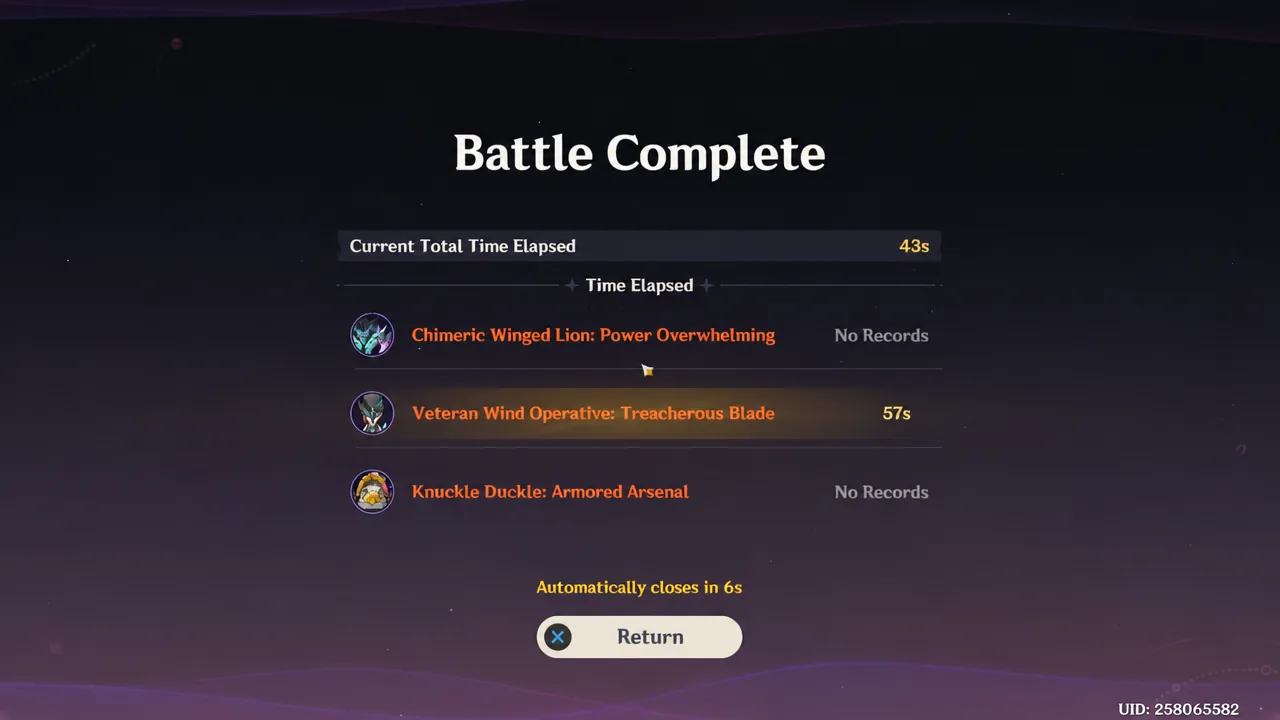
Each battlefield ends with a Battle Complete screen naming the boss and its modifier, along with the elapsed time so far. The running total carries across all three fights, so you can tell after the second battle whether the 180-second objective is still reachable.
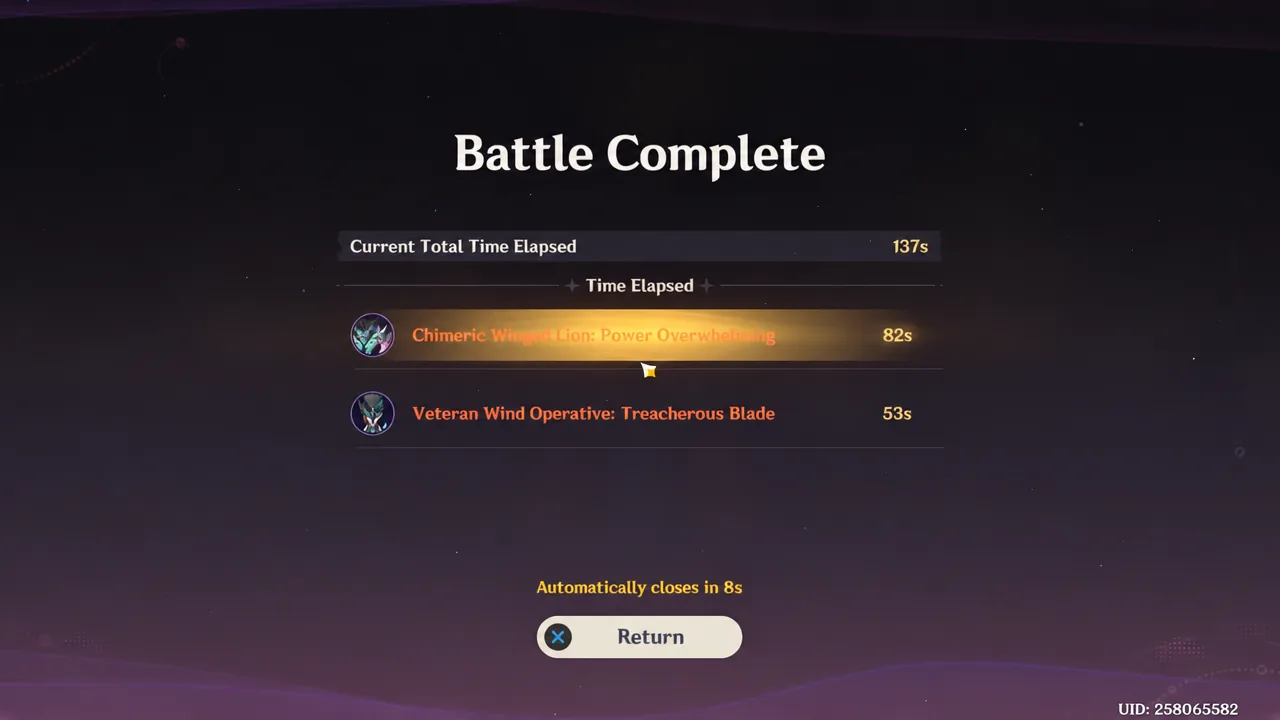
A heavily invested showcase run split the challenge as 57 seconds on the Veteran Wind Operative, 87 on the Chimeric Winged Lion, and 68 on Knuckle Duckle, for 212 seconds total. That is a comfortable Dire clear but still misses the 180-second skin objective, which shows how tight that target is even at very high investment. Some showcase lineups use characters that are not available on live accounts, so treat those splits as a reference point rather than a target to copy.
Once all three battlefields are done, the challenge is marked complete for that difficulty and the parties you used are granted Eminence. Enough Eminence from players across a server turns a character into an Exalted One, which is checked at daily reset.
The most common reasons a Dire run fails
- Attacking the Chimeric Winged Lion’s Ward with raw damage instead of reactions, which wastes most of the two-minute timer.
- Taking the Hunt Down attack unshielded, which heals the Veteran Wind Operative and leaves a heavy damage-over-time debuff on your active character.
- Ignoring the Stamping Devices and hitting Knuckle Duckle directly while its resistance is still raised.
- Moving a weapon or artifact from a cleared team onto another character, which erases the earlier battlefield record.
- Building around Vaporize or Melt for the Operative or the Duckle, where a White Damage Shield cancels the reaction multiplier.
Dire rewards preparation more than execution. If the three cores are correct — Stellar for the Lion, Bond of Life for the Operative, Lunar-Charged for the Duckle — and the gear is genuinely split three ways, the fights themselves become short. The 180-second skin objective is the part that usually demands constellations and refined weapons on top of that.