
Vesna is a 5-star Anemo sword user built entirely around Stellar Swirl, and her damage ceiling depends far more on who stands behind her than on her own stat sheet. On her own she barely scratches a boss. Surrounded by the right Cryo enablers and resistance shredders, the same C0 Vesna can post a total of roughly 4.7 million damage in a single rotation.
Quick answer: Run C0 Vesna on 4-piece Scarlet Proof with Beyond the Chrysalis, alongside C6 Odette, C6 Faruzan, and C6 Vodyanitsa, then execute the N1C rotation for about 4.7 million total damage.
Why C0 Vesna scales past 4 million damage
Vesna’s Elemental Skill, The Art of Victory, puts her into the Armed for Action state for 15 seconds. Her Normal, Charged, and Plunging Attacks turn into Anemo damage that no other infusion can overwrite, and a wind pinion strikes alongside her while feeding her Sword Essence. Spending that Sword Essence fires the special skill Windborne Sword, which climbs from Lv. 1 to Lv. 3 within a single Armed for Action window and summons Spirit Blades at Lv. 2 and Lv. 3.
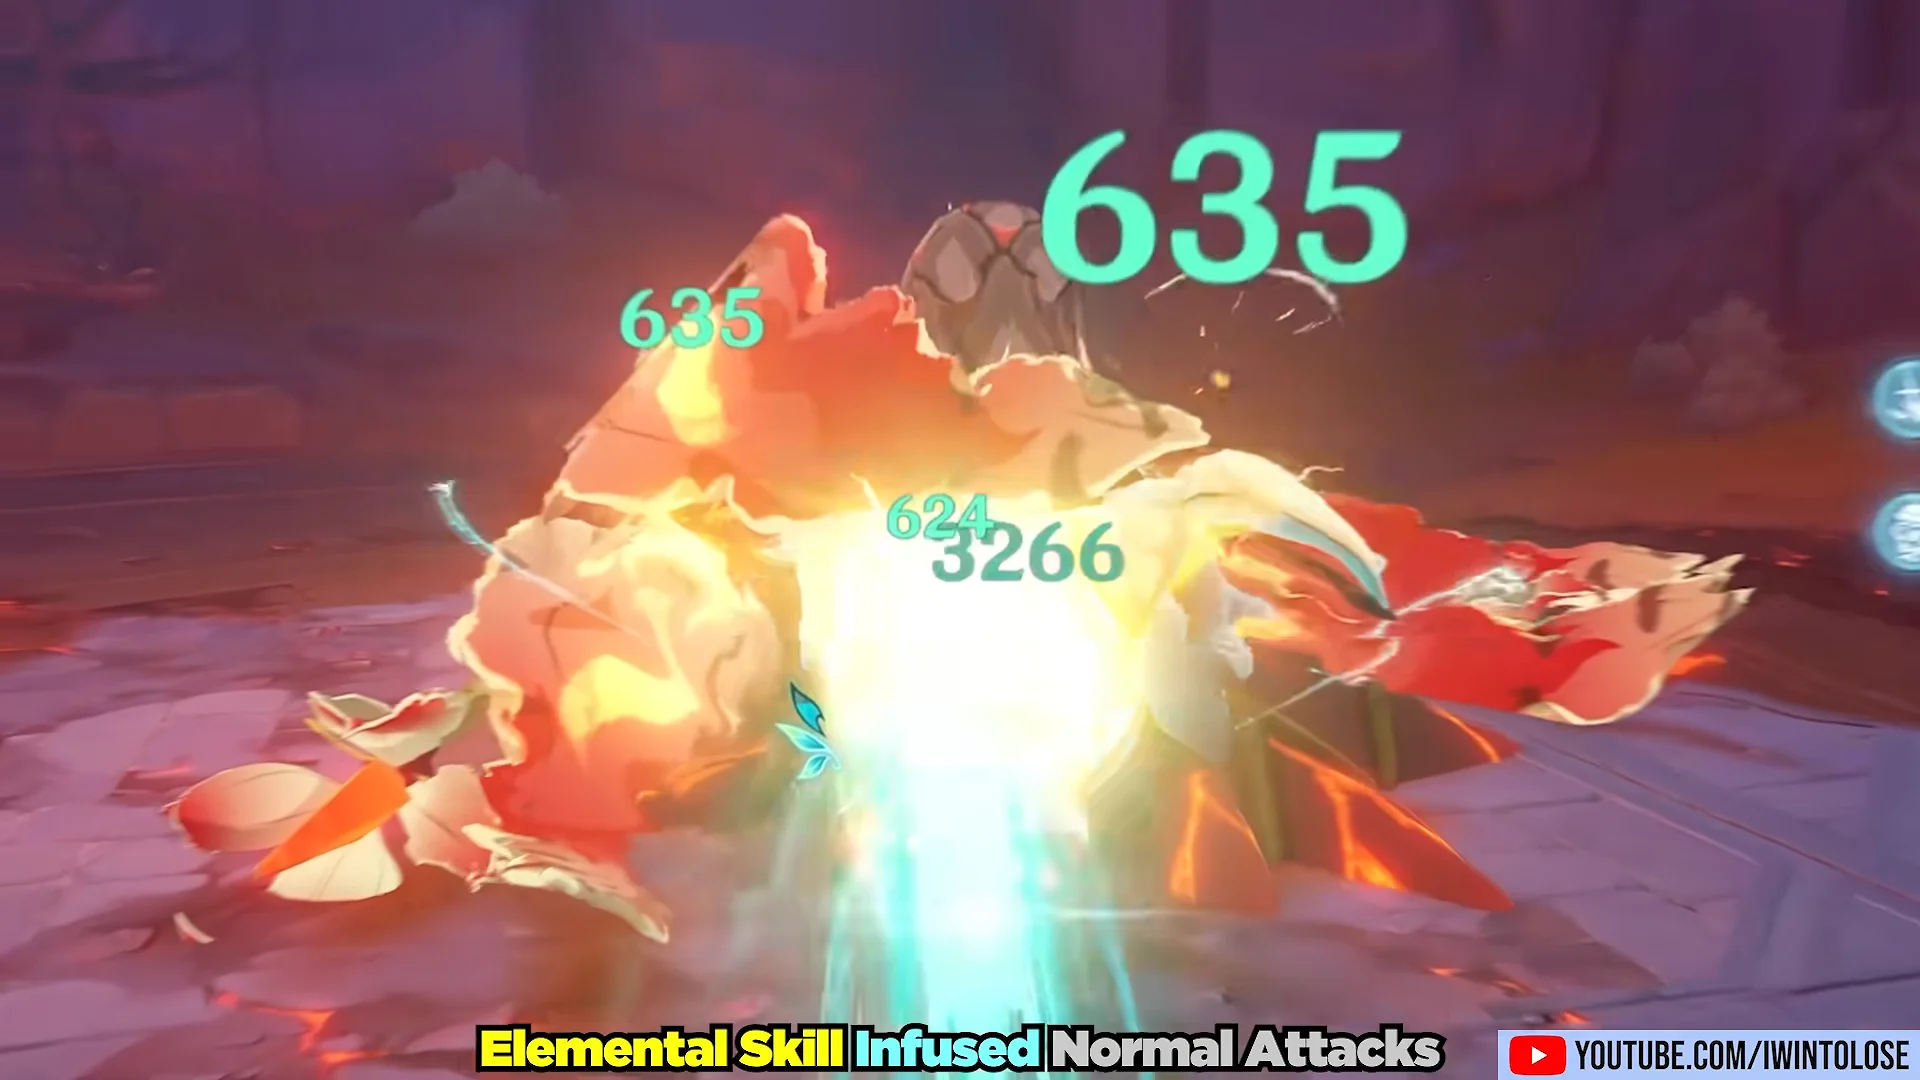
The multiplier that matters is Radiance: Stellar Swirl. While Vesna is in that state, Spirit Blade damage is counted as Stellar Swirl reaction damage rather than ordinary Anemo damage, and it scales with reaction buffs, elemental mastery, and ATK all at once. That is why stacking Stellar Swirl damage bonuses multiplies her output instead of adding to it.
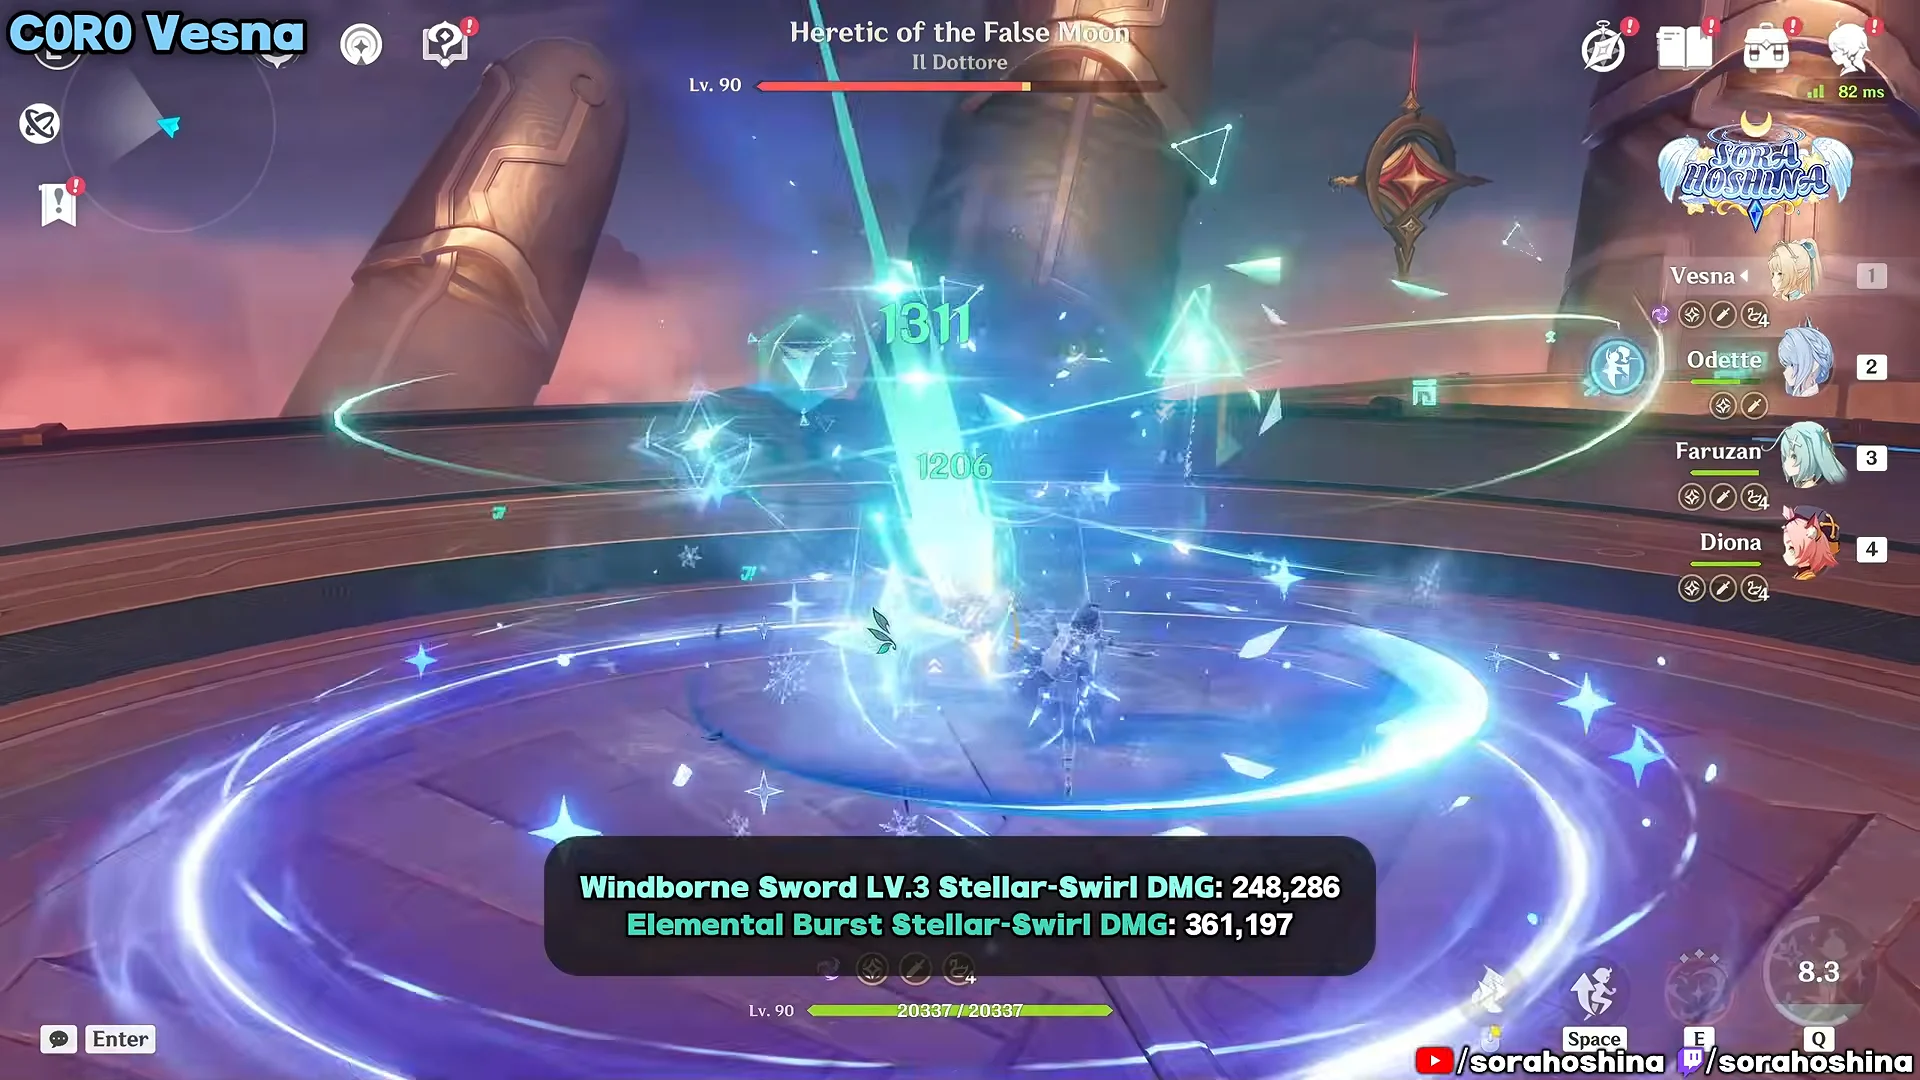
Her passive Stellar Jubilee: Splendid Prelude is the gate. When a party member triggers Cryo Swirl, it converts into Stellar Swirl, and Vesna enters Radiance: Stellar Swirl for 8 seconds. No Cryo unit means no conversion, and her whole kit collapses back to plain Anemo numbers. Her Burst, For the Tsaritsa!, costs 60 Energy and summons Spirit Blades at a 473.8% multiplier at talent level 10, which also convert while the Radiance state is up.
Vesna’s core build: Scarlet Proof and CRIT-heavy stats
Four-piece Scarlet Proof is the set to farm. Two pieces give 18% ATK, and the four-piece bonus grants 16% CRIT Rate plus 40% Stellar Swirl reaction damage for 10 seconds after she triggers a Stellar Swirl. Viridescent Venerer is the fallback if Vesna is the only Anemo character in the party, since its 40% Anemo and Cryo resistance shred helps the whole team, but it usually lands a percent or two behind.
Stat targets
| Stat | Target |
|---|---|
| ATK | 2,600+ |
| Elemental Mastery | 100+ |
| Energy Recharge | 100%–130% |
| CRIT Rate | 69%–84% |
| CRIT DMG | 180%+ |
Sands and Goblet both want ATK%, with Elemental Mastery as the close second. The Circlet takes CRIT Rate or CRIT DMG. Because Scarlet Proof already hands over 16% CRIT Rate, 84% is the practical cap before you start wasting rolls, and running two other Cryo characters adds another 15% through Cryo Resonance, which lowers that ceiling further.
Talent priority is The Art of Victory first, For the Tsaritsa! second, and Vila Blade Dance last. The showcase build runs 10/10/10.
Sword options
| Sword | Base ATK | Bonus stat |
|---|---|---|
| Beyond the Chrysalis | 674 | 44.1% CRIT DMG |
| Whitelake Frostfeather | 674 | 22.1% CRIT Rate |
| New Bough | 510 | 55.1% CRIT DMG |
| Emberwell | 510 | 165 Elemental Mastery |
| Silver Light | 510 | 41.3% ATK |
Beyond the Chrysalis is her signature and her best-in-slot. Every Elemental Skill or Burst use cycles one of three effects in order, giving 48% CRIT DMG for 10 seconds, then 28% Stellar Swirl reaction damage for 10 seconds, then 3 Elemental Energy at R1, with all three values climbing at higher refinements. Swapping onto it from New Bough is worth roughly 600,000 total damage in a maxed lineup.
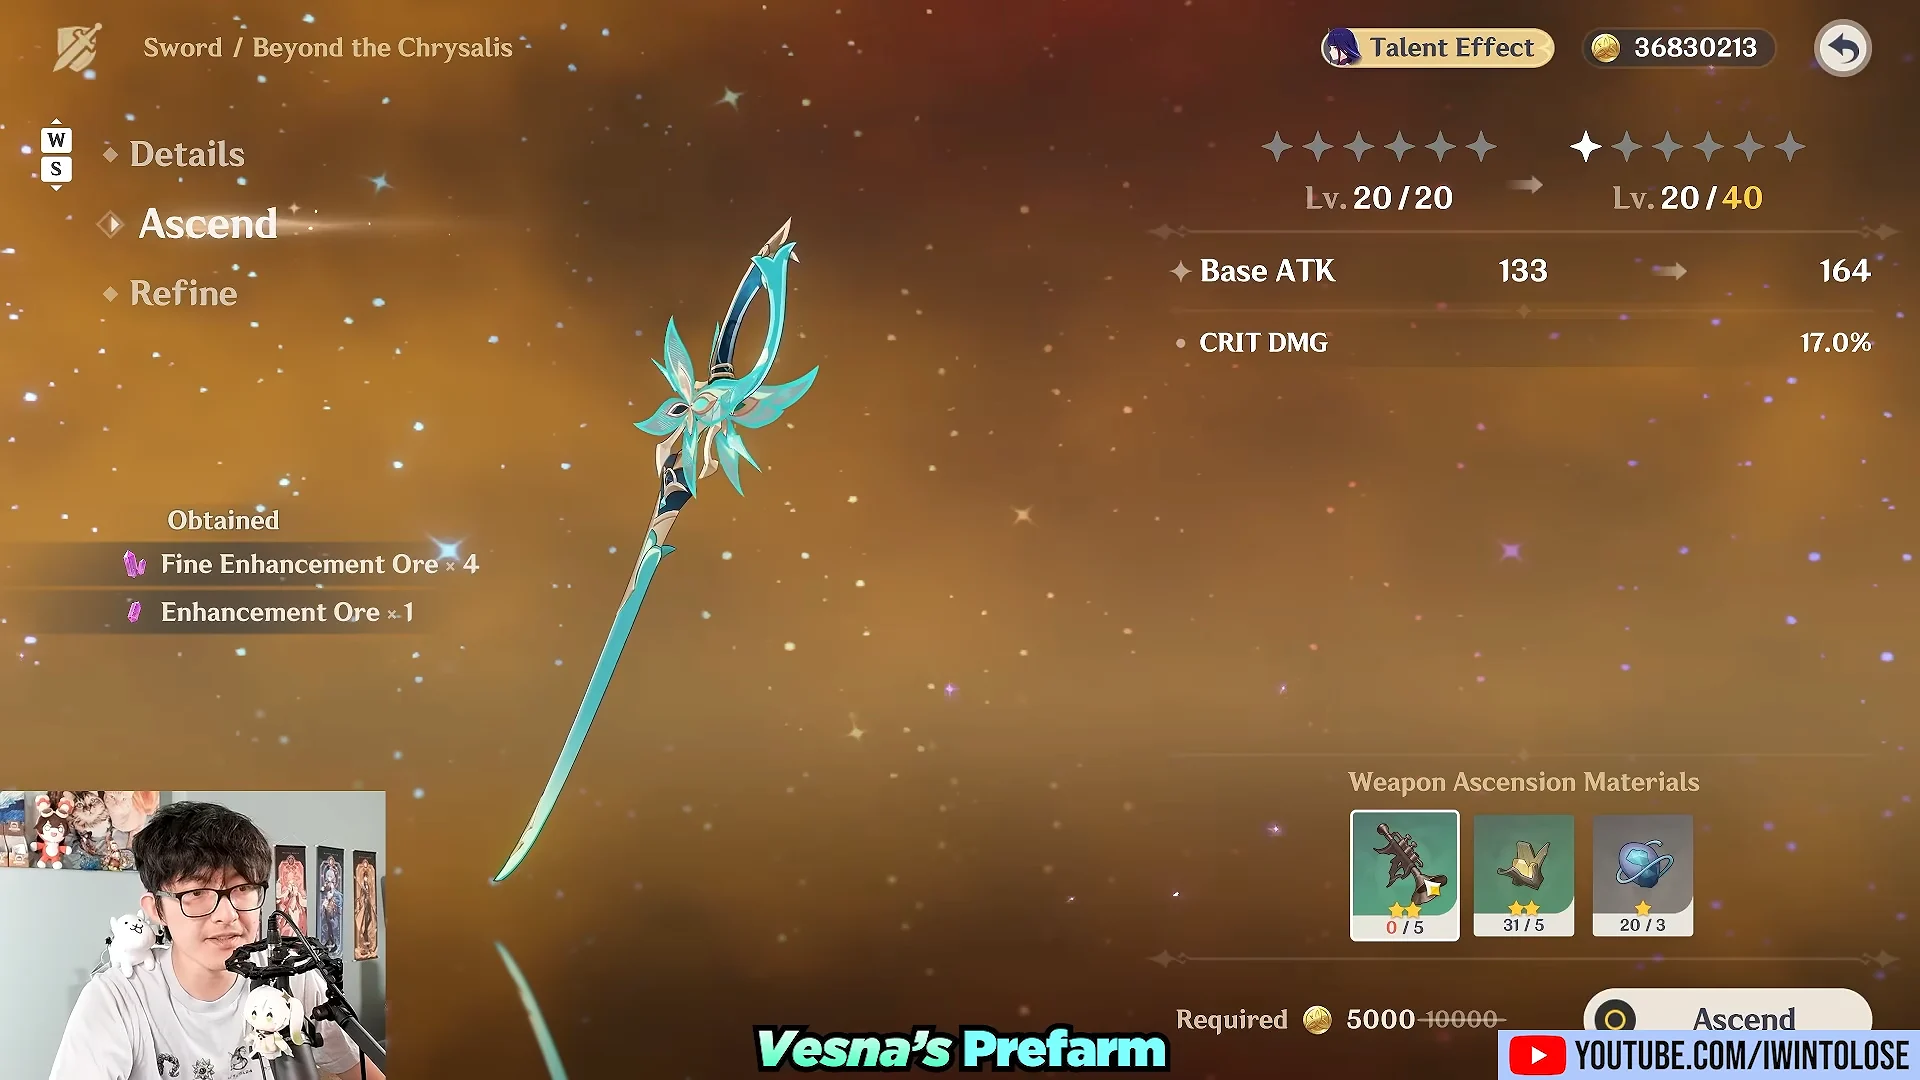
Emberwell is the craftable answer for anyone who skipped the weapon banner. Triggering any reaction gives 16% ATK for 12 seconds at R1, and triggering a Stellar reaction adds another 16% to that reaction’s damage, both of which work off-field. New Bough is a gacha 4-star that stacks ATK, Elemental Mastery, and Stellar reaction damage after a skill use. Whitelake Frostfeather is a solid 5-star alternative, and Silver Light is the event sword that provides up to 208 Elemental Mastery at R5.
Damage totals as each support is added
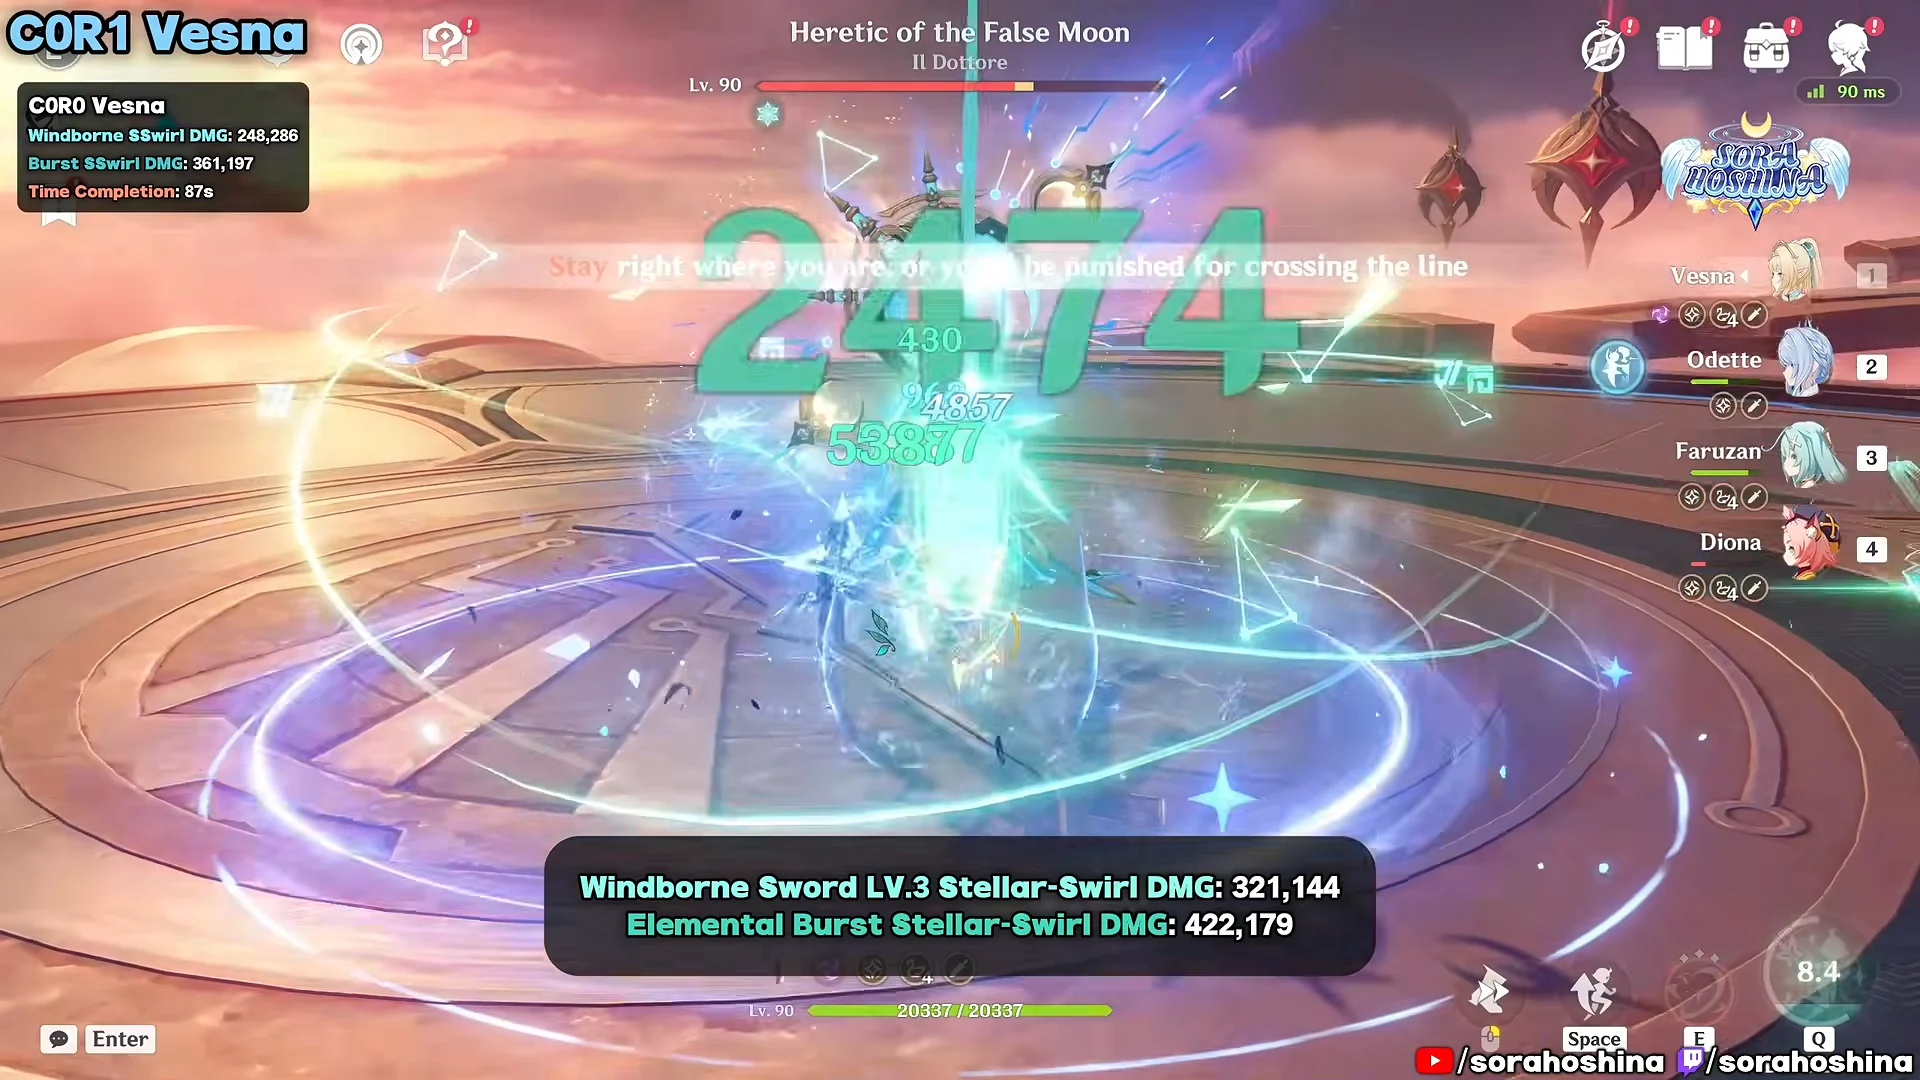
The climb from a five-figure solo hit to 4.7 million is not a single lucky roll. Each swap below was measured against the Algorithm of Semi-Intransient Matrix of Overseer Network with Vesna at level 90, C0, and 10/10/10 talents.
| # | Change | Total DMG |
|---|---|---|
| 1 | Vesna alone, Silver Light R5 | 21,350 (top hit) |
| 2 | Add Rosaria for Cryo | 683,150 |
| 3 | Add Kazuha, 4pc Viridescent Venerer | 702,056 |
| 4 | Rosaria → Diona (C6) | 928,106 |
| 5 | Add Qiqi, 4pc Heart of the Furnace | 1,130,501 |
| 6 | Kazuha → Sucrose with TTDS | 1,196,208 |
| 7 | Diona → Escoffier, 4pc Tenacity | 1,141,440 |
| 8 | Escoffier → Odette (C6) | 2,400,000 |
| 9 | Sucrose → Faruzan (C6) | 2,800,000 |
| 10 | Qiqi → Vodyanitsa (C6) | 3,200,000 |
| 11 | Vodyanitsa takes TTDS | 3,400,000 |
| 12 | Vodyanitsa takes Hymn of the Maelstrom | 3,650,000 |
| 13 | Vesna takes Emberwell | 3,800,000 |
| 14 | Vesna takes New Bough | 4,000,000 |
| 15 | Vesna takes Beyond the Chrysalis | 4,600,000 |
| 16 | N1C rotation | 4,700,000 |
Step 7 is the one regression in the chain. Trading Diona for Escoffier on 4-piece Tenacity of the Millelith speeds up rotations but drops raw output by roughly 55,000, and it only pays off because it clears the slot that Odette takes over in the next step.
The final four-character lineup
Everything above converges on Vesna, Odette, Faruzan, and Vodyanitsa. Odette supplies the Cryo application that keeps Stellar Swirl alive, Faruzan and Vodyanitsa handle resistance shred, and Vodyanitsa doubles as the healer.
Odette
At C6, Odette provides a 60% Stellar reaction damage bonus from her Skill and another 50% from her Burst. Adding her in place of Escoffier is the single biggest jump in the whole chain, taking the total from roughly 1.14 million to 2.4 million. She is the character Vesna was designed around, and no other unit in the lineup comes close to that multiplier.
Faruzan
C6 Faruzan shreds 30% Anemo resistance and adds 40% Anemo CRIT DMG. Because Vesna’s Spirit Blades are still Anemo-typed even while counting as Stellar Swirl damage, both halves of that buff apply directly. She replaces Sucrose for a gain of around 400,000.
Vodyanitsa
C6 Vodyanitsa strips 30% Cryo resistance and 35% Anemo resistance at once, which is why she edges out Qiqi despite Qiqi’s Heart of the Furnace bonuses. Her weapon choice matters too. Thrilling Tales of Dragon Slayers adds 200,000 through its ATK buff, but her signature Hymn of the Maelstrom is worth another 250,000 on top because it pushes her toward her 65,000 HP cap and buffs the active character’s ATK by 14%.
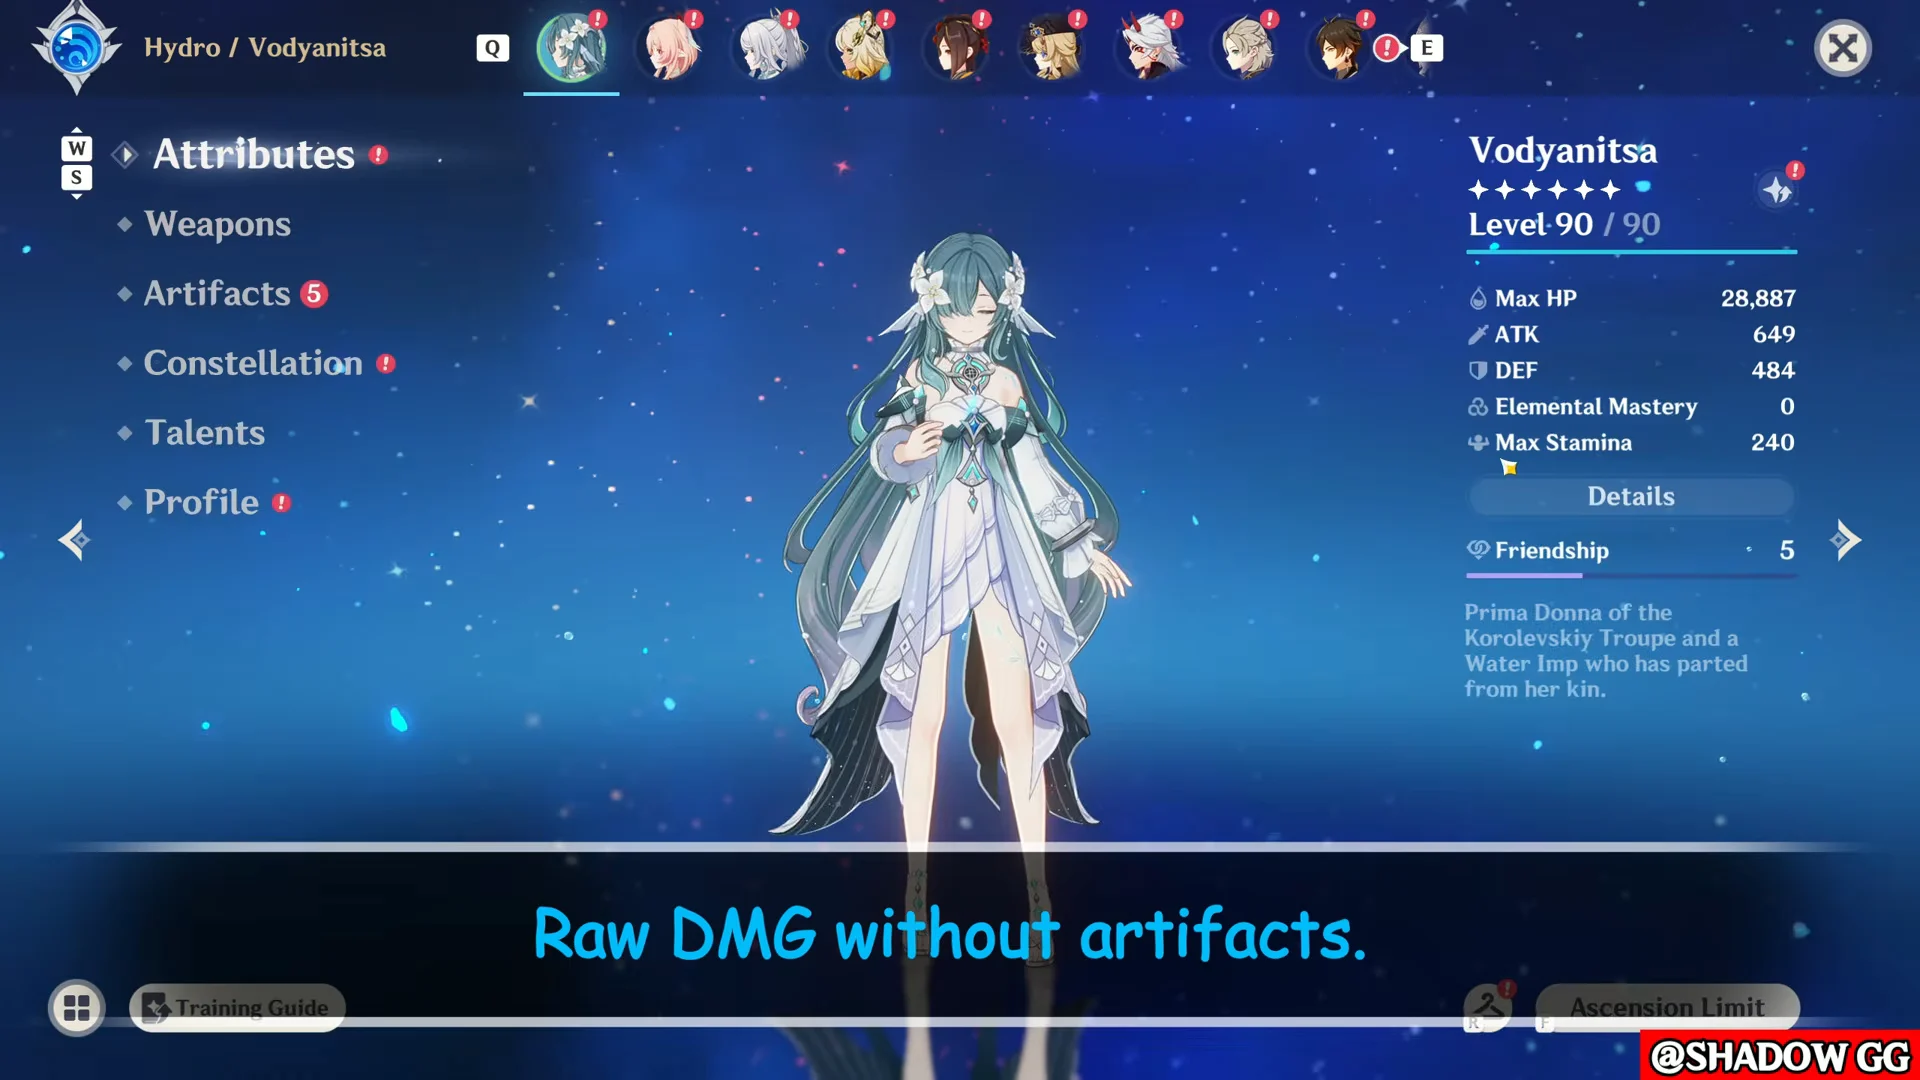
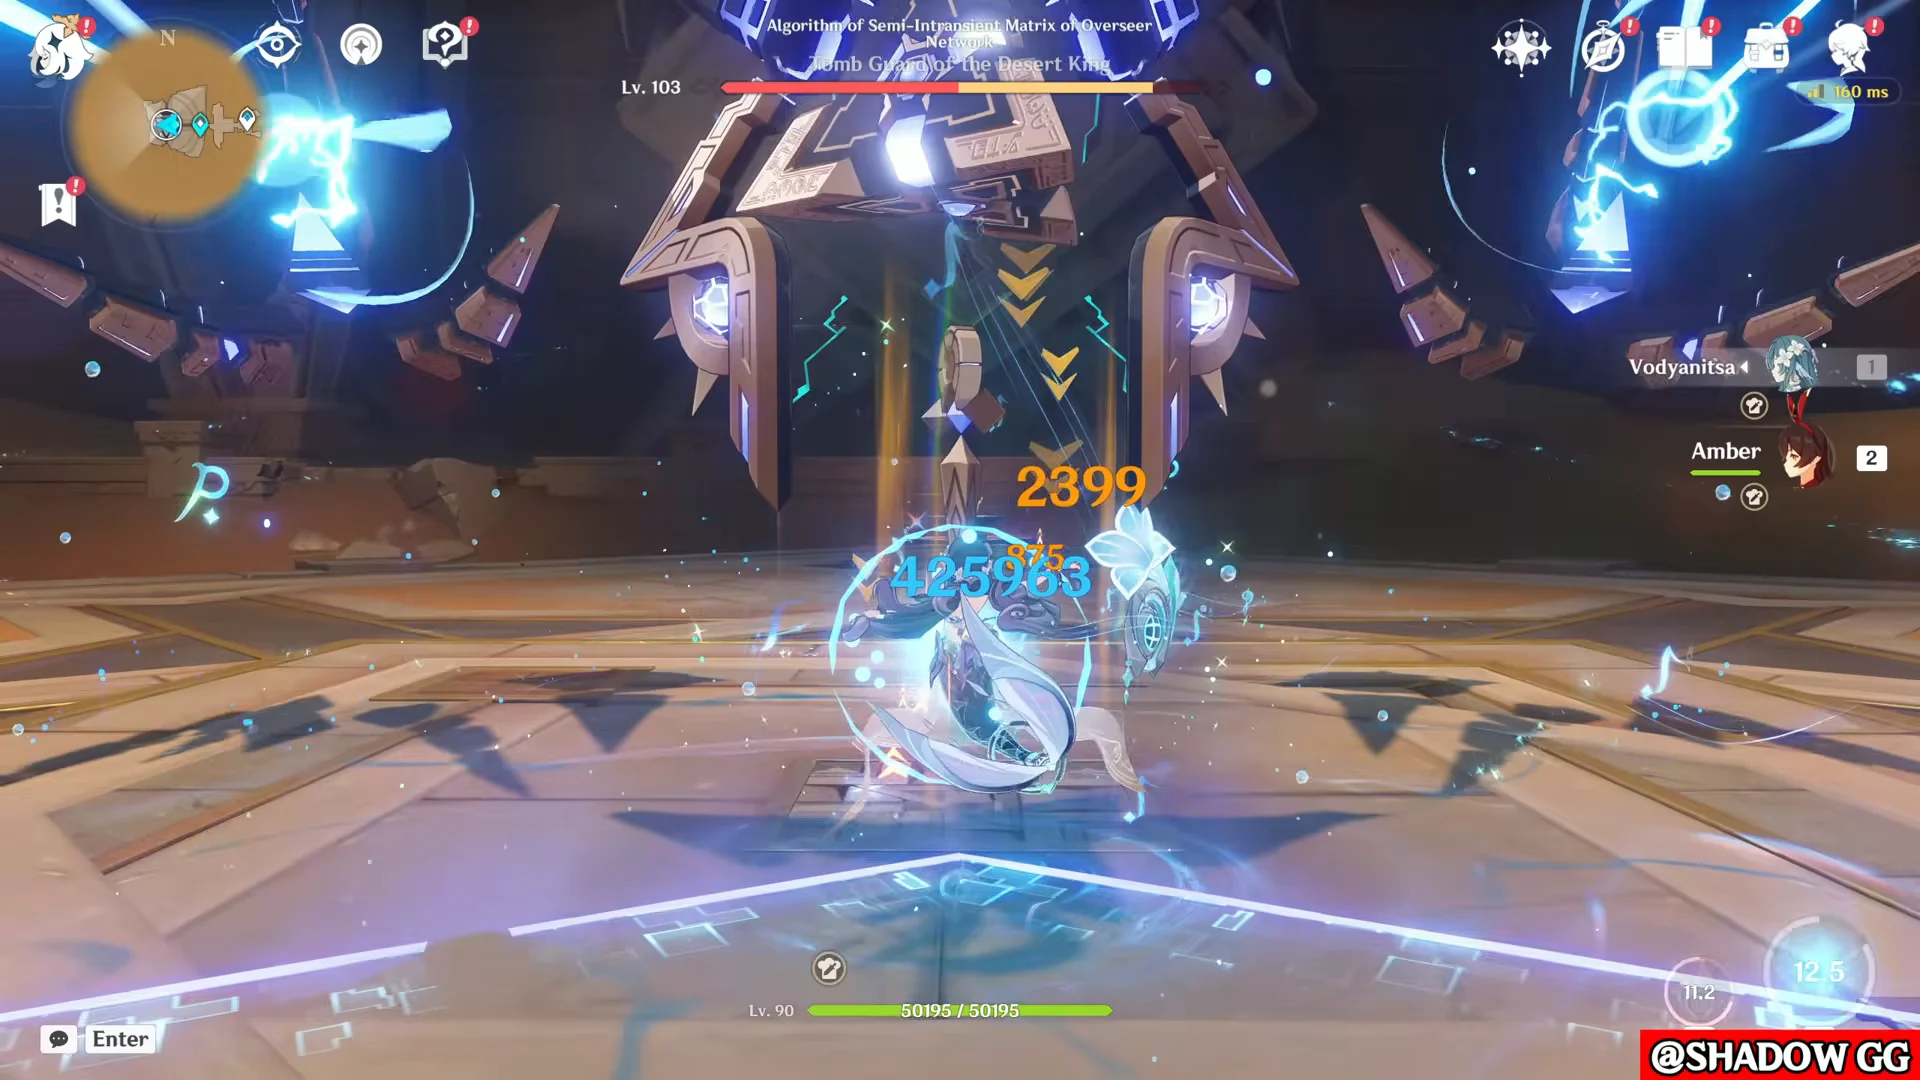
Vodyanitsa is a capable Hydro nuker in her own right, with Vaporize bursts that clear 400,000 on a single hit in dedicated teams. In this lineup none of that matters, since she never triggers a reaction of her own and exists purely to shred resistance and buff ATK.
The N1C rotation that hits 4.7 million
With identical gear, switching from a loose attack string to the N1C combo adds the final 100,000. The sequence cancels the first normal attack into a charged attack, which generates Sword Essence faster and lets Windborne Sword reach Lv. 3 sooner inside each Armed for Action window.
N1C -> N1C -> E -> E -> Q -> E -> Q -> E -> N1C -> N1C -> ELeave Vodyanitsa’s Ultimate out of this rotation. Casting it consumes field time, contributes nothing to the buff chain, and places Vesna’s hits outside the periods when Odette’s and Faruzan’s bonuses overlap.
How to check the setup is working
Watch the reaction text above the enemy. If Vesna’s Spirit Blades are converting correctly, the floating label reads Stellar Swirl rather than plain Swirl, and the damage numbers jump by an order of magnitude compared to her uninfused hits. Seeing only Swirl or Frozen means the Cryo aura is not being read as a Stellar Swirl trigger, and Vesna is not in Radiance: Stellar Swirl.
Two other checks are worth a glance in the character screen. Scarlet Proof’s four-piece bonus should be visible as a CRIT Rate increase shortly after the first Stellar Swirl, and Beyond the Chrysalis should be cycling its three effects in order with each Skill or Burst press rather than repeating the same one.
The 4.7 million figure represents a fully constellated support line and a refined signature sword, so it is a ceiling rather than a target. A C0 Vesna on Emberwell with the same four-character shell still clears 3.8 million, which is the more realistic number for most accounts.