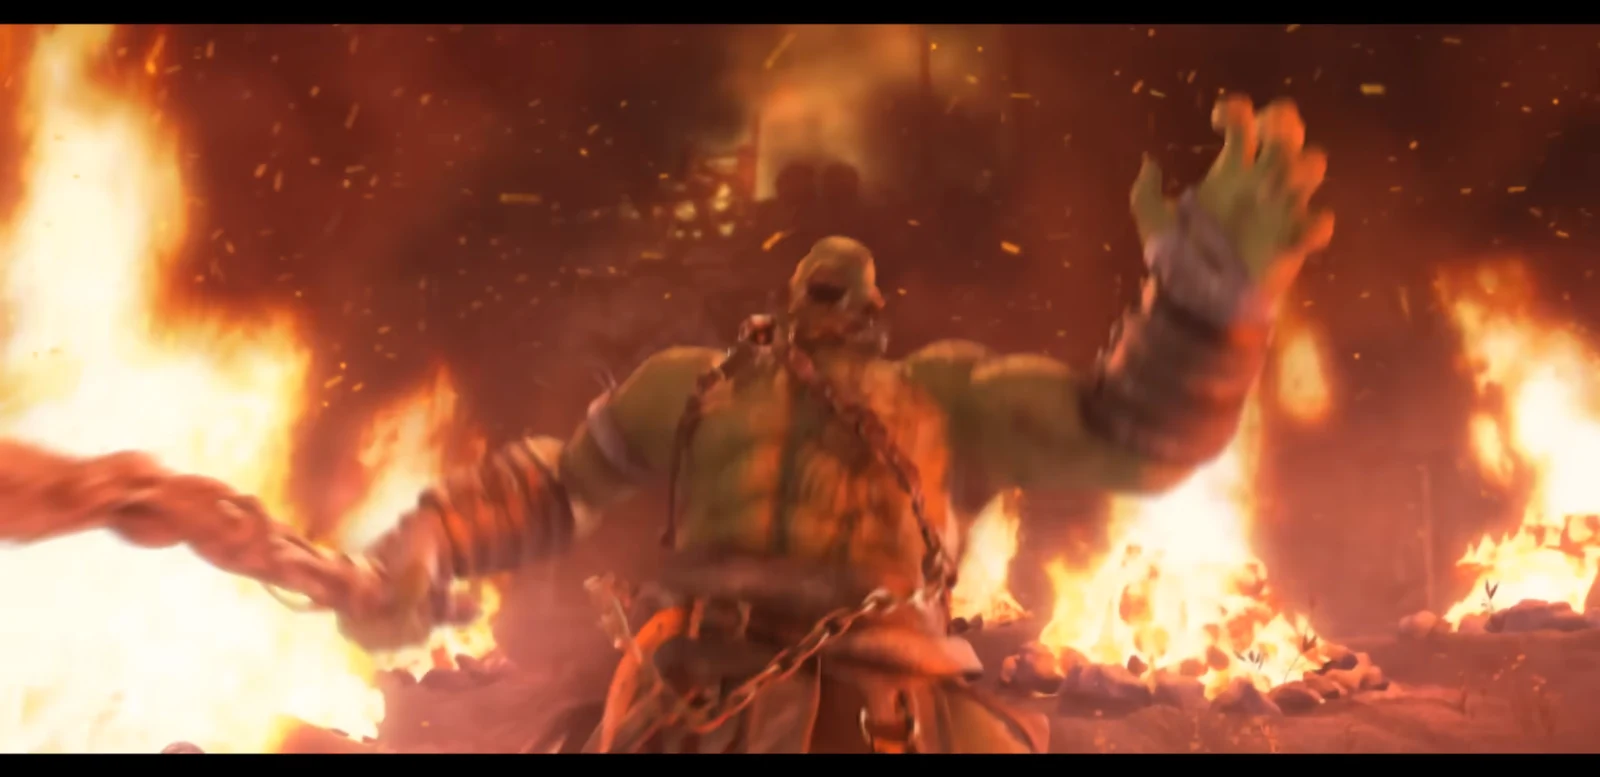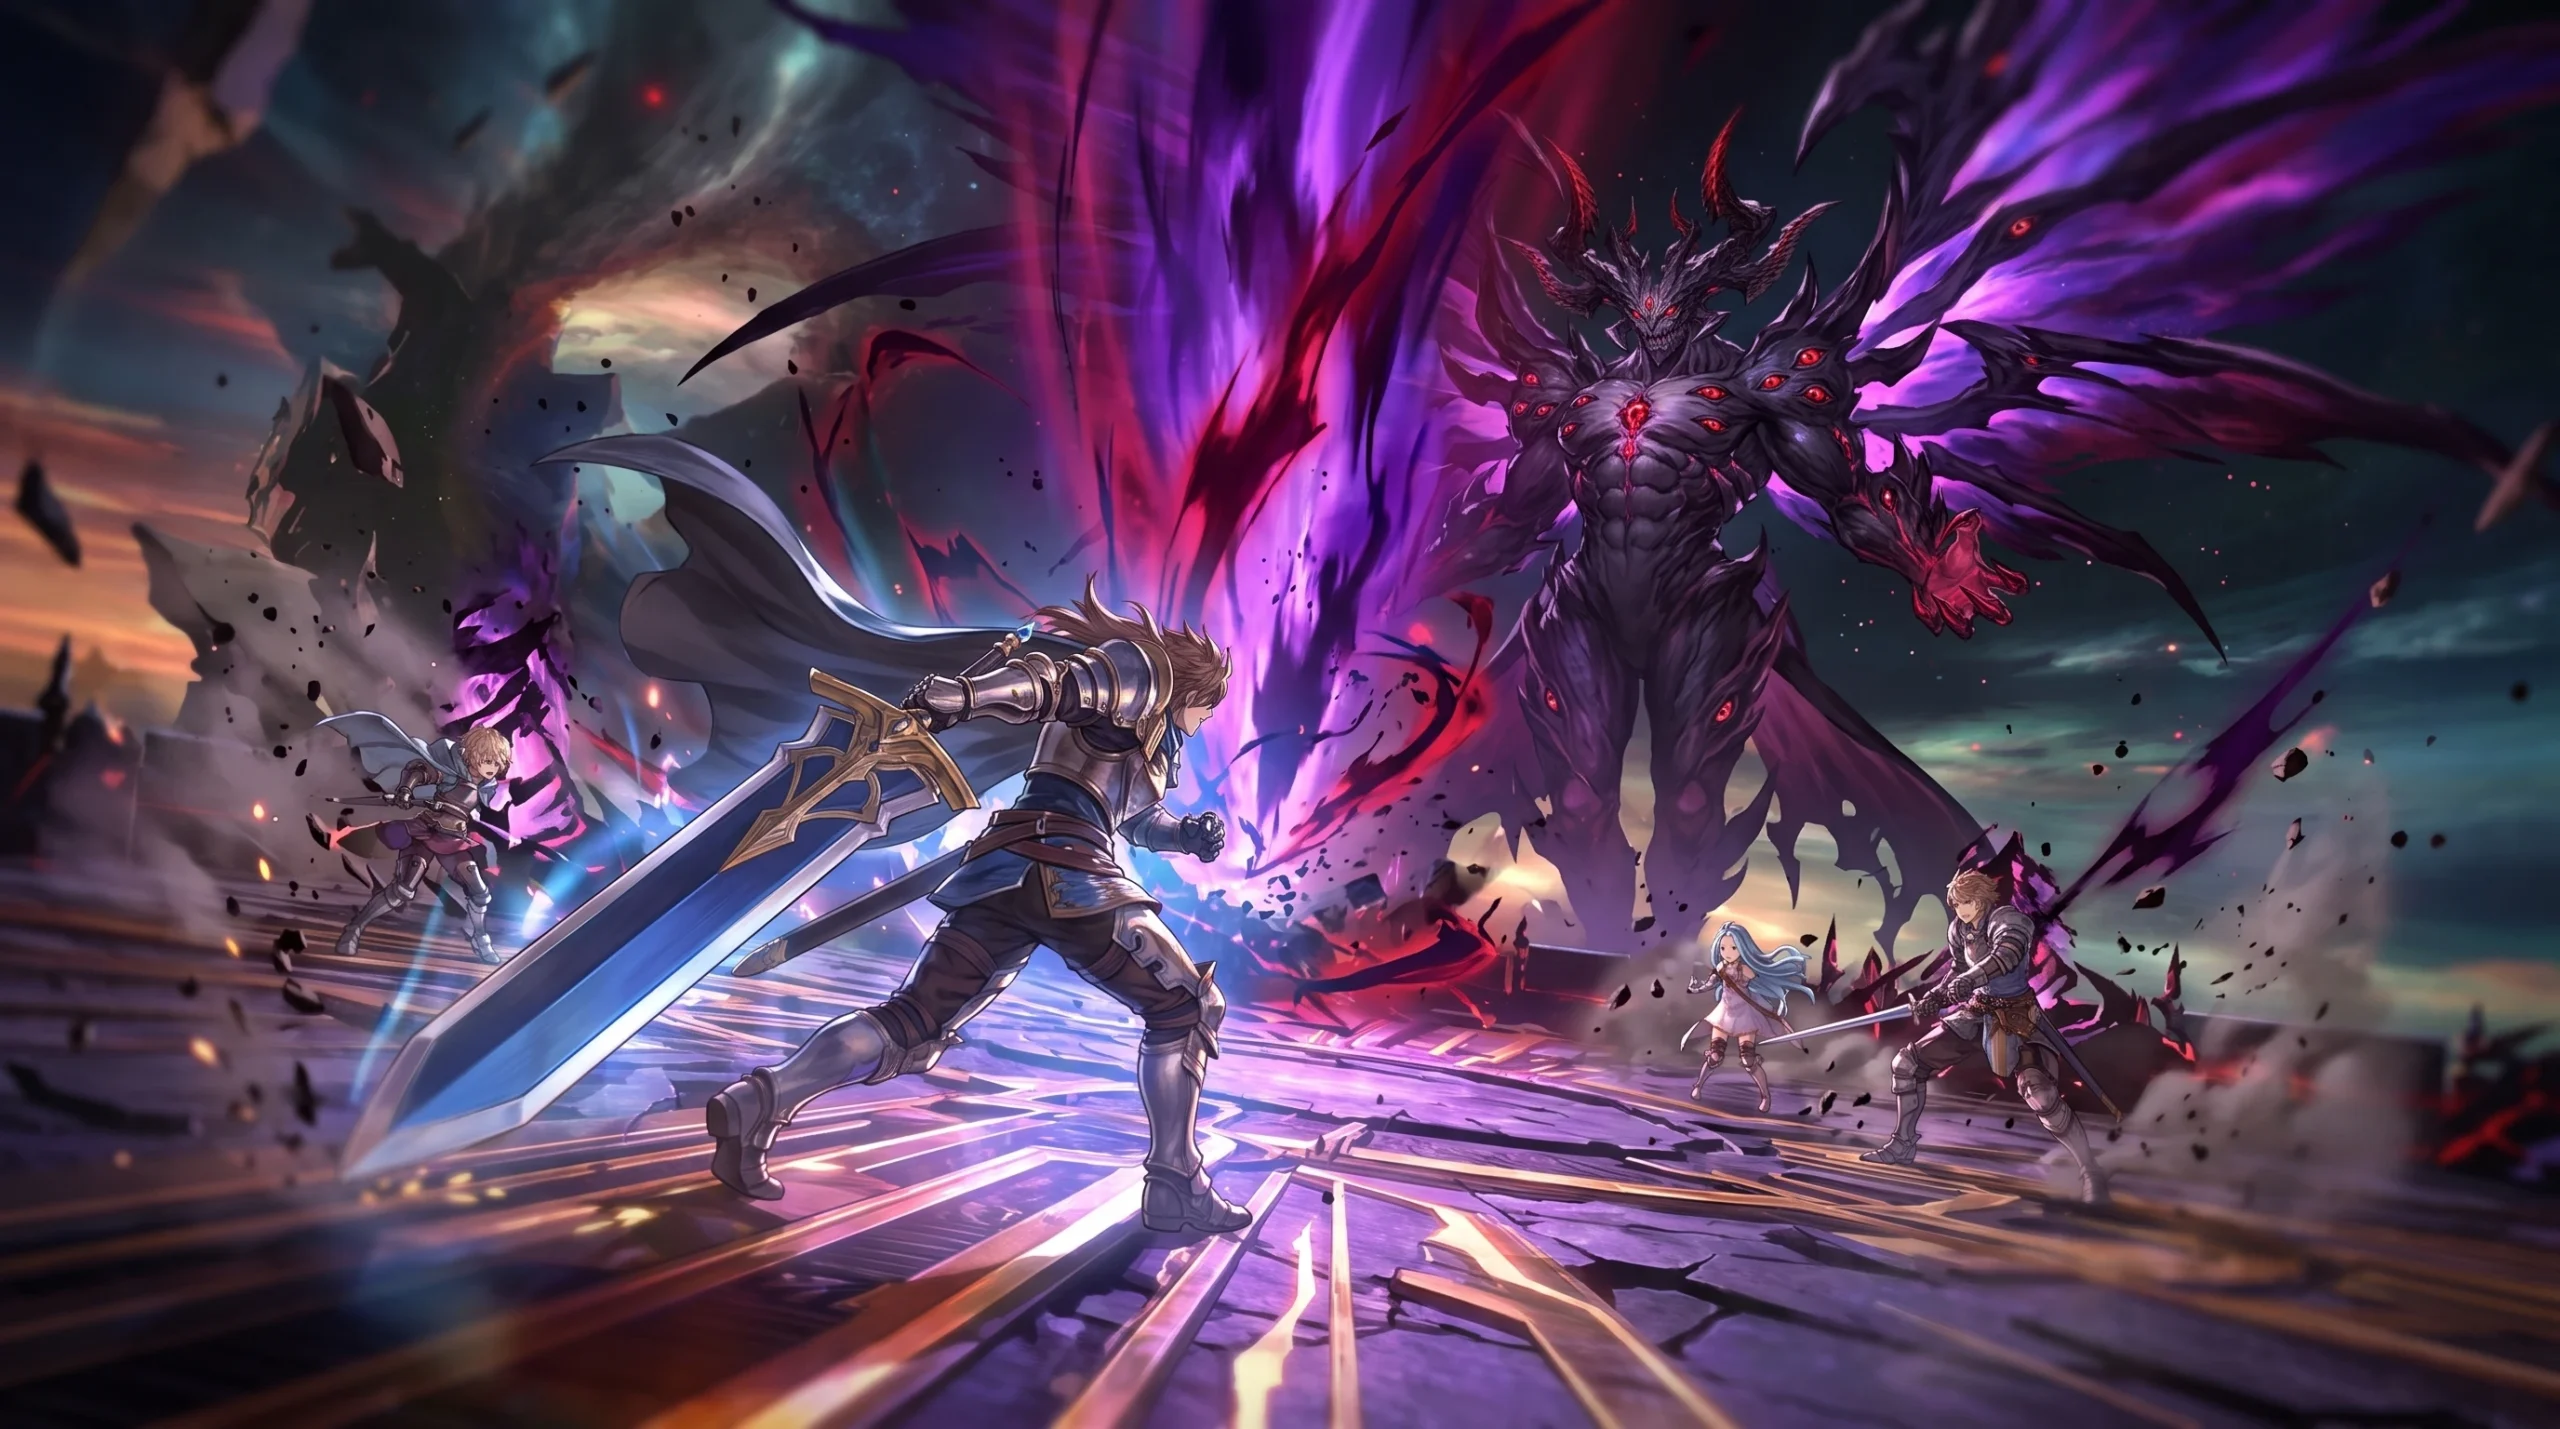
Beelzebub is one of the two Astral bosses in the Endless Ragnarok endgame of Granblue Fantasy: Relink, and the Let Chaos Reign quest is the fight that pits your party against him. He sits at Level 250 with a massive health pool, and most of his moves can end a run in a single hit. Clearing him is a mix of reading his attacks correctly and surviving a handful of scripted checks tied to his remaining HP.
Quick answer: Complete Let Chaos Reign by defeating Beelzebub in the Throne Room. Guard his red orbs, dodge his gold orbs and the unblockable drill, line up with the open squares during his grid attacks, move toward the center during the throne pull, and burst him down before Chaos Legion finishes casting at around 10% HP.
How to unlock the Let Chaos Reign quest
Beelzebub is locked behind a chain of endgame progression. You need to be deep into the story and side content before the quest becomes available.
| Requirement | Detail |
|---|---|
| Rank | Reach Rank 150 or higher |
| Main story | Complete Chapter 132: We Reject Happiness |
| Side story | Complete What Makes the Sky Blue II: Paradise Lost |
| Quest | Complete Dark Rapture |
| Chapter quest | Complete Chaos Returns: Dusk (Chapters 131/132/156/157/158/162/163/164/165/173/174) |
Beelzebub stats and weaknesses
Beelzebub has an enormous HP bar, so the fight is a long endurance test rather than a quick burst. He is not immune to several status effects, which lets you soften him with damage-over-time and control while you survive his rotations.
| Attribute | Value |
|---|---|
| Type | Astral |
| Level | 250 |
| HP | 722,224,444 |
| Arena | Throne Room |
| Not immune to | Gravity, Delay, Poisoned, Burned, Putrefied, Blinded |
Because he can be Poisoned, Burned, and Putrefied, a build that stacks ailments keeps chip damage ticking even while you are dodging. Gravity and Delay also help you buy breathing room between his heavier attacks.
Core survival rules that apply the whole fight
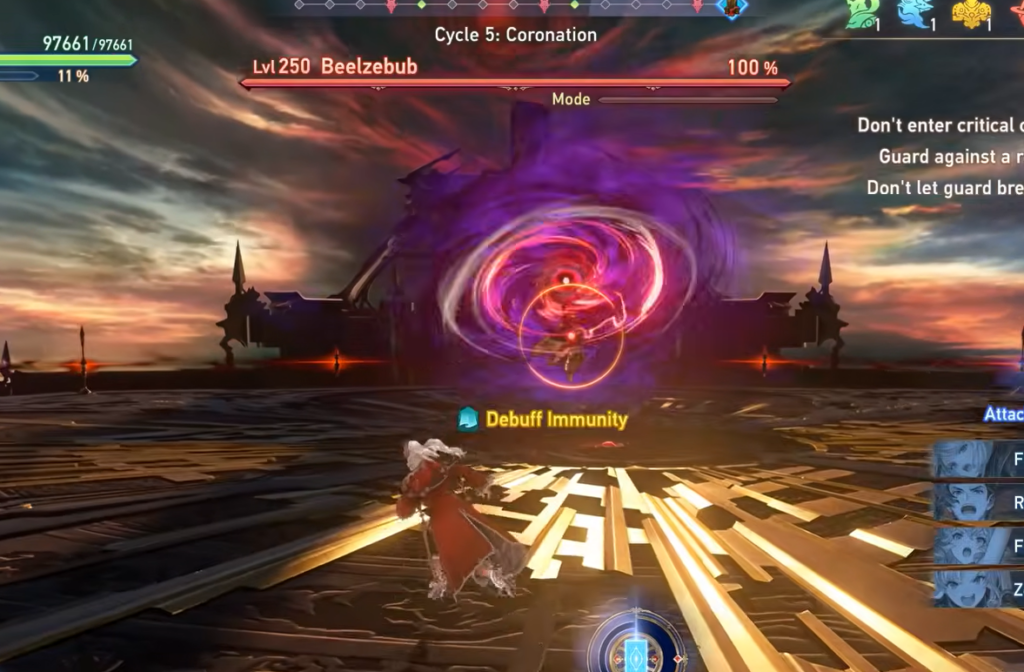
Two habits carry the entire encounter. Get these wrong, and you will die repeatedly regardless of your gear.
Match the orb color to the correct defense. Beelzebub throws orbs at the party, and the color tells you how to react. Guard red orbs and dodge gold orbs. The same rule holds when he chains linked attacks across party members, so check the color every single time instead of committing to one reaction.
Always dodge the drill. He fires a drill-like projectile in a straight line, and it cannot be blocked. Watch its direction, roll out of its path, then return to attacking once it passes. Guarding here does not work.
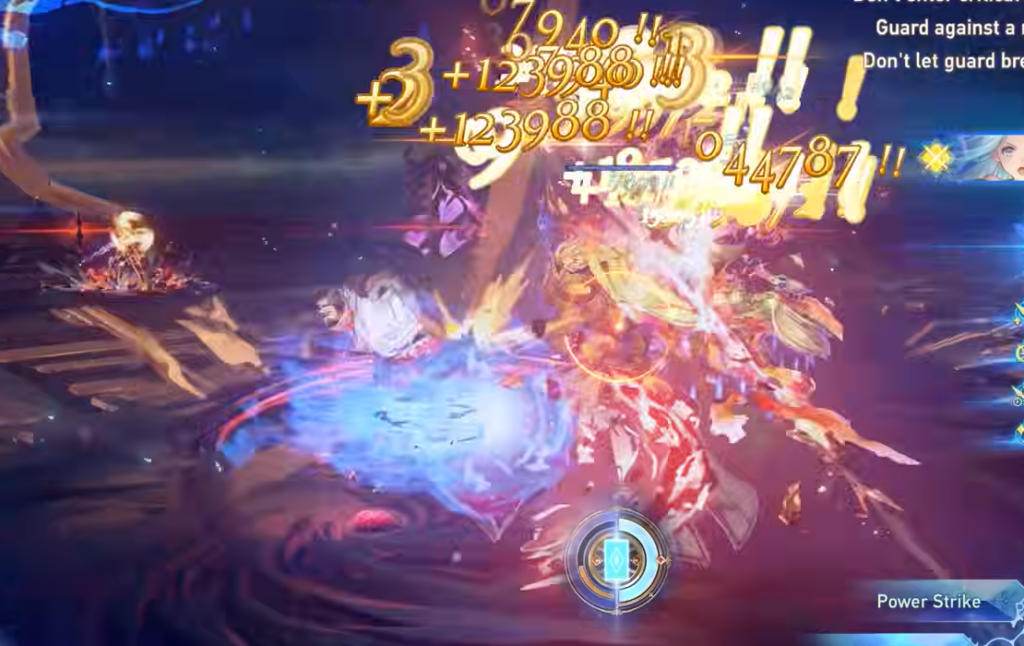
Whenever Beelzebub enters Burst Aura, stop mid-combo and prioritize positioning. The animations that follow Burst Aura are the ones most likely to one-shot you.
HP-gated mechanics and how to clear each one
Beelzebub triggers specific mechanics as his health drops. Knowing which one is coming at each threshold lets you pre-position before the telegraph even appears.
| HP | Mechanic | What to do |
|---|---|---|
| ~95% | Burst Aura into Smothered Mate | Line up with the grid squares that have no portals and slip into the open gaps. |
| ~85% | Burst Aura into Chaoscalibur: Ignition | Apply the orb rule; guard red, dodge gold. Linked targets are hit in order starting with whoever is closest. |
| ~65% | Burst Aura into Hail to the King | Move to the center to fight the pull, then reposition into the roughly 60-degree safe wedge. |
| ~45% | Smothered Mate during Chaoscalibur: Ignition | Both mechanics overlap; avoid long combos and focus entirely on finding safe squares. |
| ~10% | Chaos Legion cast | Final damage check. Kill him before the cast completes or the party is wiped. |
Smothered Mate grids
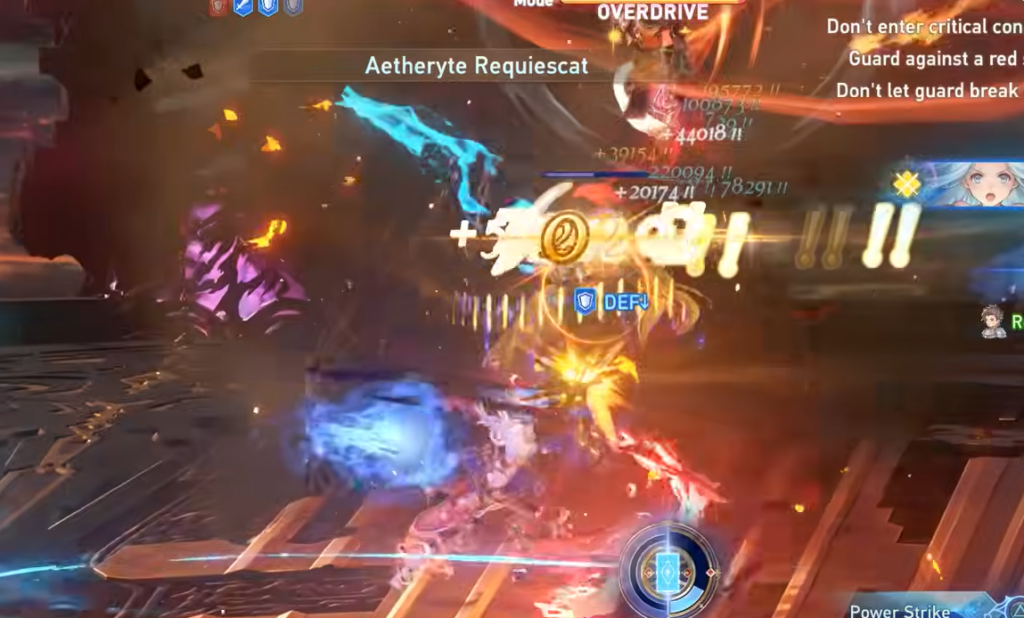
Smothered Mate alternates between a mesh pattern and a square-grid pattern that covers the floor with lasers. During the criss-crossing grid, find squares with no portals and stand in the open gaps. Watch the line inside each telegraph and dodge as it fills, or spot a safe gap early and get into position before the attack goes off.

Chaoscalibur: Ignition orbs
Area attacks spread outward from Beelzebub, then transition into charging orbs. Keep applying guard-red, dodge-gold, and track your place in the linked sequence since he attacks connected targets one after another. He caps the mechanic with a wide area hit, so keep moving until the whole sequence ends instead of returning to a combo early.
Hail to the King pull
This combines a strong pull with several narrow line attacks while part of the outer edge disappears. Push toward the center against the pull, then move into the safe wedge, and stay clear of the broken outer rim so you are not dragged off. The finisher covers about two-thirds of the arena, so stay near the center beforehand to reach the remaining safe area in time.
Chaos Legion — the final check
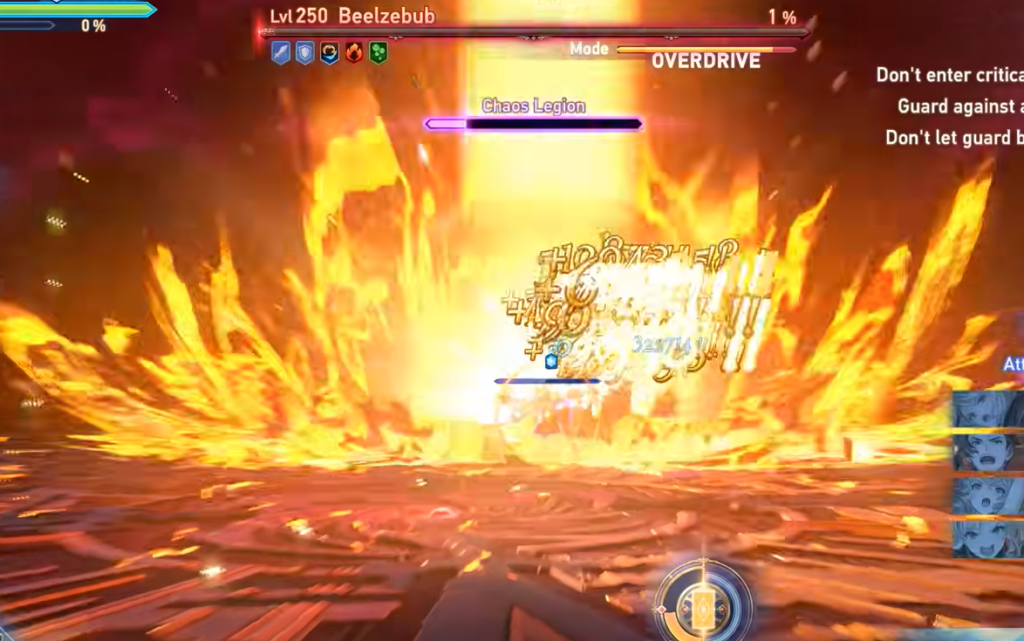
At about 10% HP, he begins casting Chaos Legion. The cast takes time, but he keeps moving while area attacks expand from the center of the room. Stay clear of those expanding zones and dump every high-damage cooldown you have. If the cast finishes, the party is defeated, so this is where your damage output has to close the fight.
Recommended teams for Beelzebub
Both of these lineups pair steady damage with support that helps you survive the one-shot windows. Ferry appears in both because her utility holds up across the whole fight.
| Team | Members |
|---|---|
| Option 1 | Fraux, Rackam, Ferry, Zeta |
| Option 2 | Maglielle, Beatrix, Gallanza, Ferry |
Using Siegfried against Beelzebub
Siegfried is an Earth-element greatsword attacker whose damage is built around Perfect Execution, timing every hit in a normal combo to add hits and boost damage on the finisher. Against a boss that can one-shot the party, his defensive utility matters as much as his offense.
Mirage grants the whole party DEF↑ 70%, a strong survival tool for Beelzebub’s heavy hits despite its long cooldown. Salvator gives the party Debuff Immunity plus a Drain effect that restores HP on hits, and L’Ombre d’Hier lets Siegfried parry and counter for roughly four seconds. Unlocking the Precise Cuts and Drachenblut Masteries also stops his attacks and Lunge from being interrupted, which keeps his damage flowing between the boss’s telegraphs.
Rewards for clearing Let Chaos Reign
Defeating Beelzebub can drop high-end upgrade materials alongside Crystals. The full reward pool is listed below.
| Reward |
|---|
| Prestige Pendant |
| Abyssal Wing |
| Lineage Ring |
| Damascus Grain |
| Silver Centrum |
| Legendary Merit |
| Crystal x50 |
You will know the run is cleared when Beelzebub falls before Chaos Legion completes and the quest results screen appears with your drops. The most common way to fail is guarding an attack that should be dodged, standing in a portal square during Smothered Mate, or getting dragged off the broken edge during Hail to the King, so treat every color cue and telegraph as a separate read and keep your strongest cooldowns ready for the 10% check.