Quick answer: Parry his close sickle strings. Hold position and guard or parry as he arrives. Dodge his hook late, as the chain reaches you, or it drags Soul into a heavy finisher.
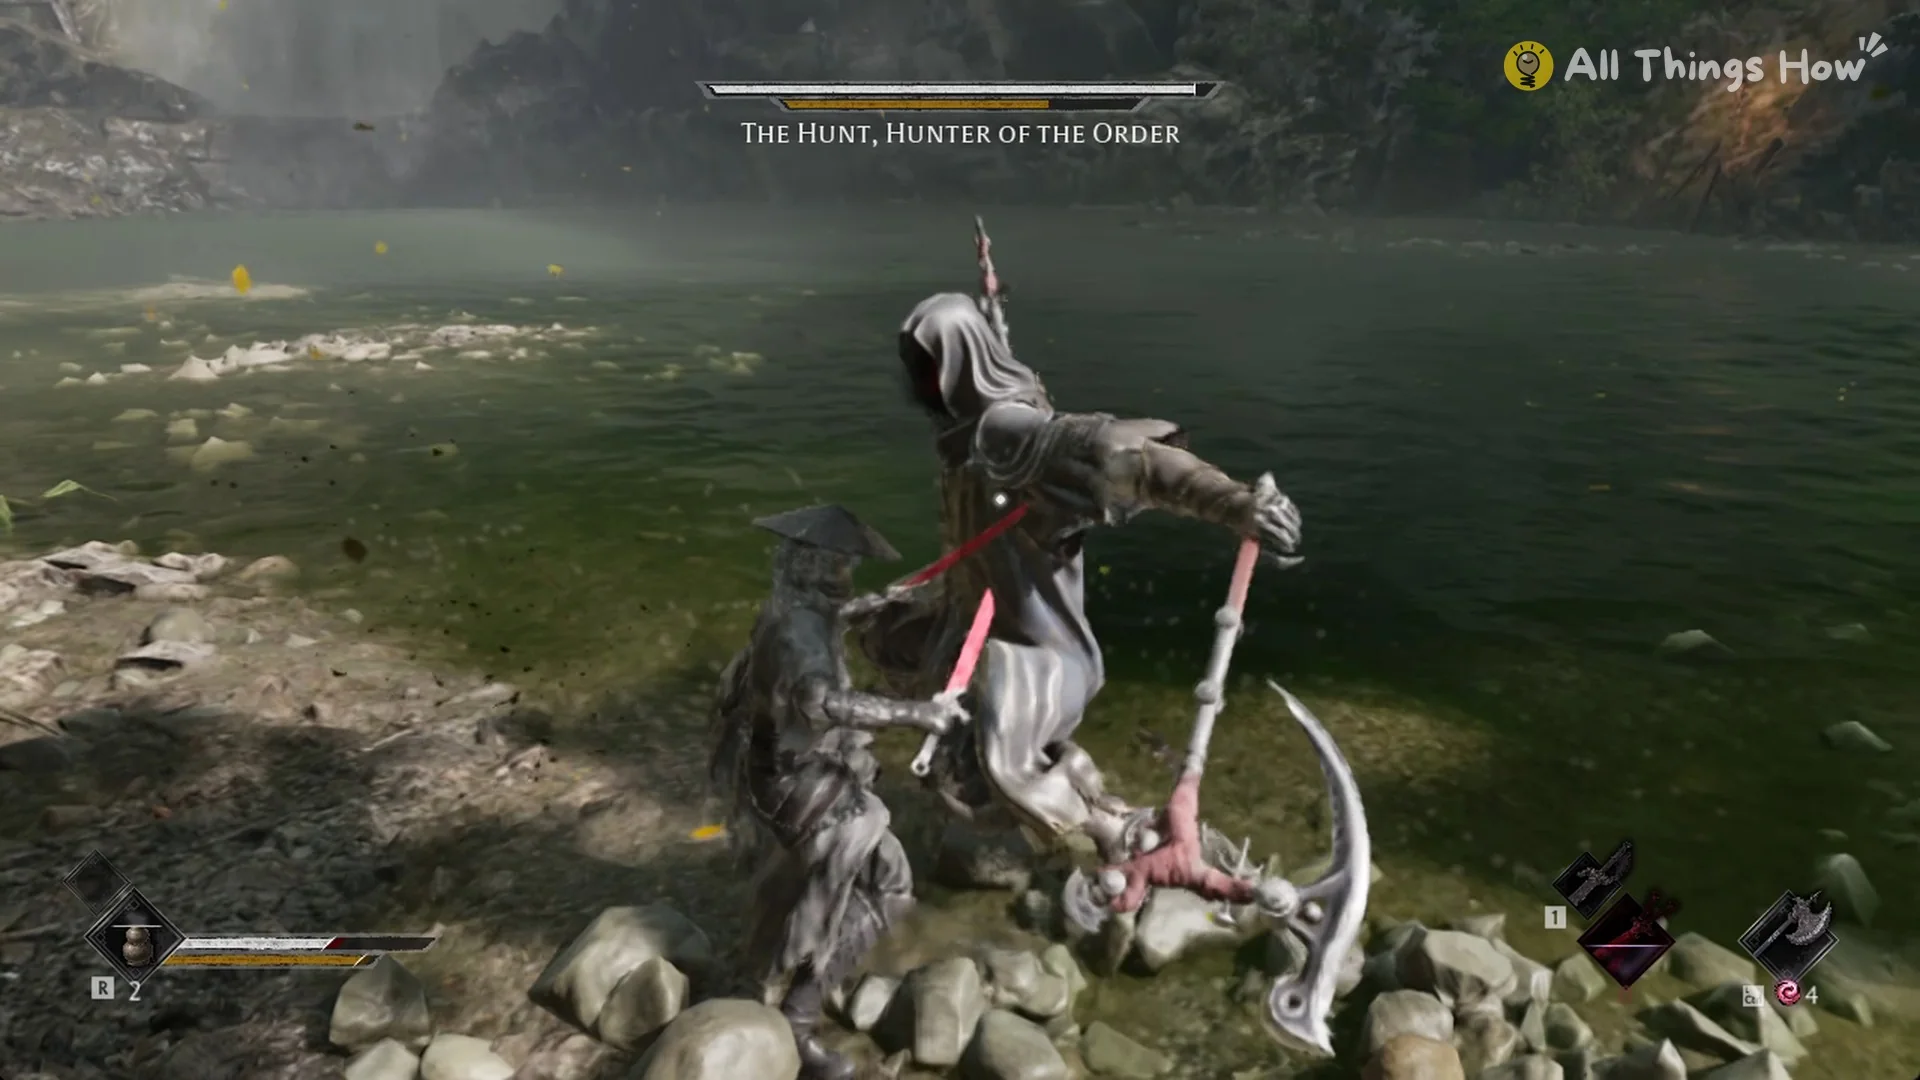
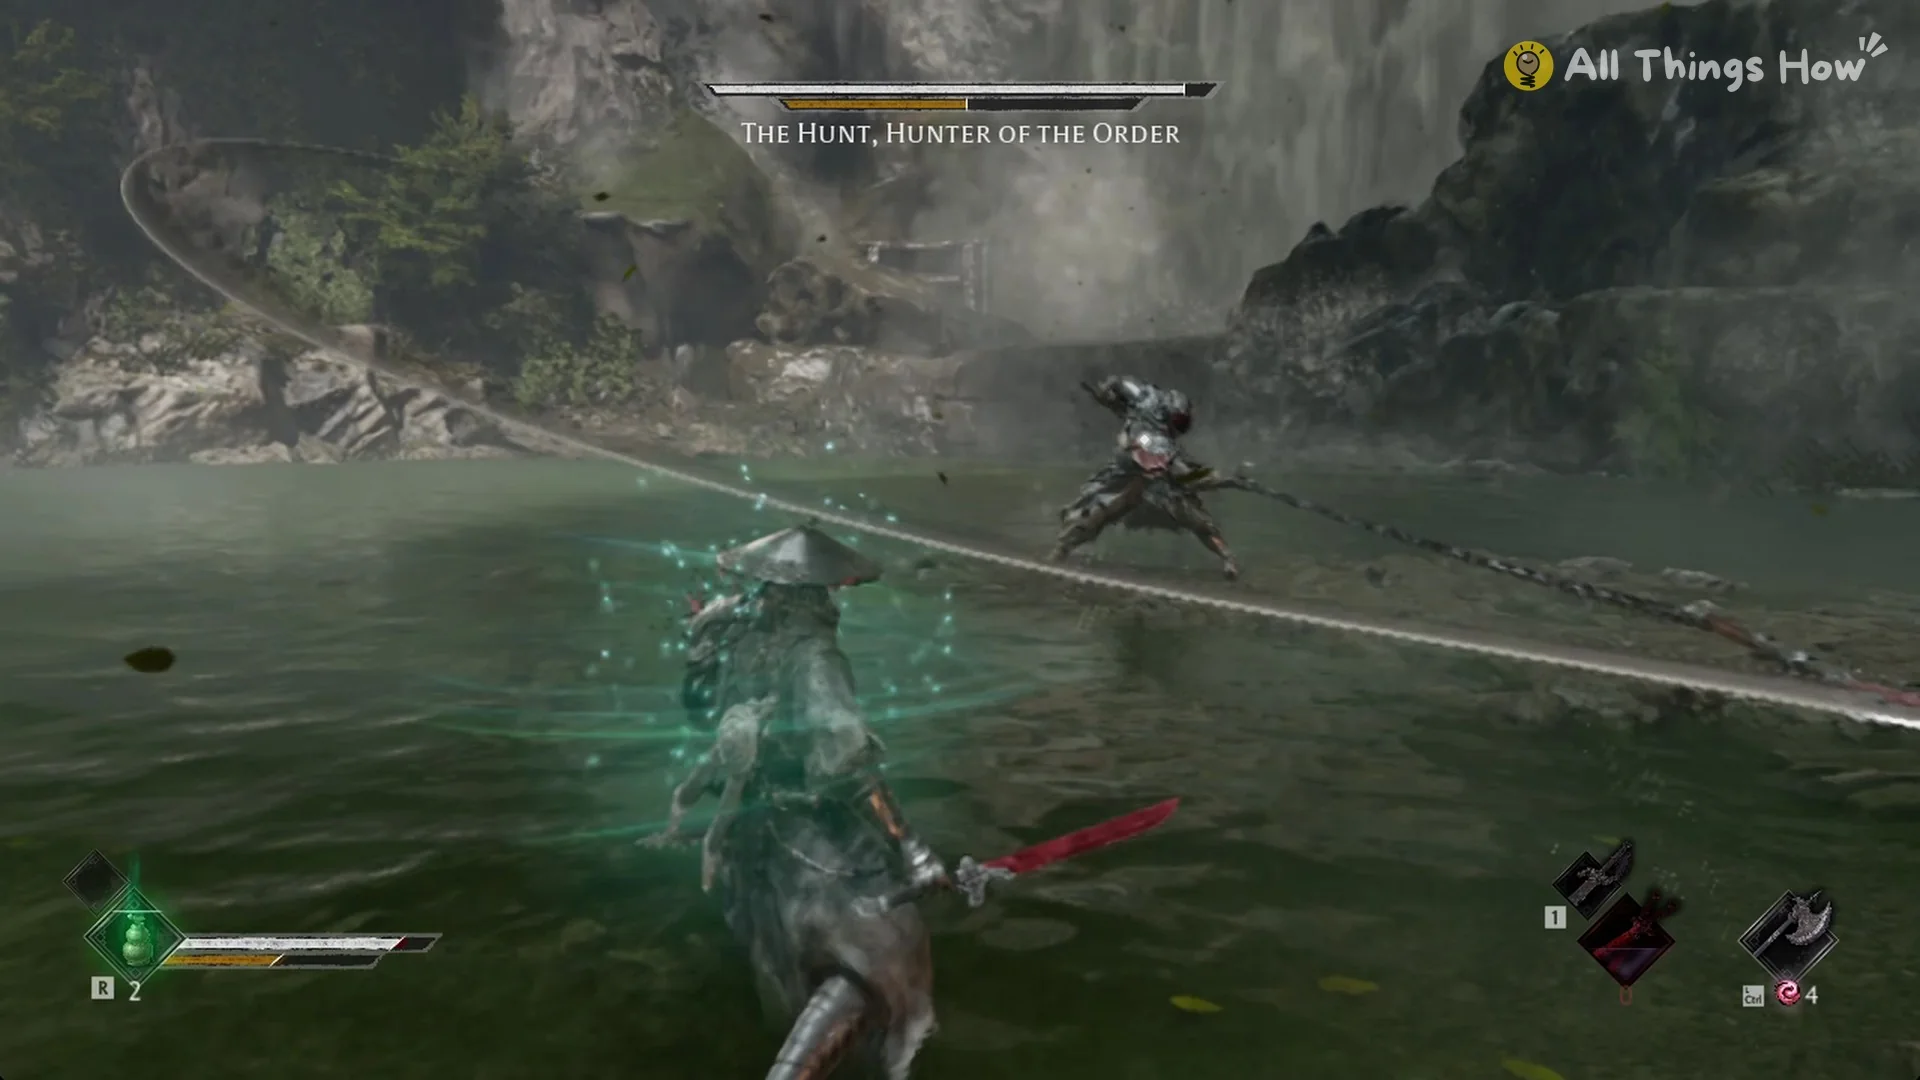
The Hunt‘s second fight takes place in the shallow pool beneath the Great Waterfall in Weeping Creek Valley. He uses two chain sickles that can reach you from across the water, and once his first health bar is gone, a second phase starts.
The Hunt at a glance
| Detail | Value |
|---|---|
| Location | Great Waterfall, Weeping Creek Valley |
| Phase 1 name bar | “THE HUNT, HUNTER OF THE ORDER” |
| Phase 2 name bar | “The Hunt, Sixfold Scythe” |
| Phase 1 health | 18,720 HP (Pathbreaker and Wayfarer) |
| Weapons | Two chain sickles |
| Damage per hit | About 43 HP (Pathbreaker), about 30 HP (Wayfarer) |
| Chain reach | Up to about 15 m |
| Respawn point | Great Waterfall bell |
| Reward | Hunter’s Chain Sickle + 20,000 Remnant Dust |
On Pathbreaker, the default difficulty, Soul has 850 max HP at this point. Most of The Hunt’s attacks are strings of several hits, so the per-hit cost adds up quickly.
Where the second fight happens
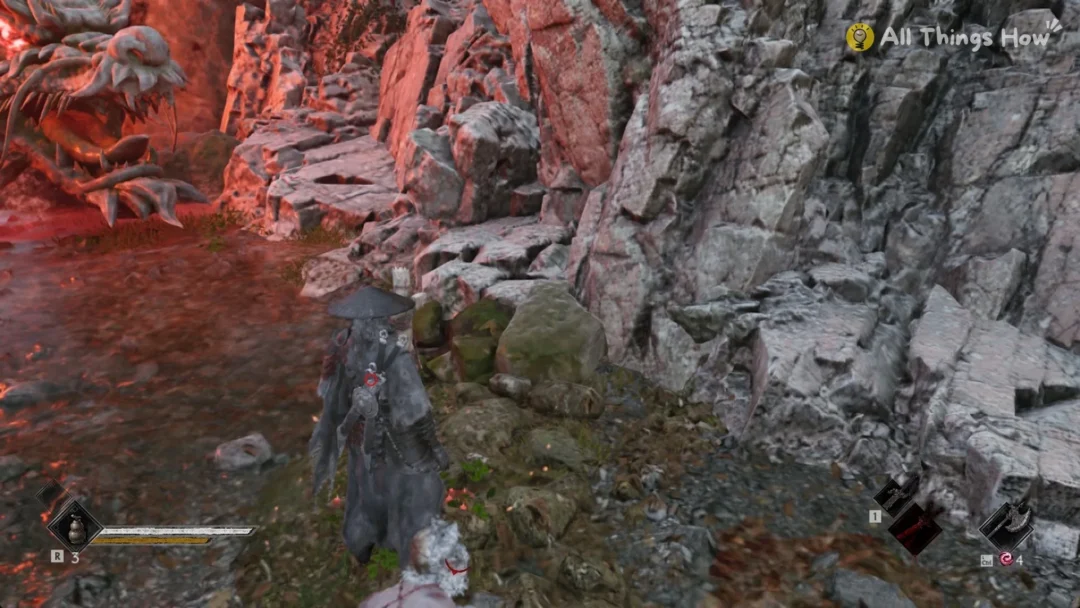
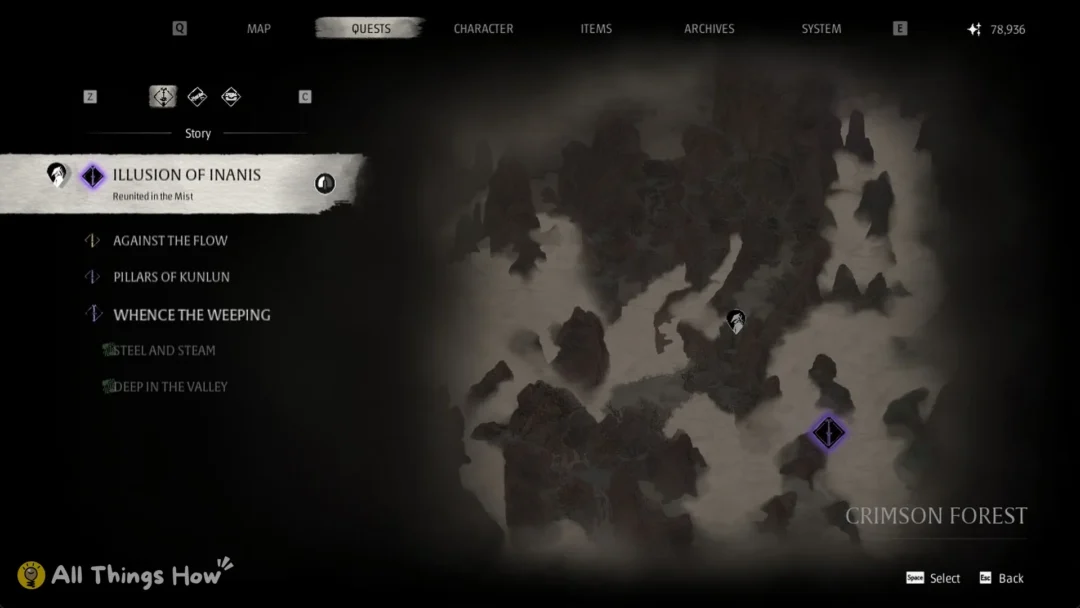
The prologue cart encounter with The Hunt’s first fight on the cart leads to this rematch. Begin at the Great Waterfall bell, one of the other bells in the game, then follow the south bank and wade west across the pool toward the waterfall. A cutscene reveals him on the ledge overhead; the battle begins in the pool. Where he sits in the story order is in the full list of bosses.
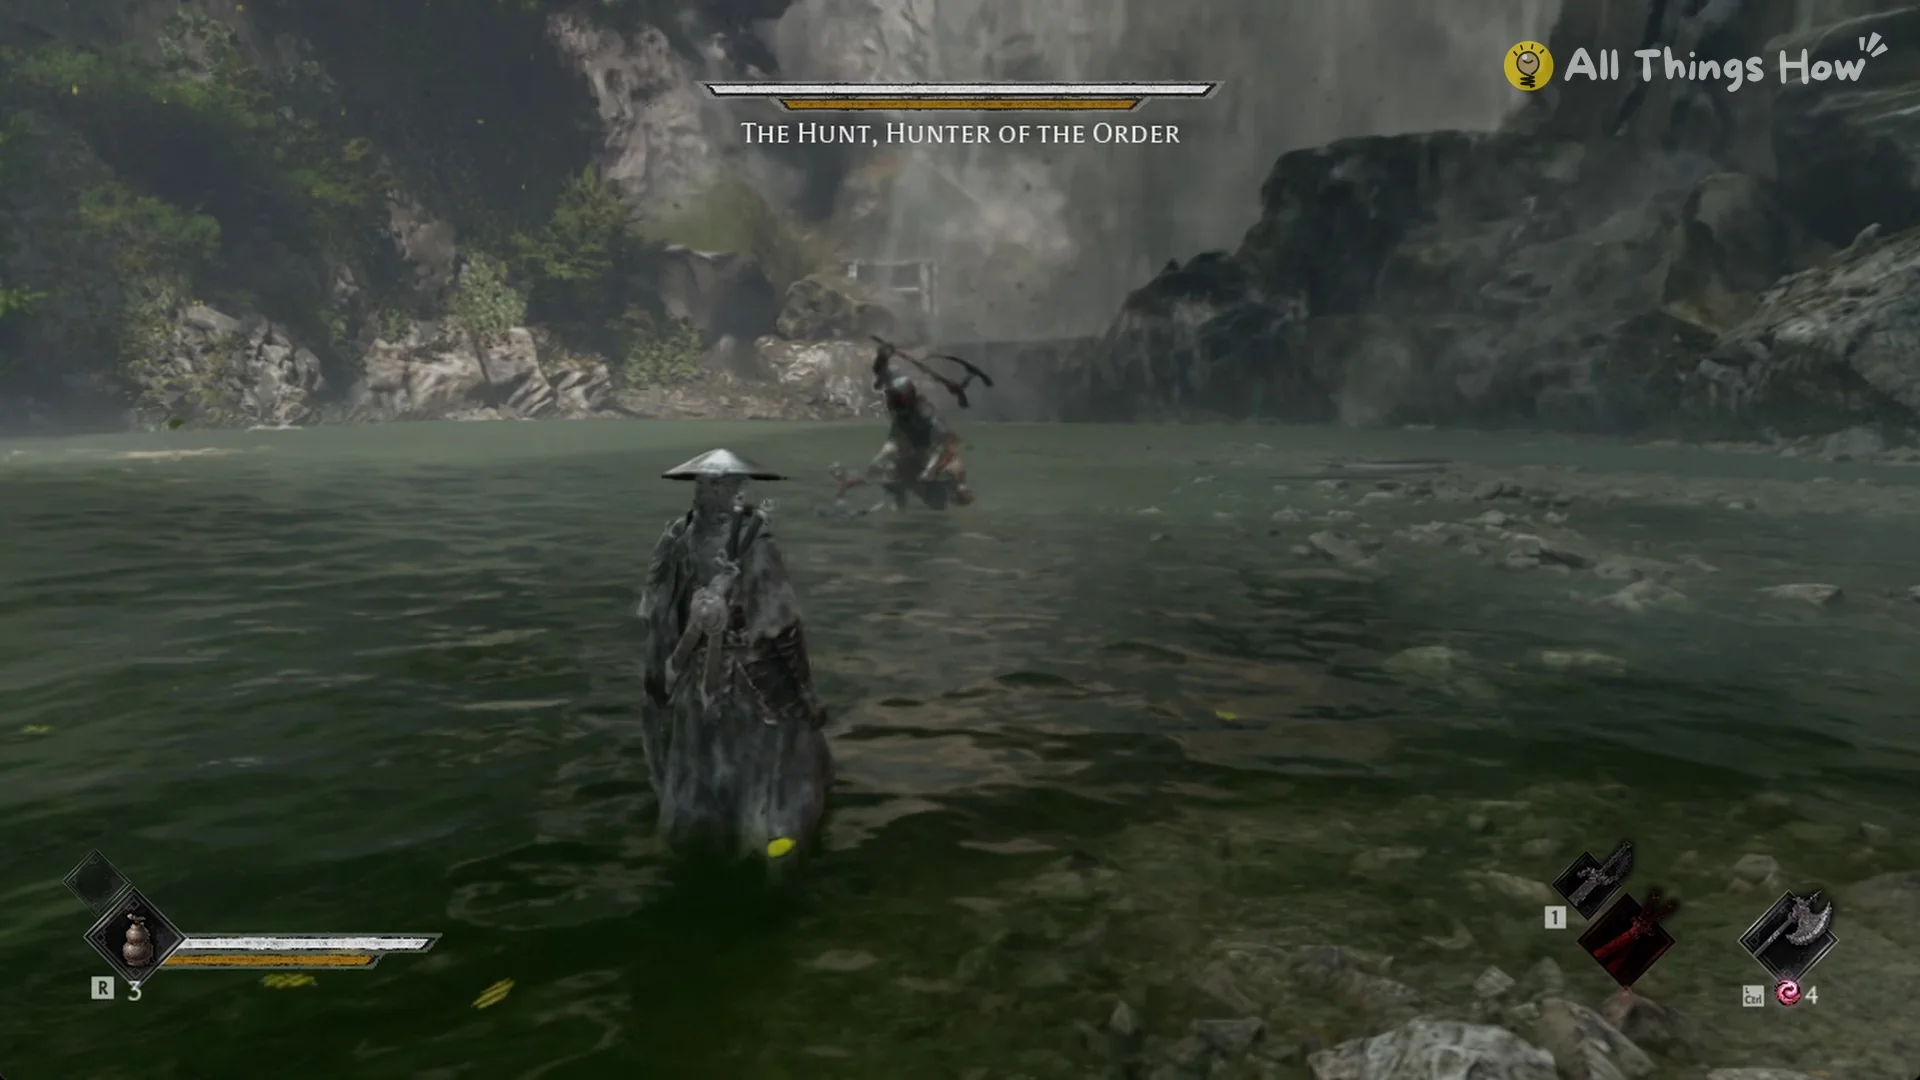
Rocks and a gravel bank border the shallow pool arena, but the water has no effect on his speed. If Soul is killed, you respawn at the bell with full HP and heals. He remains aggressive, so he may strike before you get back to the pool.
The Hunt phase 1 attacks and damage
Damage is what each hit costs Soul on Pathbreaker unless Wayfarer is noted, and the figures are rounded.
| Attack | Range | Damage (Pathbreaker) | Answer |
|---|---|---|---|
| Long chain lash | Up to about 15 m | Varies | Move sideways |
| Dash-in combo | From about 11 m | Up to about 7 hits, about 43 HP each | Hold position, guard or parry |
| Chain vault and overhead drop | Leaps onto or over Soul | Varies | Parry the blue streak, or dodge |
| Hook grab | Ranged | About 200-230 HP | Dodge late |
| Close sickle strings | Close | About 170 HP for a heavy four-hit string | Parry each hit |
Long chain lash
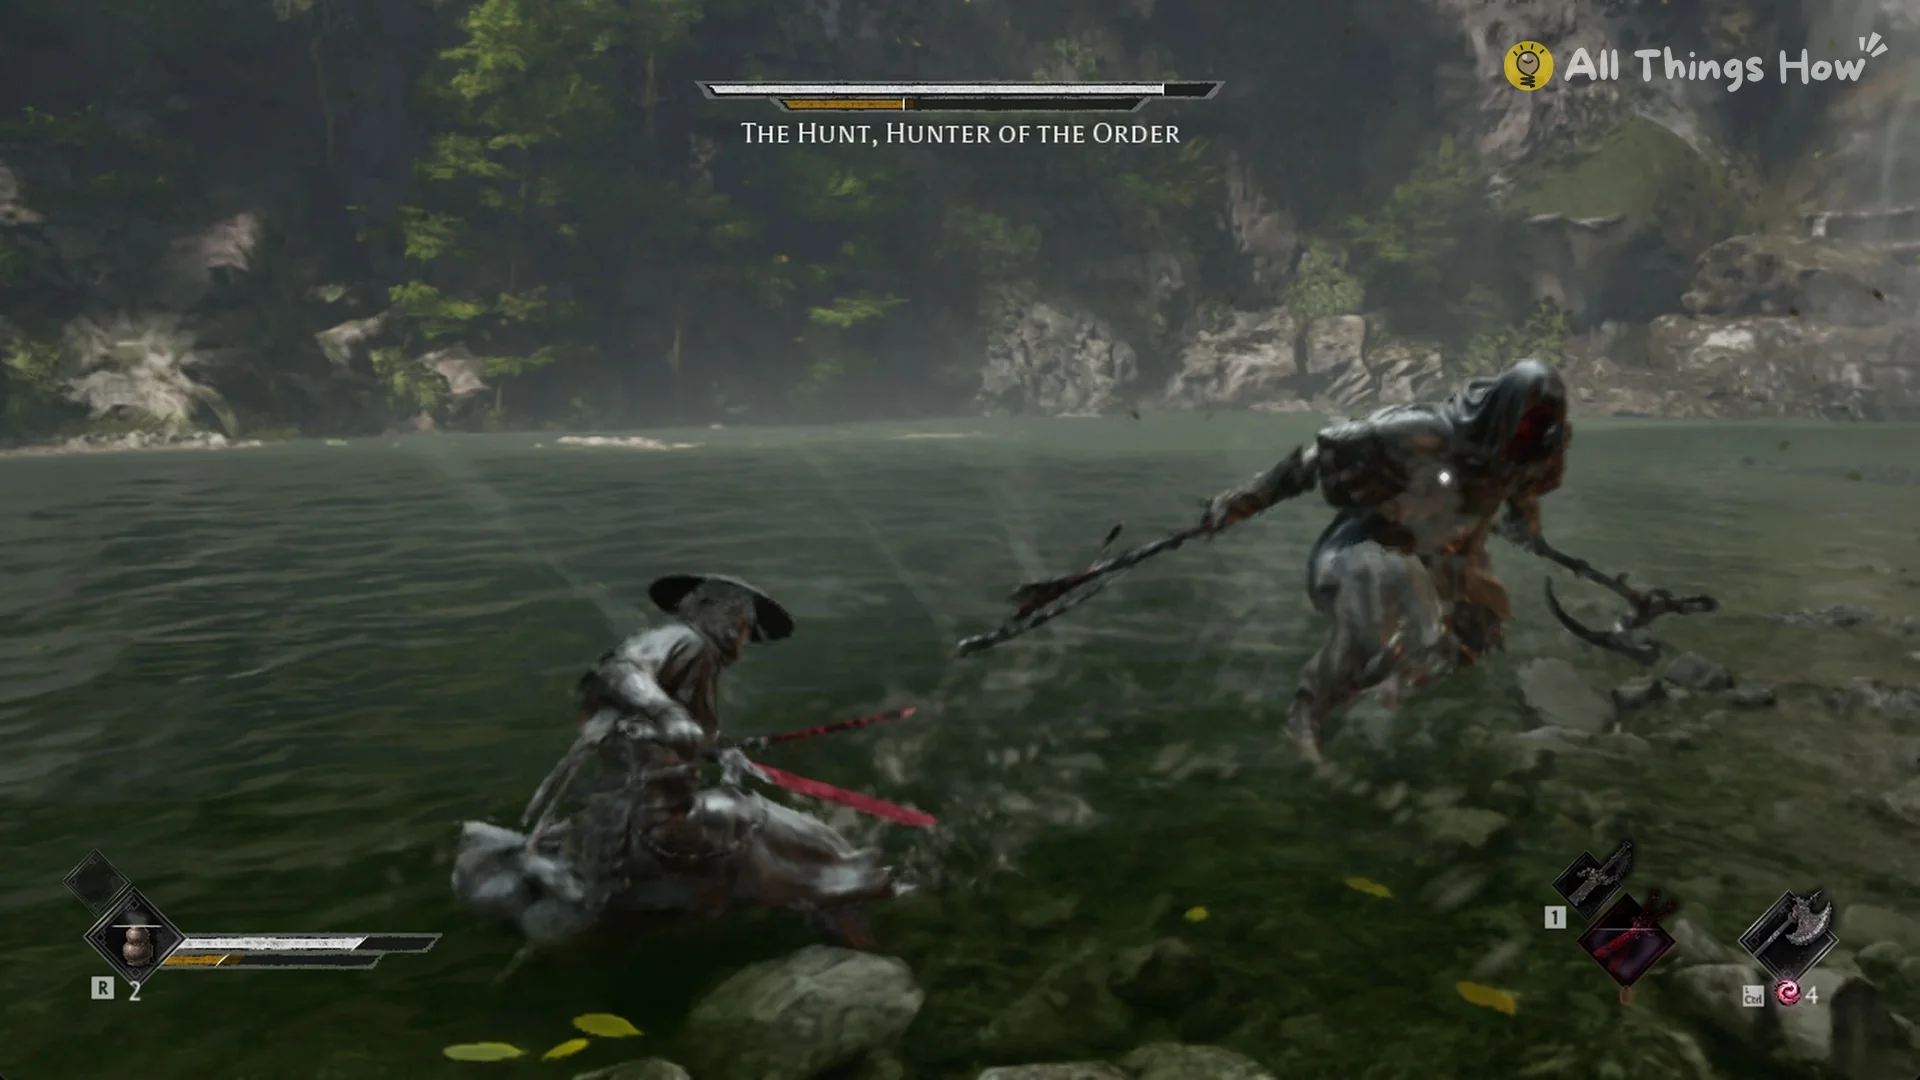
He sends a chained sickle in a straight, lengthy sweep across the water. His chain can reach roughly 15 m, making retreat alone an unreliable defense. Sidestep beyond its line instead of backing away directly, and keep moving at mid range.
Dash-in combo
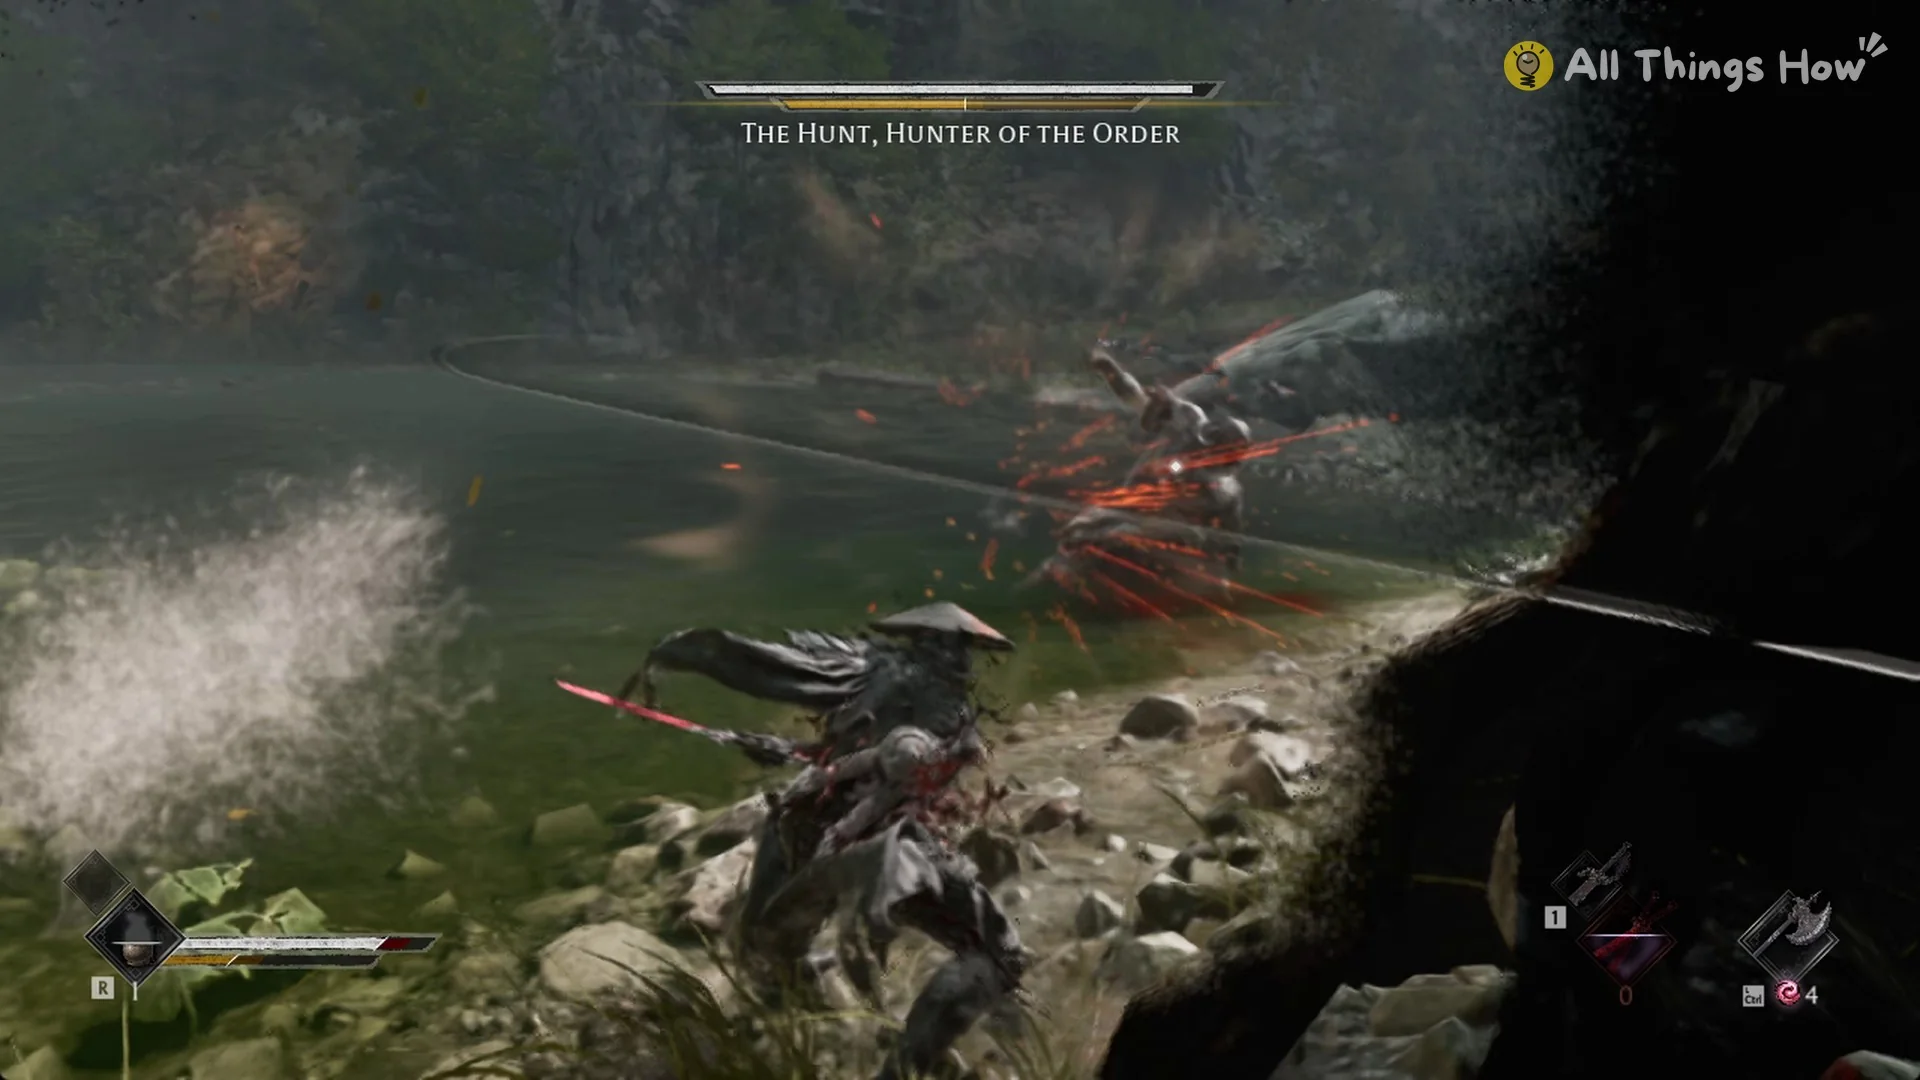
At roughly 11 m, he rushes directly at Soul with a sickle extended, then unleashes a lengthy slash sequence. It can connect around seven times. Advancing toward him as the attack begins makes every strike land. Stay put and guard or parry when he reaches you.
Chain vault and overhead drop
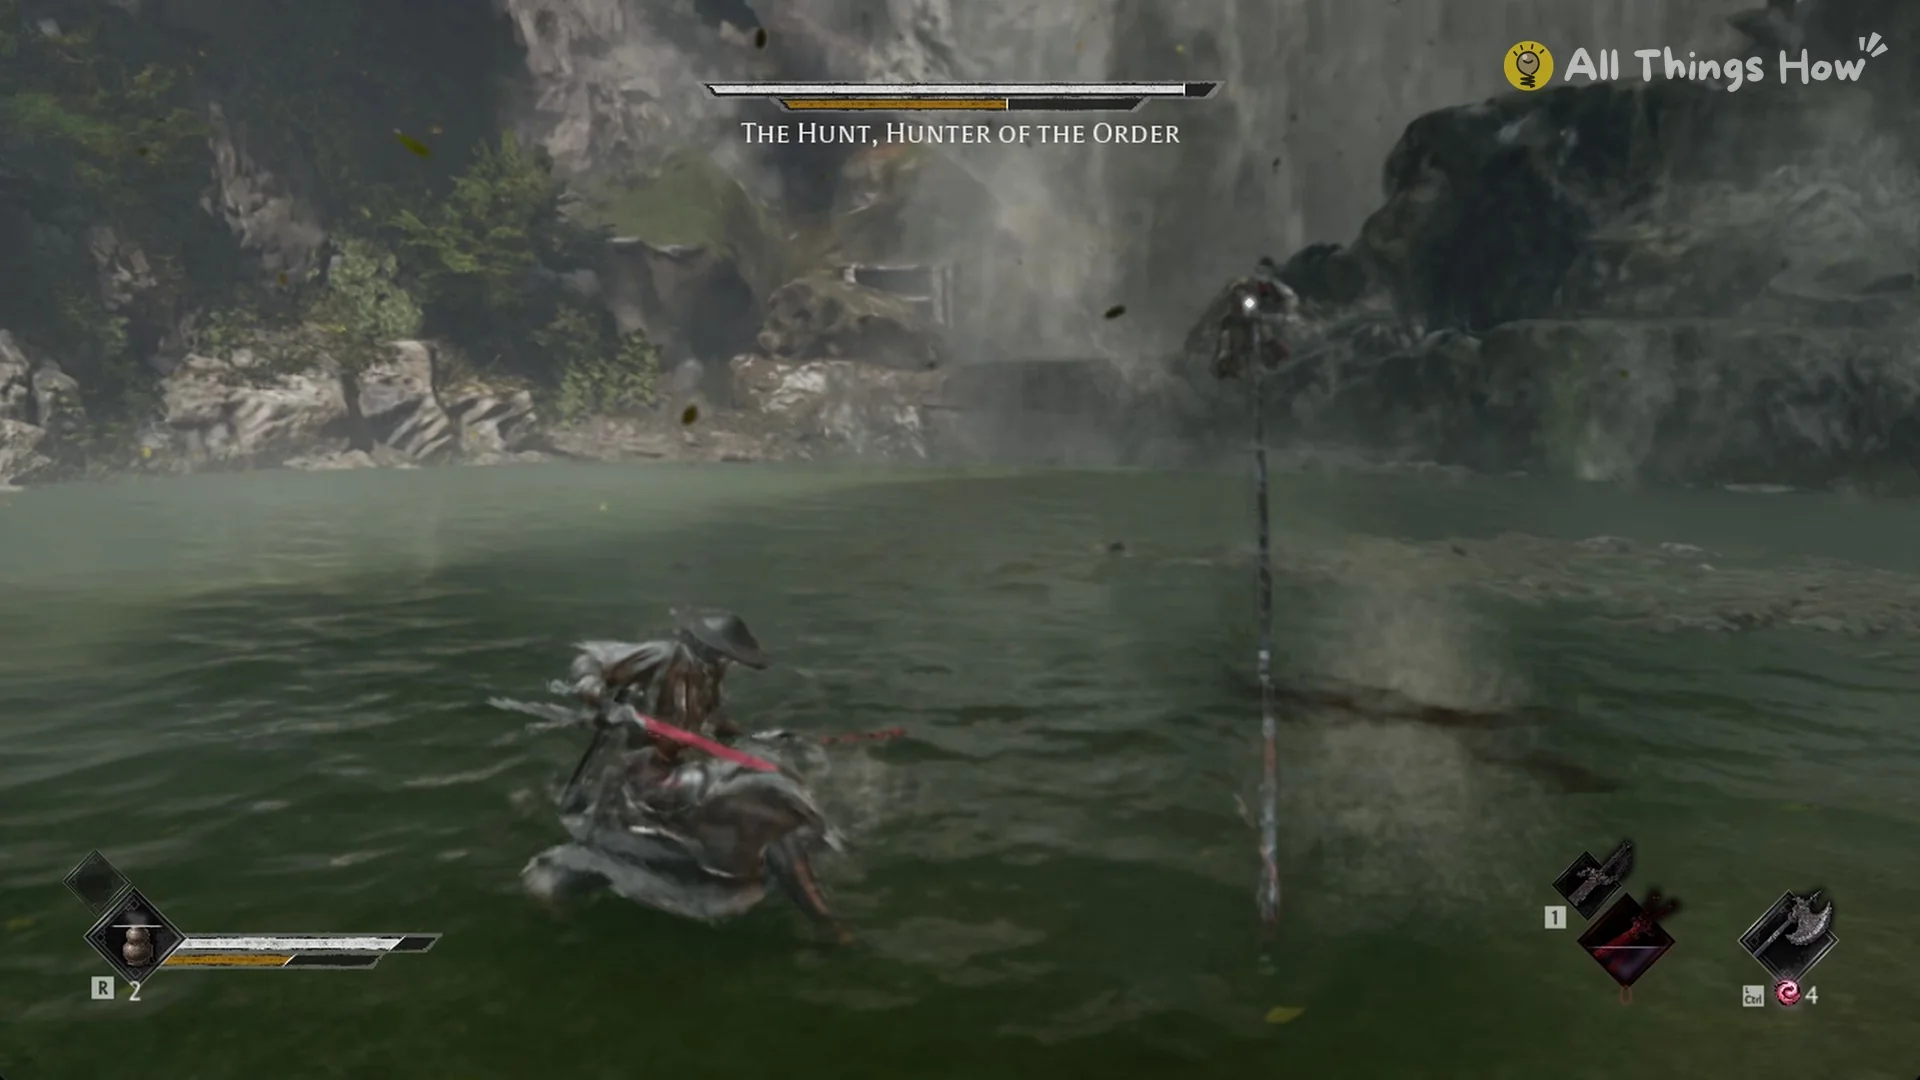
He drives a chain sickle into the water, uses it to vault, then drops onto Soul from overhead. At times he clears Soul entirely. A blue streak appears on some leaps to indicate the attack can be parried. Parry when that streak appears; if it doesn’t, dodge his descent.
Hook grab
The hook grab is his most damaging move. He catches Soul with his chain, pulls Soul toward him, and finishes with a powerful strike. Taking the entire grab costs about 200-230 HP on Pathbreaker. On Wayfarer, the final strike by itself deals about 145 HP.
Evading immediately after his throw is too soon; the hook will still catch Soul. Wait until the chain is almost at you before dodging.
Since he can launch the hook from a distance, avoid leaving him room to use it. Stay near enough to parry his sickle sequences, or sidestep continuously while he’s far off.
Close sickle strings
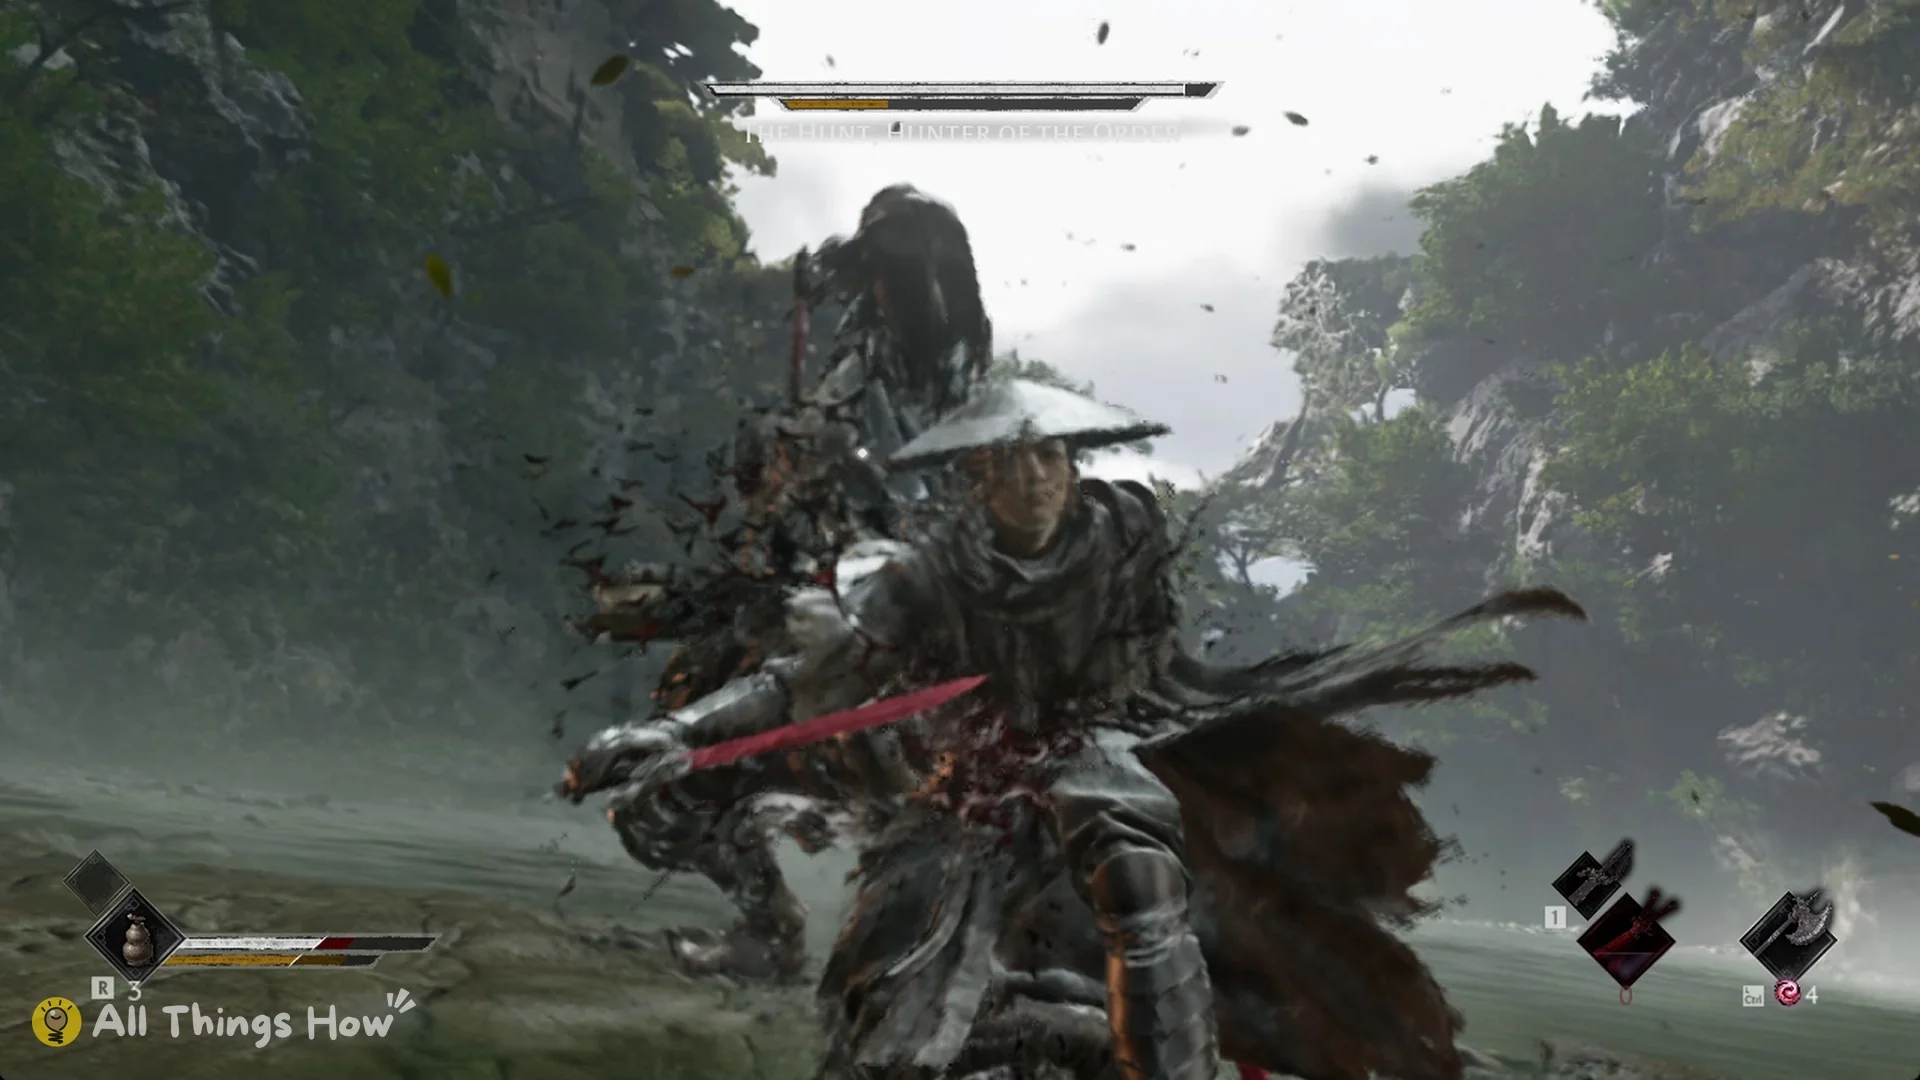
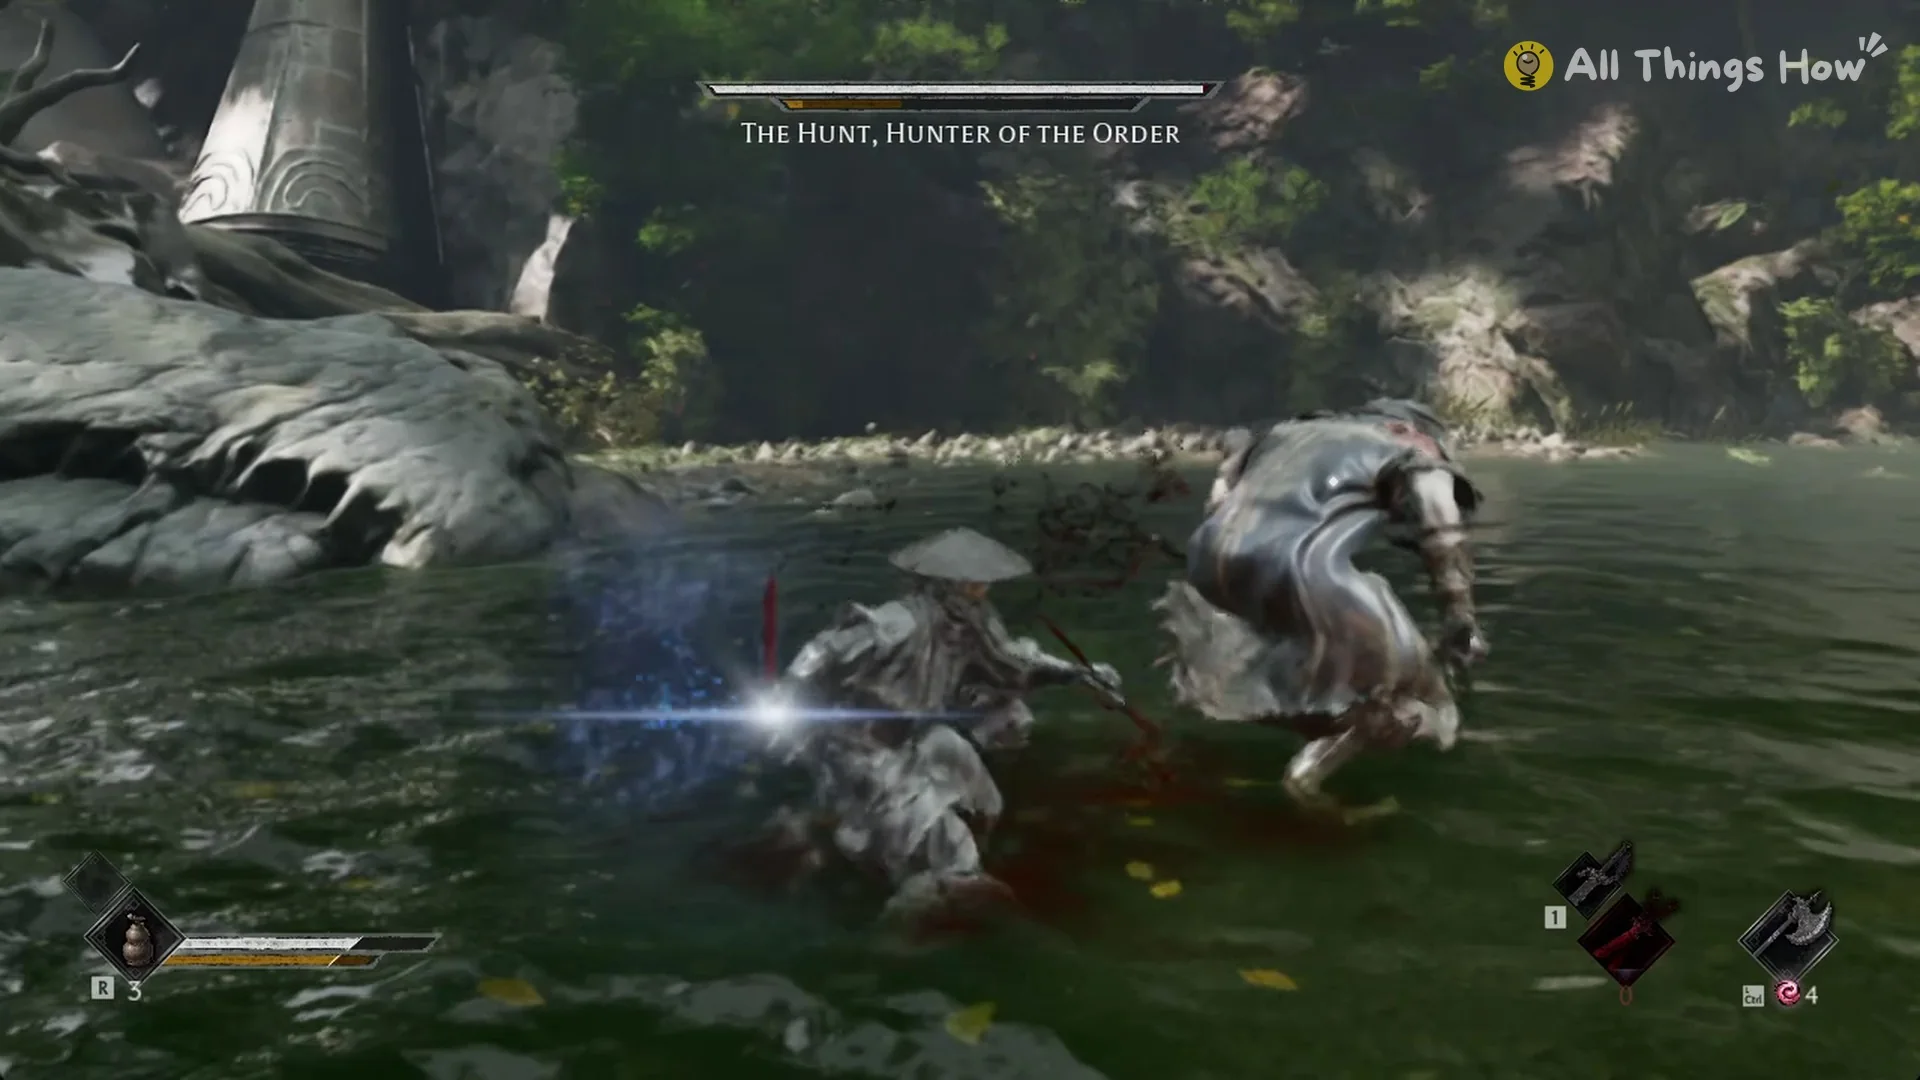
At close range, he combines swings from both sickles into attacks that typically hit multiple times. A heavy sequence can strike four times and deal about 170 HP. Parry these attacks; a successful parry produces a blue flash. Deflect the strikes, then land a brief counter before he withdraws and throws the chain again.
Phase 2: The Hunt, Sixfold Scythe
A cutscene follows phase 1’s conclusion, then “The Hunt, Sixfold Scythe” starts under a new health bar. His archive entry notes the shift:
“two steel arms unfold from the Hunt’s back and grasp another pair of gleaming chain sickles. His four arms strike in turn or send all four scythes flying at once”
Phase 2 puts more sickles in the air, making sideways movement even more important than in phase 1.
Healing, Sha-Chi and difficulty against The Hunt
- His chain can reach you while you recover at range. Use Heal once a long attack has ended; don’t heal from a distance while he’s preparing a move.
- Save heals for after a grab. One hook can take a quarter of Soul’s health on Pathbreaker.
- Bell visits restore Phantom Edge uses, so put them to work in this fight (see Remnant Spark).
- When Sha-Chi runs low, switch weapons with 1 to refill it. The game prompts this mid-fight: “Press 1 to switch weapons and fully restore Sha-Chi!”
- On Wayfarer, his attacks deal about 30 HP each instead of about 43, and you can adjust difficulty whenever you want. His health remains unchanged.
The Hunt reward: Hunter’s Chain Sickle
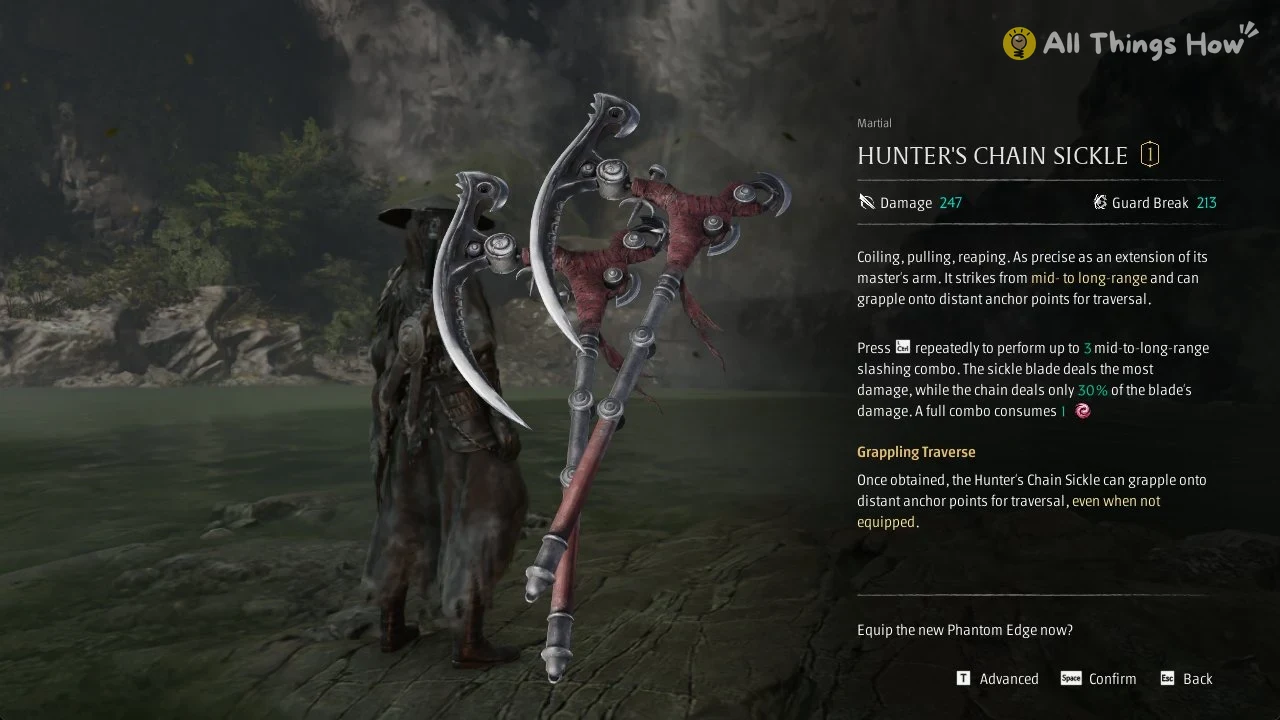
Winning both phases grants the Hunter’s Chain Sickle, a Martial Phantom Edge with 247 Damage and 213 Guard Break at level 1, along with 20,000 Remnant Dust. With the Chain Sickle, Soul can grapple onto anchor points and pull himself up to them.