Grounded 2 Into the Abyss: How to Unlock the Zip.R
The Zip.R tool waits inside a dead tree in the Gnarly Bark region, guarded by spiders and reachable only by buggy.
The Zip.R tool waits inside a dead tree in the Gnarly Bark region, guarded by spiders and reachable only by buggy.
by AllThingsHow Staff
The Zip.R is the tool that lets you actually ride ziplines in Grounded 2’s Into the Abyss update. Building zipline anchors is one thing, but you cannot latch onto a line and travel it until this device is in your pack. It is tucked away inside a dead tree in the Gnarly Bark region, at the top of a long vertical climb full of spiders and other insects.
Quick answer: Head to the Gnarly Bark region and start at the southwest side of the dead tree (map coordinates -40° N / -13° E). Ride a buggy inside the trunk, climb to the high outer branches, cross the web bridge to the pair of suspended shoes labeled “Stinky Shoes,” beat the wolf spider and the spider inside, then loot the Ominent employee’s corpse to collect the Zip.R.
What the Zip.R does
The Zip.R is a traversal tool, not a building piece. Once you own it, you can jump onto any placed zipline and press E (on PC) to attach yourself and glide along the cable at high speed. Unlike a plain drop, the Zip.R lets you travel upward and change direction partway through a run, so you can chain multiple zipline anchors into a full circuit around your base or across the park.
Note: the Zip.R is separate from the zipline blueprint itself. You still need the zipline anchor recipe unlocked to build the lines, but without the Zip.R in hand those lines cannot be used.
What to bring before you climb
The climb inside the dead tree mixes bark walls, spiderwebs, and narrow branches, so having the right buggies makes the trip far smoother. Two mounts cover almost every surface you meet on the way up.
Requirement
Why you need it
Orb Weaver Buggy
Climbs the spiderwebs and vertical branches near the top without penalty.
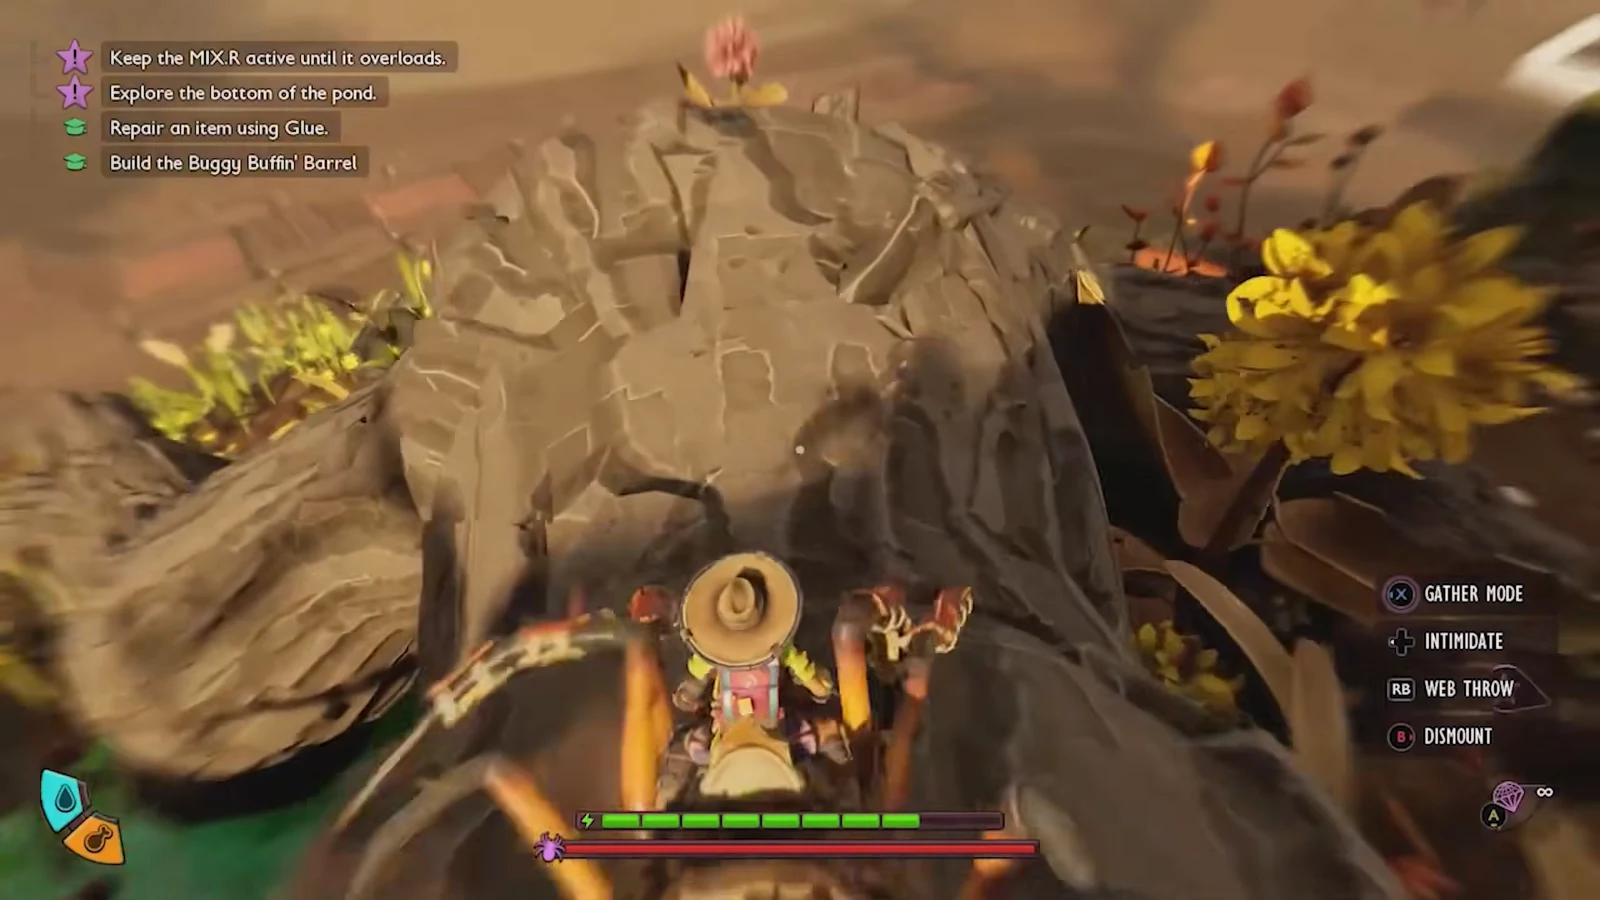
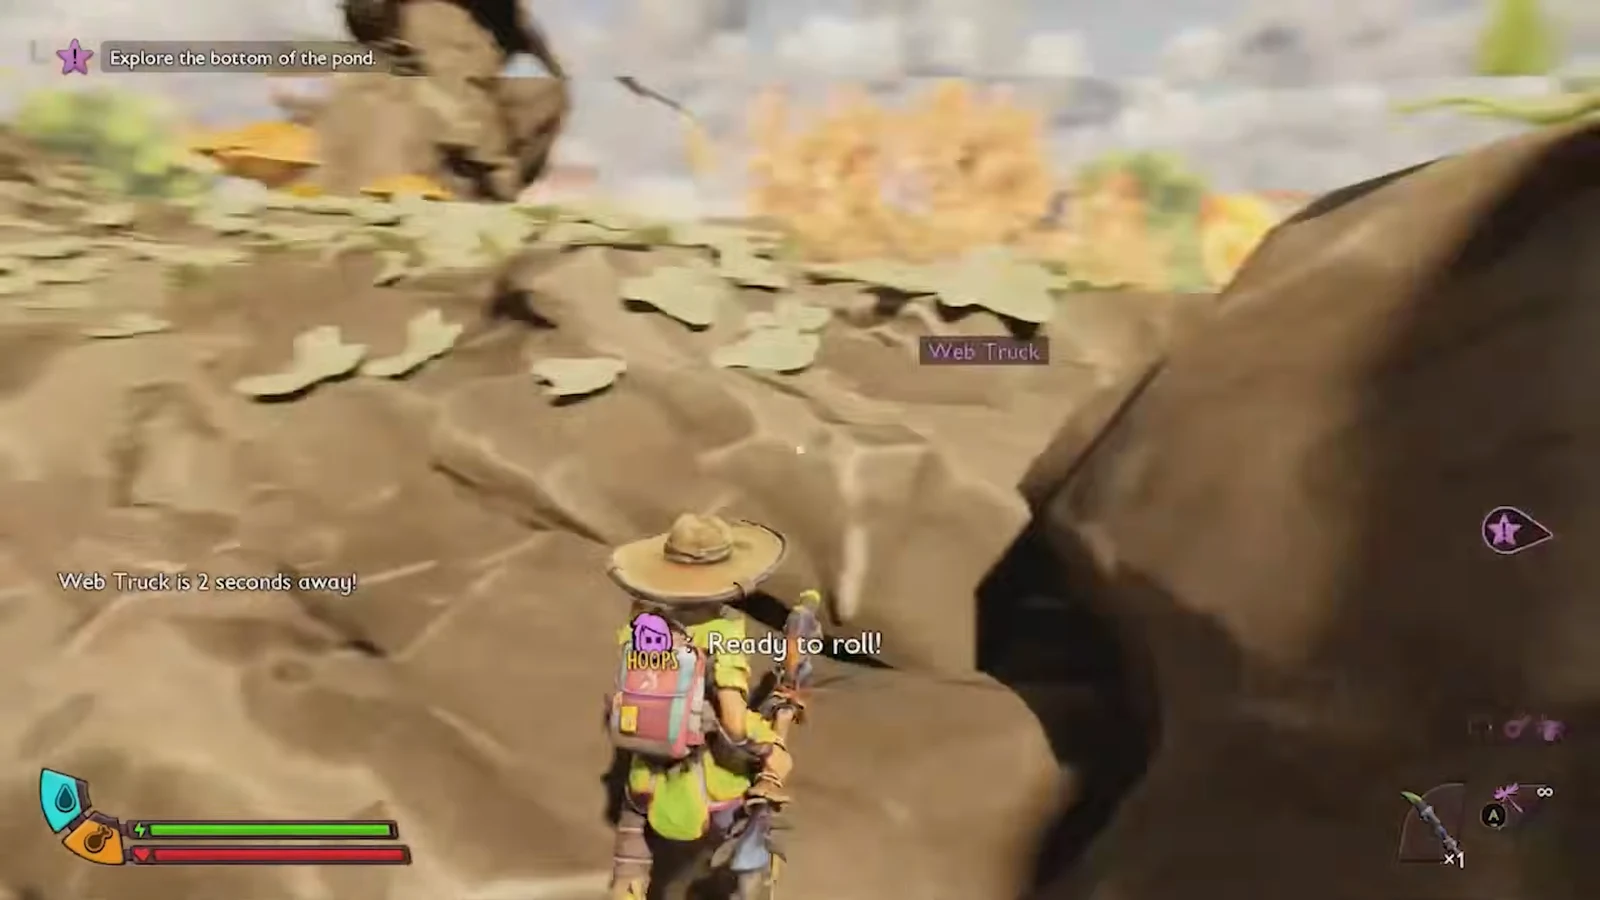
Travel to the Gnarly Bark region and go to the southwest side of the dead tree, marked at -40° N / -13° E. Ride your buggy across the outer tree roots and mushroom ledges until you find an opening that leads into the hollow interior.
00:22Ride your buggy across the roots and mushroom ledges to reach the opening into the trunk. Image credit: Obsidian Entertainment / via @TinyPirateGaming. Shown at 00:22 in Tiny Pirate Gaming’s video.
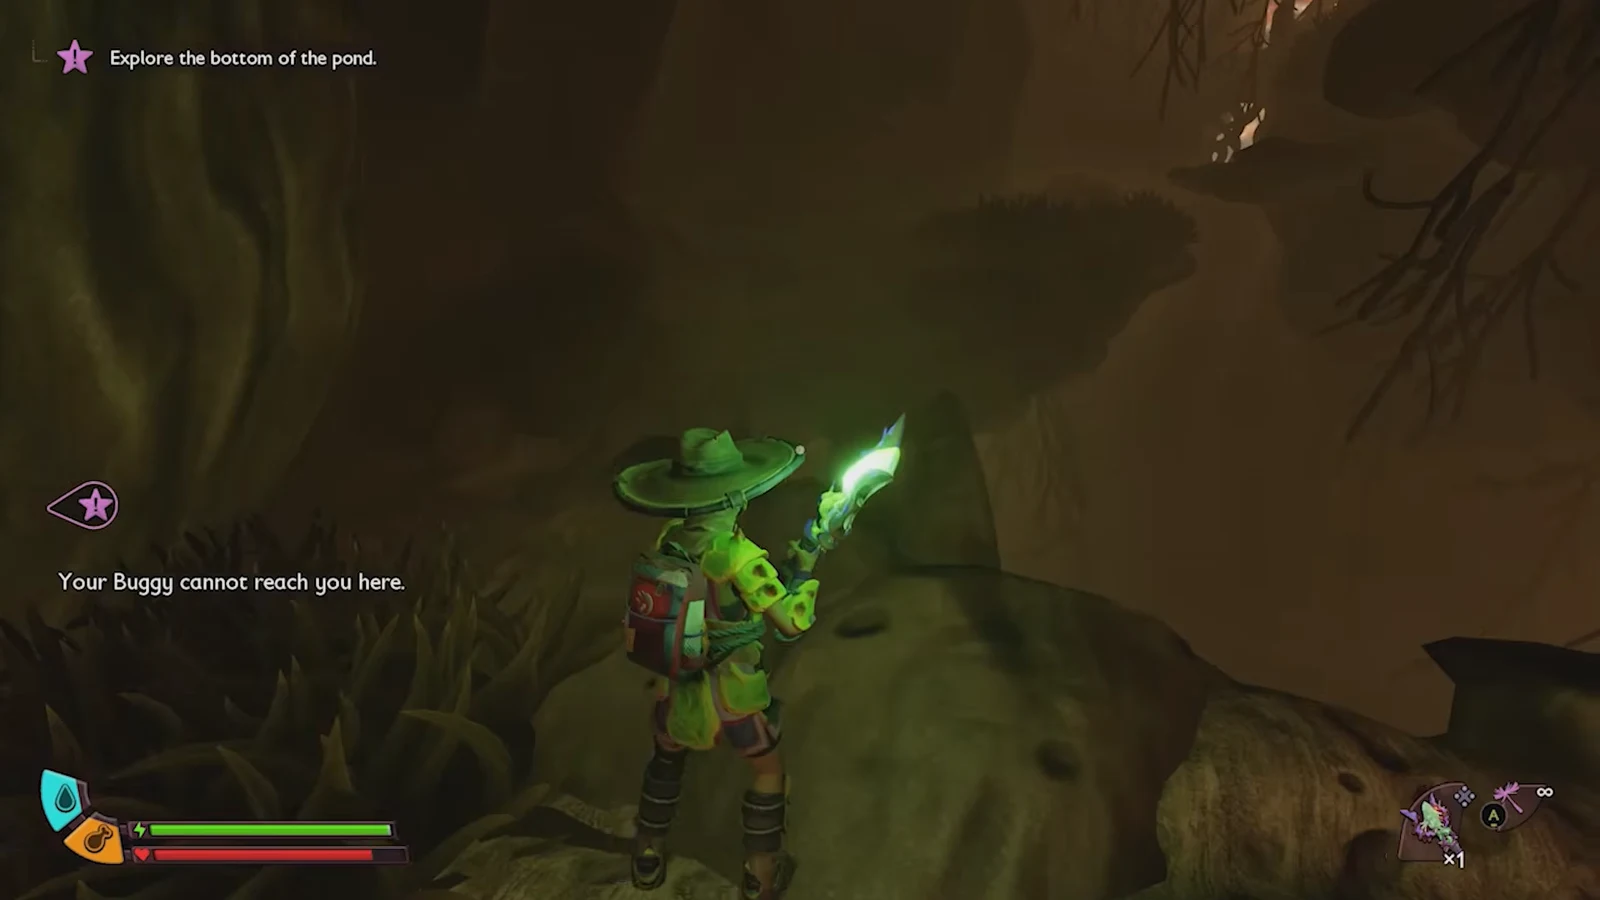
Inside the dark cavity, dismount and start climbing. Jump across the ledges, ride up the mushrooms and path ramps, and watch for earwigs that can knock you off as you ascend.
00:44Some ledges inside the trunk are too tight for the buggy, so you climb them on foot. Image credit: Obsidian Entertainment / via @TinyPirateGaming. Shown at 00:44 in Tiny Pirate Gaming’s video.
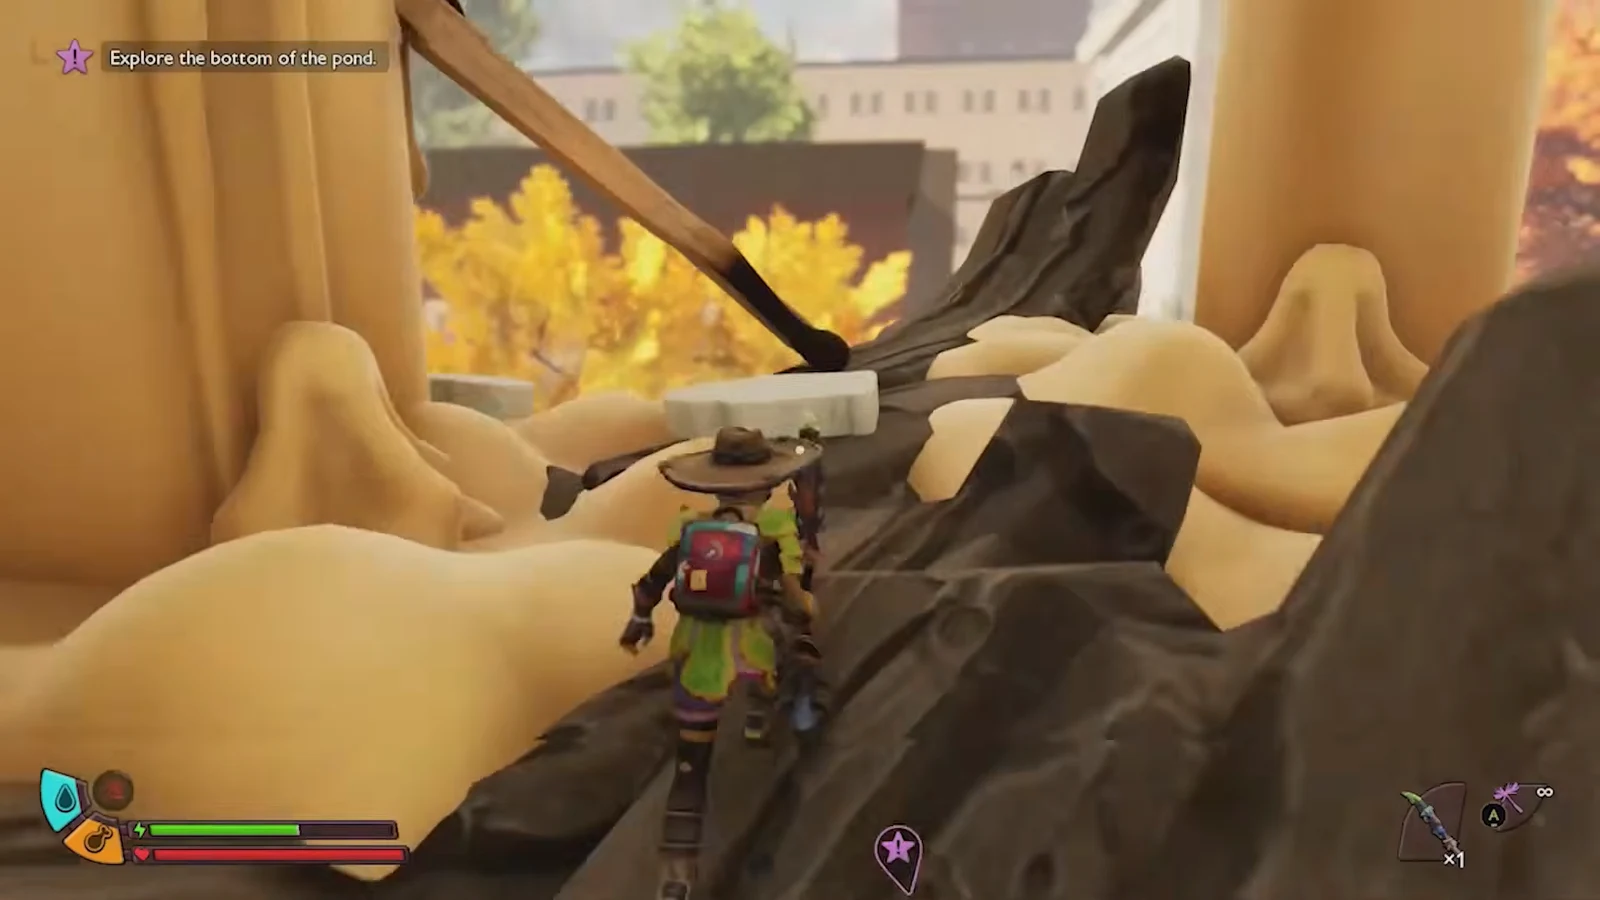
The path briefly exits the tree. Cross the burnt match, the melted candle, and the shelf mushrooms outside, then head back into a cave entrance set higher up the trunk.
01:09The outer candle pathway links the lower hollow to a higher cave opening. Image credit: Obsidian Entertainment / via @TinyPirateGaming. Shown at 01:09 in Tiny Pirate Gaming’s video.
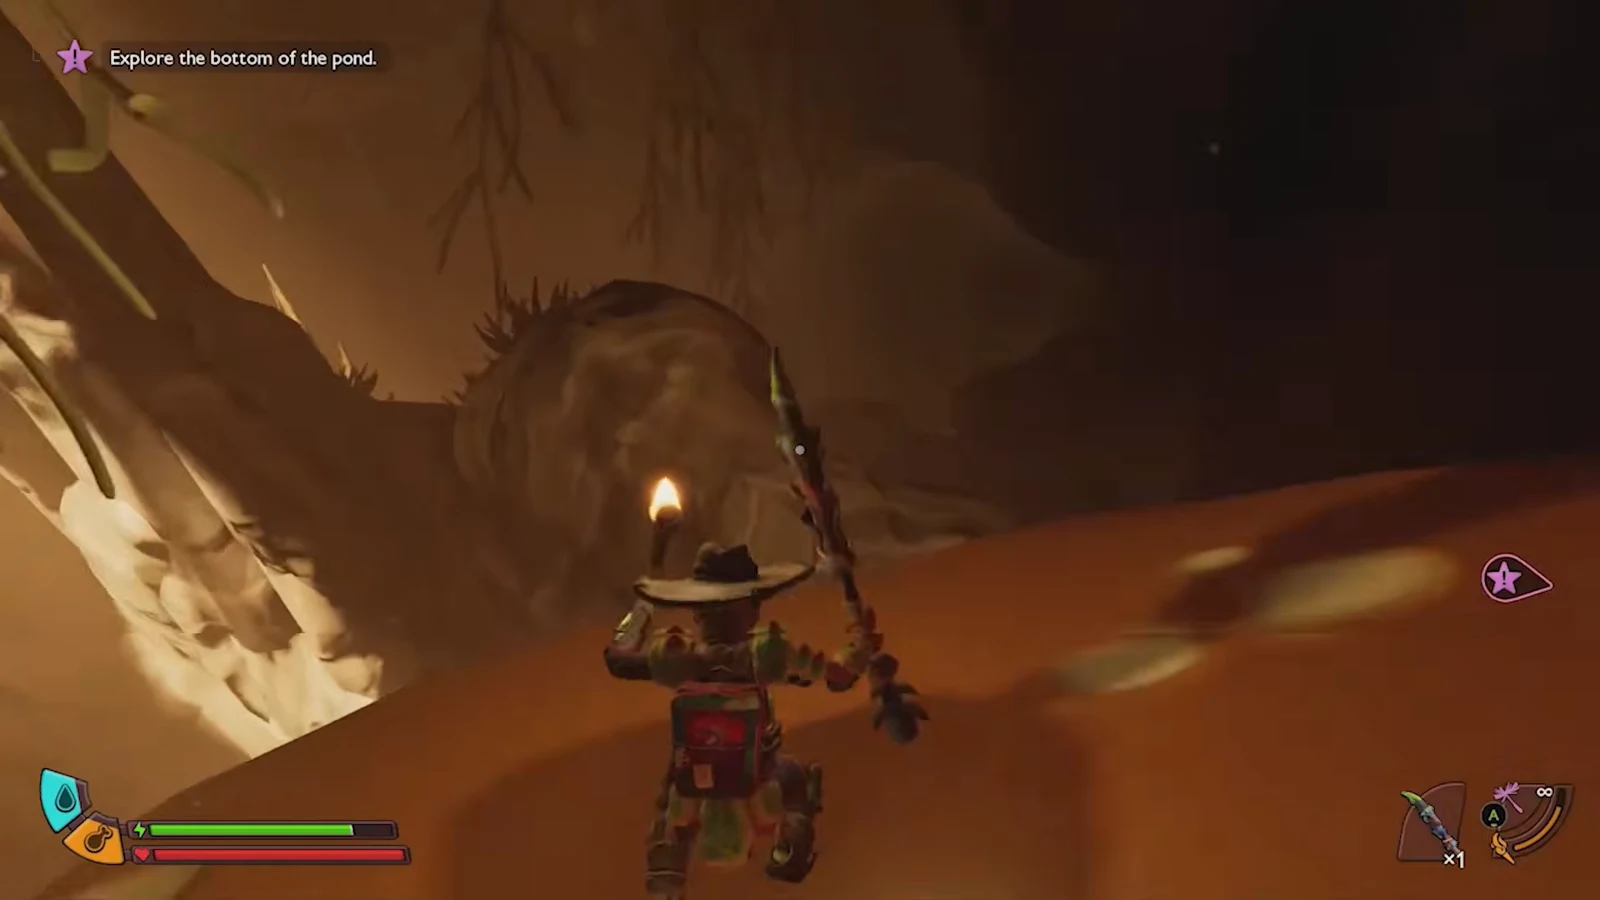
Follow the tunnel past the fighting insects, moving up the slanted ledges and mushroom steps until you emerge onto the high outer branches of the dead tree. Keep your torch out here, since parts of this stretch are very dark.
01:25A torch keeps the dark upper tunnel readable as you climb to the outer branches. Image credit: Obsidian Entertainment / via @TinyPirateGaming. Shown at 01:25 in Tiny Pirate Gaming’s video.
Mount your spider buggy and pick your way along the narrow branches. Keep going until you reach the spot overlooking a pair of suspended shoes labeled Stinky Shoes, which is your target.
01:41The spider buggy handles the narrow high branches leading toward the hanging shoes. Image credit: Obsidian Entertainment / via @TinyPirateGaming. Shown at 01:41 in Tiny Pirate Gaming’s video.
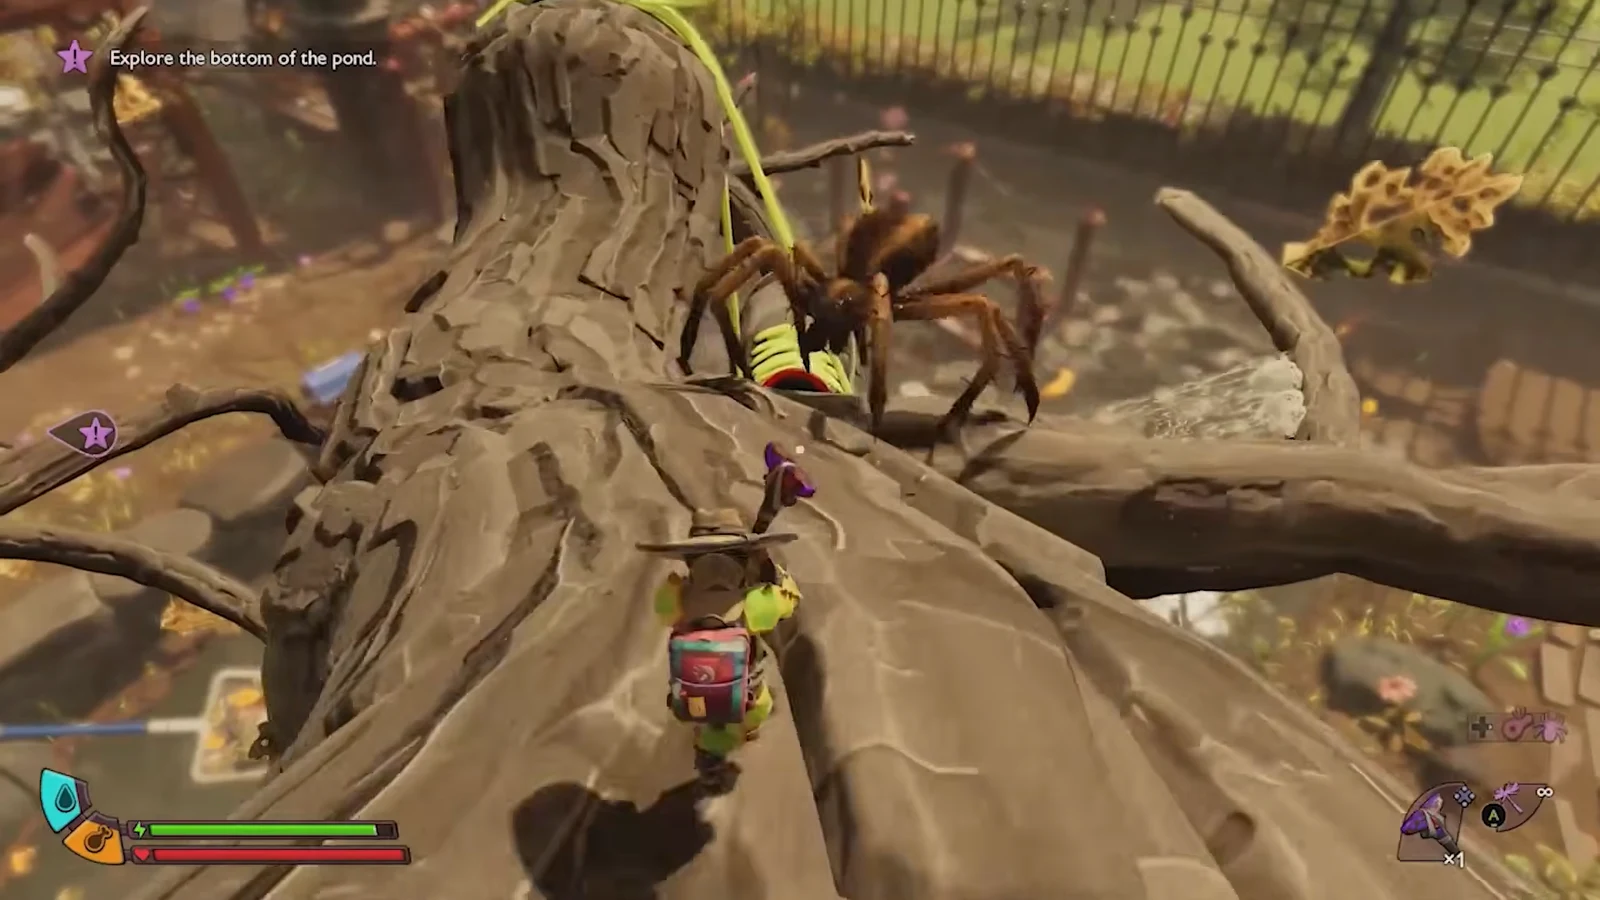
Fight and defeat the wolf spider guarding the main branch. Once it is down, move onto the web bridge that connects the branch to the dangling sneaker.
02:16Clear the wolf spider on the main branch before crossing the web bridge. Image credit: Obsidian Entertainment / via @TinyPirateGaming. Shown at 02:16 in Tiny Pirate Gaming’s video.
Cross into the shoe and defeat the spider waiting inside. Then rummage the corpse of the Ominent employee to collect the Zip.R. The pickup point shows on the map at -34° N / 8° E.
Confirm the pickup and start using it
You know it worked when the Zip.R lands in your inventory after looting the Ominent employee’s corpse inside Stinky Shoes. There is no separate crafting or research step for the tool itself, so once it is in your pack you are ready to use ziplines.
To ride a line, jump onto a placed zipline and press E to latch on. From there you can travel along the cable quickly, move upward, and shift direction mid-run. Link several zipline anchors together and the Zip.R turns them into a fast transit loop around your base and the wider park.