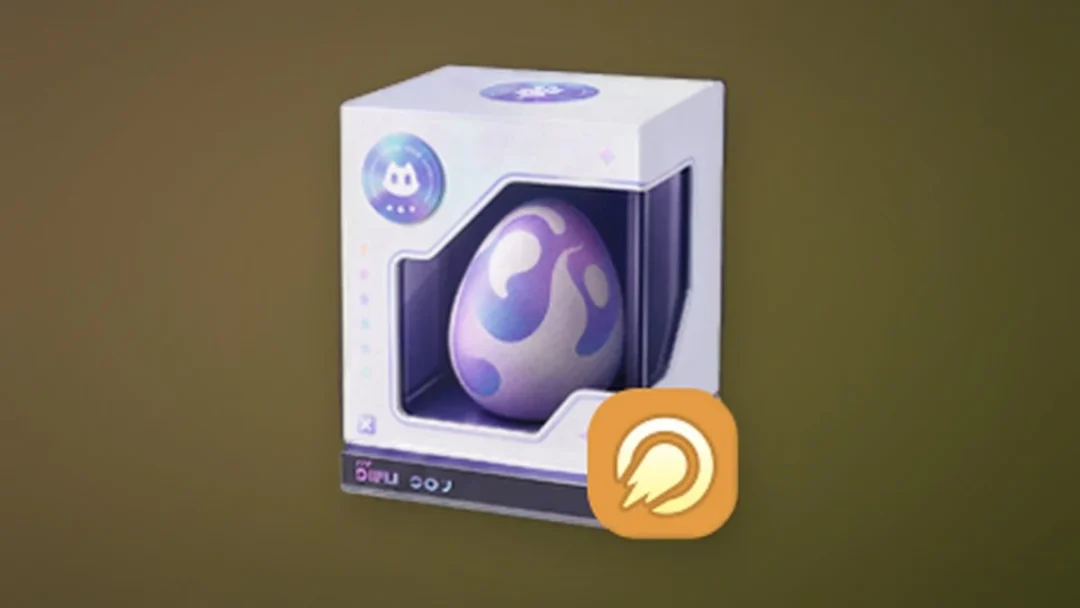
The Biomedical Token is a trinket added with Grounded 2’s Into the Abyss update, and it sits at the bottom of Skunk Pond inside a small Ominent outpost. You reach it by diving into the Abyss, dropping to the seabed, and looting the body of a fallen Ominent worker slumped in a chair. It heals you slowly over time, but the trade is that your hunger drains faster while it is equipped.
Quick answer: Equip the full three-piece Diving Suit, enter the Abyss through the Diving Station under the overturned bench at -28° N / 18° E, descend to the Abyss floor at -22° N / 79° E, climb the ladder to Abyss Outpost #1 at -22° N / 83° E, and loot the seated Ominent corpse to collect the Biomedical Token.
What you need before diving for the Biomedical Token
Abyss access is gated by gear, not by a key or a boss. You cannot pick up the token until you can reach the pond floor, and that requires the complete Diving Suit worn as a set.
| Requirement | Detail |
|---|---|
| Diving Suit | All three pieces equipped together: Diving Helmet, Diving Suit Chestplate, Diving Boots |
| Entry point | Diving Station beneath the overturned bench in the pond |
| Travel tool | The Pneumatic Transit System (PTS) tube inside the station |
| Underwater light | Recommended for seeing enemies, ledges, and the outpost ladder |
If the Diving Station door refuses to open, the equipment is the reason. Finish the Diving Suit before returning rather than searching for a hidden alternate entrance. Once all three pieces are crafted and worn at the same time, the gate opens.
Route to the Biomedical Token
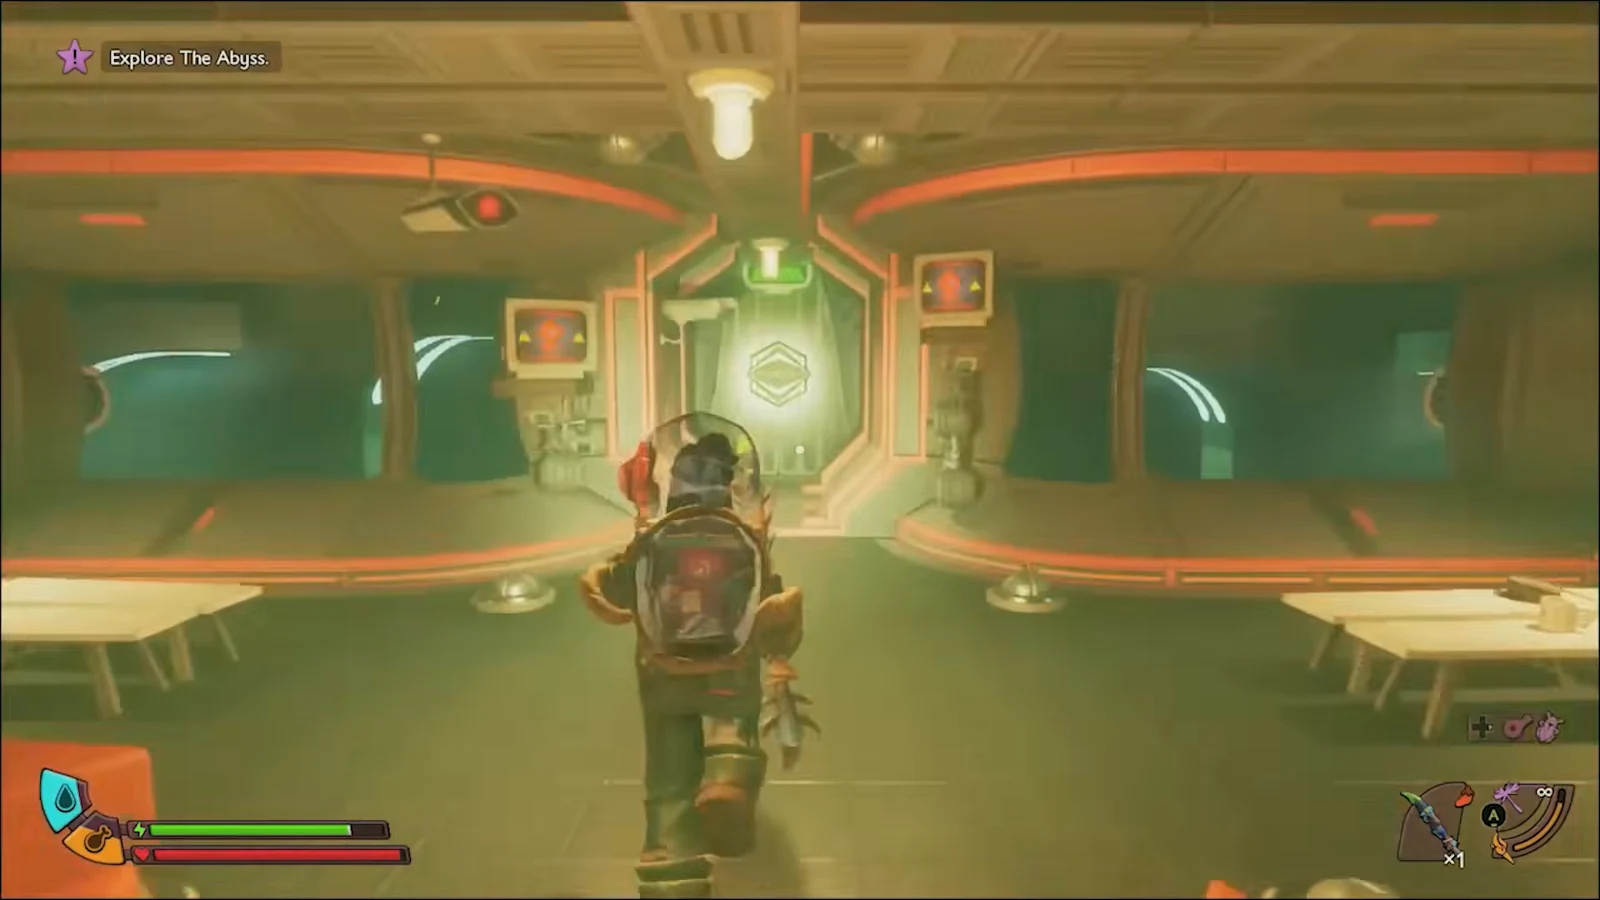
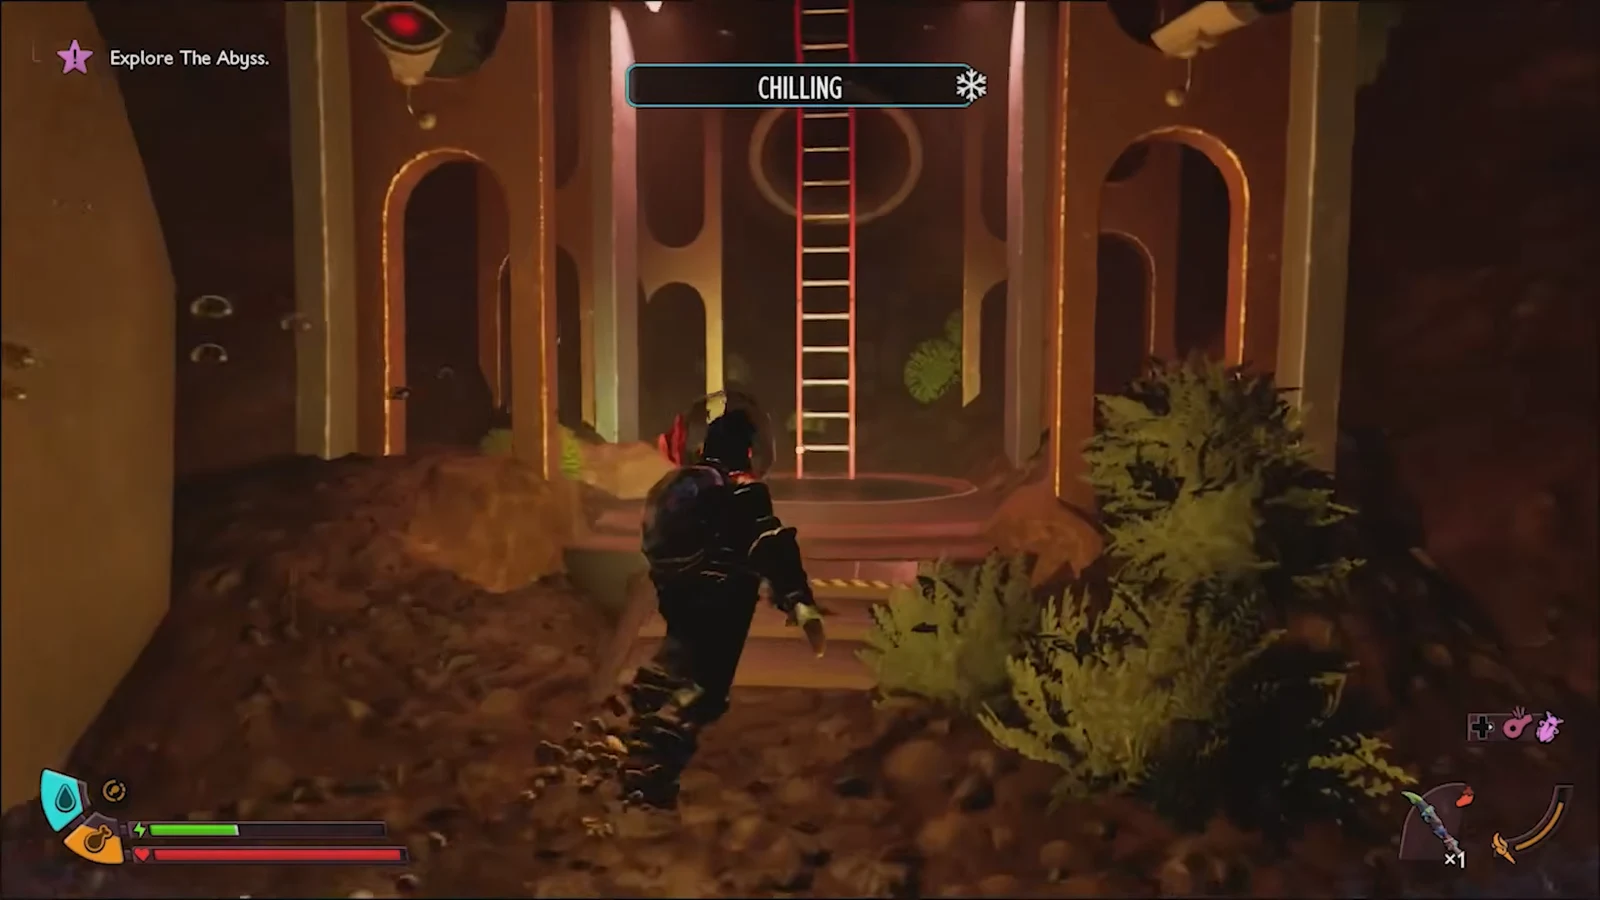
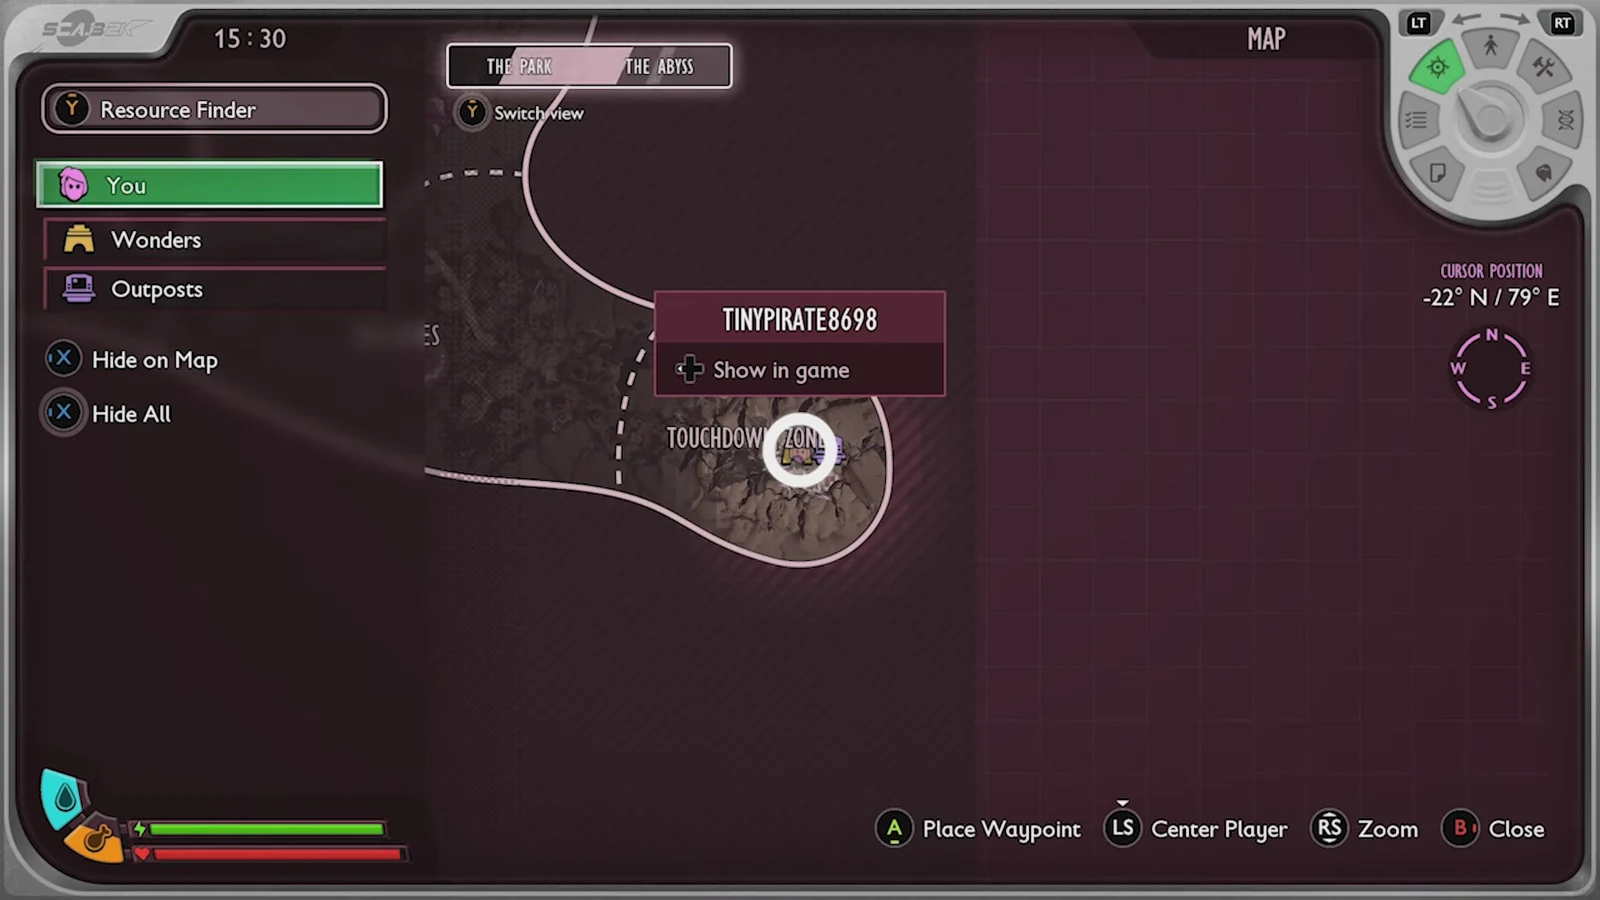
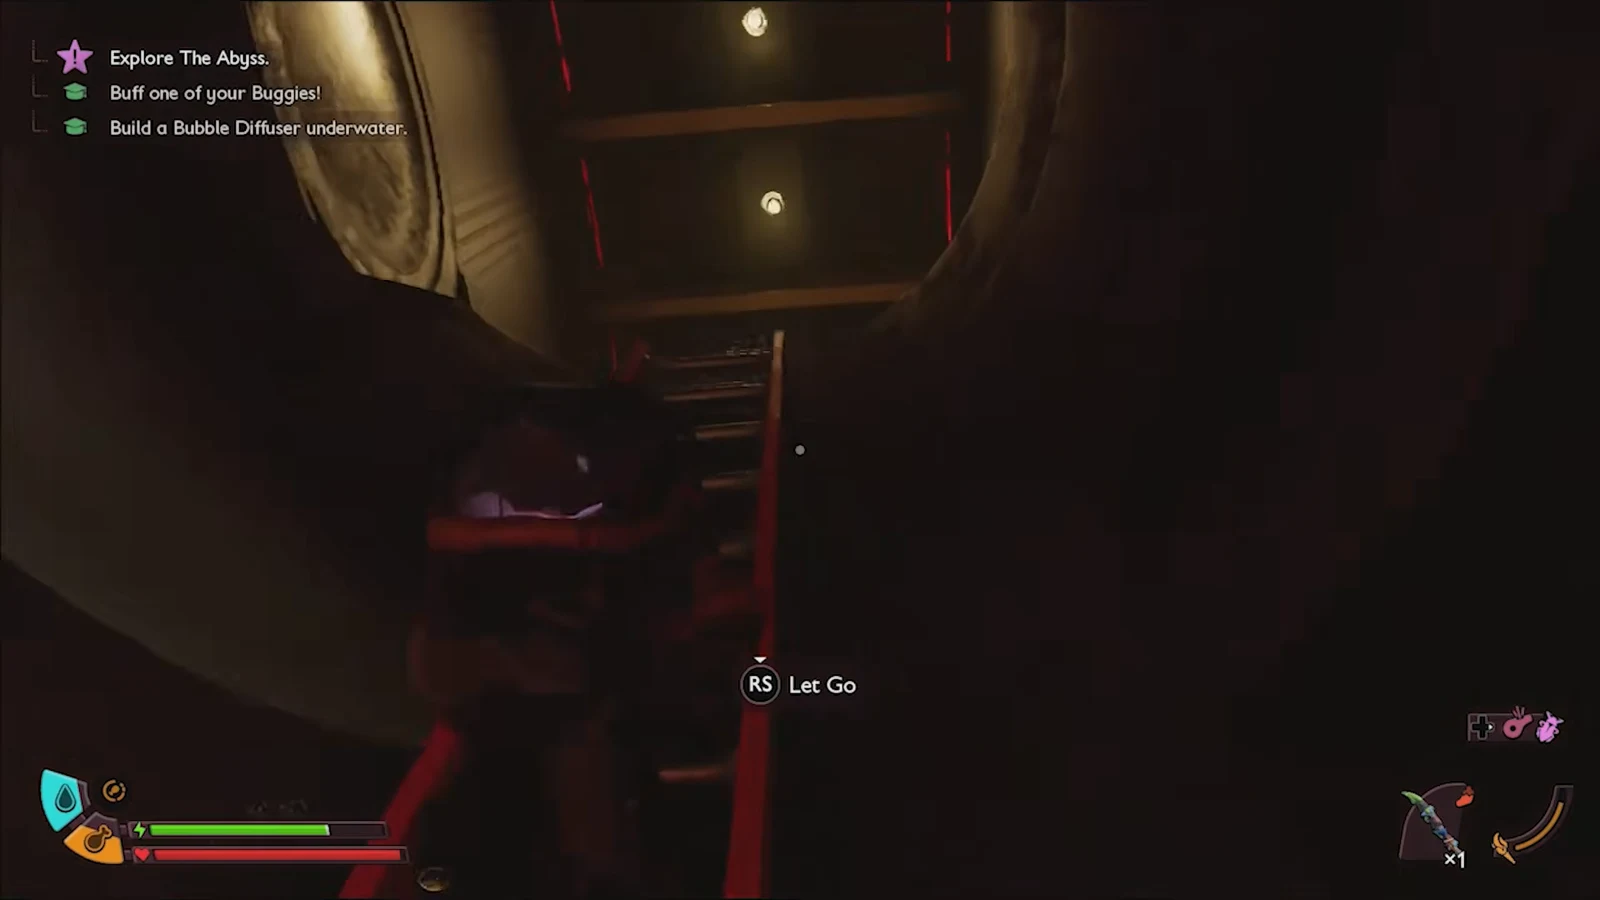
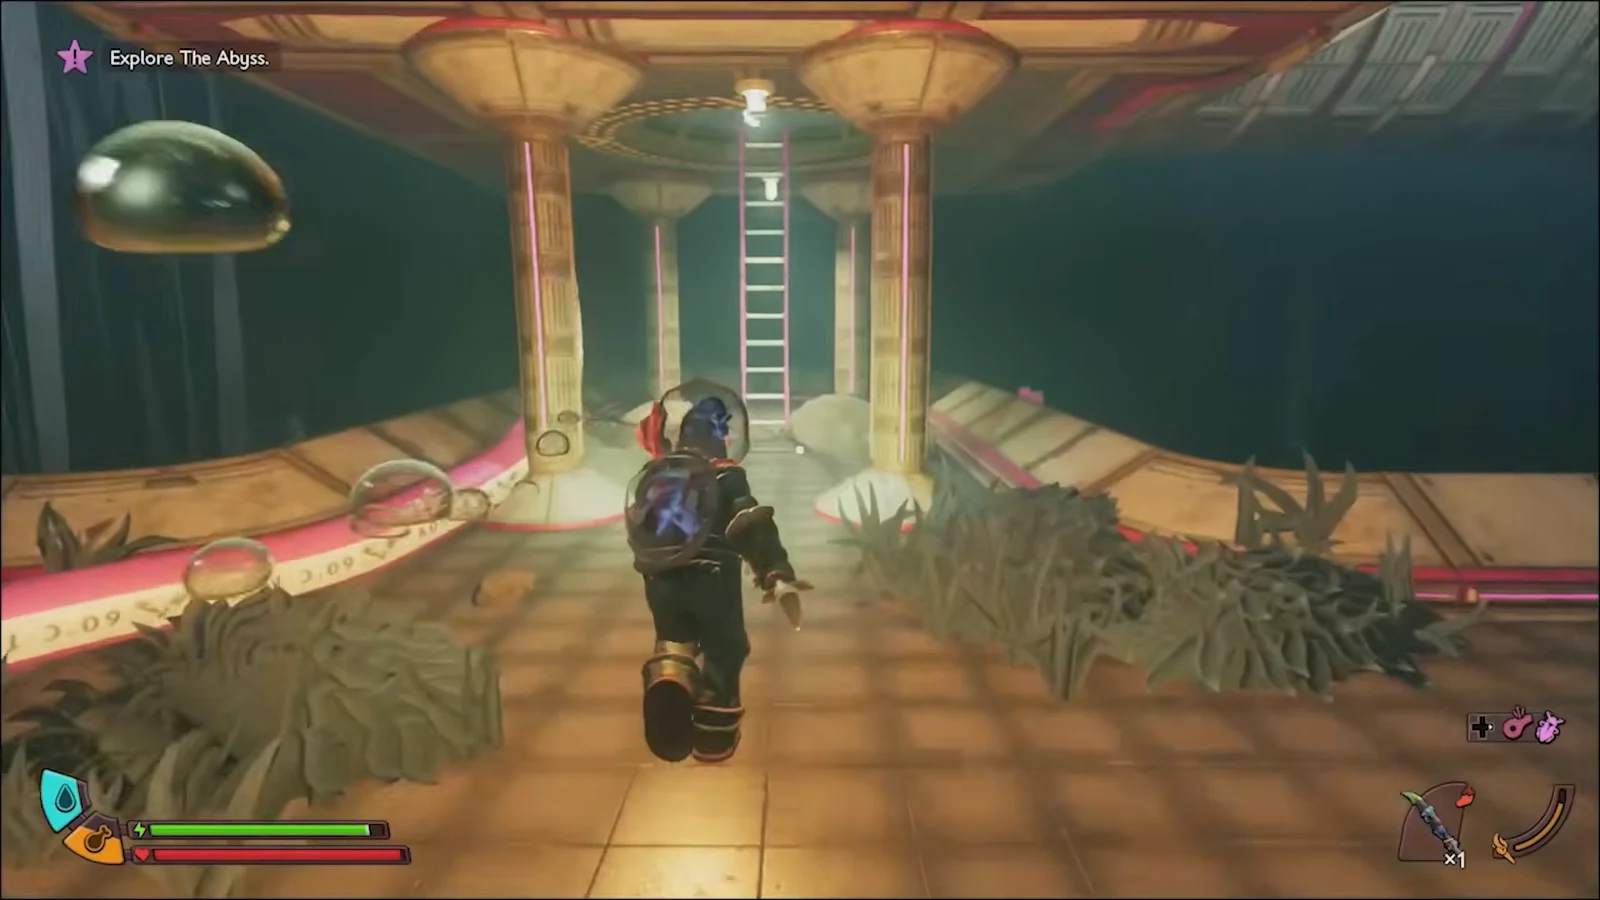
Key coordinates for the dive
| Location | Coordinates |
|---|---|
| Diving Station (entry, under the bench) | -28° N / 18° E |
| Bottom of the Abyss | -22° N / 79° E |
| Abyss Outpost #1 (token location) | -22° N / 83° E |
How to confirm you got the Biomedical Token
You know the pickup worked when the Biomedical Token appears in your trinket inventory after searching the seated corpse. If the body reads as empty, you are almost certainly at the wrong outpost. The Biomedical Token comes from the corpse in a chair inside Abyss Outpost #1 at -22° N / 83° E, not from other bodies scattered across the Abyss.
What the Biomedical Token does when equipped
The token carries two effects that pull in opposite directions. Trickle Regen restores your health slowly and continuously, while Food Conversion increases how fast your hunger meter empties to fuel that healing.
| Effect | Result |
|---|---|
| Trickle Regen | Slowly regenerates health over time |
| Food Conversion | Hunger drains faster while the token is active |
Because the healing costs hunger, the token is awkward on long runs unless you carry enough food to cover the extra drain. On many builds a bandage delivers more reliable healing without the hunger penalty, so the Biomedical Token fits best when you have a steady food supply and want passive health recovery. Keep that trade in mind before you commit it to a loadout, and stock food accordingly whenever you plan to leave it equipped.