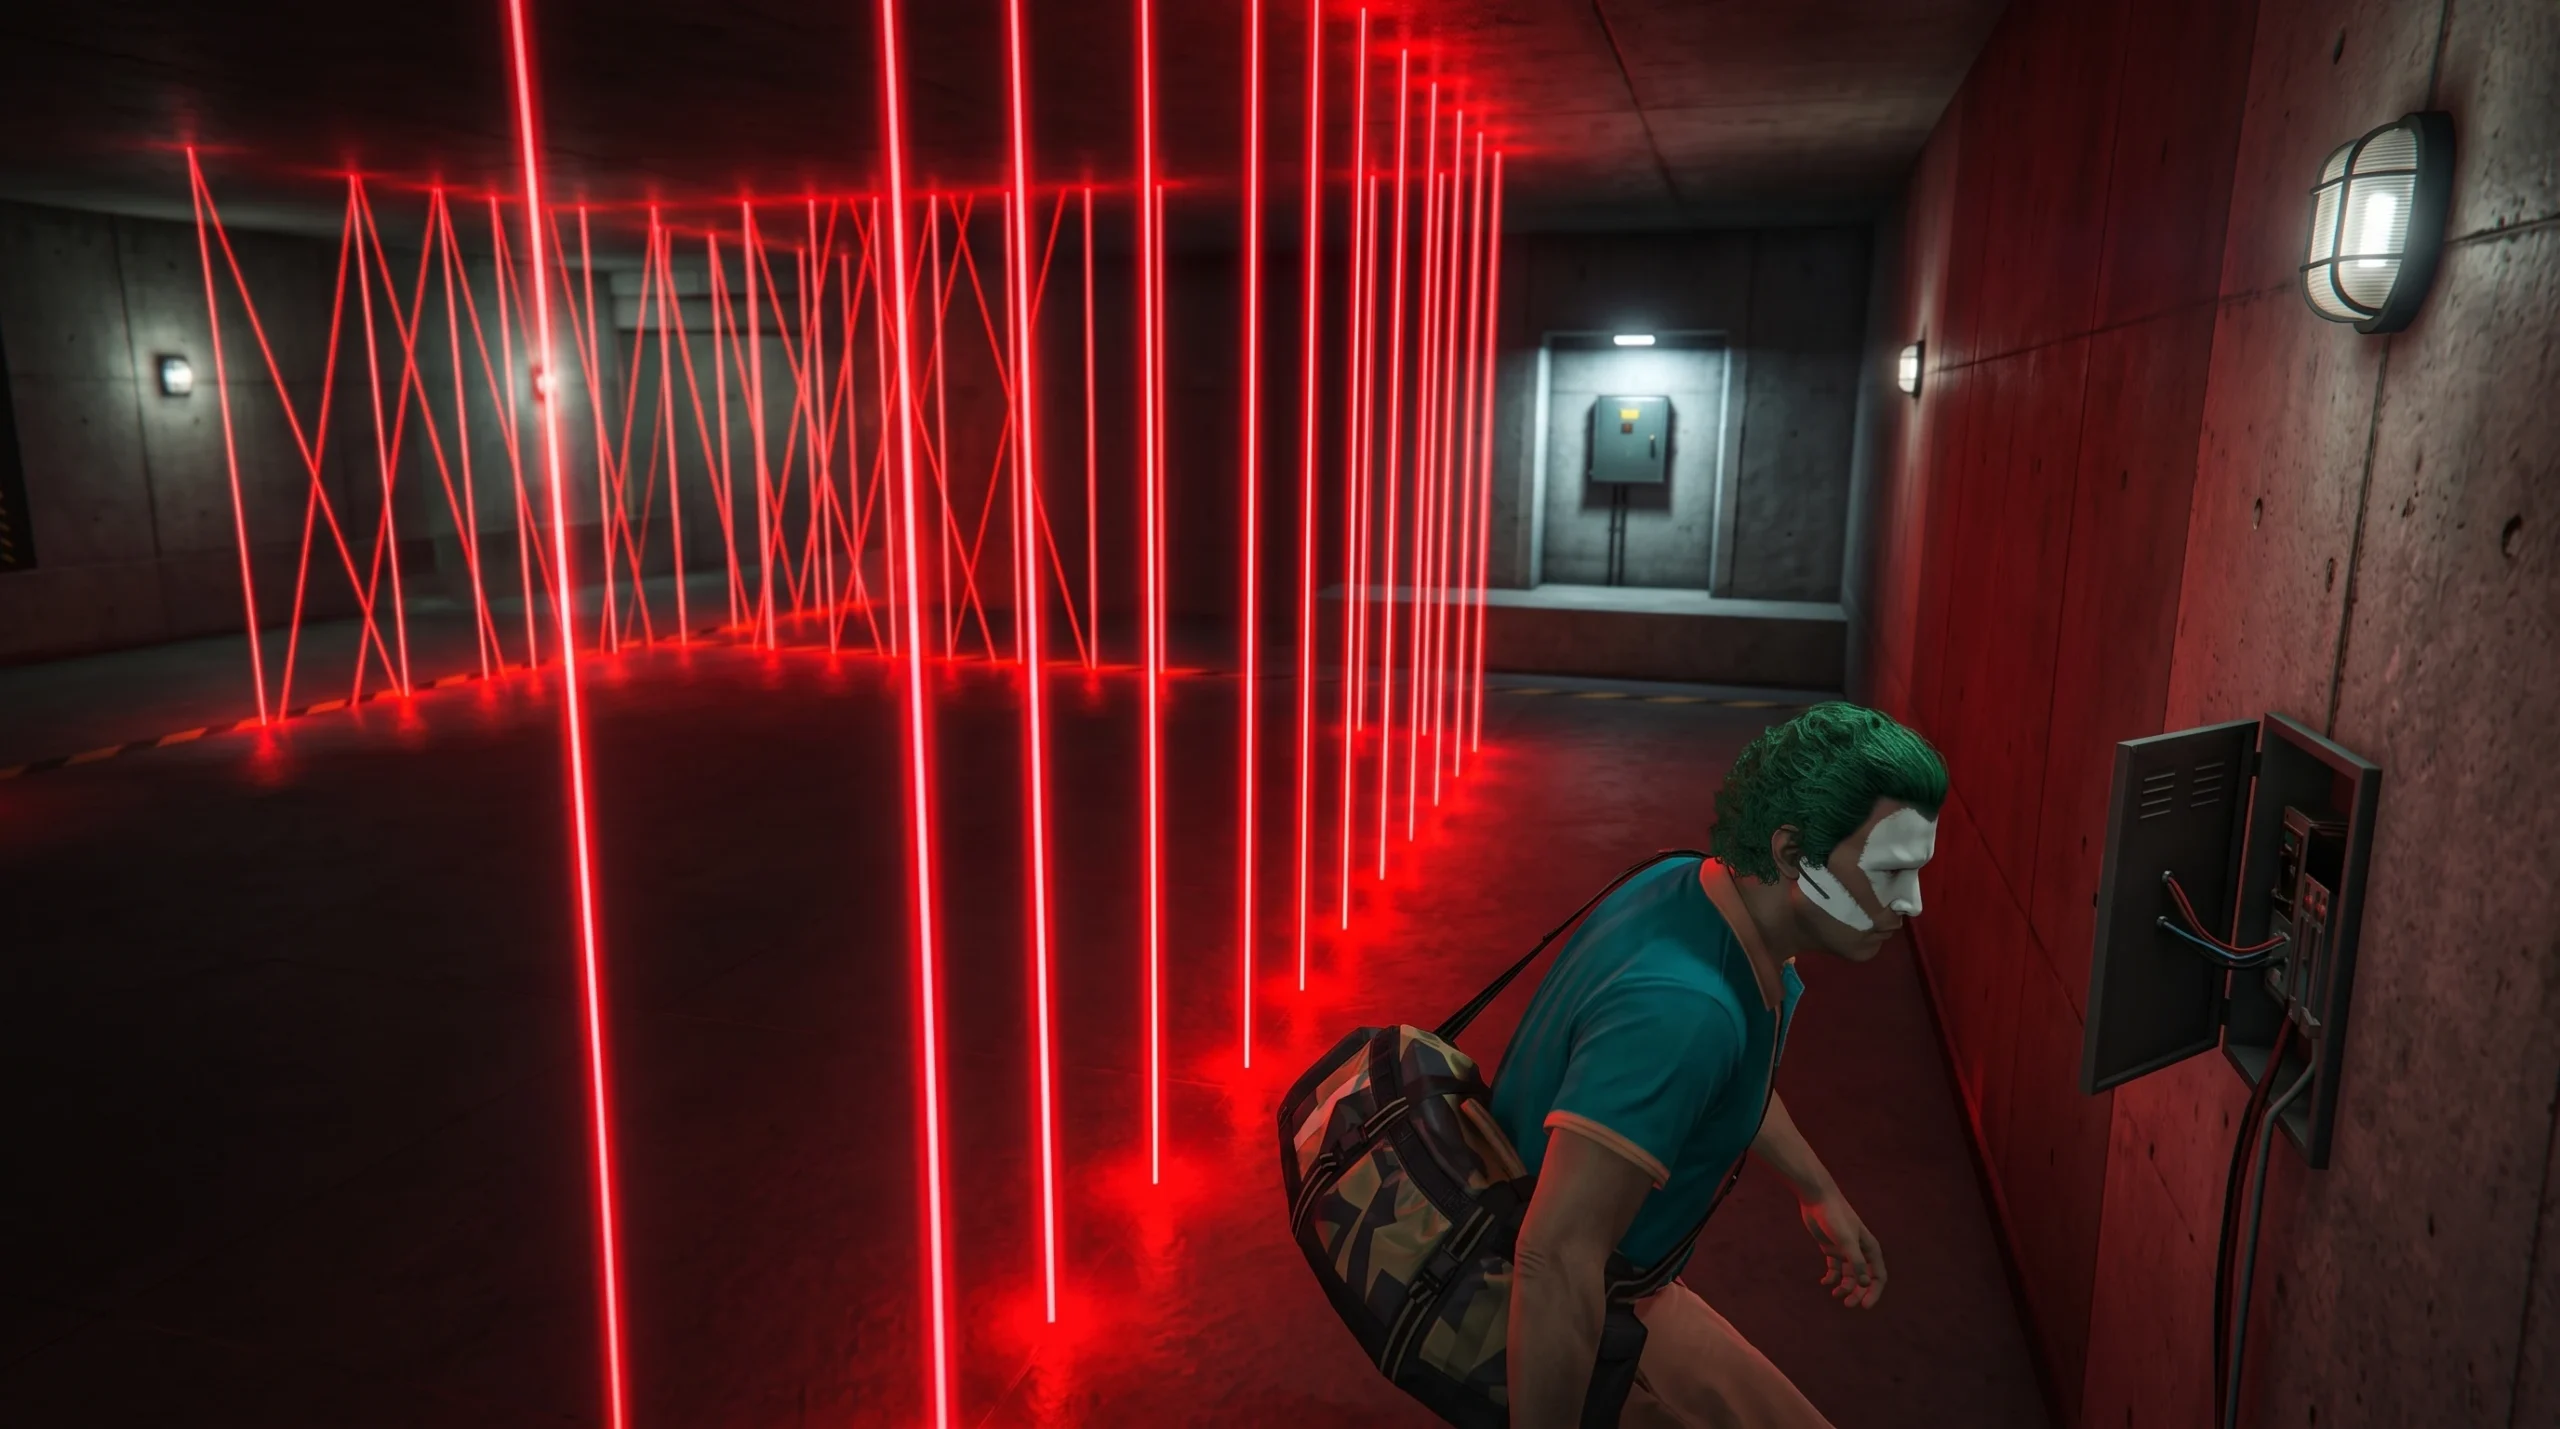
The laser grid stands between you and the vault in the Kortz Center Heist, and the second of its three sections is where most stealth runs fall apart. This part uses a red laser that sweeps along the floor while two crossed beams sit on either side of a narrow gap. You have to read the timing of that floor sweep, move through the middle, and pull the lever on the right-wall power box without ever touching a beam.
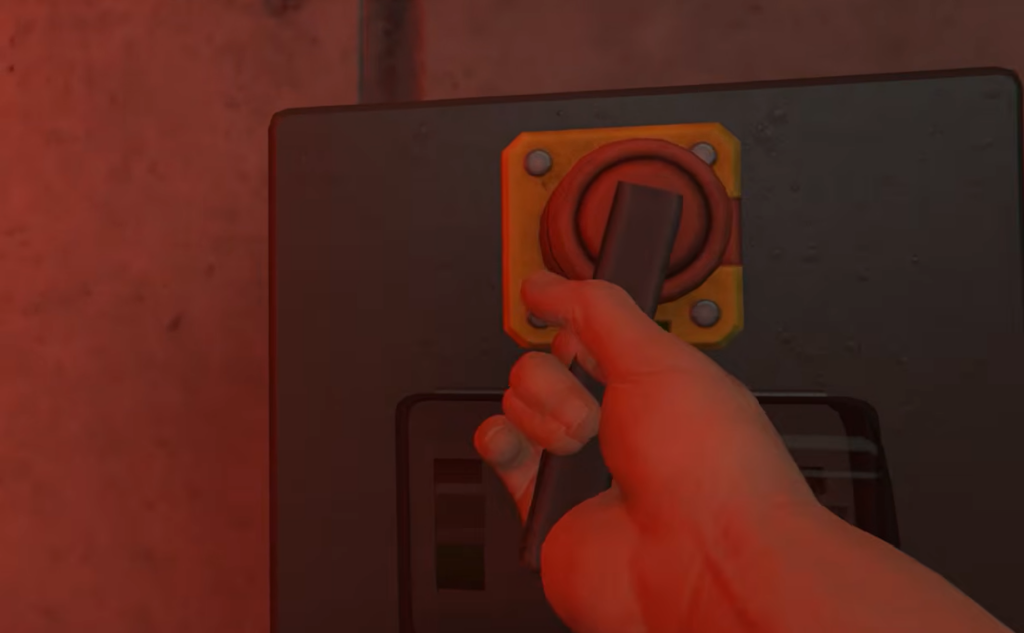
Quick answer: Face the right wall, watch the laser sliding across the floor, and the moment it moves toward you and vanishes, sprint between the two “X” shaped lasers and press the interact button on the right-wall power box. The screen confirms “Laser grid 2 of 3 disabled.”
Before you reach the second power box
The second section only opens up after the first is down. When you enter the laser room following the cutscene, hug the left wall and disable the first power box there. That box handles the static beams near the entrance, so clearing it first gives you a safe pocket to work from before you turn your attention to the right side.
Switch to first-person view before you start moving. It makes the beams far easier to judge, especially the low floor laser you are about to deal with. Two controls matter here. Press L3 to crouch in place under high beams, and press Square or X to hop over floor beams. For the second section, you mainly need clean timing rather than either of those, but keep them ready.
If a laser touches you at any point, the alarm trips and the whole building goes on alert. A quick restart from that state keeps the alarm active, so the only way back into a stealth run is to quit the heist entirely and start again from the planning board.
Second laser grid: right-wall power box location and timing
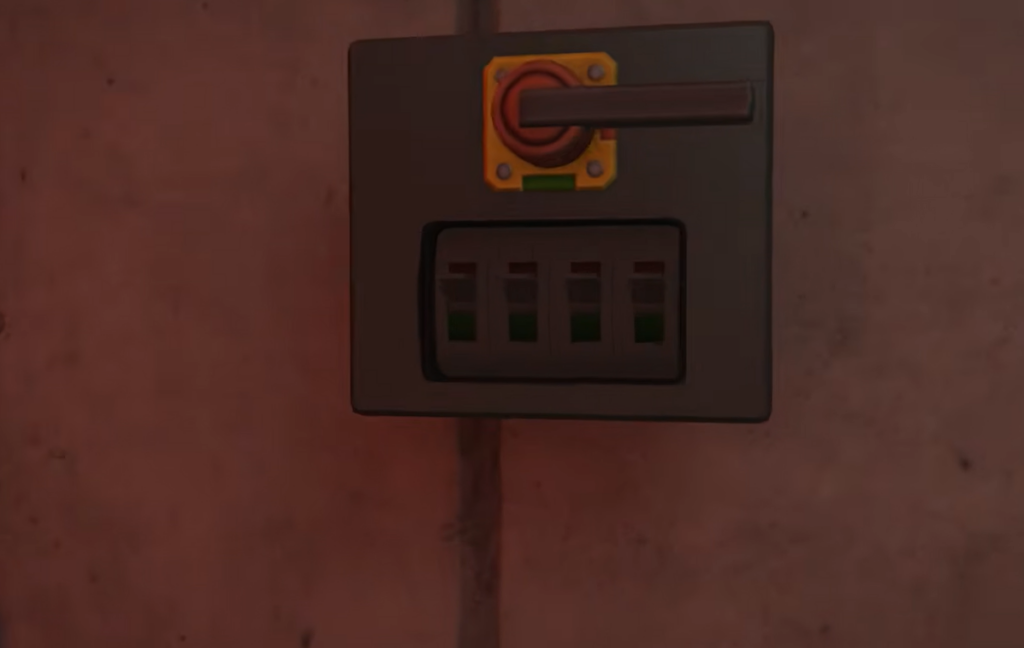
The second power box sits on the right wall of the room. Reaching it means passing through a gap that is guarded by two crossed “X” lasers, with a single red laser sweeping back and forth across the floor in front of them. The crossed beams stay put. The floor sweep is the part you have to beat.
How the three power boxes and their beams line up
Each power box shuts down the beams you just passed, so the room gets safer behind you with every lever. Knowing which wall holds which box keeps you from wandering into a live section by mistake.
| Section | Power box location | Beam pattern | How to pass |
|---|---|---|---|
| 1 of 3 | Left wall | Static beams near the entrance | Hug the left wall and pull the lever |
| 2 of 3 | Right wall | Two crossed “X” lasers with a floor sweep | Wait for the floor sweep to vanish, then run the gap |
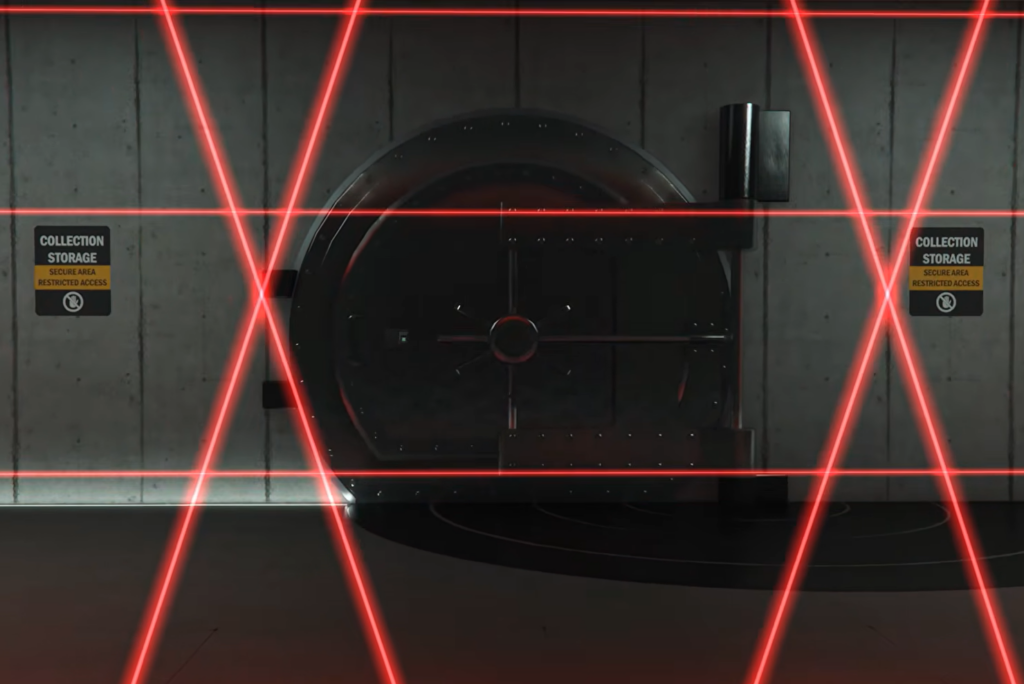
| 3 of 3 | Far left wall by the vault | Diagonal beams plus low horizontal sweep | Slip through the diagonals, crouch with L3, then move to the vault wall |
Why the run fails and how to confirm success
Almost every failure on the second section comes from moving too early. Players tend to bolt while the floor laser is still on screen or halfway through its path. Only the moment right after it disappears is fully safe. Rushing the gap while the sweep is active clips the beam and sets off the alarm.
The other common slip is drifting sideways into one of the crossed “X” lasers. Because they never move, they are easy to forget once you focus on the floor timing. Keep your path narrow and straight through the center of the gap.
You know the section worked when the on-screen counter reads “Laser grid 2 of 3 disabled.” No alarm, no flashing alert. With that confirmed, the third power box waits on the far left wall by the vault, and after all three are down, the prompt switches to hacking the vault keypad.