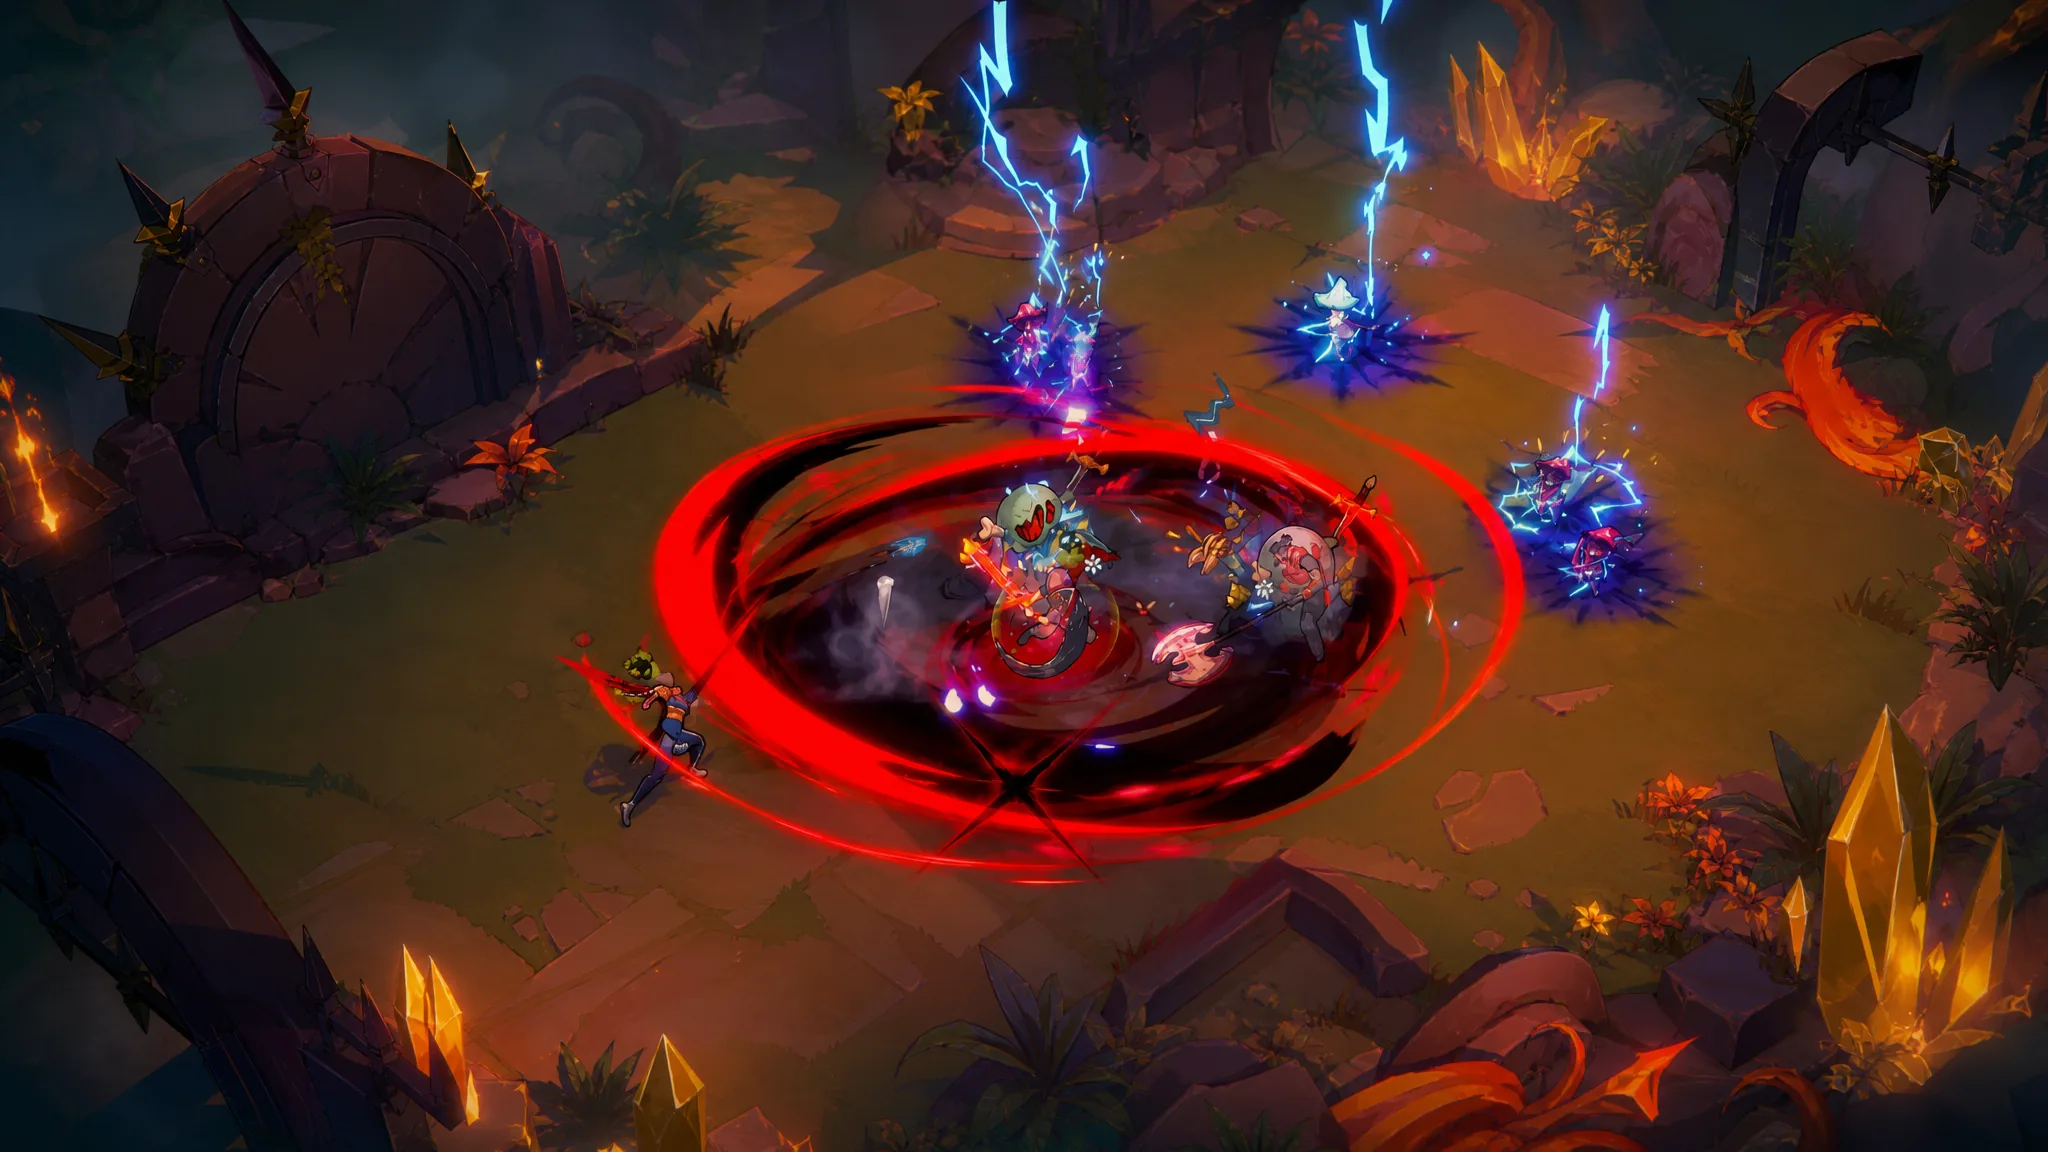
Red Rift punishes the greedy scaling habits that carry you through Endless mode. Instead of racing toward an overpowered late-game board, you spend the whole run balancing survival, mandatory objectives, and enemies that hit far harder than the ones you are used to. A lineup that looks unbeatable twenty minutes in means nothing if it collapses during Act 1.
Quick answer: Build around three needs before anything else. Run a resilient tank that can absorb Act 2 damage, a reliable source of wave clear, and a dedicated boss killer you can sub in for dragon fights. The Standard Trinity of one tank, one DPS, and one Mystic for sustain is the most consistent starting frame.
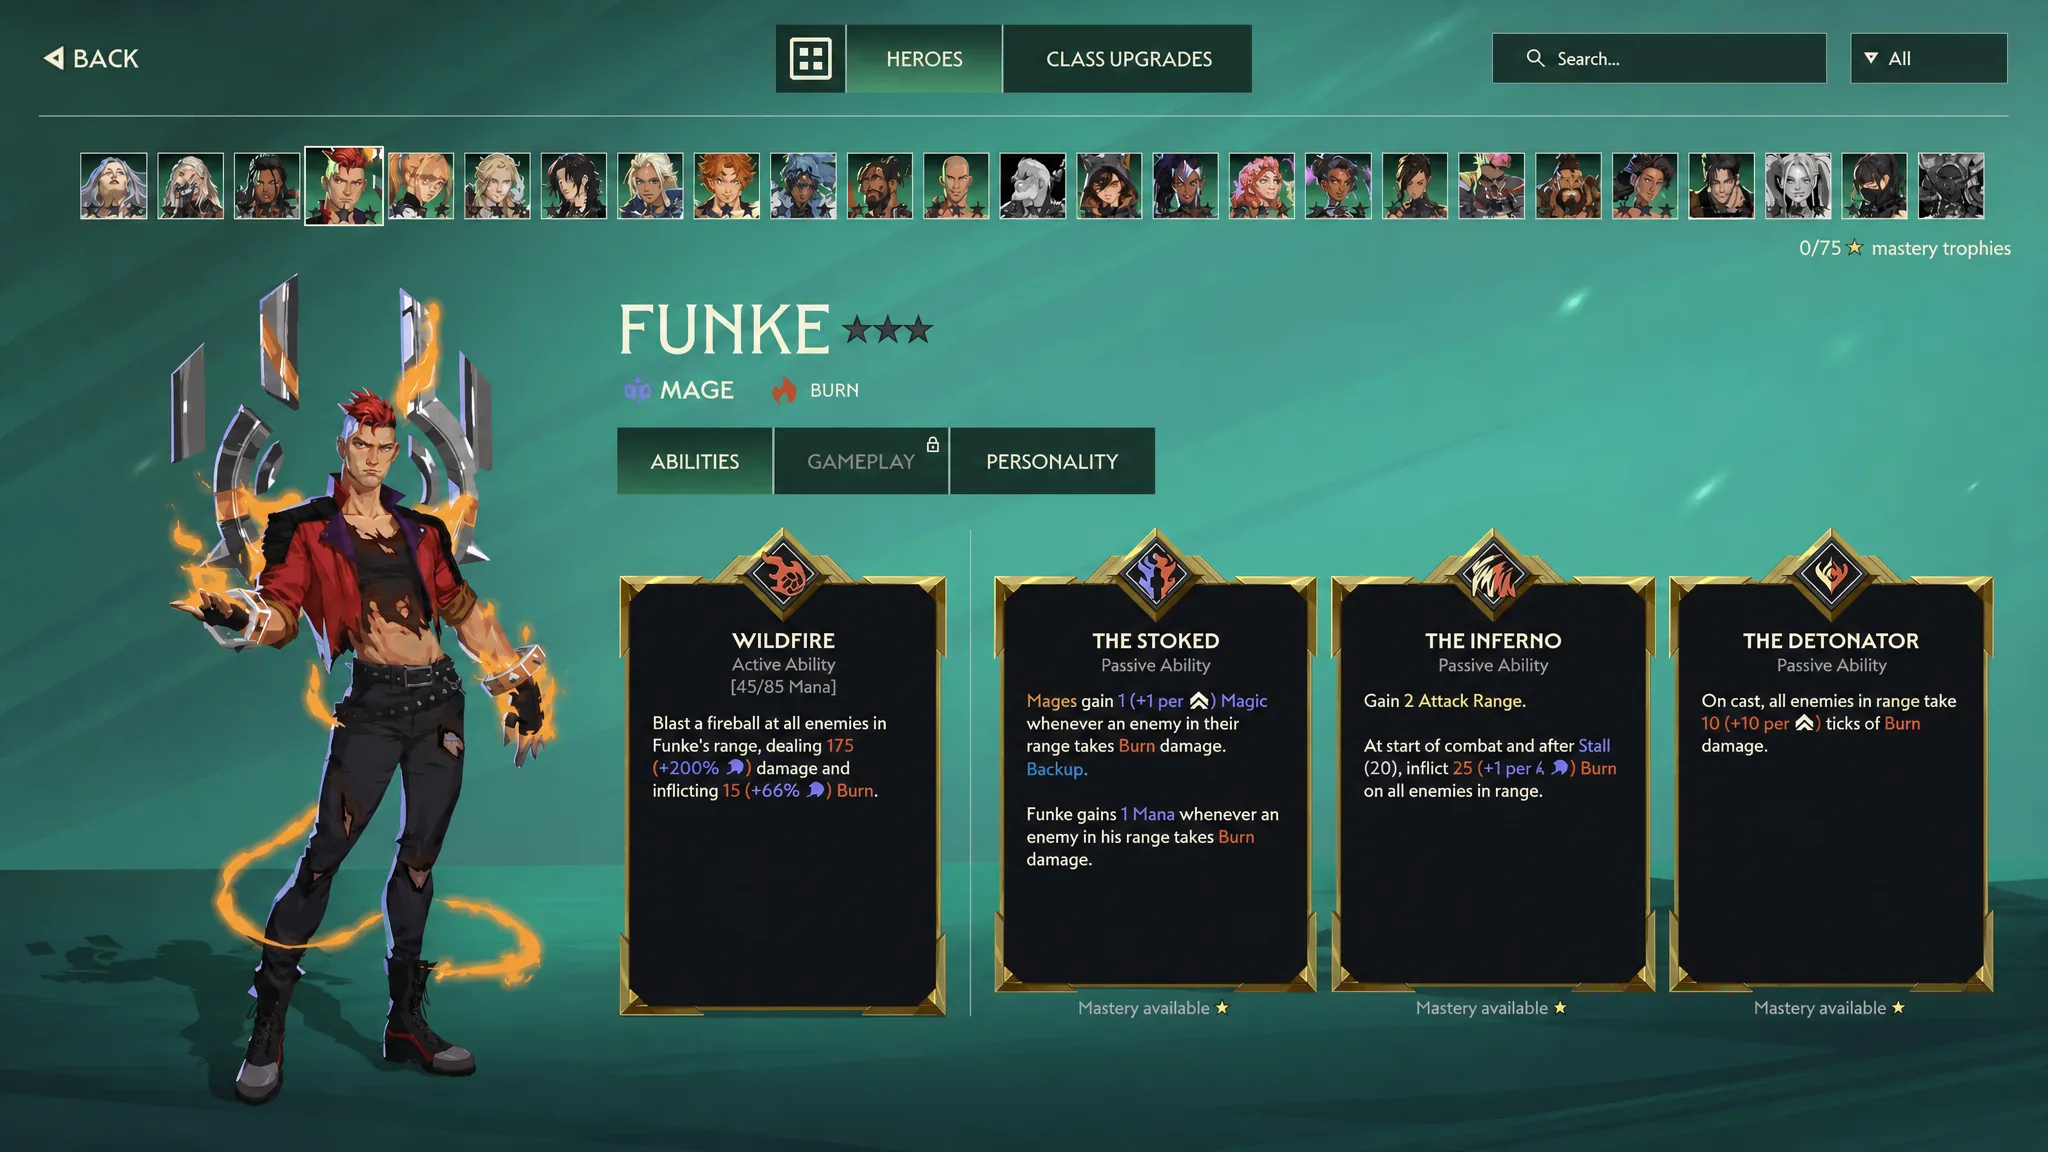
Think in roles, not favorite heroes
Red Rift rewards consistency over firepower. Rather than chasing the same characters every attempt, ask what your board is missing. A successful team covers three jobs at all times, though a single hero can often fill two of them.
| Role | Job in Red Rift | Why it matters |
|---|---|---|
| Tank | Holds the frontline and eats the opening pressure | Most failed runs start when the frontline breaks before your damage lands |
| Damage dealer | Clears mobs before waves overwhelm you | You need reliable DPS to finish encounters, not just late-game scaling |
| Sustain | Keeps the whole board alive through longer fights | Healing, shields, or lifesteal let squishy heroes survive splash and dive |
Flexible heroes become far more valuable here because they let you complete objectives without hollowing out one of these roles. Combinations like tank plus damage, damage plus sustain, or a shielding support that also buffs all matter more than a rigid one-hero-per-slot plan. Mystic-based builds that slowly outlast enemies instead of bursting them down are a legitimate route through the mode.
Team templates that consistently clear Red Rift
Adapt to what the shop actually offers, but a handful of frames perform reliably. Each one still expects a durable frontline and a way to handle boss encounters.
| Composition | Core setup | Best when |
|---|---|---|
| Standard Trinity | One tank, one DPS, one Mystic for sustain | You want balanced survivability and firepower on your first clears |
| Double Duelist | One tank paired with two Duelists | You can feed them attack speed and Omnivamp items |
| Shard engine | Shard-generating heroes plus relics that grant shields on shard gain | You want your economy to double as your primary defense |
| Hyper-carry | One high-potential carry ranked up fast, rest of board plays defense | You draft a scaling carry early and can invest heavily into it |
The Double Duelist plan lives and dies on item support. Without attack speed and Omnivamp, two damage dealers behind one tank leave you too fragile. The shard engine route turns gold generation into shields, which is why it holds up through the escalating pressure of Act 2.
Committing to a hyper-carry
The hyper-carry line asks you to invest early into a single high-ceiling hero. If you can climb their rank quickly, one carry can shoulder the entire run, freeing your remaining resources for defensive support that keeps that carry alive. This is a commitment plan, so it works best when a strong hero points you toward it during Act 1 rather than a build you force from wave one.
Front-load your damage and protect the backline
Being able to cast abilities at the very start of a fight is often the difference between winning and losing. Prioritize relics and items that grant starting mana or shields so your key heroes act immediately instead of dying before their first cast.
Positioning carries equal weight. Place your most durable frontline heroes where they intercept the opening wave, and keep fragile damage and support units behind them. Watch for enemies that pull your backline or leap across the map, and arrange your board to account for that behavior. Splash damage and abilities that ignore the frontline can kill supports long before the tank falls, so healing, shields, lifesteal, and defensive relics are not optional extras.
Note: Give defensive items to your tank first and keep their survivability ahead of the rest of the team. A properly equipped frontline makes every encounter more forgiving.
Drafting mistakes that end Red Rift runs
A few habits sink otherwise promising boards. Avoid these and your clear rate climbs on its own.
- Buying extra hero slots. Three well-equipped heroes beat four heroes with no items, so paying for board size is usually inefficient.
- Getting attached to starter units. Treat them as temporary and be ready to swap your composition the moment an A-rank or S-rank hero shows up in the shop.
- Forcing the same team every run. Let strong early heroes, a standout relic, or item synergies point you toward the build instead of fighting the shop.
- Skipping sustain to chase raw damage. Without a way to keep the backline alive, extra DPS never gets to matter.
Surviving Act 2 and the dragon bosses
Once you reach Act 2, the priority shifts from pure survival to polishing your final board. Finish charging the Anchor, complete your main team, fill item slots, and pick up useful backup heroes. Fully equipped heroes generally outperform under-equipped higher ranks, so slots often beat letter climbs at this stage. Keep watching the shop even after you commit, because an exceptional hero or relic can be worth reshaping the plan.
Each dragon rewards a slightly different setup, which is where that benched boss killer earns its place.
| Dragon | How to approach it |
|---|---|
| Fire Dragon | Punishes weak backlines. Bring reliable healing or shields to keep non-tanks alive. |
| Poison Dragon | Generally the easiest. Most balanced teams handle it without major changes. |
| Frost Dragon | Bring Frost against Frost. Slowing the boss cuts incoming pressure and covers for a weaker tank. |
You know the plan is working when you consistently reach Act 2 with your frontline intact and your objectives already underway rather than piling up at the last moment. Red Rift rewards patience and clean early decisions more than lucky hero rolls, so treat every run as survive first, complete missions second, and build for the late game only once you are stable. Guildrun is available through the demo on Steam.