

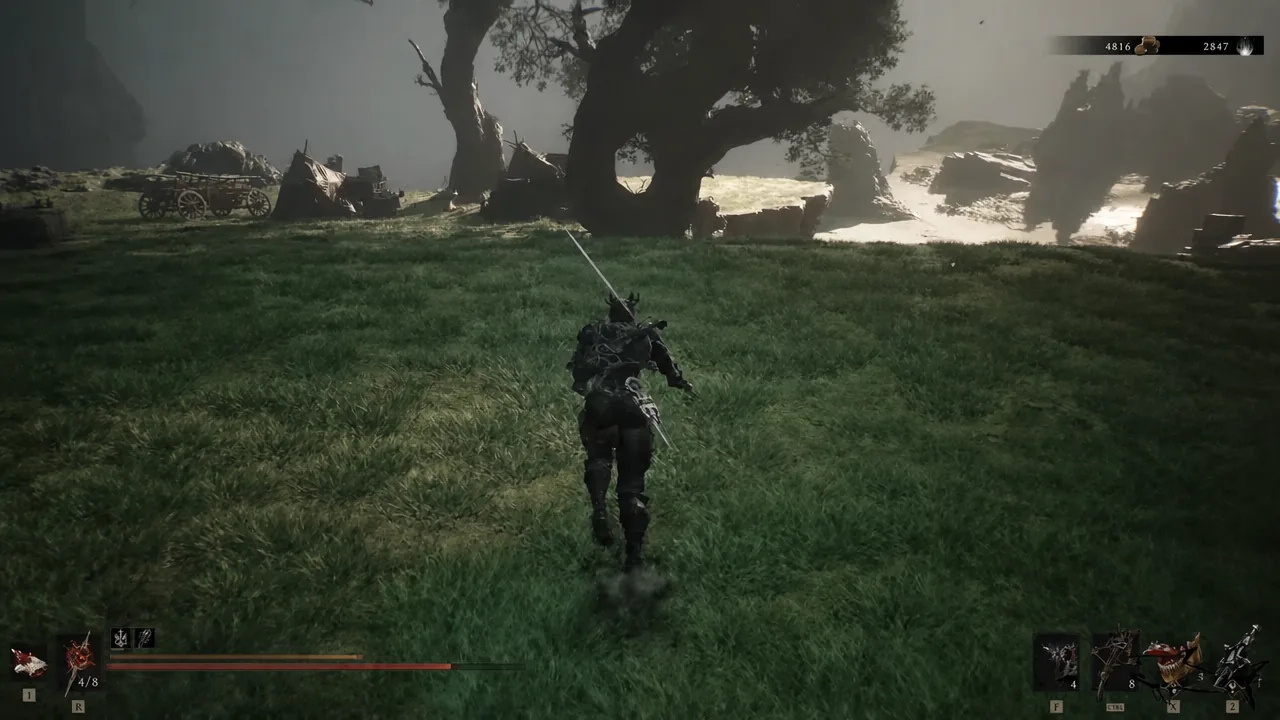
Hag’s Pit is a compact combat dungeon in the Ruins of Mammon. Everything happens inside a single cavern around a lit tree altar, and the only real challenge is surviving a large swarm of enemies before you loot the two chests and leave.
Quick answer: Travel to the Outskirts of Mammon beacon, head southeast along the cliff to reach the cave, ride the lift down, wipe out the enemy group, open both chests near the altar, then take the jump pad back up to exit.
Where to find Hag’s Pit
The entrance sits southeast of the Outskirts of Mammon beacon. Fast travel there, then follow the cliff edge down the grassy path until you reach the cave mouth. The area is not shown on the map until you have gone through it, so expect the map view to read as unavailable while you approach.
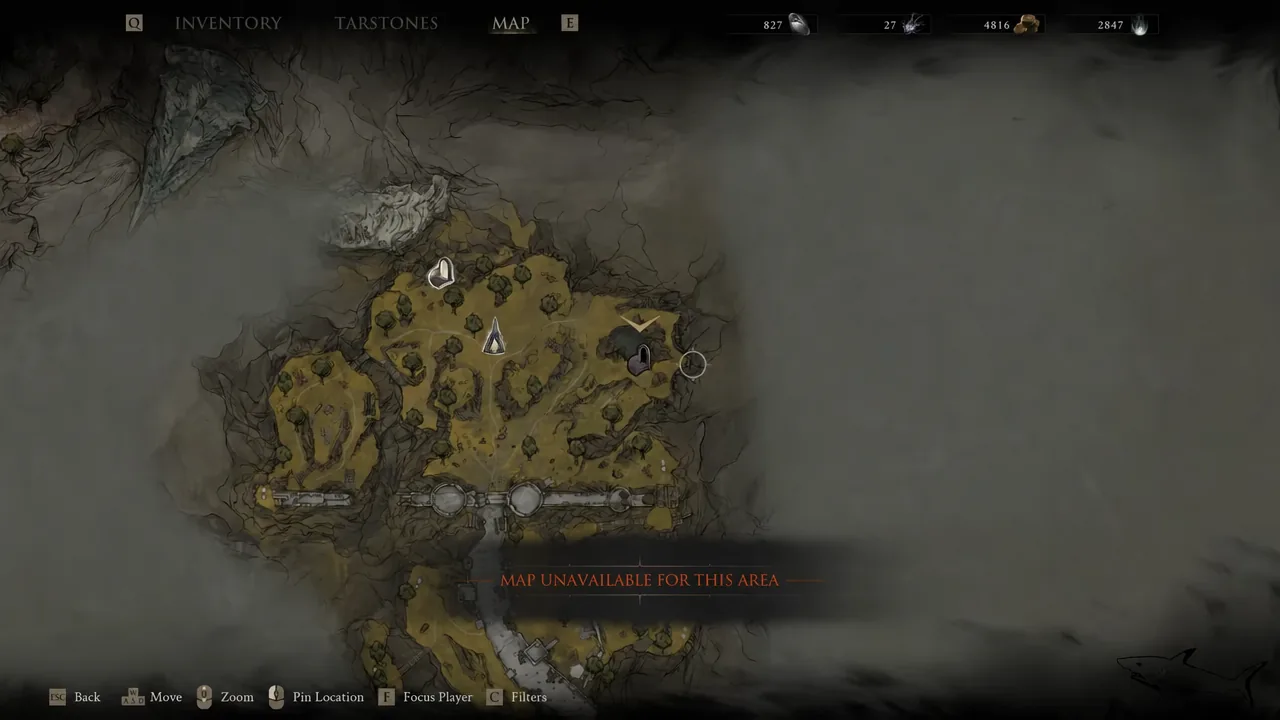
Note: Watch the ground on the way down. The path is lined with bear-trap-style hazards that will catch you if you sprint blindly toward the cave.
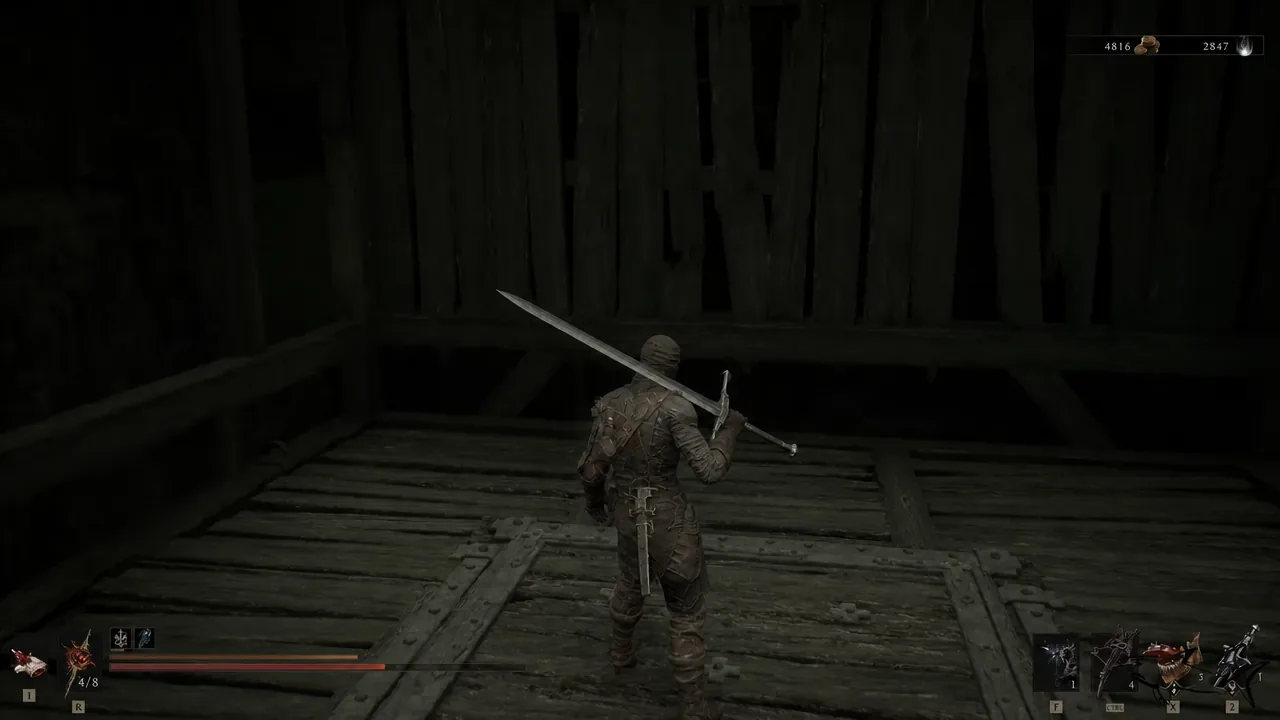
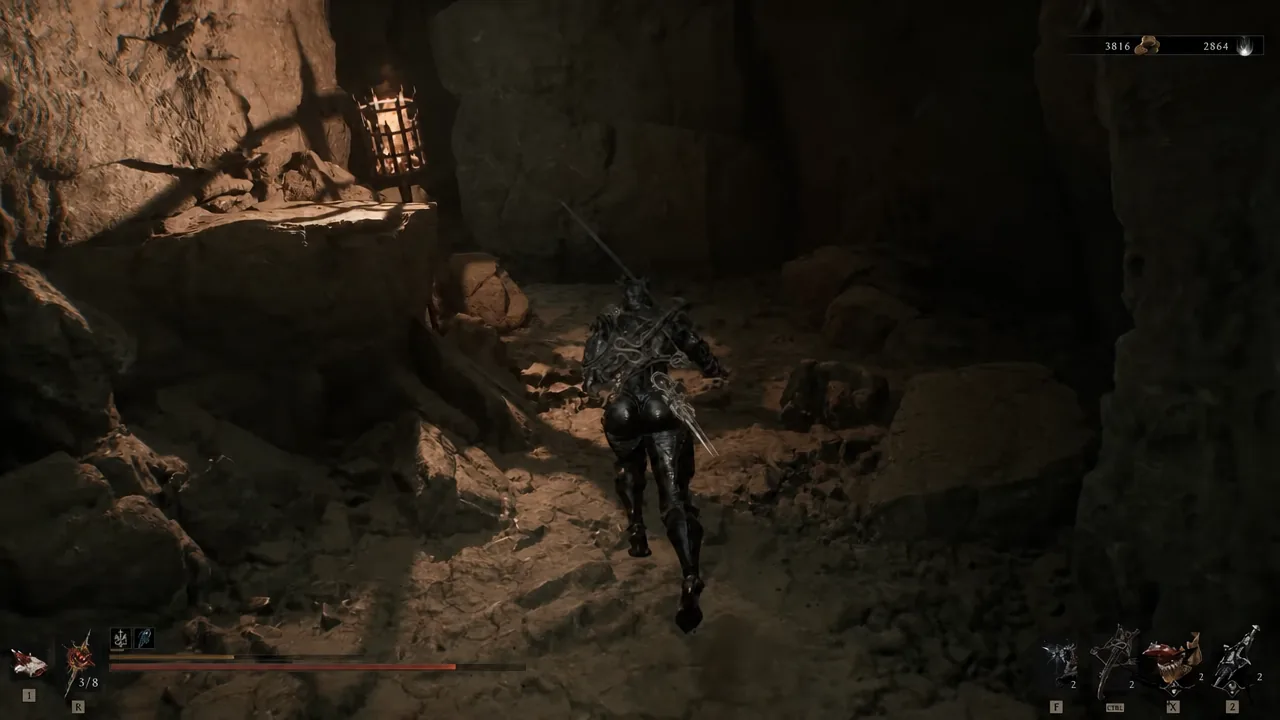
Descend the lift and clear the pit
Loot both chests
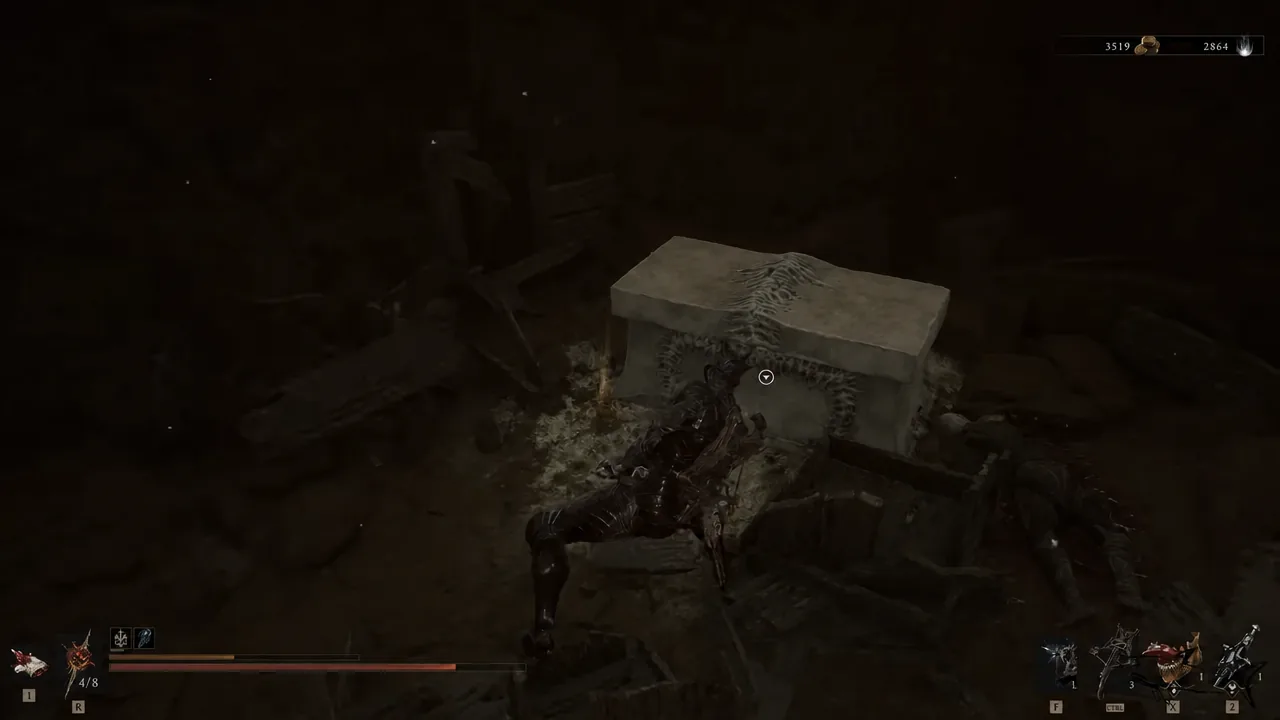
Once the room is clear, collect the two chests around the altar. The main altar chest sits behind the lit tree, and a second chest is tucked out of sight nearby.

Rewards
| Reward | Amount | Where |
|---|---|---|
| Laterite | x1 | Altar area |
| Effigy | x1 | Second chest behind boxes |
| Coin | ~1,000 | Chest by the central tree |
Exit and mark the dungeon complete
When both chests are open and the floor loot is picked up, head to the jump pad to leave, or ride the same wooden lift back up through the entrance tunnel.
The game does not track dungeon completion automatically. To keep your own record, open the world map, move the cursor over Hag’s Pit, and select Mark Complete. The map icon changes to confirm the change, and you can switch it back with Mark Incomplete if needed.
Hag’s Pit is not missable. If you skip it during the main run, you can return and finish it in free-roam after the final boss, before deciding to start New Game+.





