Skills are the combat layer sitting under the fishing in Heavyweight Fishing. They stun fish, tick damage over time, block boss attacks, push your rod Power up, and in a few cases punch straight through boss invincibility. There are exactly two places they come from, and the strongest ones are locked behind the summon banners rather than the shop.
Quick answer: Buy skills from Sage Eju in the hub with cash, or summon them on the Taiji and Egoless banners using Tickets or Crystals. Phoenix Strike Art ($100,000) is the strongest cash option; Vajra Godcast, Heaven’s Burden, and Ruinous Sacrifice are the strongest banner pulls.
Buying skills from Sage Eju in the hub
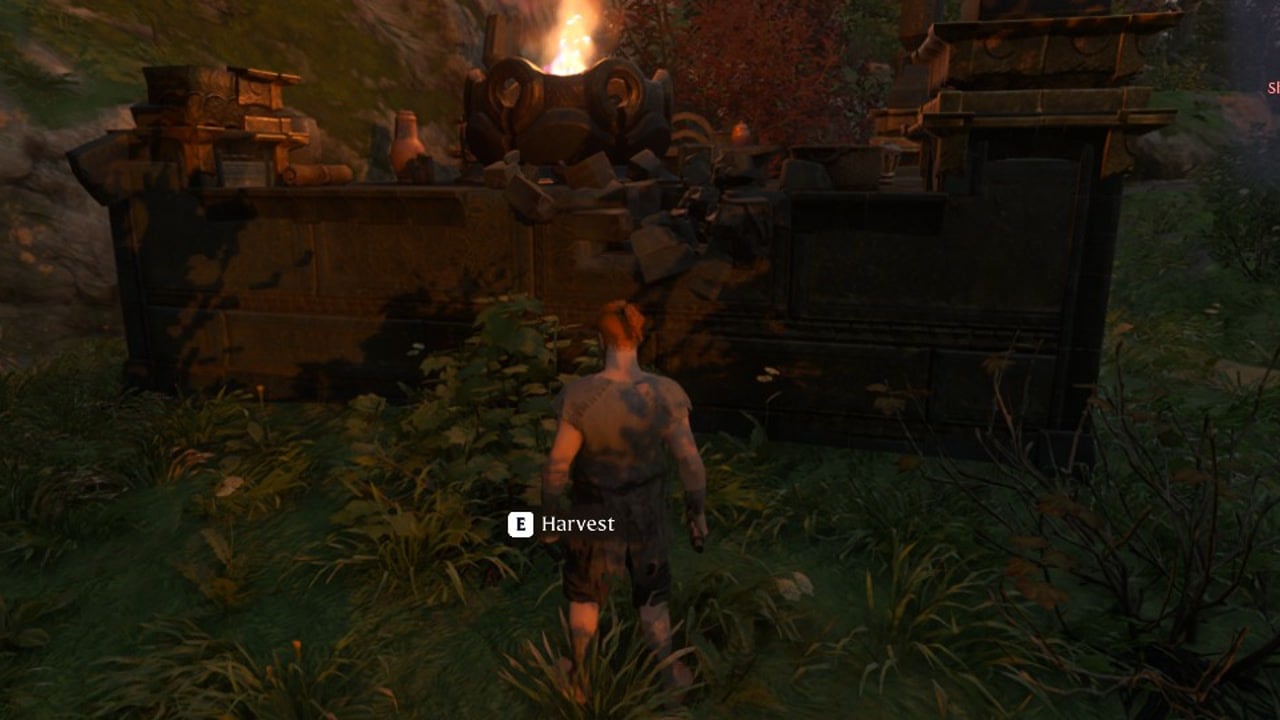
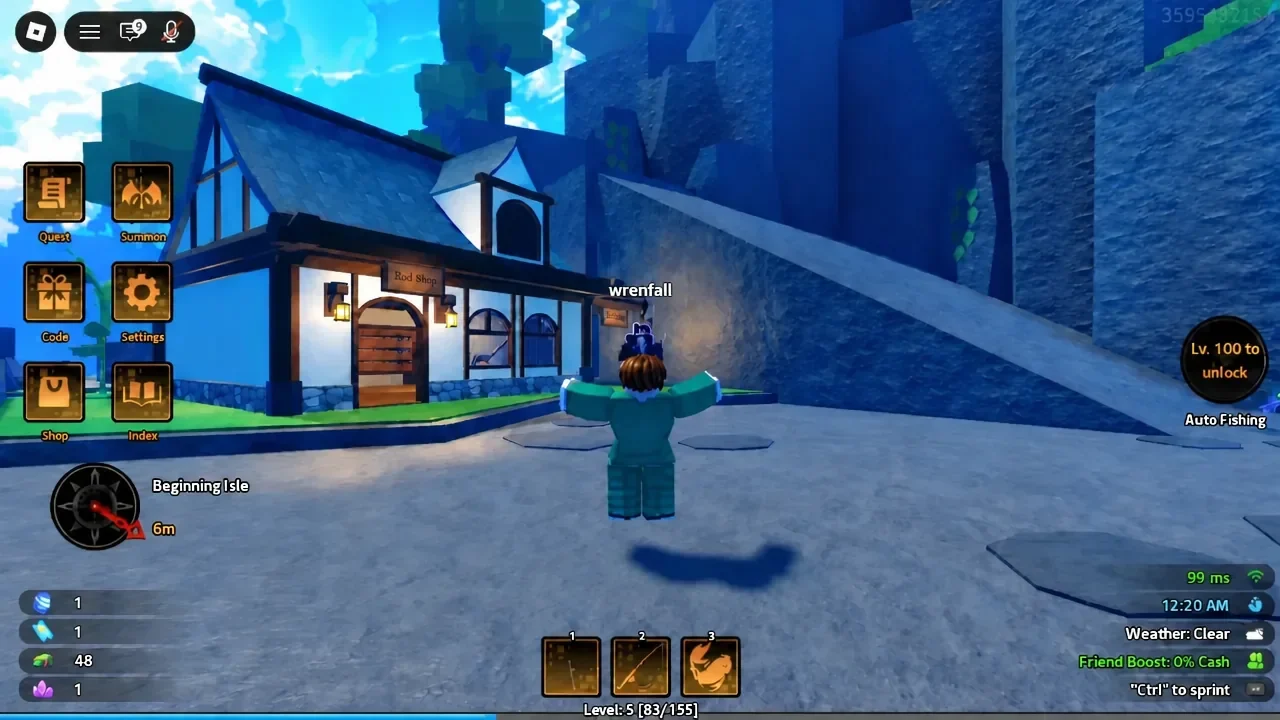
Sage Eju stands in the hub area and sells skills outright for cash. Walk up, open the dialogue, and pick Learn Skill to see the full purchasable list. Prices run from $100 at the bottom of the ladder all the way to $100,000 at the top, so this is the branch you upgrade steadily as your cash income grows rather than all at once.
The cheap end is filler. Skyfall Stomp at $100 only stuns a fish for 2 seconds, and the other early options in that bracket exist mainly to fill a slot while you save. The purchases worth planning around sit at the top of the list.
| Cash skill | Cost | Why you buy it |
|---|---|---|
| Skyfall Stomp | $100 | Entry-level stun, 2 seconds. Placeholder only. |
| One-Strike Heaven Gate | $50,000 | Finisher. Best used to close out a fight already in progress. |
| Phoenix Strike Art | $100,000 | Top cash skill. Built for heavy fish and boss encounters. |
Other shop entries you will pass on the way include Infinite Sky Ascension, Unshaken Stance, Swift Reel, Demonfall Technique, Reel Machine, Reel Sprint, Dragonfish Vitality, Skybreaker Technique, Aerial Rod Throw, Thousand Enemy Sweep, Rolling Chaos, and Rooster Strike. Treat them as stepping stones. The money is better saved for the two big-ticket skills once you can reliably farm cash.
Summoning on the Taiji and Egoless banners
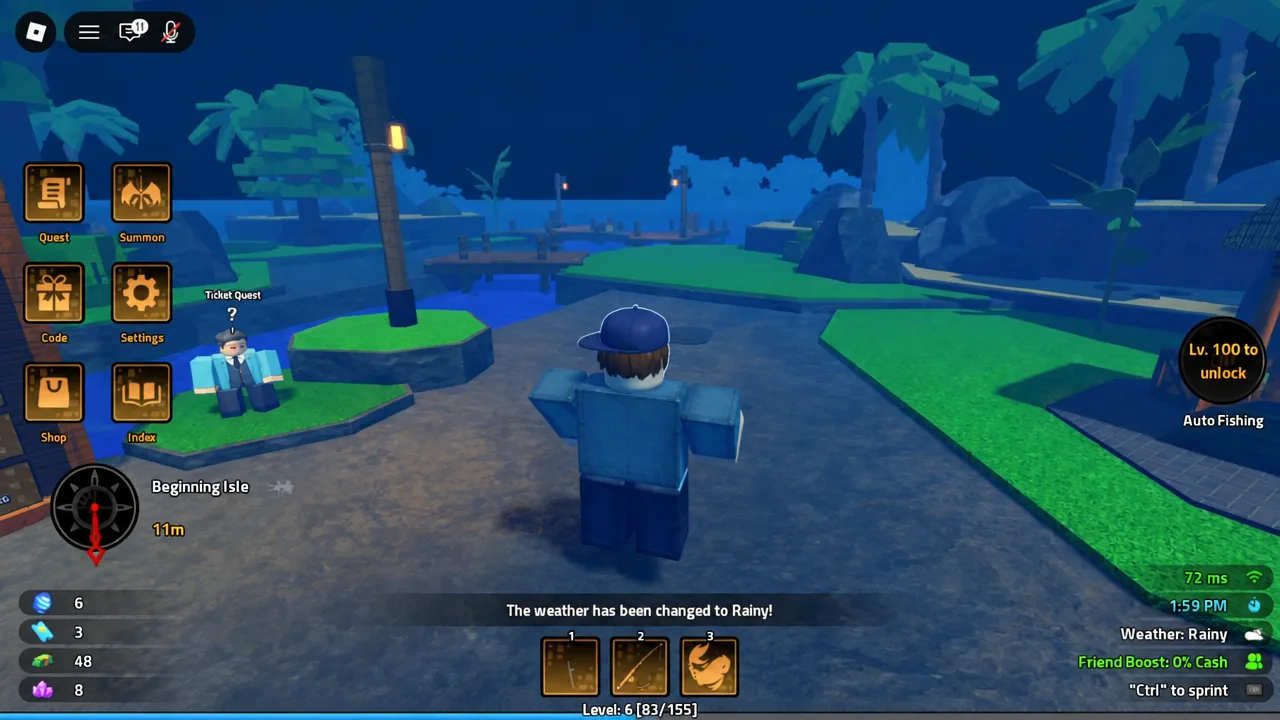
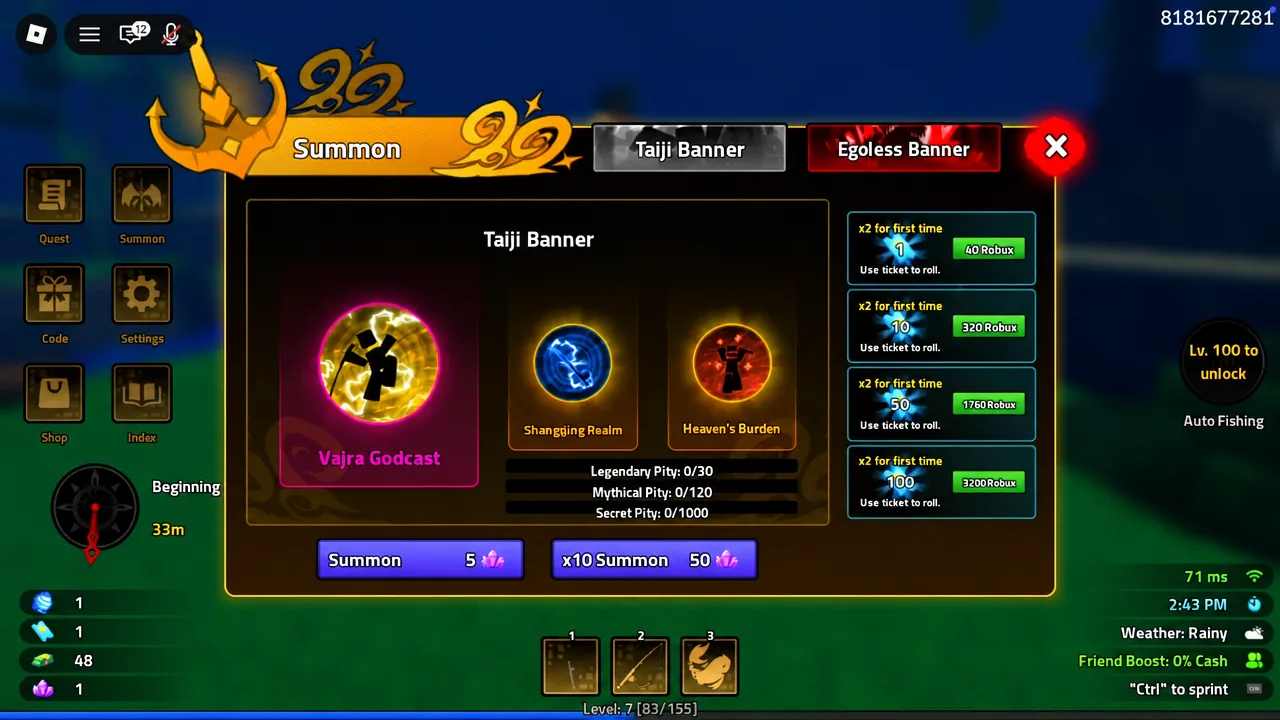
The rare skills never appear in the shop. Two banners handle them, the Taiji Banner and the Egoless Banner, and both are rolled with Tickets or Crystals. You earn those currencies through quests and by redeeming codes, so summon currency accumulates passively as you play rather than through cash.
Both banners share the same pity counters, and those counters are the honest way to plan your pulls. You are not gambling blind; you are working toward three fixed thresholds.
| Pity tier | Summons required |
|---|---|
| Legendary | 30 |
| Mythical | 120 |
| Secret | 1,000 |
The counters display in the summon menu as Legendary Pity: 0/30, Mythical Pity: 0/120, and Secret Pity: 0/1000. If a counter is not moving after a pull, the summon did not register.
Best banner skills for bosses
Three banner skills stand clearly above the rest, and all three share the same key property: immunity to damage from boss skills. That immunity is what lets you keep attacking during phases that would otherwise punish you.
| Skill | Effect |
|---|---|
| Vajra Godcast | Immune to boss skill damage. Deals current damage and stuns for 7 seconds. After 5 seconds, deals another 50% of current damage. |
| Heaven’s Burden | Immune to boss skill damage. Stuns for 10 seconds, heals 25 HP, and deals current damage every second. |
| Ruinous Sacrifice | Immune to boss skill damage. Grants +999 rod Power for 10 seconds and deals current damage per second, but drains 20 HP per second. |
| Shangqing Realm | Immune to boss skill damage and bypasses boss invincibility. Deals current damage and stuns for 4 seconds. |
| Whirlwind Fishing Art | Immune to boss skill damage. Deals current damage and stuns for 12 seconds. |
| Tiger’s Hunt | +30 rod Power for 15 seconds, dealing current damage per second. |
Ruinous Sacrifice is the one to handle carefully. The +999 rod Power is enormous, but the 20 HP per second drain means you need either a healing skill in another slot or enough remaining health to survive the full 10 seconds. Pairing it with Heaven’s Burden covers that gap neatly, since Heaven’s Burden restores 25 HP while it stuns.
Longer stuns from the banner pool include Taijiquan Technique, Leopard Lock, and Iron Grip Art, all at 10 seconds with damage per second attached, plus Dual Sonic Kick, which deals current damage per second for up to 10 seconds with no stun. They are useful, but none of them carry the boss immunity that separates the top three.
Equipping skills and unlocking slots
Owning a skill is not the same as having it active. Skills go into keybound slots, and those slots open one at a time as your character level rises.
| Slot | Level required |
|---|---|
| Z | 20 |
| X | 50 |
| C | 80 |
| V | 110 |
| Y | 140 |
Note: with only one or two slots open early on, prioritise a stun over raw damage. Stun time is what lets you keep reeling without being interrupted, and it scales better than a small damage bump when your rod Power is still low.
Traits that upgrade a skill further
Traits attach to skills and modify them. They are rerolled with Trait Crystals, and the reroll odds drop sharply as the effects get stronger, so it is worth holding your crystals until you already own a skill you intend to keep.
| Trait | Effects | Reroll chance |
|---|---|---|
| Vermillion Bird | 50% cooldown, 30% damage, resets cooldown once per battle on cast | 0.1% |
| White Tiger | 50% crit chance, 100% crit damage, +5% crit chance per cast up to 30% | 0.1% |
| Black Tortoise | 15% max HP heal, 30% damage, skill inflicts stun, 20s invincibility below 20% HP | 0.1% |
| Azure Dragon | 150% damage, 20% cooldown, +75% damage below 50% HP, bypasses invincibility below 40% HP | 0.1% |
| Assassin | 25% crit chance, 50% crit damage | 2% |
| Chrono | 20% cooldown, 10% damage | 2% |
| Executioner | 25% damage, 10% cooldown | 2% |
| Precision / Rapid / Berserk | 15% crit chance / 8% cooldown / 15% damage | 15% |
| Sharp / Swift / Powerful | 5% crit chance / 4% cooldown / 5% damage | 30% |
A progression order that works
Start with whatever cheap stun you can afford from Sage Eju so your first slot at level 20 is not empty. Spend Tickets and Crystals on the banners as they come in rather than hoarding them, since the pity counters only advance when you summon and 30 pulls is a realistic near-term target for a Legendary.
Once cash income picks up, buy One-Strike Heaven Gate at $50,000 as a finisher and slot it alongside your best stun. Phoenix Strike Art at $100,000 is the last cash purchase worth making, and it stays relevant against heavy fish and bosses even after banner skills start filling your bar.
From there, the bar builds itself around whichever of Vajra Godcast, Heaven’s Burden, or Ruinous Sacrifice you land first. A full loadout of one long stun, one heal, one damage window, and one boss-immunity cast covers nearly every encounter, and traits are the last thing to worry about once those slots are settled.