
Advancement in RuneScape: Dragonwilds is not tied to how long you play. Ashenfall gates you on three things instead: the tier of your gathering tools, the tier of your armour, and the crafting stations standing at your base. Quests, vaults, and bosses all rest on those three foundations, and the 1.0 release that landed on September 15, 2026 simply stretched the same rhythm out through Runite gear and Queen Kuldra without changing how the early hours feel.
Quick answer: Enter each new region at roughly its power level. Improve your gathering tools before harvesting anything, then refine one unit of every unfamiliar resource at base to uncover the following gear tier.
The five-beat loop you repeat in every region
Progression works best as a brief loop, performed in the right order. Skip ahead and you may be stuck with ore you cannot smelt or facing a deposit your pickaxe cannot break.
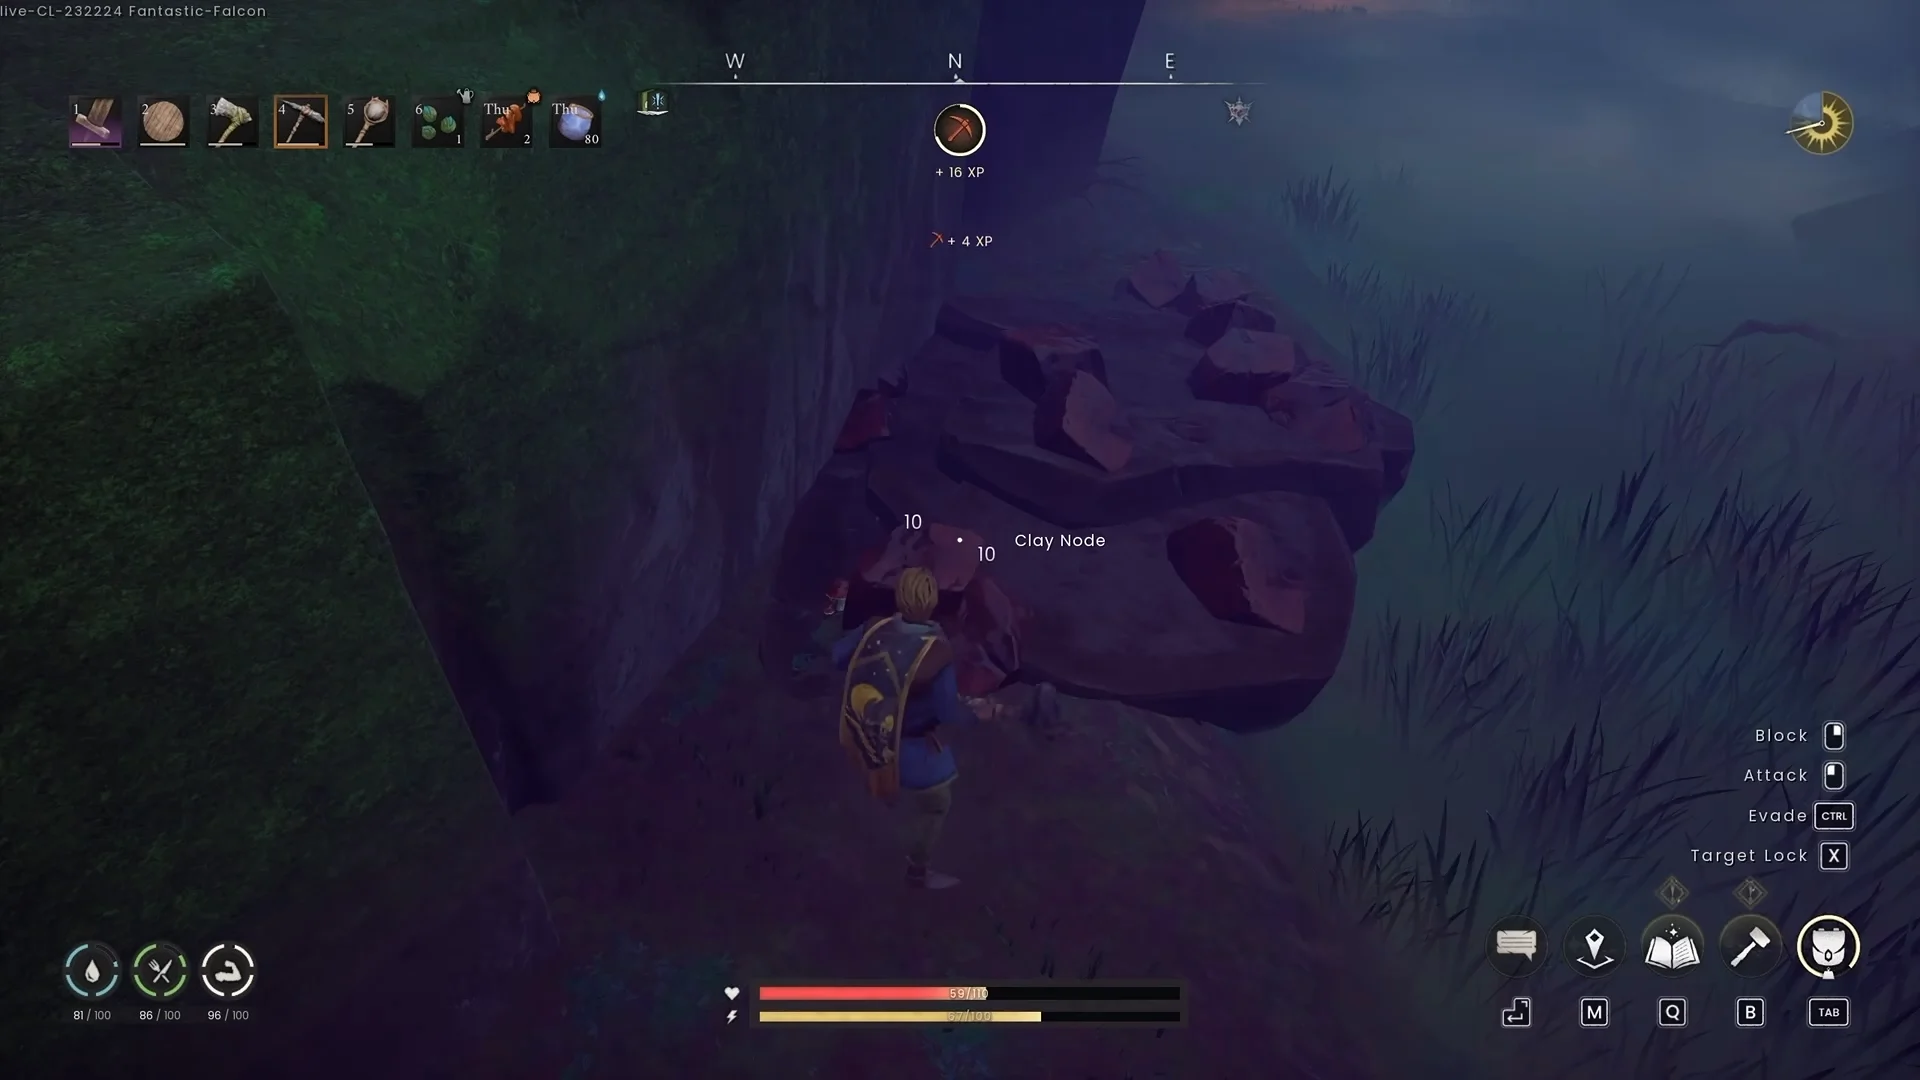
Choose the upgrade that solves your immediate problem instead of trying to finish a complete set. When foes take too long to defeat, make a weapon first. When routine attacks drain your health quickly, upgrade some armour and continue onward.
Power level and what the coloured diamonds mean
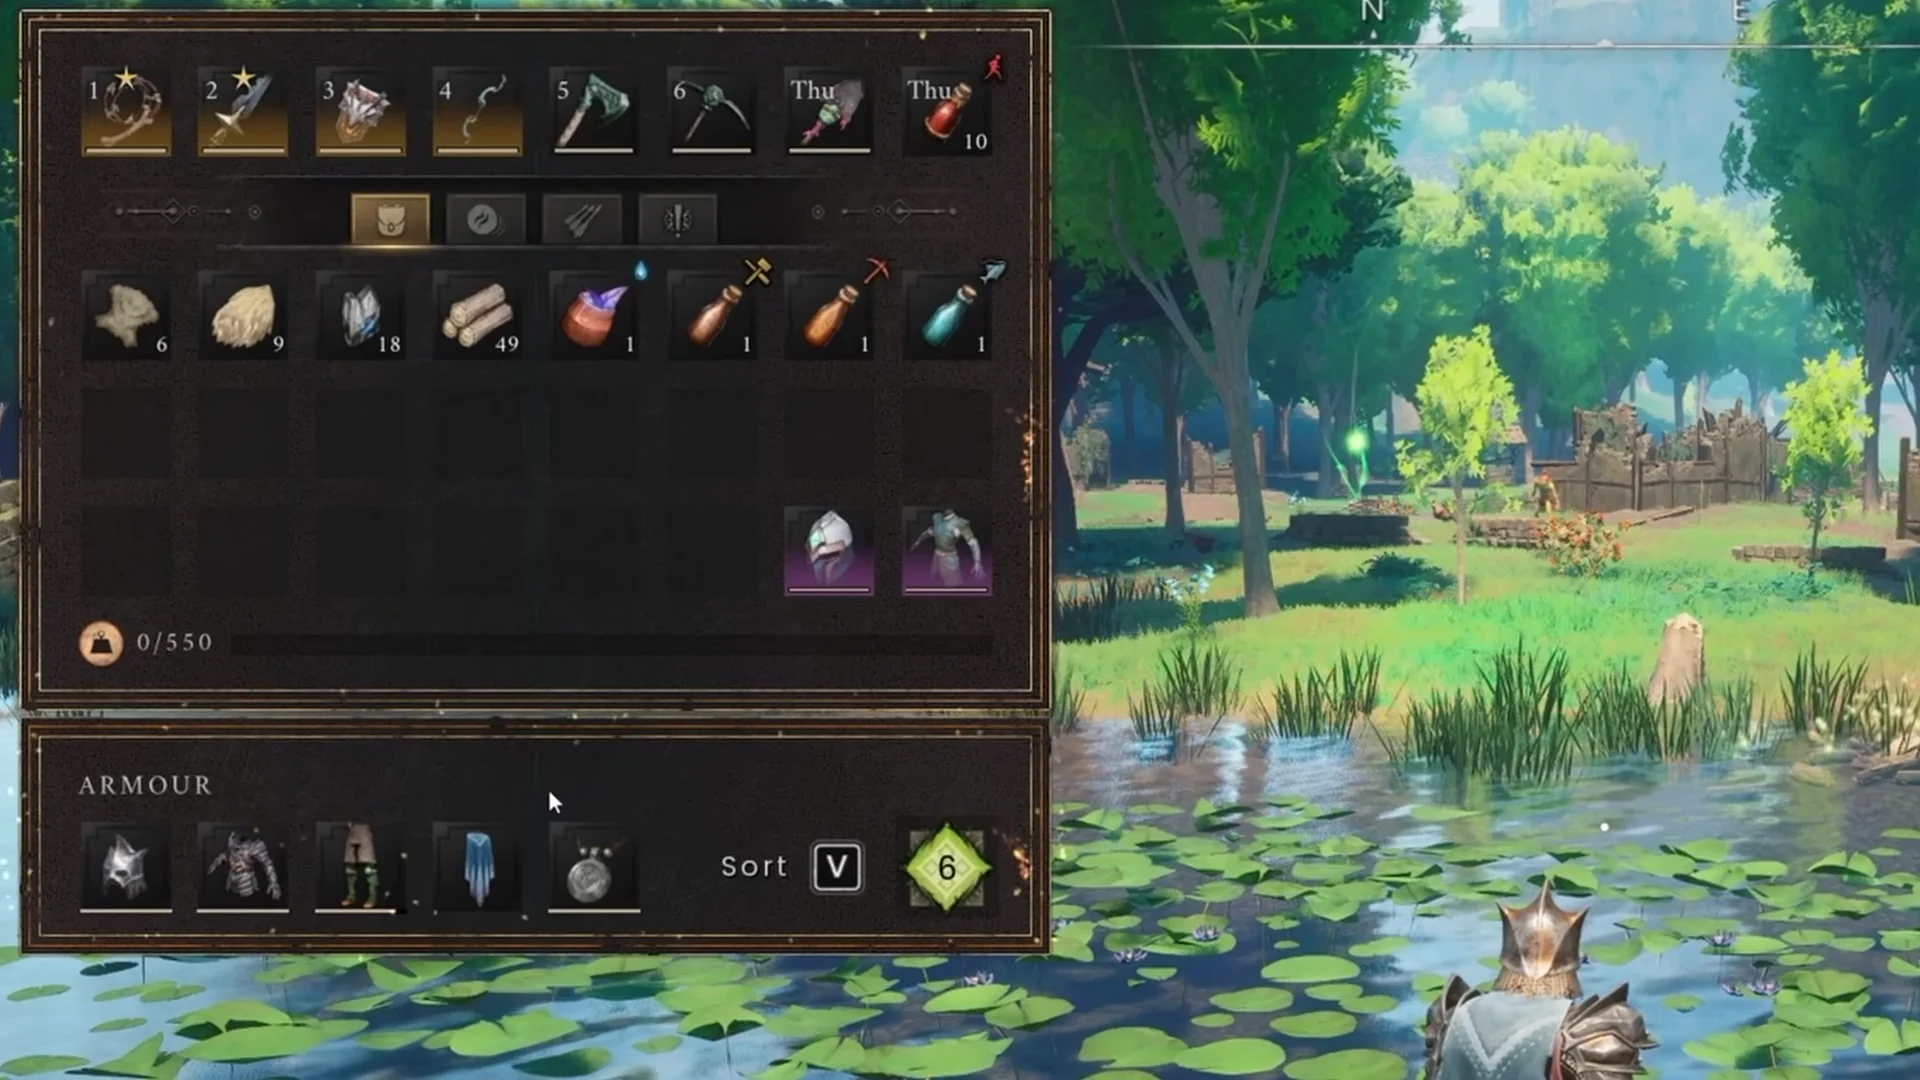
Your inventory displays a power level derived from the average power of your equipped armour, rounded down; weapons have no effect on it. Zones and monsters have individual power levels too. Their coloured diamonds show how they compare with yours, making the difference easy to see.
| Diamond | What it means |
|---|---|
| White | Neutral — starter areas such as Temple Woods |
| Orange | You are one level below the zone or enemy |
| Yellow | You match the zone or enemy |
| Green | You are above the zone or enemy |
| Red skull | More than one level below — extremely dangerous |
Each zone displays its suggested power level: Temple Woods is 1, whereas the Whispering Swamp calls for 11. Use orange as the lowest acceptable indicator for entering, and yellow as a good match. A red skull signals that you should retreat. If common foes barely lose health or kill you in two or three blows, improve your armour tier rather than your technique.
Good execution adds another advantage. Parrying successfully restores 50 percent of your maximum stamina and creates an opening for a heavy counter, turning defence into a chance to deal damage. Weapon specials draw on their own meter. You can also interrupt melee, magic, and ranged animations, giving you a chance to reposition during combat.
Tool tiers gate every material in the game
Harvesting access is controlled entirely by tools, which makes them the real bottleneck. Armour, weapons, and station upgrades trail behind. Stone gear handles the tutorial and first nodes, bone tools are the first meaningful jump once you start hunting, and bronze then iron speed up mining and woodcutting while opening higher nodes.
- Runite and Luminite need an Adamant Pickaxe or better.
- Magic Wood requires a Rune Logging Axe.
- Oak and later woods reject any axe below the matching tier.
- Tier requirements apply to shovels and farming tools just as they do to pickaxes and axes.
Check your tool’s tier before leaving to collect resources. A long trip to a deposit is wasted if you arrive and discover your pickaxe can’t mine it.
How new materials unlock recipes
On a material’s first entry into your collection, the game triggers a material discovered milestone and reveals the recipes tied to it. Any other recipes remain unavailable until you return carrying that resource, access the appropriate crafting station, and have the material in your inventory.
That makes one habit worth keeping: process a single unit of every new resource the moment you get home. First planks, first thread, first leather, and first bars regularly reveal the exact item you needed next. Ash Logs, Stone, Flax, Rune Essence, Animal Bone, and Animal Hide unlock the widest spread of early recipes.
Crafting stations and their kit upgrades
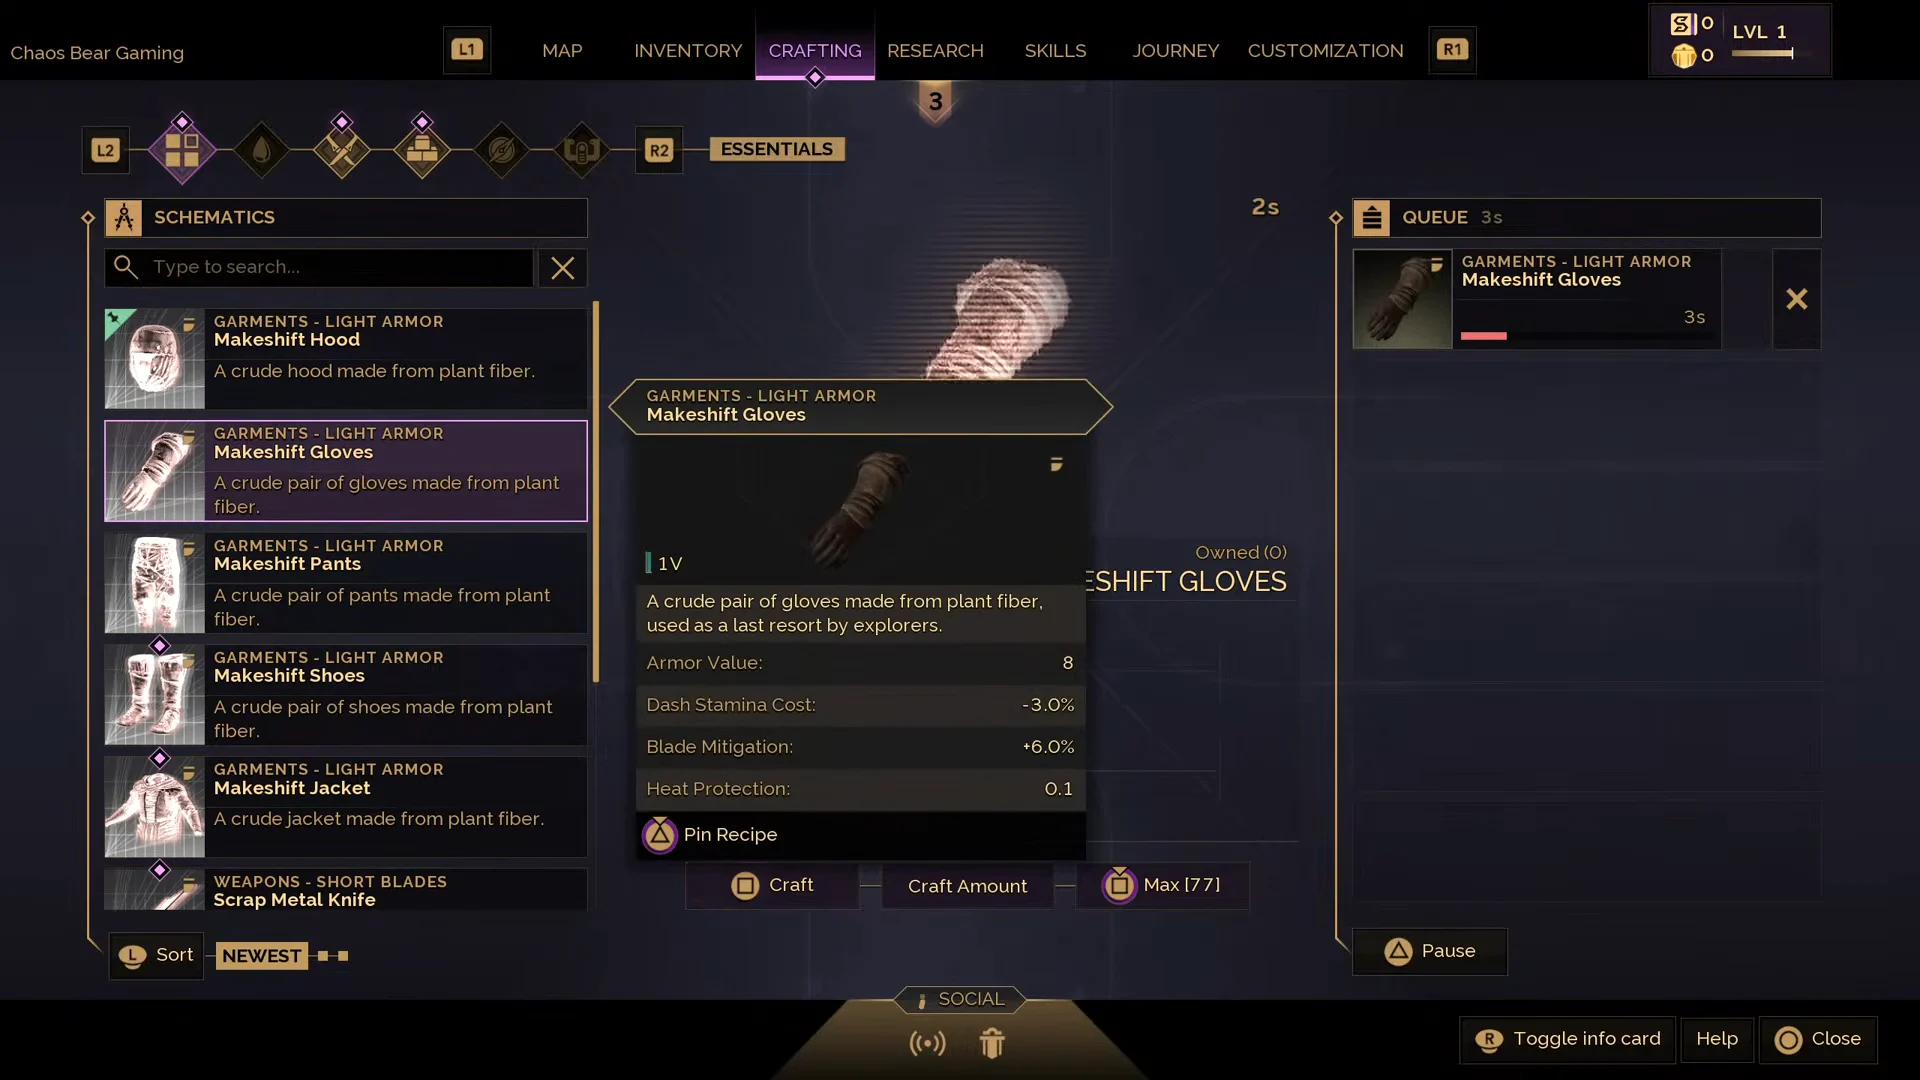
Raw resources do nothing until you own the station that refines them, and stations have limits of their own. Animal hide becomes leather at the Tannery, but hard leather needs a Tanner’s Kit and access to the Advanced Tannery. The Loom follows the same shape, with a Loom Harness made from iron bars leading to its next version. As a rule, expect a kit upgrade for each processing station roughly when you reach a new metal tier.
| Station | What it handles |
|---|---|
| Tannery | Hide into leather, then hard leather after the Tanner’s Kit |
| Blacksmith’s Bench | Tools and melee weapons |
| Armour Bench | Armour sets |
| Fletching Bench | Bows, crossbows and ammunition |
| Mystic Forge | Staves and advanced upgrades |
| Furnace | Smelting ore into bars |
| Kiln | Adhesive, charcoal, clay vessels, wild anima |
| Loom and Spinning Wheel | Cloth and thread |
| Brewing Cauldron | Potions |
| Jeweller’s Bench | Rings and trinkets |
Find out which bench produces an upgrade before collecting its ingredients. Armour and weapons in the same tier frequently use different stations, making a load of bars useless if your base lacks the bench to work them. Keep space free around your crafting area as well: you’ll add more stations over time, and even though version 1.0 greatly reduced building load times, a crowded base remains difficult to manage.
Skills level through use and unlock skill spells
You level skills by performing their activities, not by spending points: chopping trees builds Woodcutting, smashing rocks builds Mining, landing melee attacks builds Attack, and making items builds Artisan. Every skill has a cap of 99 now, which grants access to skill capes, although most unlocks that change play arrive within the first forty levels. Working with advanced materials or fighting stronger foes yields far more XP than using starter resources or facing weak targets.
Levels also carry a quiet passive benefit. Attack lowers stamina cost on melee swings, Mining raises critical-hit chance, Woodcutting reduces stamina drain, and Artisan cuts equipment durability loss — that last one saves a large amount of repair material over a full playthrough.
| Skill | Level | Unlock |
|---|---|---|
| Attack | 5 | Parry |
| Attack | 11 | Tempest Shield |
| Attack | 16 | Weapon Expertise |
| Runecrafting | 8 | Windstep |
| Mining | 11 | Rocksplosion |
| Woodcutting | 11 | Axtral Projection |
| Construction | 20 | Summon Shelter |
| Magic | 20 | Runic Refund |
Among gathering boosts, skill spells are the game’s strongest practical aid. Axtral Projection cuts a row of trees, Rocksplosion breaks ore veins and boulders, while Windstep speeds up awkward travel. Slot useful magic in the Spell Wheel and bring Rune Essence, spent whenever you cast. Some spells only work with their matching tool equipped. Build around the recipes you plan to use rather than leveling all skills equally: mastering one combat style beats leaving three half-built, though a backup weapon remains useful against hard targets.
Magic, runecrafting, and elemental combat
Magic threads through nearly every system, so even melee and ranged players lean on utility spells to gather faster, cross terrain, and manage a base. Runes are the ammunition, and they need a steady supply of rune essence. Craft them at the Runecrafting Altar or top up from Anima Vents in the field, which respawn after a few in-game days and can’t be siphoned without raw essence on hand.
Staves passively boost rune damage, but their two-handed grip prevents you from carrying a shield. Added in 1.0, wands offer quicker, more mobile casting of air, fire, and water, and they can be used alongside a shield. The three elements each work differently in combat.
| Element | Effect | Best use |
|---|---|---|
| Air | Knockdown | Crowd control and creating space |
| Fire | Burn (damage over time) | Aggressive damage on high-HP targets |
| Water | Slowness and self-healing | Survivability and slowing fast enemies |
Runes sit in their own inventory tab and don’t eat your main carry weight, so keep a mix and switch to a boss’s weakness rather than committing to one element. You can also hold up to twelve utility spells across four separate spellbooks — a common setup keeps a combat wheel, a utility wheel for travel and gathering, and a base wheel for farming and building.
Armour of a matching combat type grants set bonuses too. Full magic gear gives reduced stamina regen delay, faster magic attack speed, and higher magic critical chance, and you can mix within a type to chase specific bonuses.
Vestiges, vault cores, and permanent health
Exploration, rather than following the quest marker, unlocks three progression paths that don’t depend on gathering materials.
Vestiges
Vestiges are rare items pulled from chests and cleared vaults, with names like An Educational Blade, Suspiciously Light Tattered Boots, A Threadbare Grain Sack, and a Commemorative Coin. On their own they do nothing. Take one back to base and study it, and it unlocks a unique endgame weapon, armour piece, tool, or trinket — the Amulet of Glory and the Abraxas Ring among them.
Vault cores and Lodestones
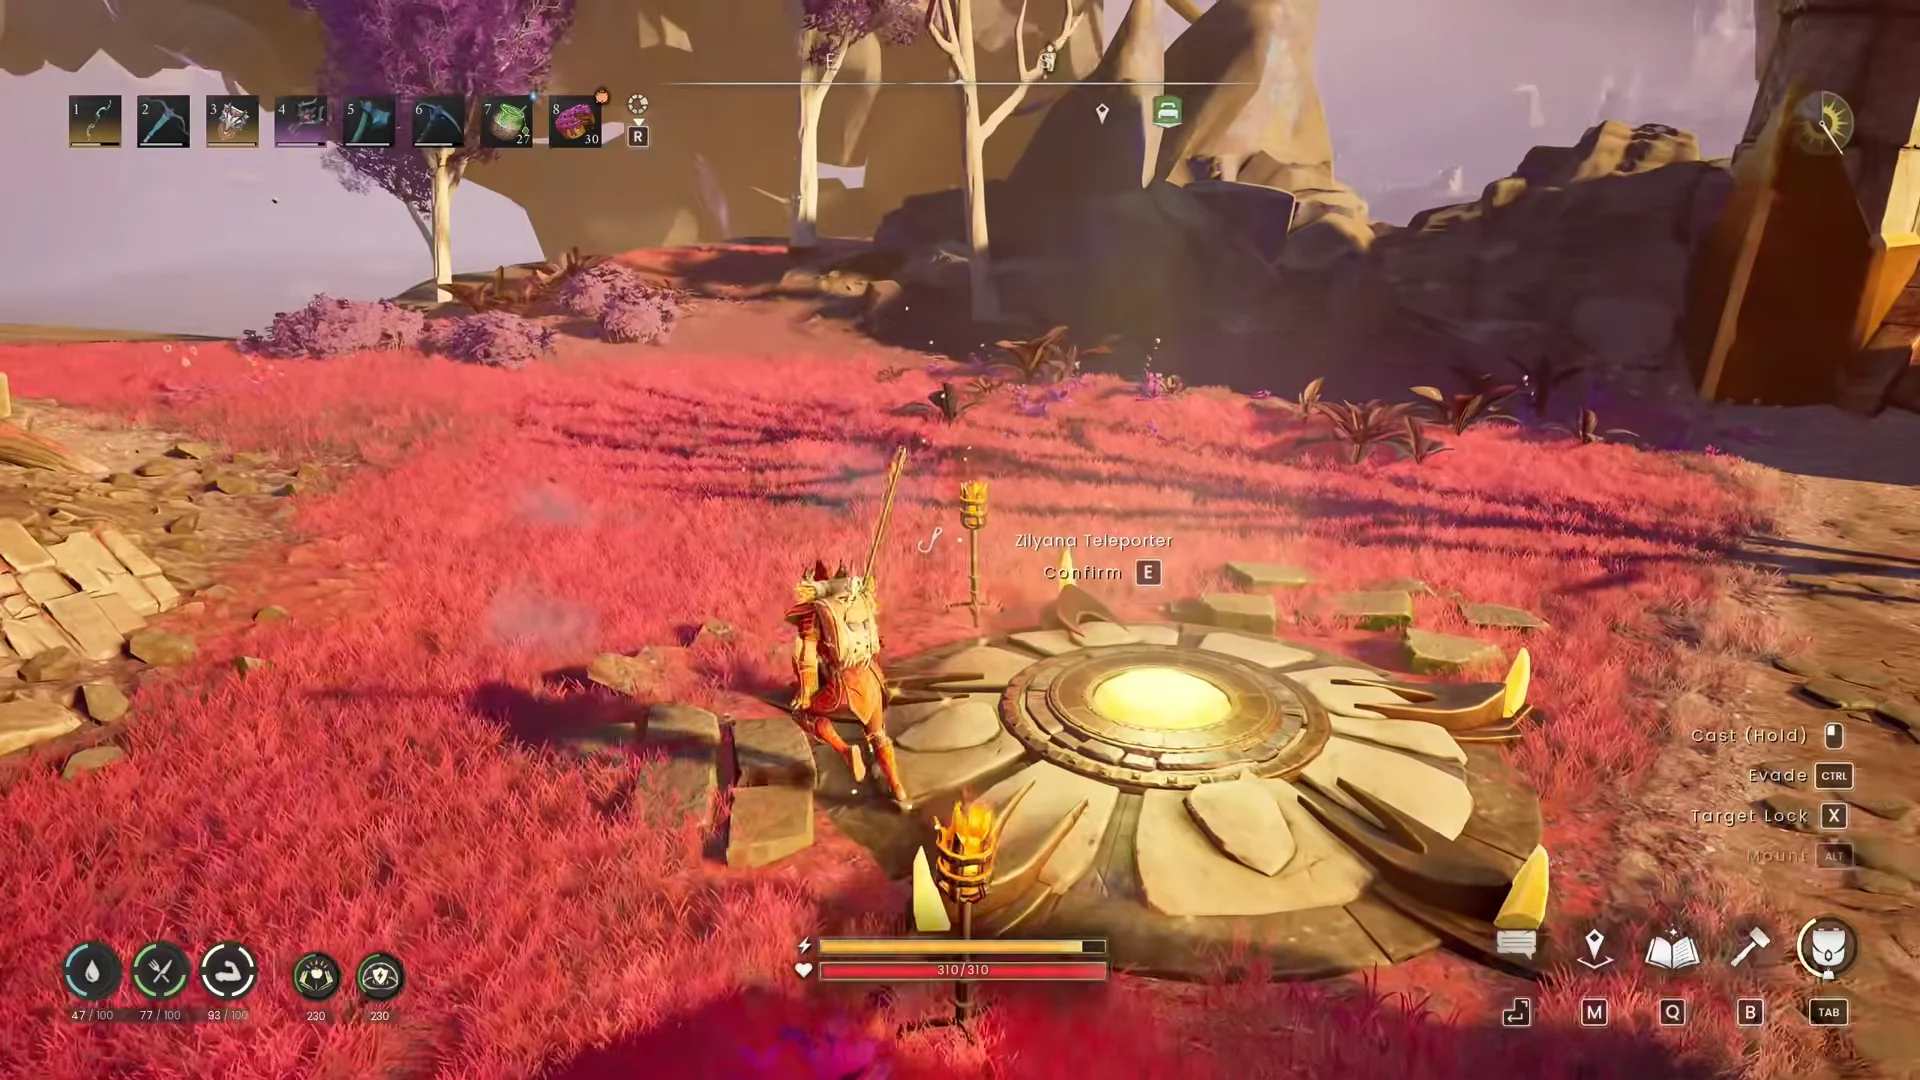
Travel is itself a progression reward. You cannot unlock the Lodestone recipe until a vault core has been recovered from a dragonkin vault. Each Lodestone costs 32 Stone, 20 Rune Essence, and 1 Vault Core, and moving between them burns Law Runes scaled to how much you’re carrying. Clear vaults early for spare cores and vault shards, since both feed later gear upgrades and expand your travel network.
Sanguine Urns
You can find Sanguine Urns throughout all regions; activating each one adds 10 points to maximum health for good. The increases accumulate and remain permanently, and no other direct method raises the health ceiling. During outings, rely chiefly on food to recover — fish give the biggest direct heal — and pack cooked meals plus clean water before entering a vault or facing a boss.
The 1.0 region order and where each gear tier arrives
The main quest offers a general route across Ashenfall, with each region providing the metal tier needed to survive in the next. Brynmoor’s gear ceiling is power level 2, so continue north to Ghornfell for bronze and iron.
| Region | Tier it unlocks | Milestone |
|---|---|---|
| Brynmoor | Power level 2 gear | First base, Tannery, leather |
| Ghornfell | Bronze, then Iron | Dragon Slayer, General Velgar |
| Fellhollow | Steel | Blast Furnace, Imaru |
| Dowdun Reach | Mithril | Black Knight Titan |
| Umbral Sands | Adamant | Fuzan, Nightmare Crucible |
| Scorned Wilderness | Runite, Luminite | Queen Kuldra |
Fellhollow makes the progression cycle clear: previous gear can get you inside, but regular fights become inefficient. You need 12 Granite to construct its Blast Furnace; afterward, Iron and Coal, not granite, become the limiting materials, since more granite won’t produce steel bars. Astral Form reveals hidden routes in Fellhollow, so inspect your current path before searching for another entrance.
In Brynmoor, Ghornfell, Fellhollow, and Dowdun Reach, new enemy variants inflict poison, burn, shock, and wither-rot. From then on, defensive brews made at the cauldron become standard equipment.
Endgame: the Dragon Gate, Scorned Wilderness, and Queen Kuldra
Once Fuzan falls, progression breaks away from the biome format. Northeast of the Fractured Plains, the Dragon Gate leads into the Scorned Wilderness, which strings together extraction sites, elemental anima systems, combat chambers, traversal challenges, and puzzles instead of a short route to a boss arena. Runite and Luminite are found there too, so you don’t need a complete Rune loadout beforehand — the area hands you some of that upgrade on the way through.
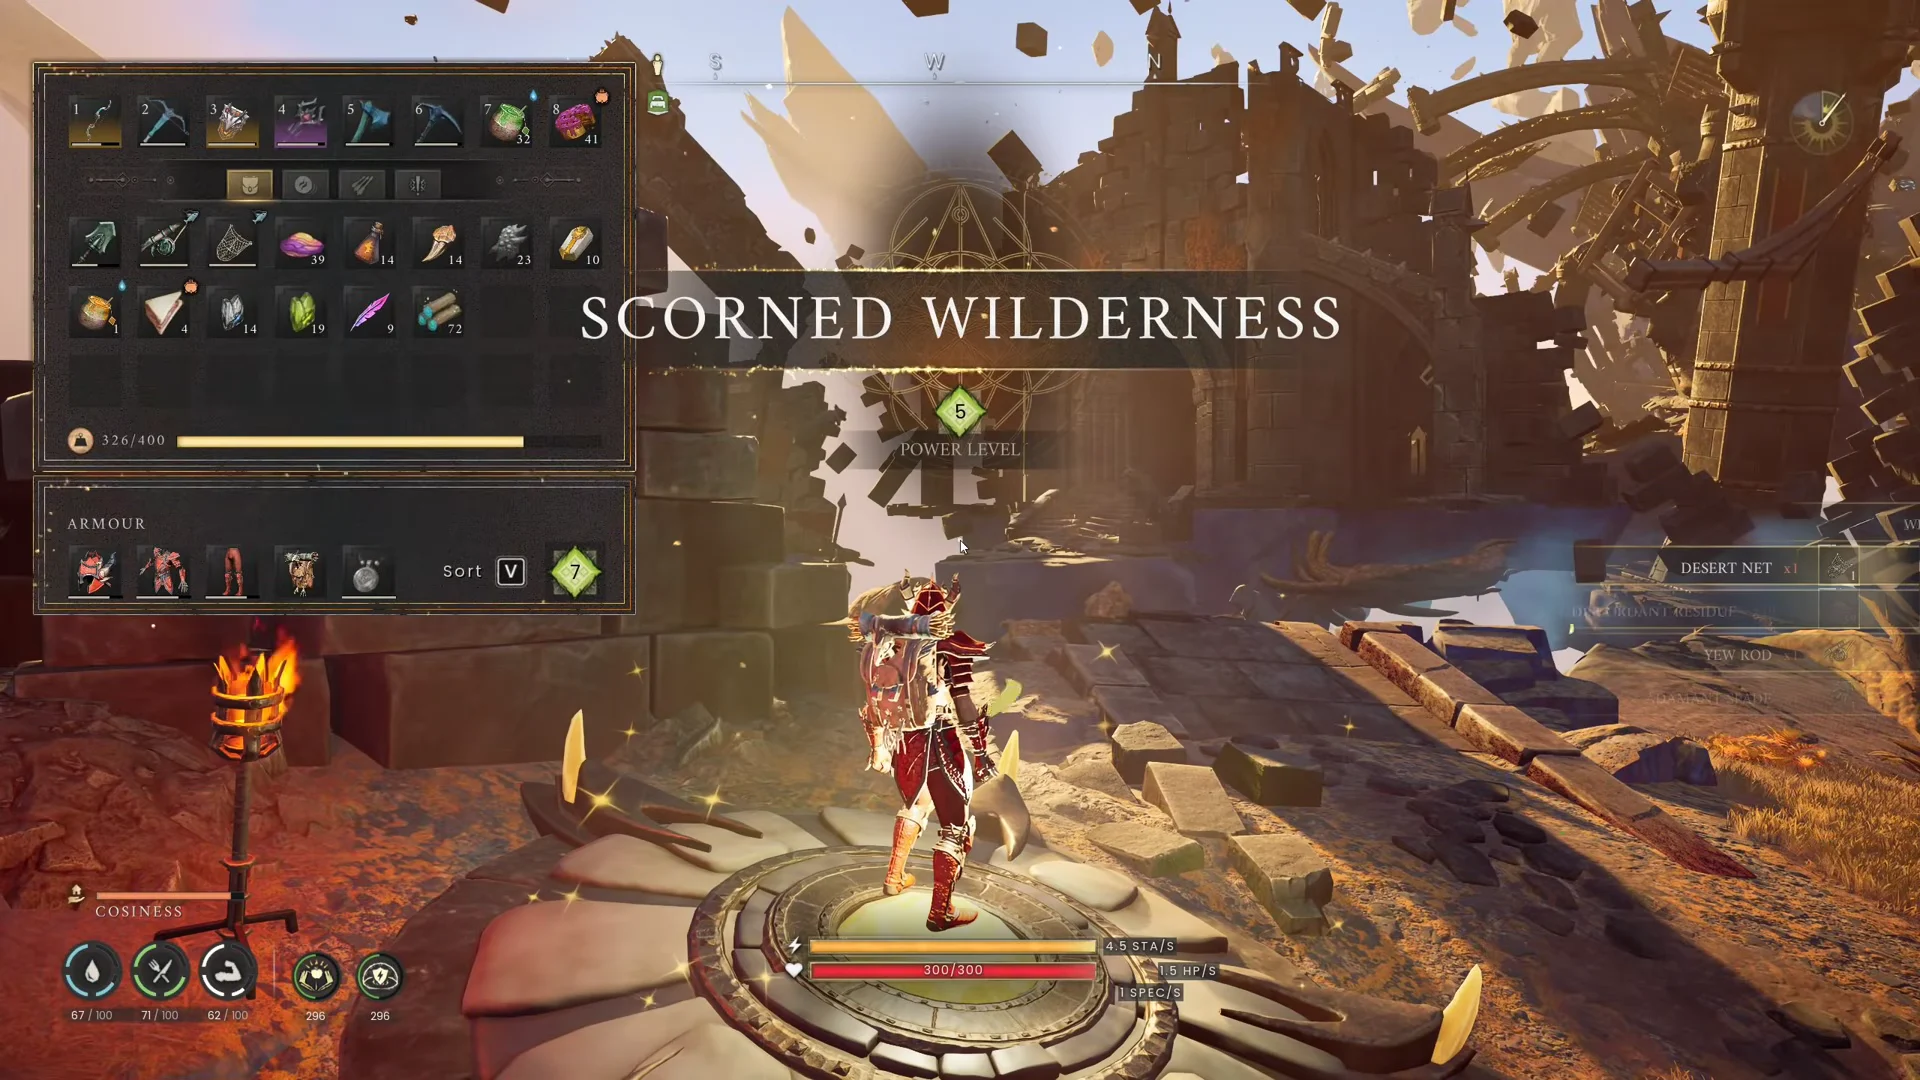
For endgame protection, choose according to your style: melee uses Rune armour, ranged uses Black Dragonhide, and magic uses Ancestral Robes. Your path goes by Commander Zilyana, Dragontail Vines, a poison maze, the Shattered Stronghold, and Cataclysm Keep, after which Queen Kuldra unlocks. After each repeat, you emerge back in the Wilderness, not outside the arena; have late-game supplies and travel points prepared.
Co-op runs the whole route alongside you. A hosted world supports 4 players, a Dedicated Server holds up to 6 and stays online without the host, and crossplay works across PC and current consoles — though saves do not migrate between platforms.
How to confirm a progression step landed
The game provides readable confirmation at every stage, making it much easier to tell whether you’re prepared to advance.
- A new material fires the material discovered milestone prompt.
- New recipes become visible at a station after you construct its kit upgrade.
- The warning that your tool needs more power no longer appears when you use it.
- When you unlock a skill, a level-up notice appears and the Spell Wheel gains a new entry.
- Your inventory’s power level is at least the region’s recommended figure, and enemy diamonds show yellow or green.
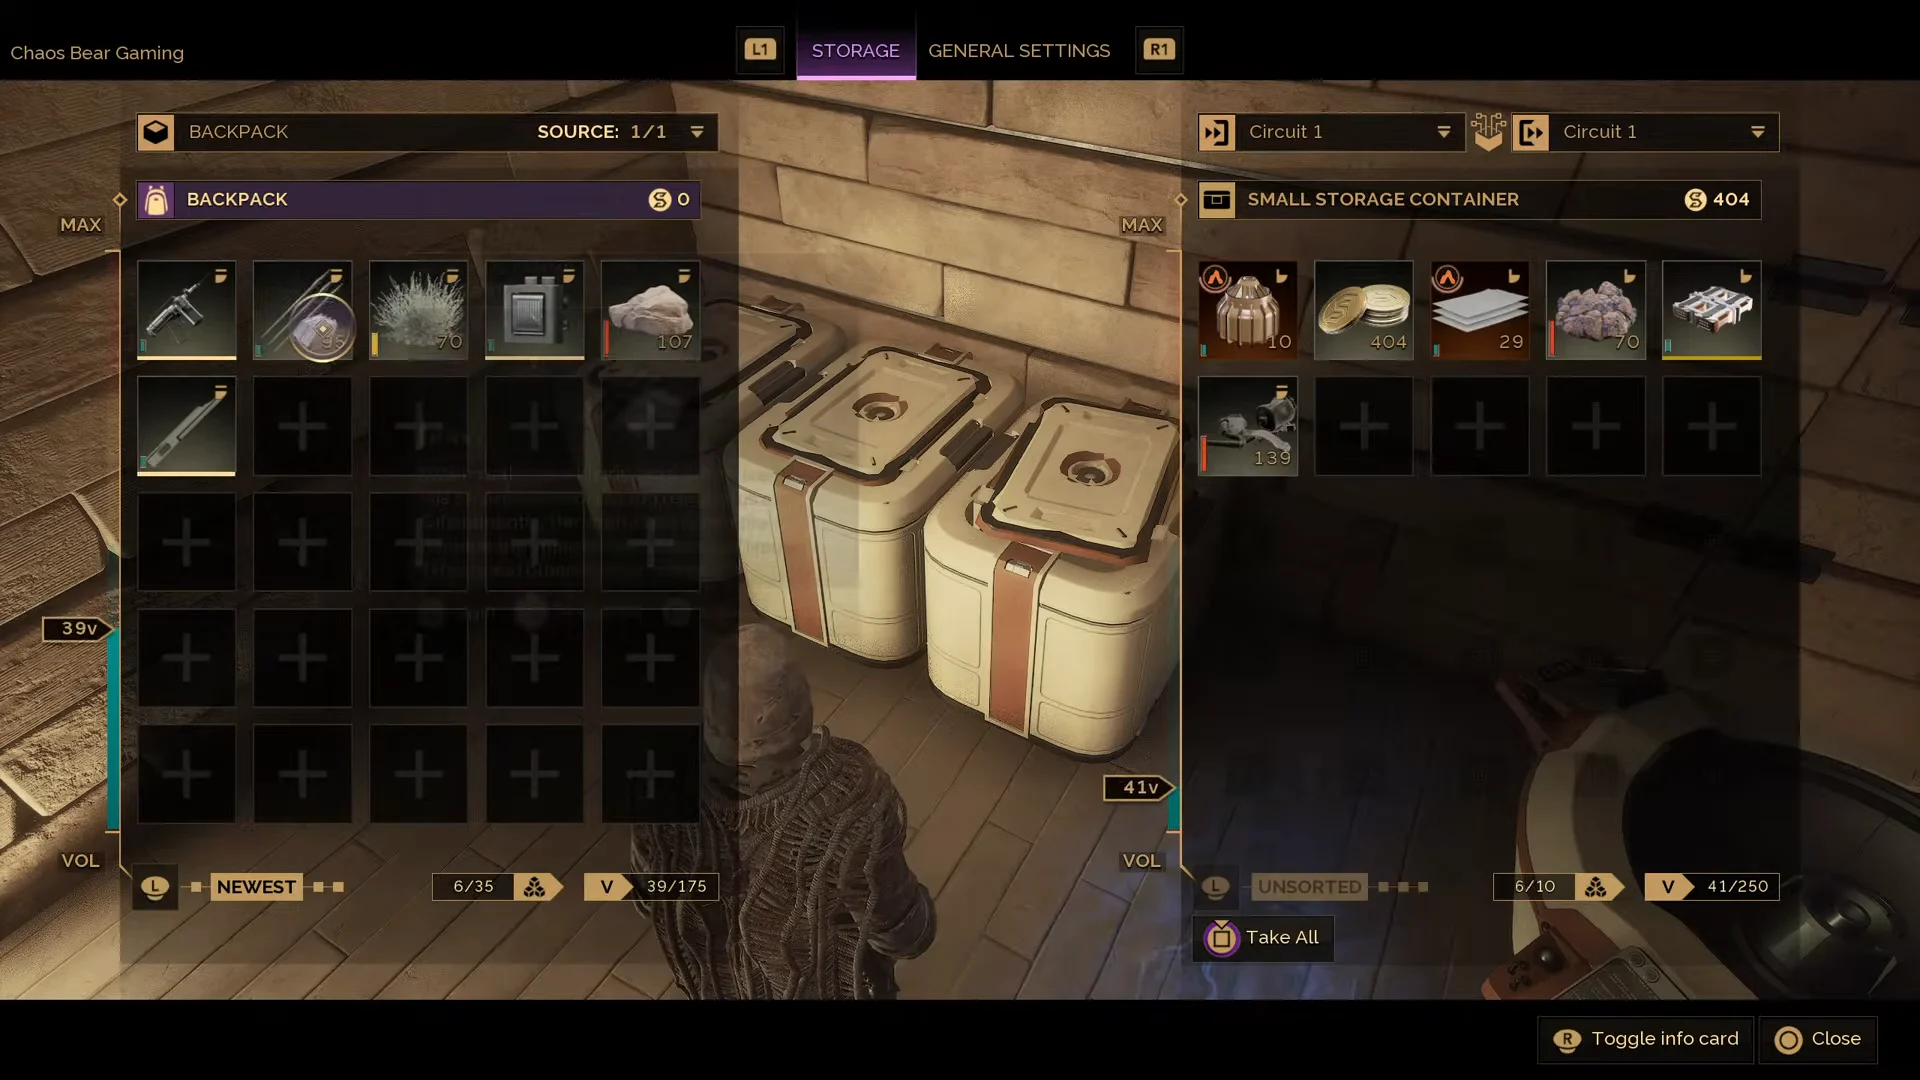
Use a return journey as your basic check of readiness. You should be able to depart from base and make it back while food, gear condition, and free inventory capacity remain reasonably healthy. When routine fights eat healing meant for bosses, repairs become nonstop, or reaching a marker takes multiple tries, stop advancing and restart production. That shortfall in supplies and crafting, more than a particular boss, brings most runs to an end.