Microsoft introduced Copilot, an AI-powered assistant, to Windows 11 with the KB5030310 update. While Copilot offers features like online searches, text summarization, and system adjustments, you might prefer not to have its button on your taskbar. Fortunately, you can remove the Copilot button and still access it using the Windows + C keyboard shortcut if needed.
Removing the Copilot Button from Taskbar Settings
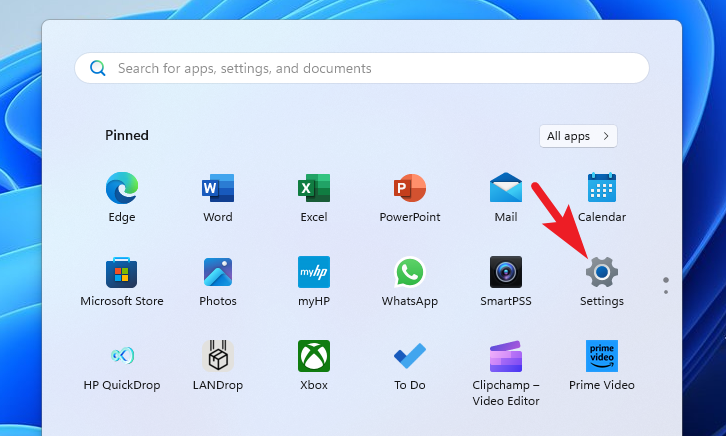
1 Click on the Start Menu and then select the Settings icon to open the Settings app.
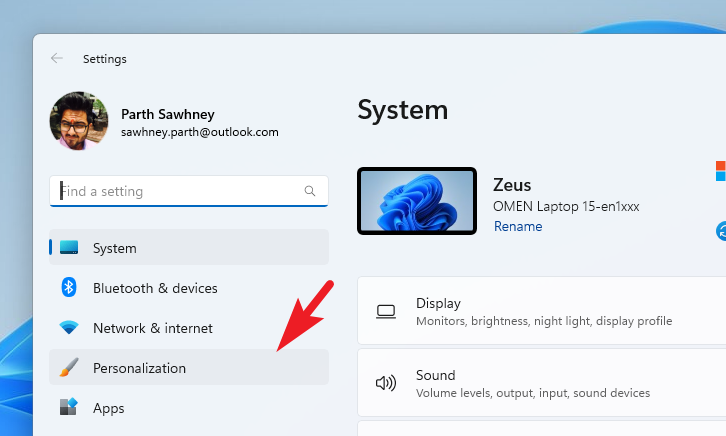
2 In the Settings window, choose the Personalization tab from the left sidebar.
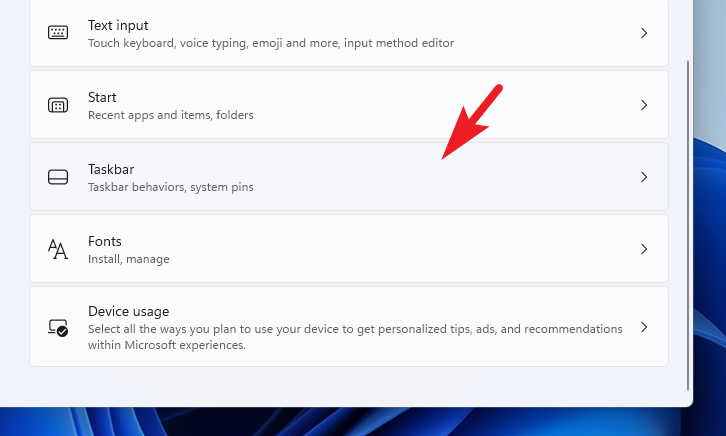
3 On the right side, scroll down and click on the Taskbar option to access taskbar settings.
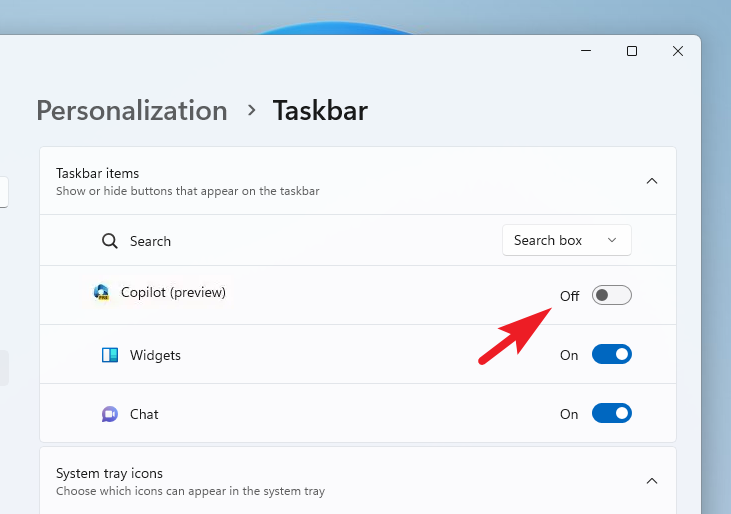
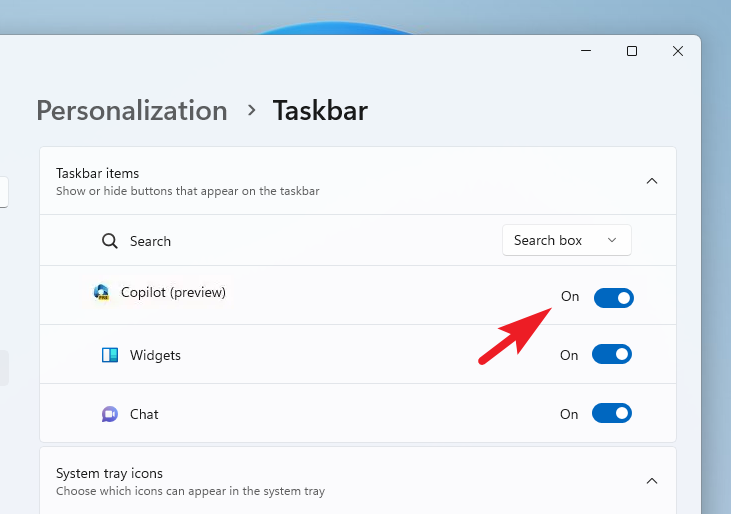
4 Find the Copilot toggle under the Taskbar items section. Click the toggle to turn it Off . This will remove the Copilot button from your taskbar.
Removing the Copilot Button Using the Registry Editor
1 Press Windows + R to open the Run dialog box. Type regedit and press Enter to launch the Registry Editor.
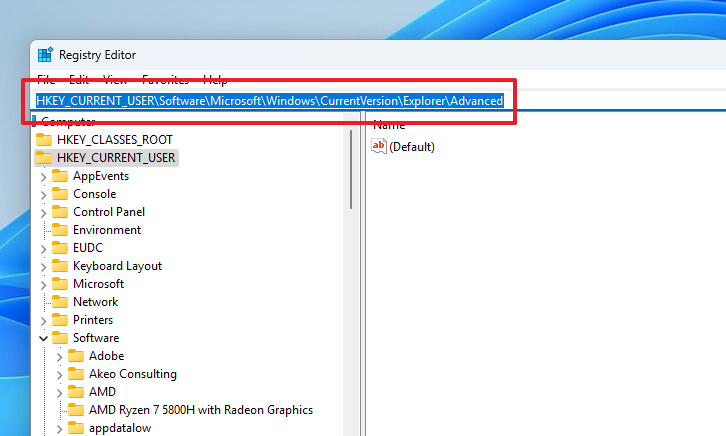
2 In the Registry Editor, navigate to the following path by copying and pasting it into the address bar:
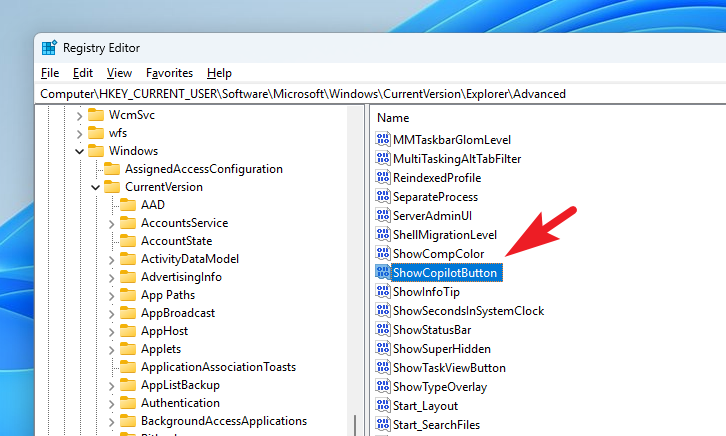
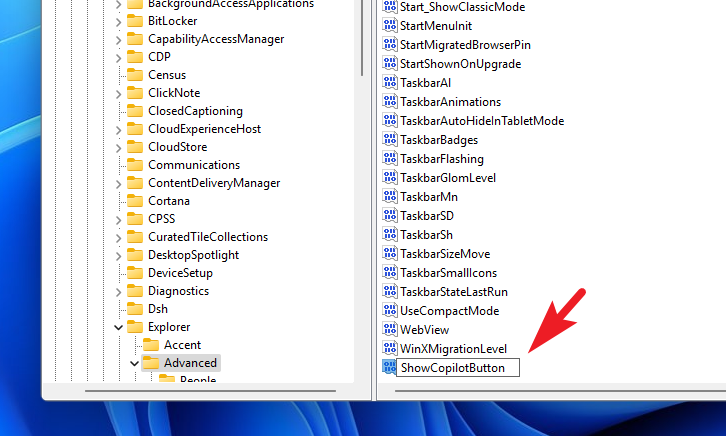
HKEY_CURRENT_USER\Software\Microsoft\Windows\CurrentVersion\Explorer\Advanced3 Look for the ShowCopilotButton DWORD value in the right pane. If it exists, double-click on it to modify.
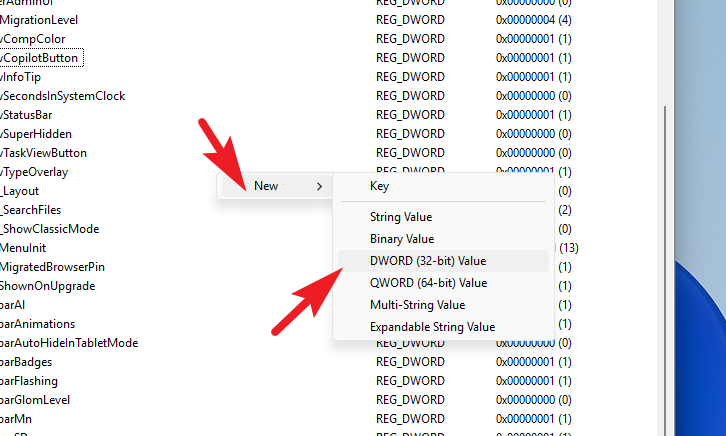
4 If the ShowCopilotButton value is not present, right-click on an empty space in the right pane, hover over New , and select DWORD (32-bit) Value .
5 Name the new value as ShowCopilotButton. Then, double-click on it to open its properties.
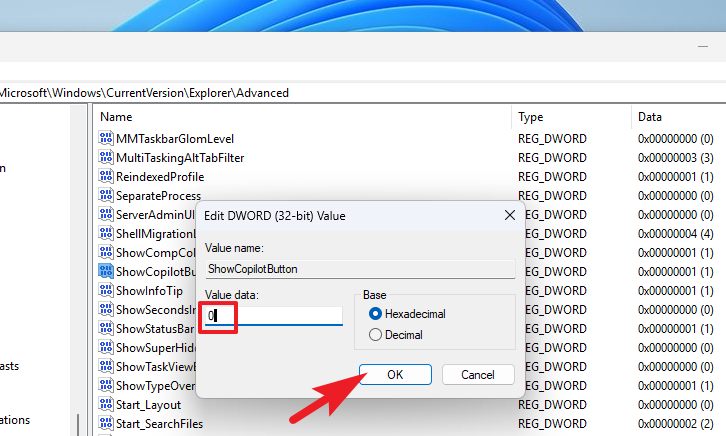
6 In the Value data field, enter 0 to disable the Copilot button. Click OK to save the changes.
7 Close the Registry Editor and restart your computer to apply the changes. The Copilot button should now be removed from the taskbar.
Disabling the Copilot Button Using Group Policy Editor
Note: This method is applicable only for users with Windows Pro or higher editions.
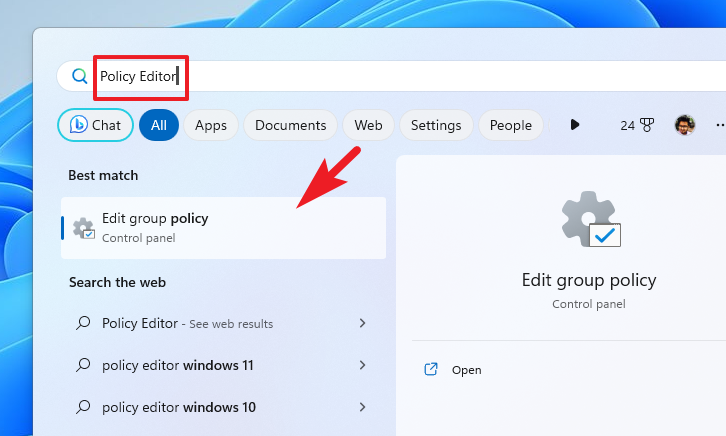
1 Open the Start Menu, type gpedit.msc, and press Enter to open the Local Group Policy Editor.
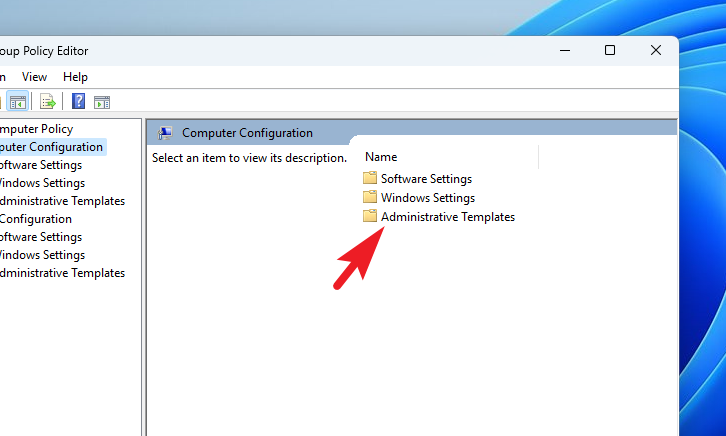
2 In the Group Policy Editor, navigate to:
Computer Configuration > Administrative Templates > Start Menu and Taskbar
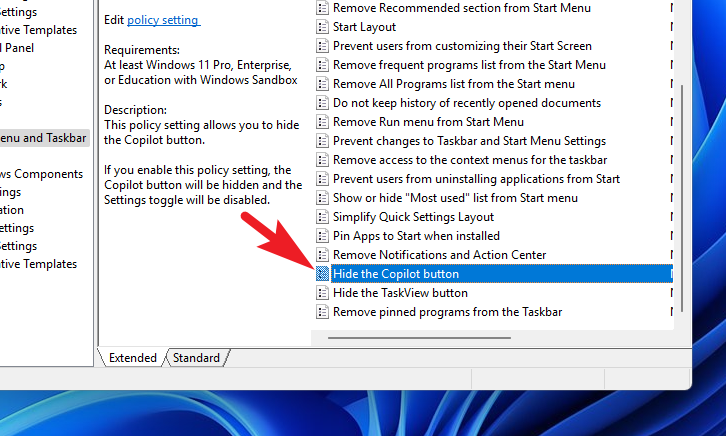
3 In the right pane, scroll down and double-click on the Hide the Copilot policy to modify it.
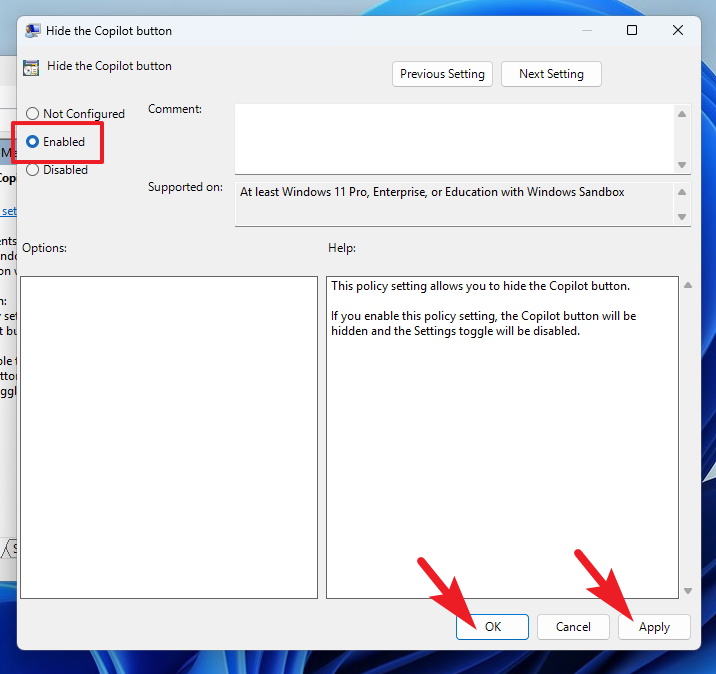
4 Select the Enabled option to hide the Copilot button. Click Apply and then OK to save the changes.
5 Close the Group Policy Editor and restart your PC to implement the changes.
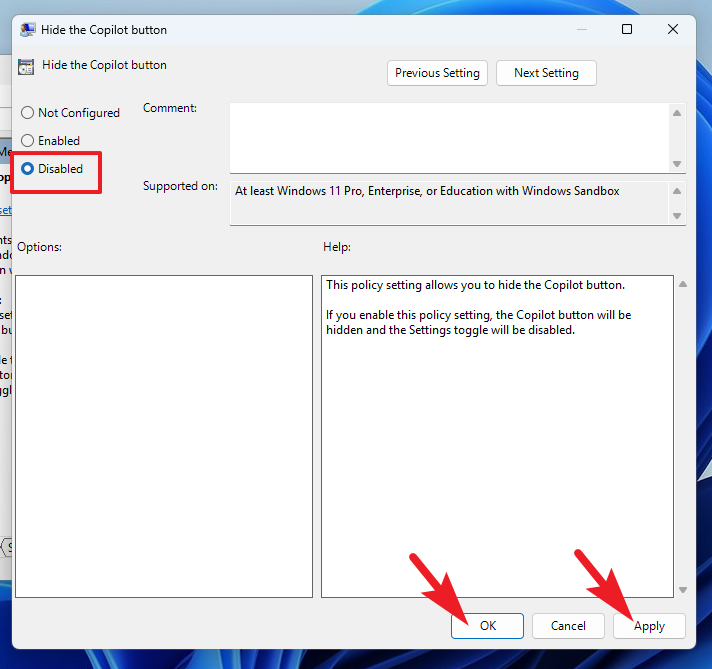
To unhide the Copilot button in the future, repeat these steps and select the Disabled option in the policy settings.
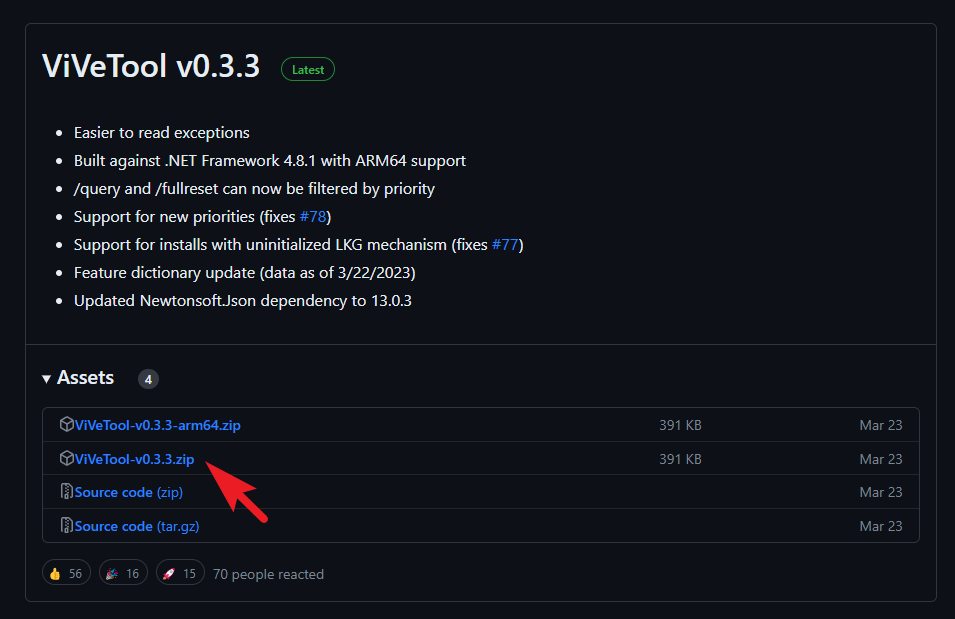
Using ViveTool to Enable Windows Copilot
If you’re part of the Windows Insider Program but can’t access Copilot, you can enable it using ViveTool, a third-party utility.
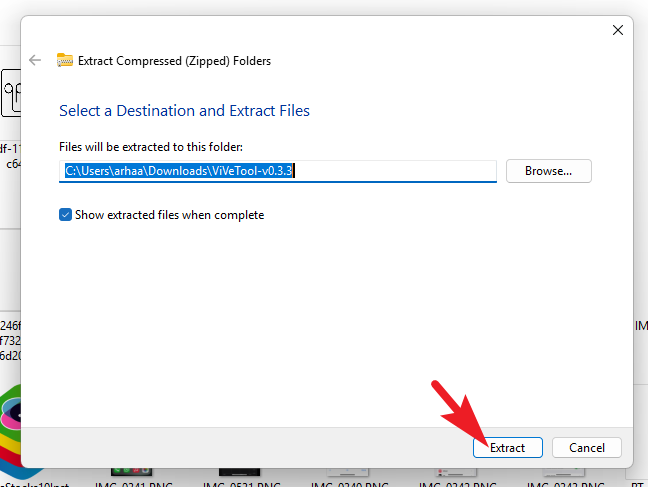
2 Navigate to your Downloads folder, right-click the downloaded .ZIP file, and choose Extract All . Select your preferred destination and click Extract .
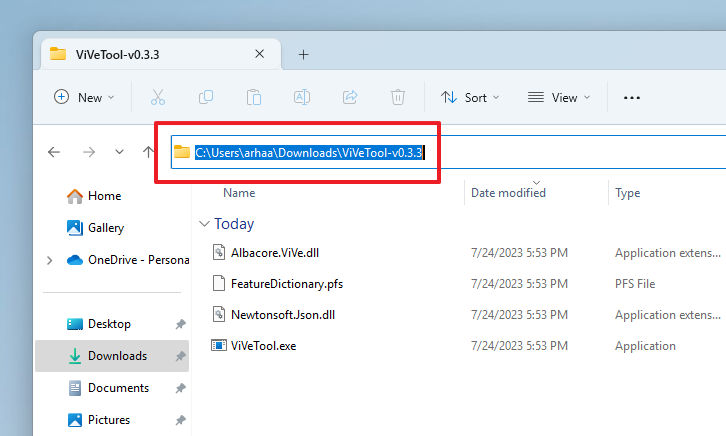
3 Open the extracted folder. Click on the address bar in File Explorer to highlight the path and press Ctrl + C to copy it.
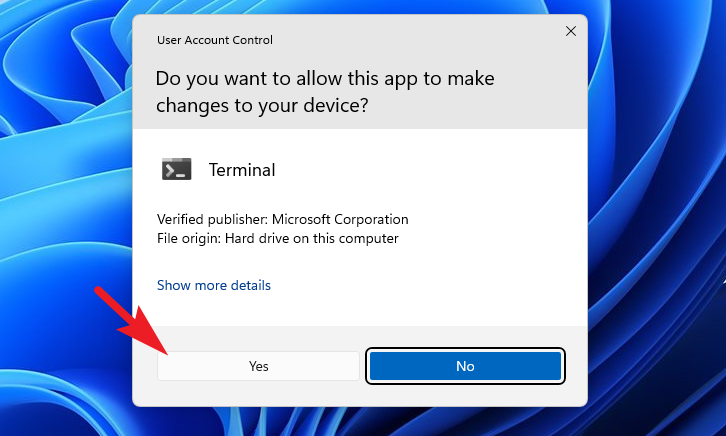
4 Open the Start Menu, type Terminal, right-click on the Terminal app, and select Run as administrator . Confirm any prompts that appear.
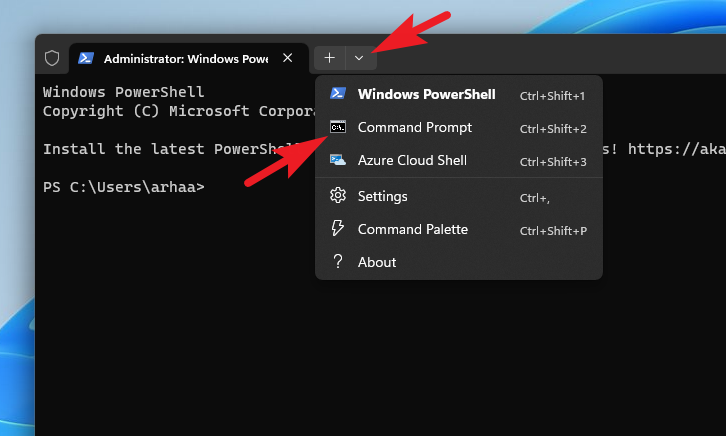
5 In the Terminal window, click the downward arrow (chevron) and select Command Prompt to open it in a new tab.
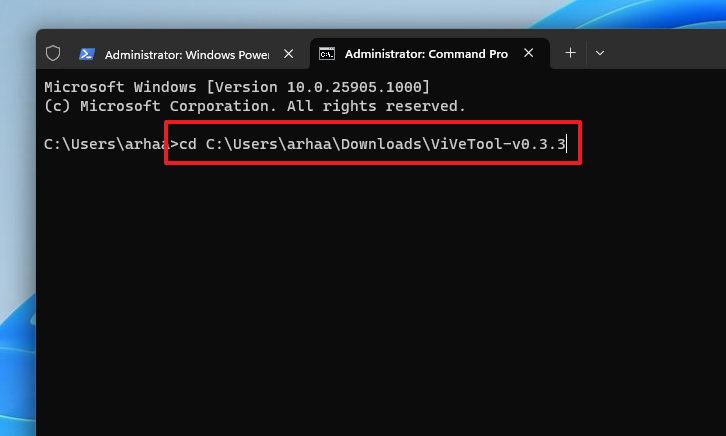
6 In the Command Prompt, navigate to the ViveTool directory by typing the following command and pressing Enter:
cd <copied address path>
Replace <copied address path> with the folder path you copied earlier.
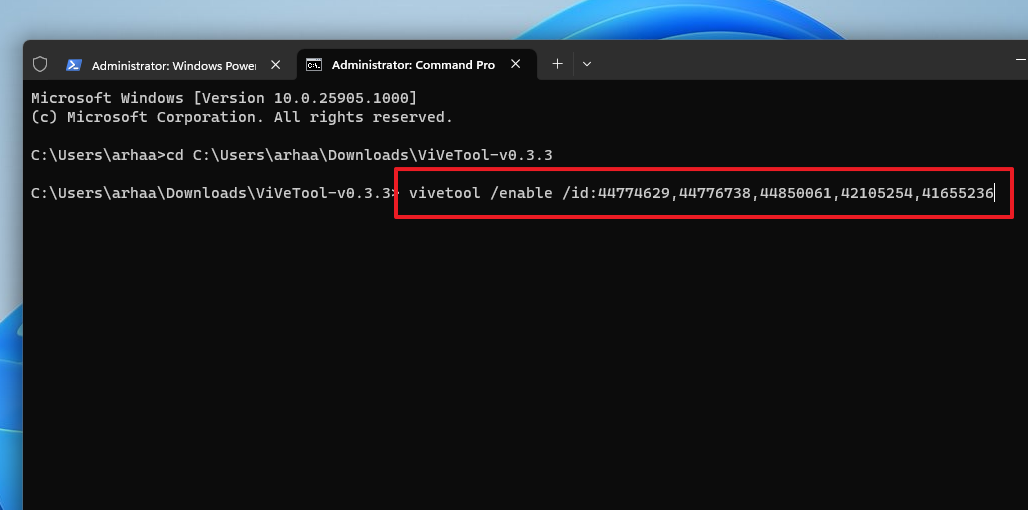
7 Enable Copilot by entering the following command and pressing Enter:
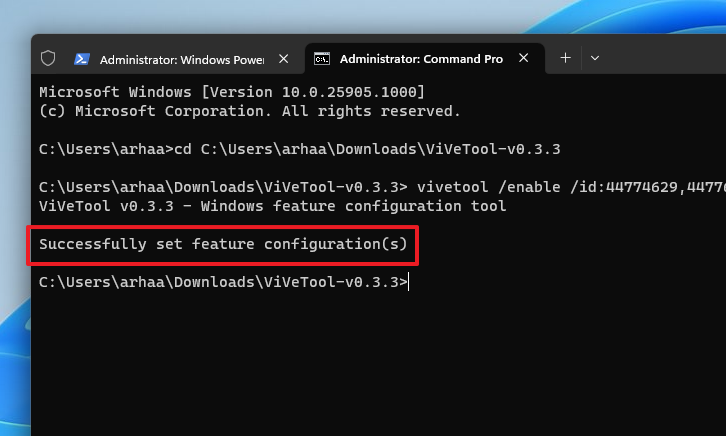
vivetool /enable /id:44774629,44776738,44850061,42105254,416552368 After the command executes successfully, you should see a confirmation message in the Command Prompt.
9 Restart your computer from the Start Menu. Once your PC restarts, the Copilot icon should appear on your taskbar. If it doesn’t, go to Settings and enable the Copilot toggle under Taskbar items as described earlier.
By following these steps, you can easily customize your Windows 11 taskbar to hide or show the Copilot button according to your preference.