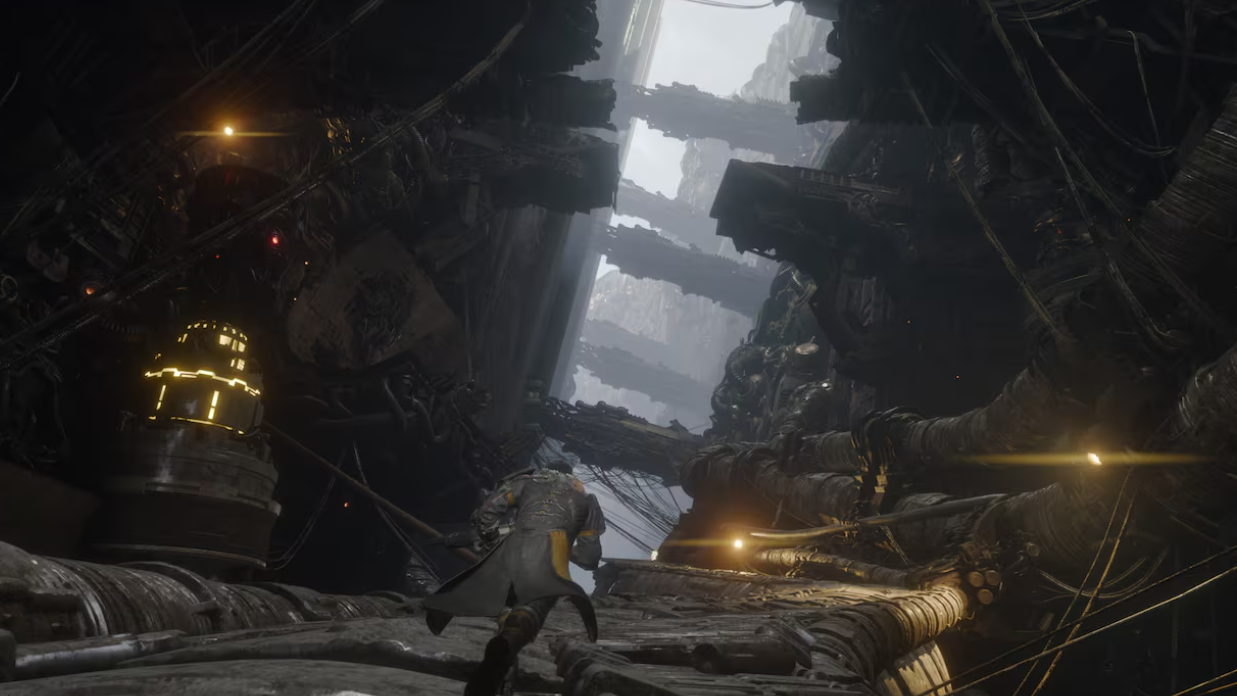
Solar Cages are sealed combat arenas that snap shut around Arjun without warning while you explore a biome in Saros. Once one activates, every exit locks until the room is empty, and you’ll typically face a swarm of smaller enemies alongside an alpha hostile or mini-boss. Expect to run into them two or three times per biome on a typical run.

What a Solar Cage actually does
When a Solar Cage triggers, the room you’re in becomes the fight. Doors lock, escape routes seal, and the game spawns a mixed wave that almost always includes one heavier threat, such as a Devastator in Ancient Depths. The arenas themselves are built wide enough to strafe and reposition, which matters because most of the danger comes from projectile saturation rather than melee pressure.
Solar Cages can appear at any point during exploration, so there’s no reliable way to predict the trigger. Treat any unusually open room with multiple sightlines as a potential cage and check your power weapon charge before pushing forward.
Clear order: trash first, alpha last
The fastest way out is to thin the spawn enemies before you commit to the alpha hostile. Smaller adds die quickly to standard fire, and leaving them alive while you focus the mini-boss is how most runs end. Once the room is down to the heavy target, you have space to read its pattern.
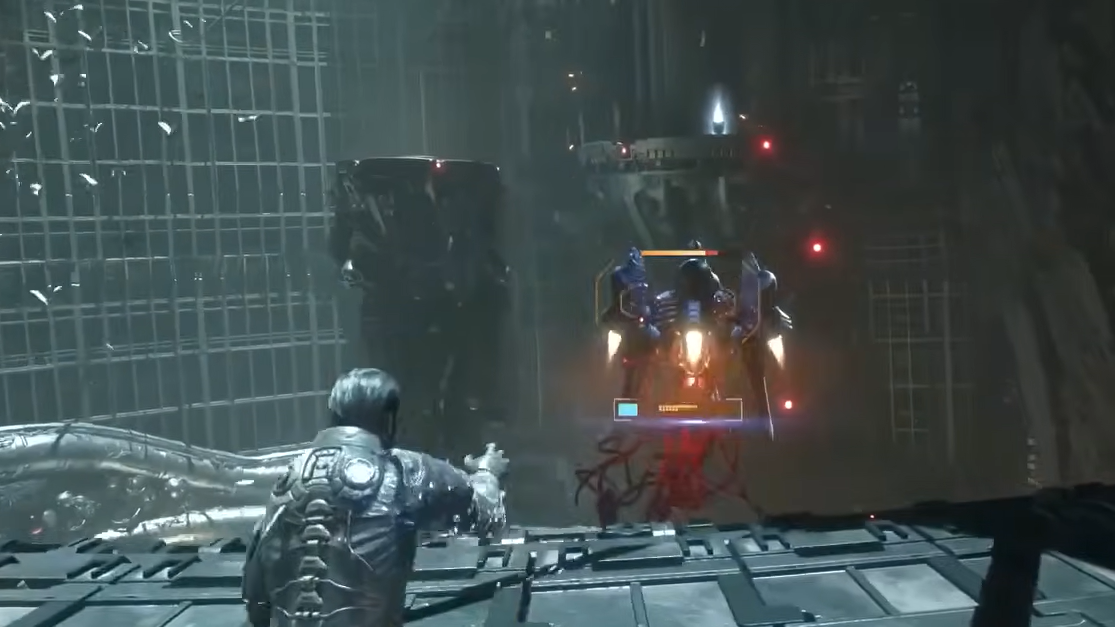
Use the Soltari Shield to recycle damage
The Soltari Shield is the single most valuable tool inside a Solar Cage. It absorbs incoming blue projectiles outright, which both prevents chip damage and feeds charge back into your Carcosan power weapon. That loop, soaking blue fire and dumping a power weapon shot into the alpha hostile, is what turns a chaotic cage into a manageable one.
Stick to dodging anything that isn’t blue. Yellow and red projectiles cannot be absorbed safely, and red (Nova) shots in particular will punish you if you try to tank them with the shield up.
Cages during an active Eclipse
If a Solar Cage triggers while the Eclipse is active, the mini-boss hits noticeably harder, and corrupted projectiles can lower your max Integrity. The fundamentals don’t change. Read the pattern, absorb blue with the shield, dodge everything else, and keep applying pressure. The trade-off is worth it because Lucenite yields are significantly higher under the Eclipse, so cleared eclipsed cages pay out more than standard ones.

Reading common Solar Cage threats
| Threat | Biome | How to handle it |
|---|---|---|
| Devastator (alpha) | Ancient Depths | Stay mobile against its yellow nose lasers and square projectile walls. Most of its blue rain can be absorbed or sidestepped. |
| Sunflayer / Osteomaw (alpha) | Shattered Rise | Keep maximum distance. Their melee swipes do heavy damage; pepper them at range and dash through ground shockwaves. |
| Keeper / Vessel swarms | Multiple | Group them up and clear with a single power weapon shot before focusing the alpha. |
| Shielded Guardians | Ancient Depths and beyond | Close the gap and melee through the red shield to one-shot them. |
How you know the cage is cleared
The Solar Cage dissipates the moment the last enemy dies. Doors unseal, the visual lockdown drops, and you’re free to collect Lucenite and other drops before continuing through the biome. If the arena still feels active after the alpha goes down, sweep the edges for a stray Keeper or Vessel that wandered out of sight, since a single straggler will keep the room locked.
Treat every Solar Cage as a forced damage check rather than an obstacle. The arenas are designed to be survivable with the shield-and-power-weapon loop, and clearing them cleanly is the difference between a run that stalls in the second biome and one that reaches Bastion with resources to spare.