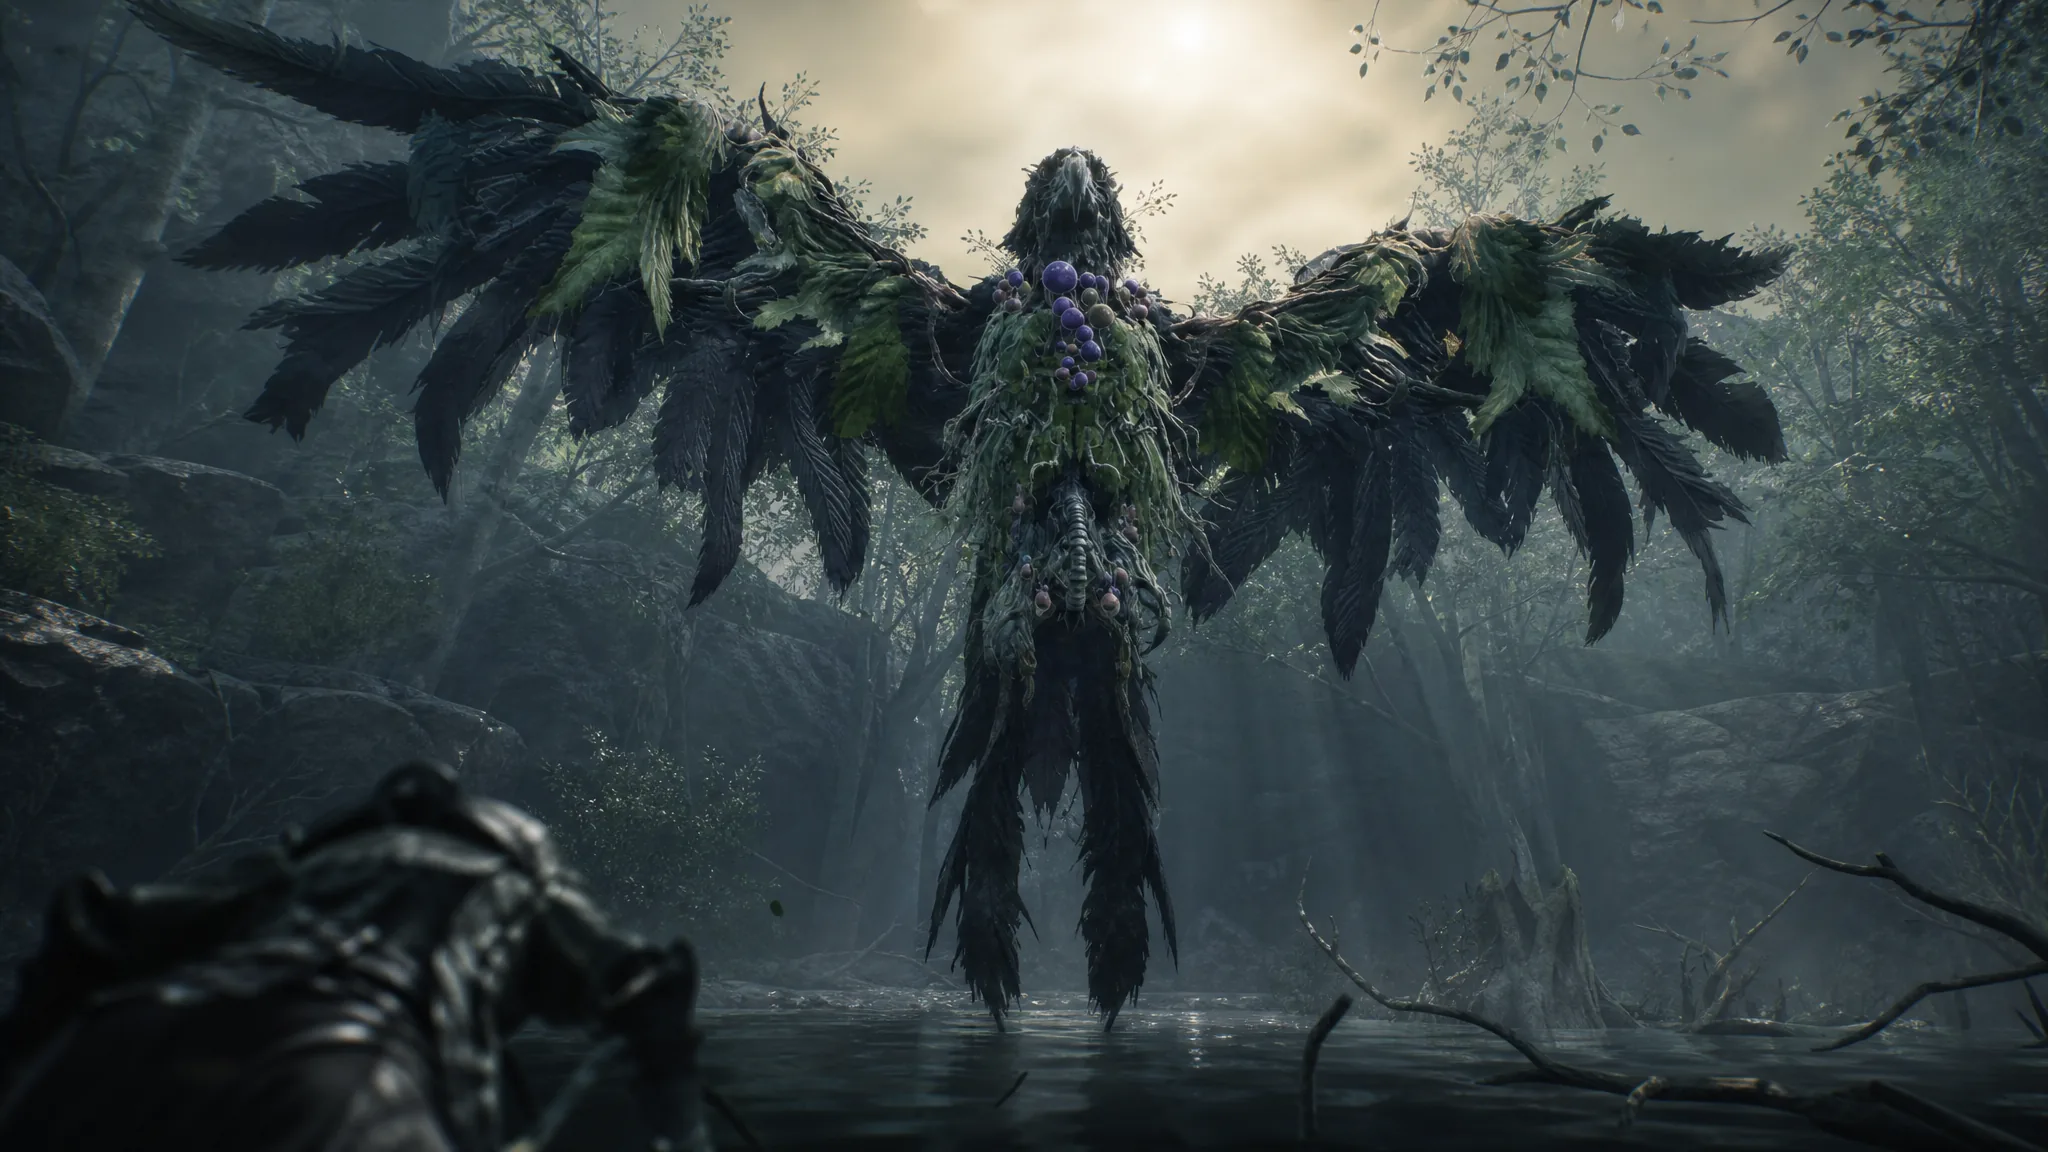
The Corvus fight closes out Root Rot, the seventh chapter of Beast of Reincarnation, and it is really two Nushi encounters stacked back to back. Both giant crows carry the same name, and both stay airborne for most of the battle, which makes standard katana pressure almost useless until you force them down. The saving grace is that the two birds never attack at the same time, so you always face one target at a time.
Quick answer: Keep moving with Emma’s hair, chip the airborne Corvus with ranged shots and dodge or parry its divebombs, then use the Rangifer Nushi skill to restrain it after it lands and unload melee hits. Repeat for the second Corvus, but retime your parries for its three-talon strikes and avoid its ground AoE acid.
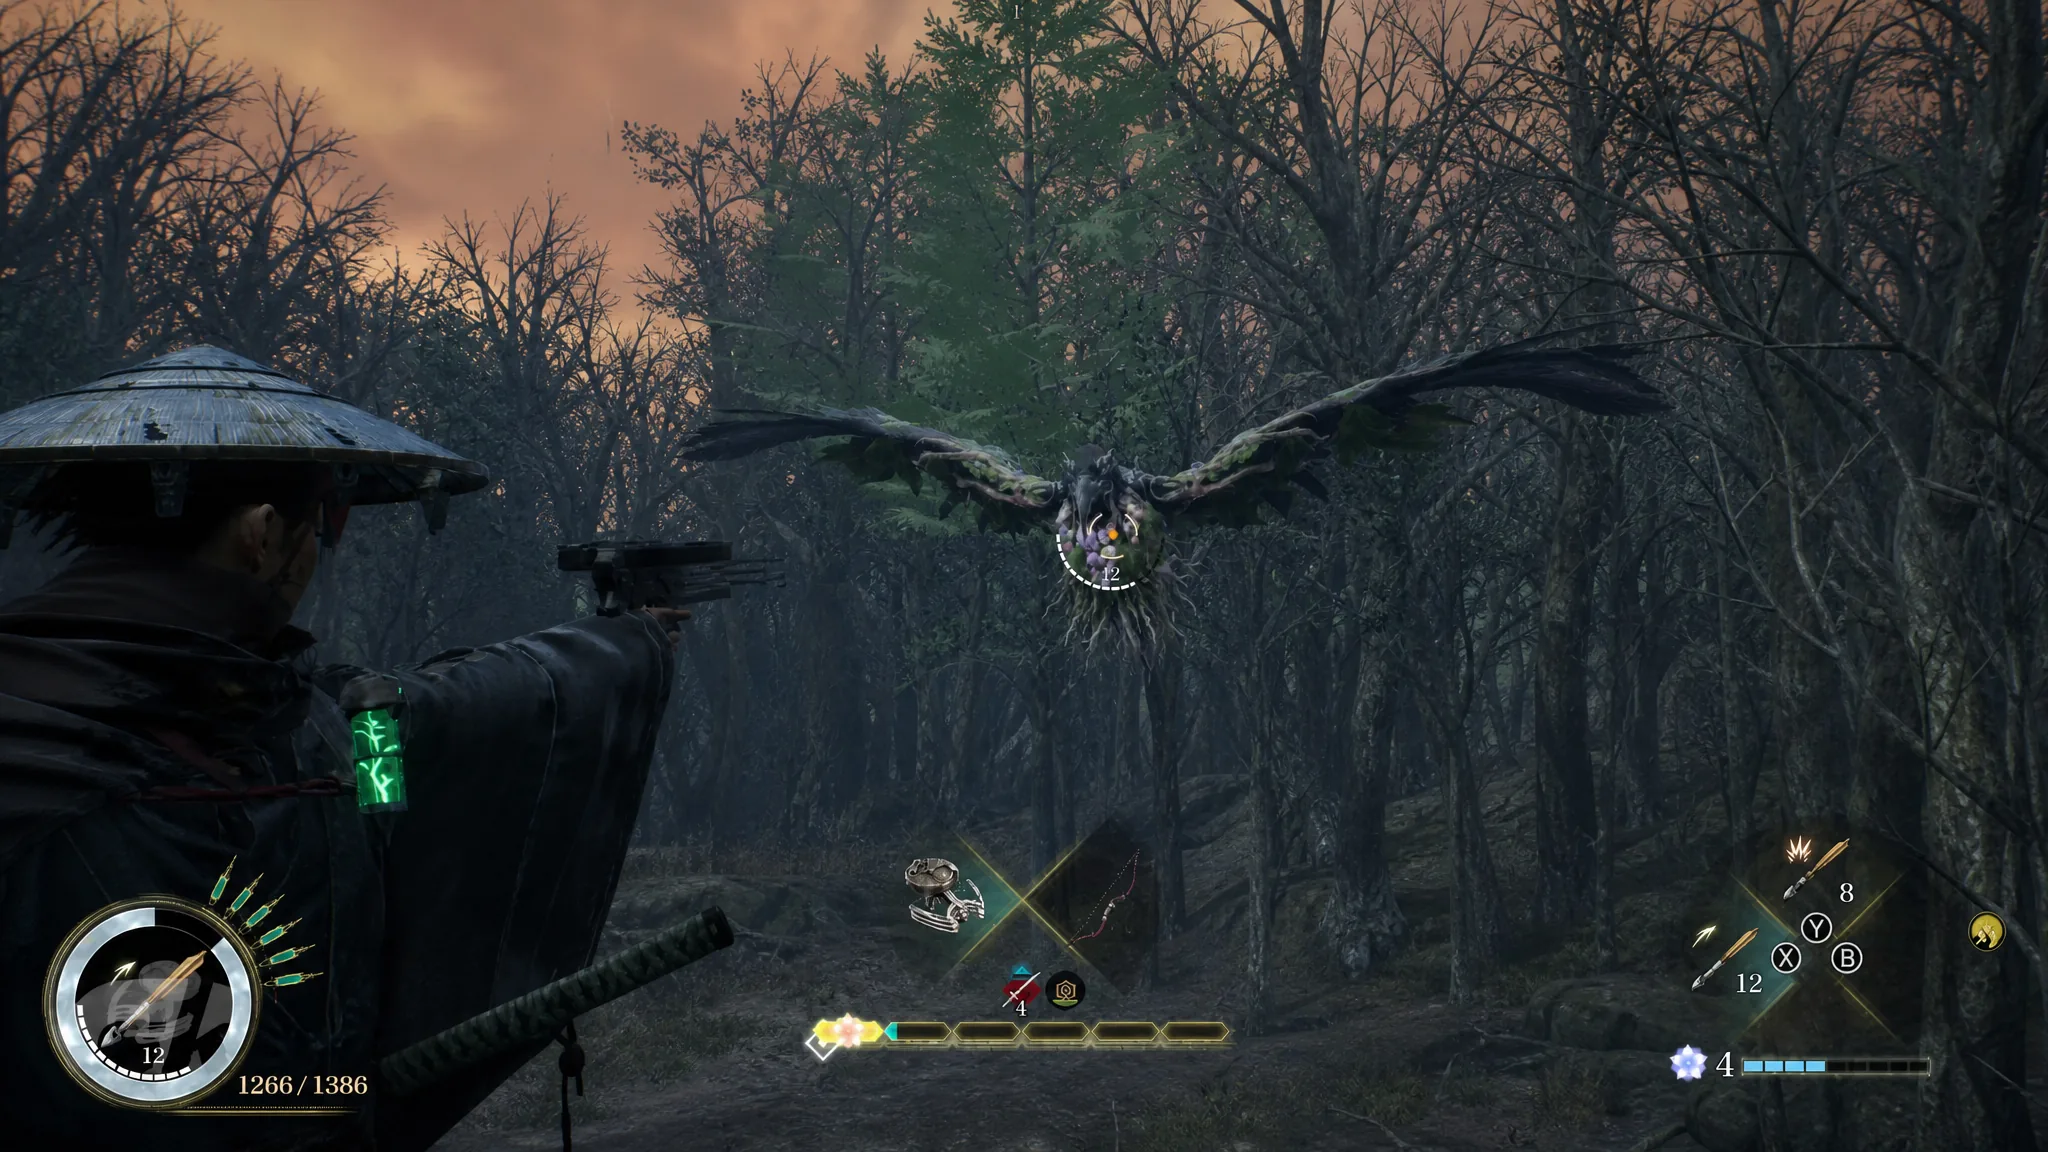
First Corvus attacks and how to counter them
Because the first Corvus flies almost constantly, your bow and crossbow do the heavy lifting. Standing still to shoot is a trap, though, since the bird floods the arena with acid. Learn its four moves and what each one demands from you before you commit to a rhythm.
| Corvus attack | What to do |
|---|---|
| Throws a bomb that bursts into acid | Break line of sight and reposition off the splash |
| Drops acidic projectiles onto Emma’s spot, leaving lingering acid | Keep moving so the pools never land on you |
| Divebombs with beak and talons | Dodge or parry the strike |
| Summons smaller Corvid Malefacts as minions | Clear the adds so they stop interrupting your shots |
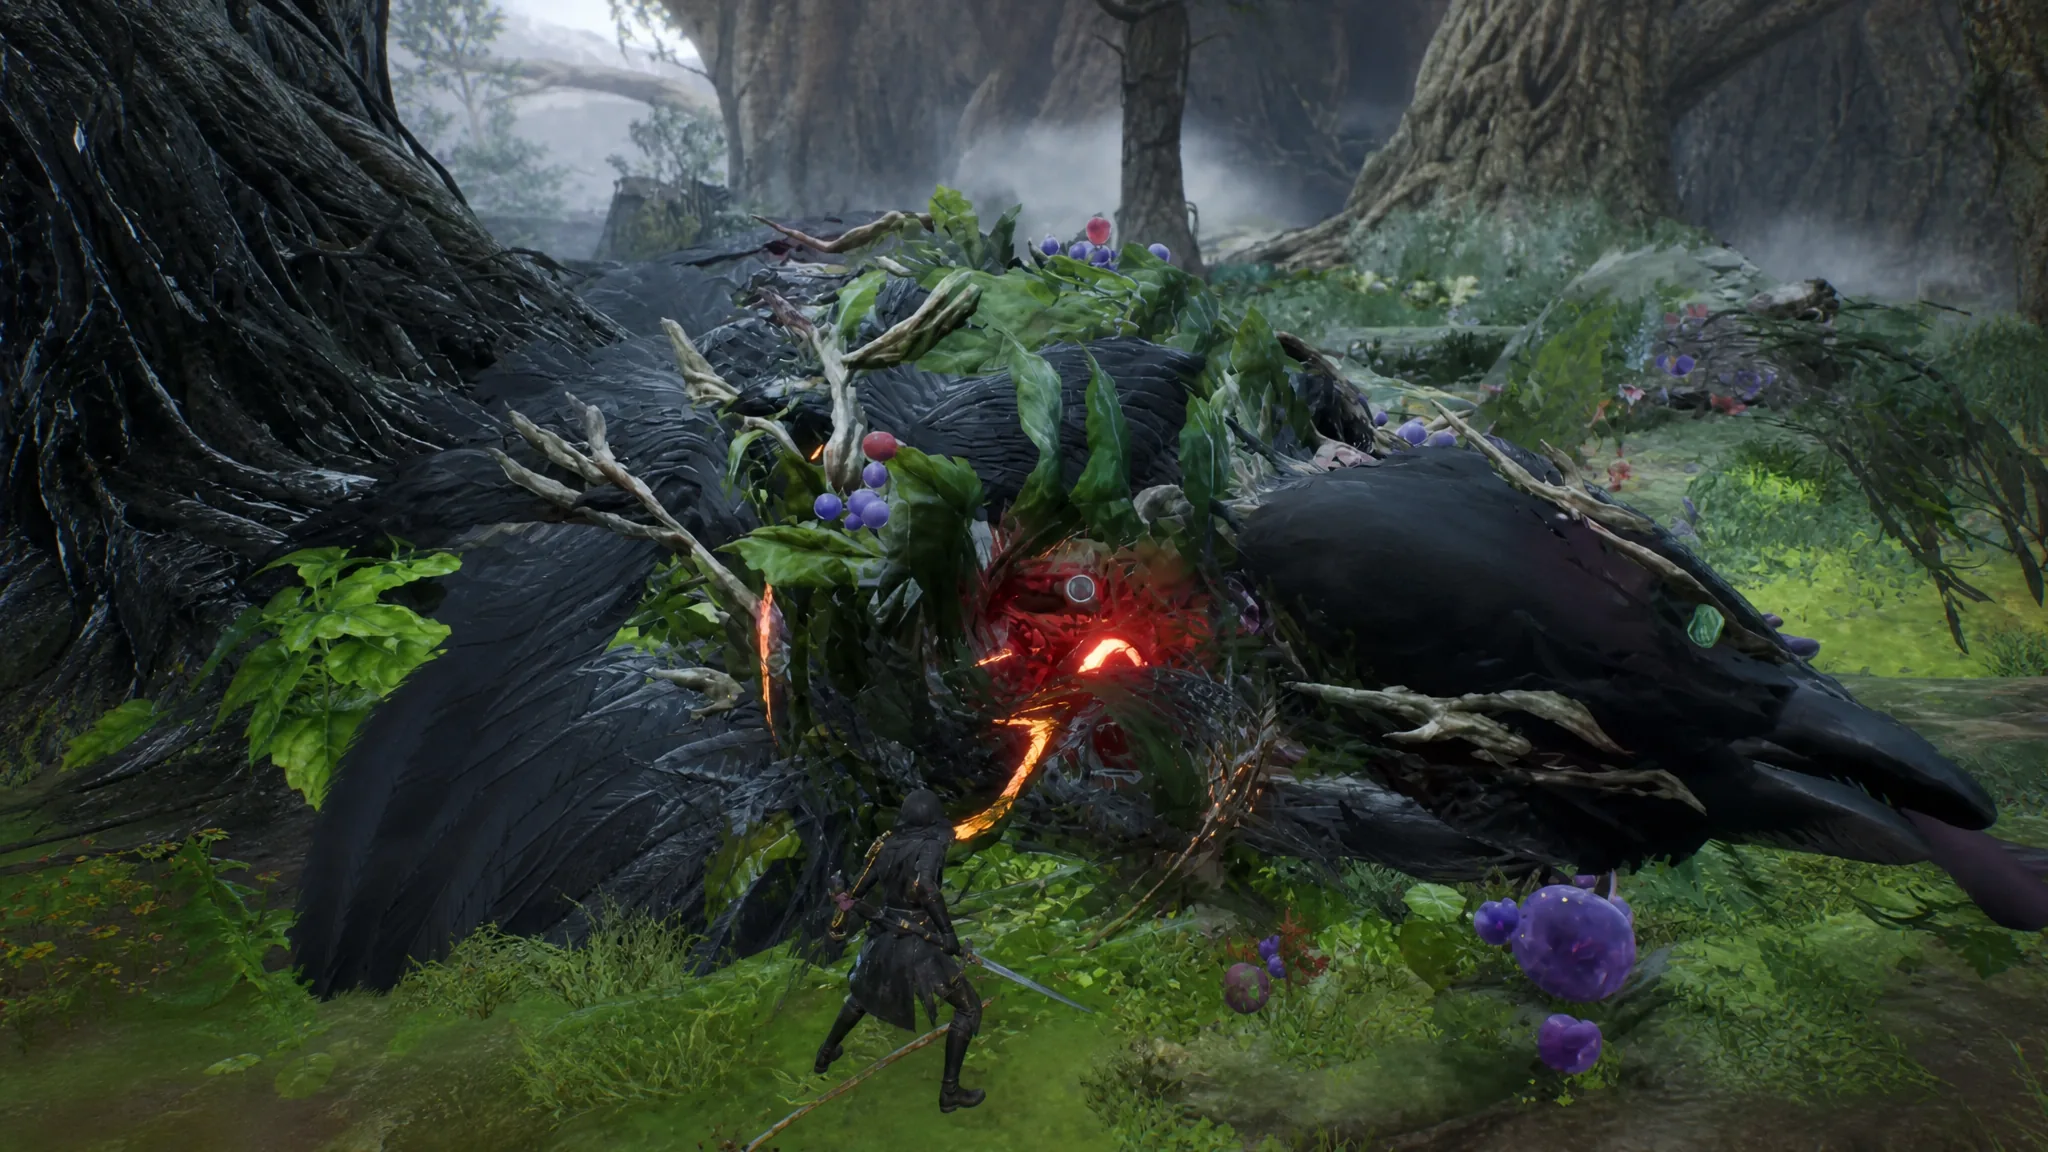
Damage rotation for the first Corvus
Tip: Deal with summoned Corvid Malefacts quickly. Leaving them alive means extra hits landing on Emma while you are lining up shots, which pushes you into the acid you are trying to avoid.
Second Corvus and the three-talon phase
Emma and Koo take on the second Corvus on far less stable footing. You have to use Emma’s hair to leap between platforms while you wear the bird down. Falling does not fail the encounter, but it does cost you momentum, so a clean run of hits ends the moment you drop off a ledge.
The opening approach mirrors the first fight. Stay mobile, punish the airborne windows with ranged fire, and restrain the bird for melee bursts after it comes down. The final phase is where things change.
- The second Corvus now attacks with three talons, so your old parry timing from the earlier fights no longer lines up. Adjust to the extra strikes before you commit to deflecting.
- If the bird stays grounded too long, it releases an AoE acid burst. Do not overstay your melee window once it settles.
- Restraining after a parry remains the highest-damage tactic, so keep prioritizing that loop through the close of the fight.
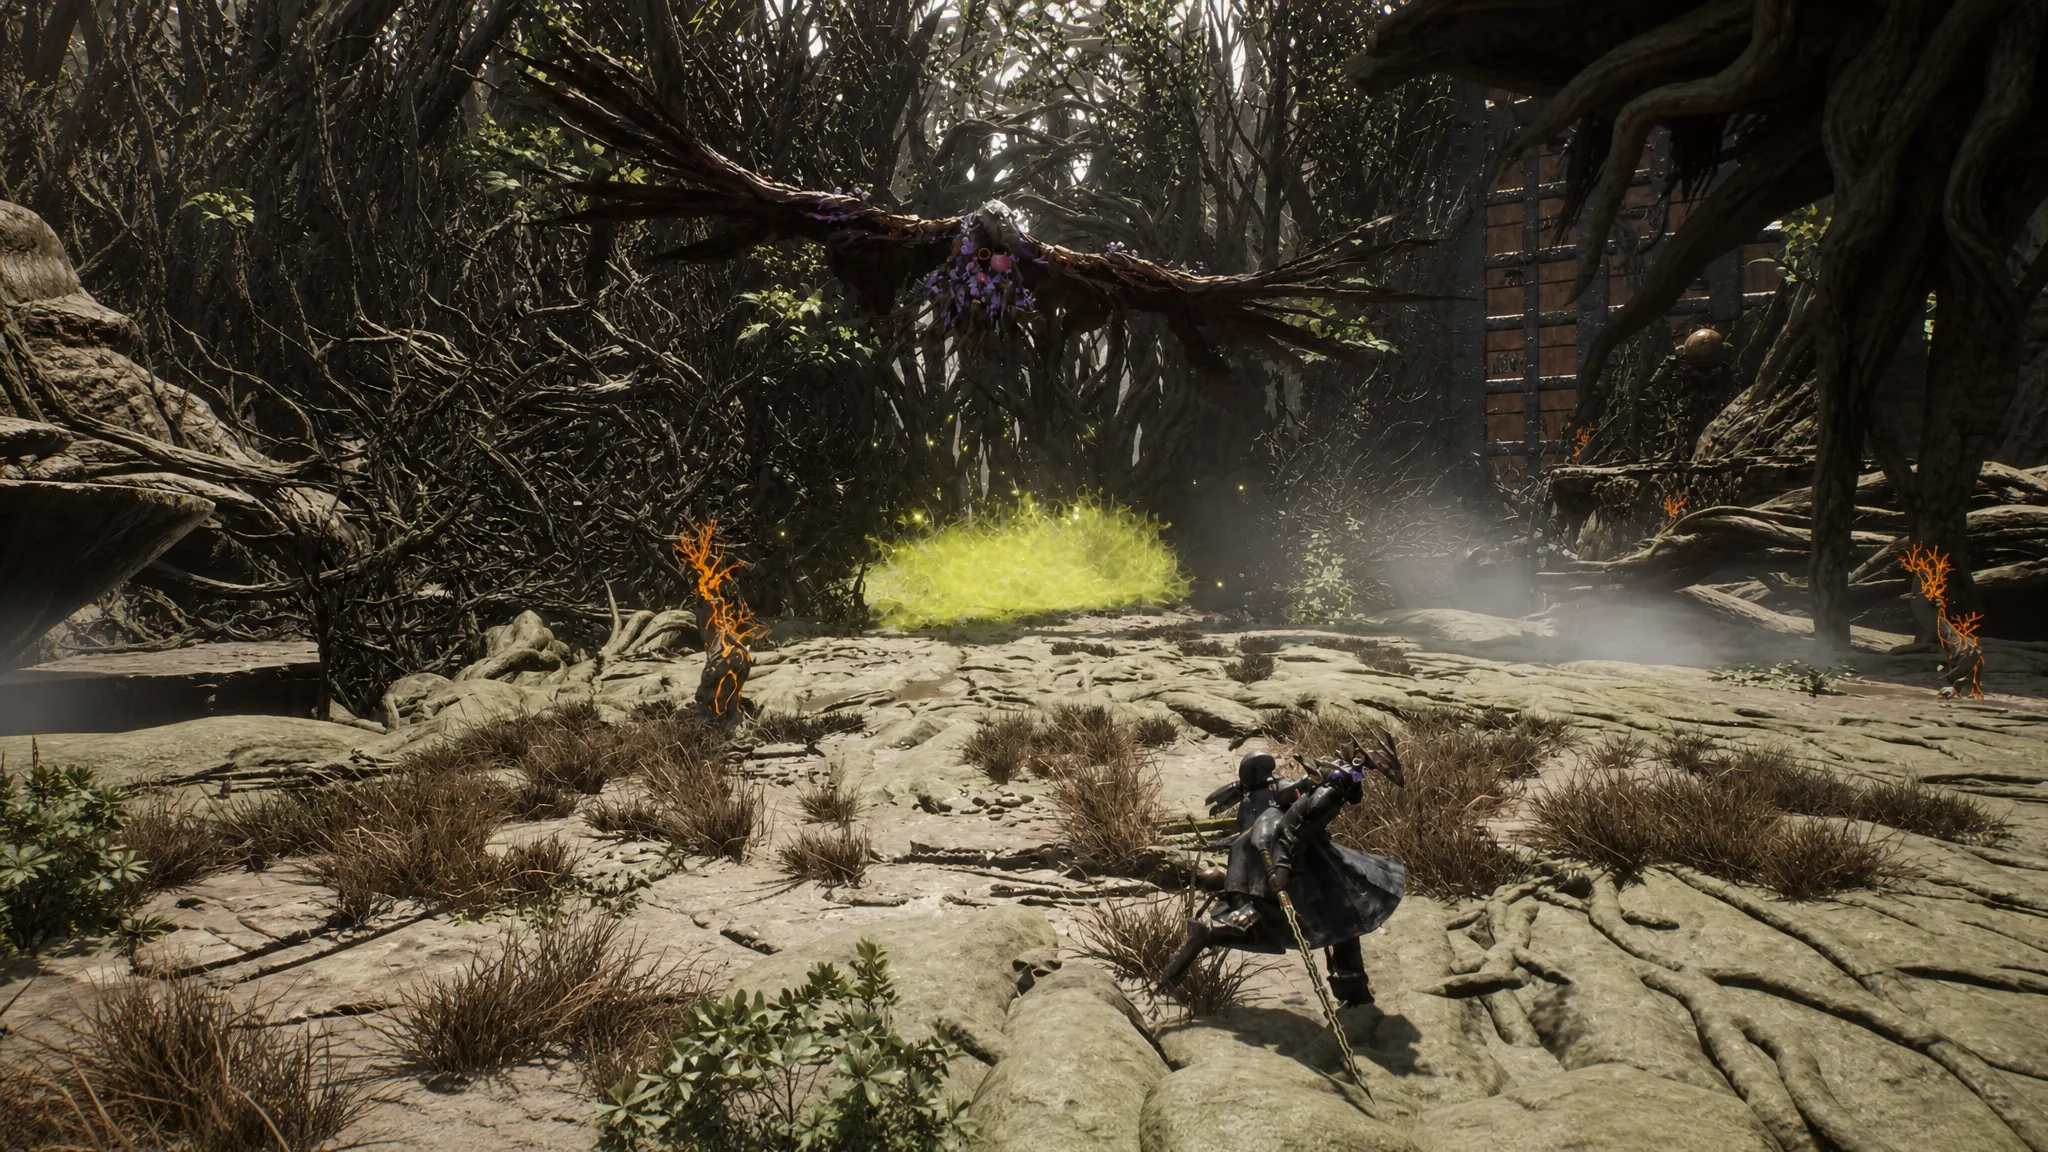
Once the second Corvus falls, Root Rot wraps up and the chapter is complete. If you find yourself struggling with the parry timing, keep leaning on the ranged-and-restrain loop rather than trading blows in the air, since that is what carries both crows down without exposing Emma to the acid that blankets the arena.