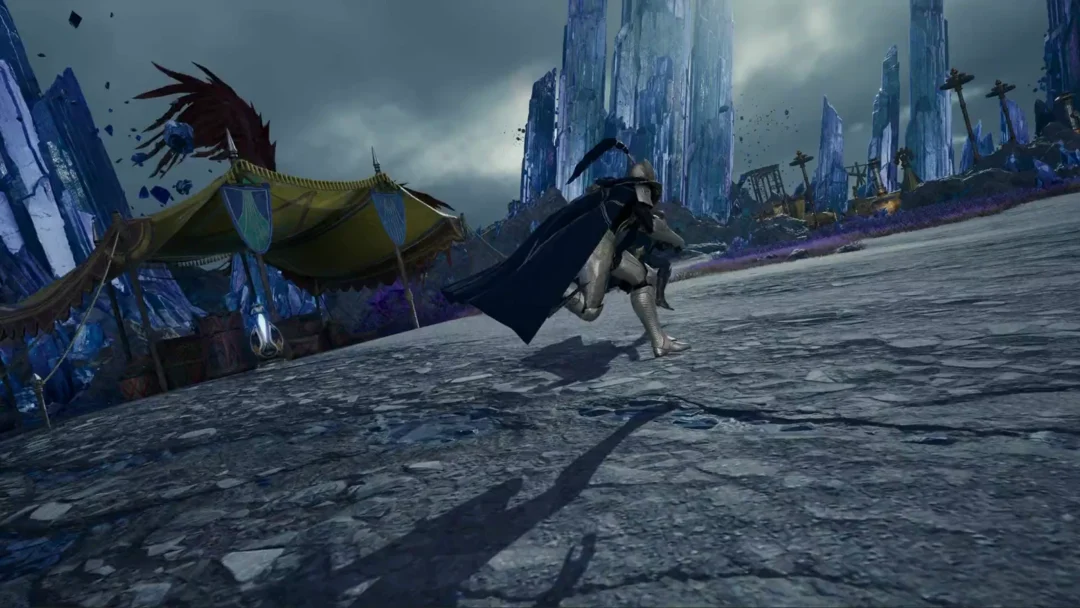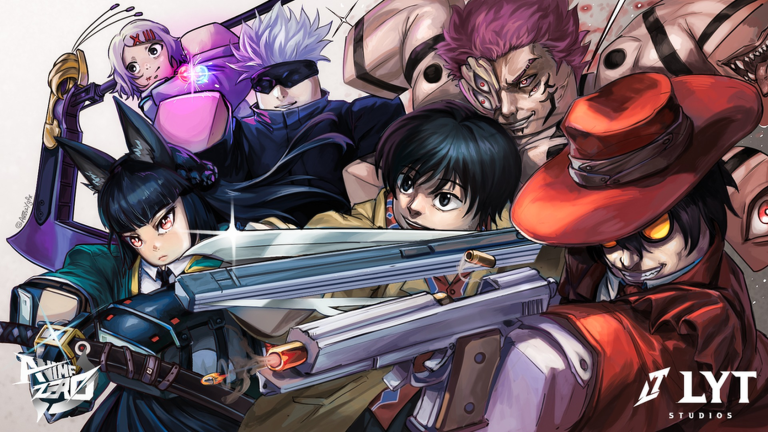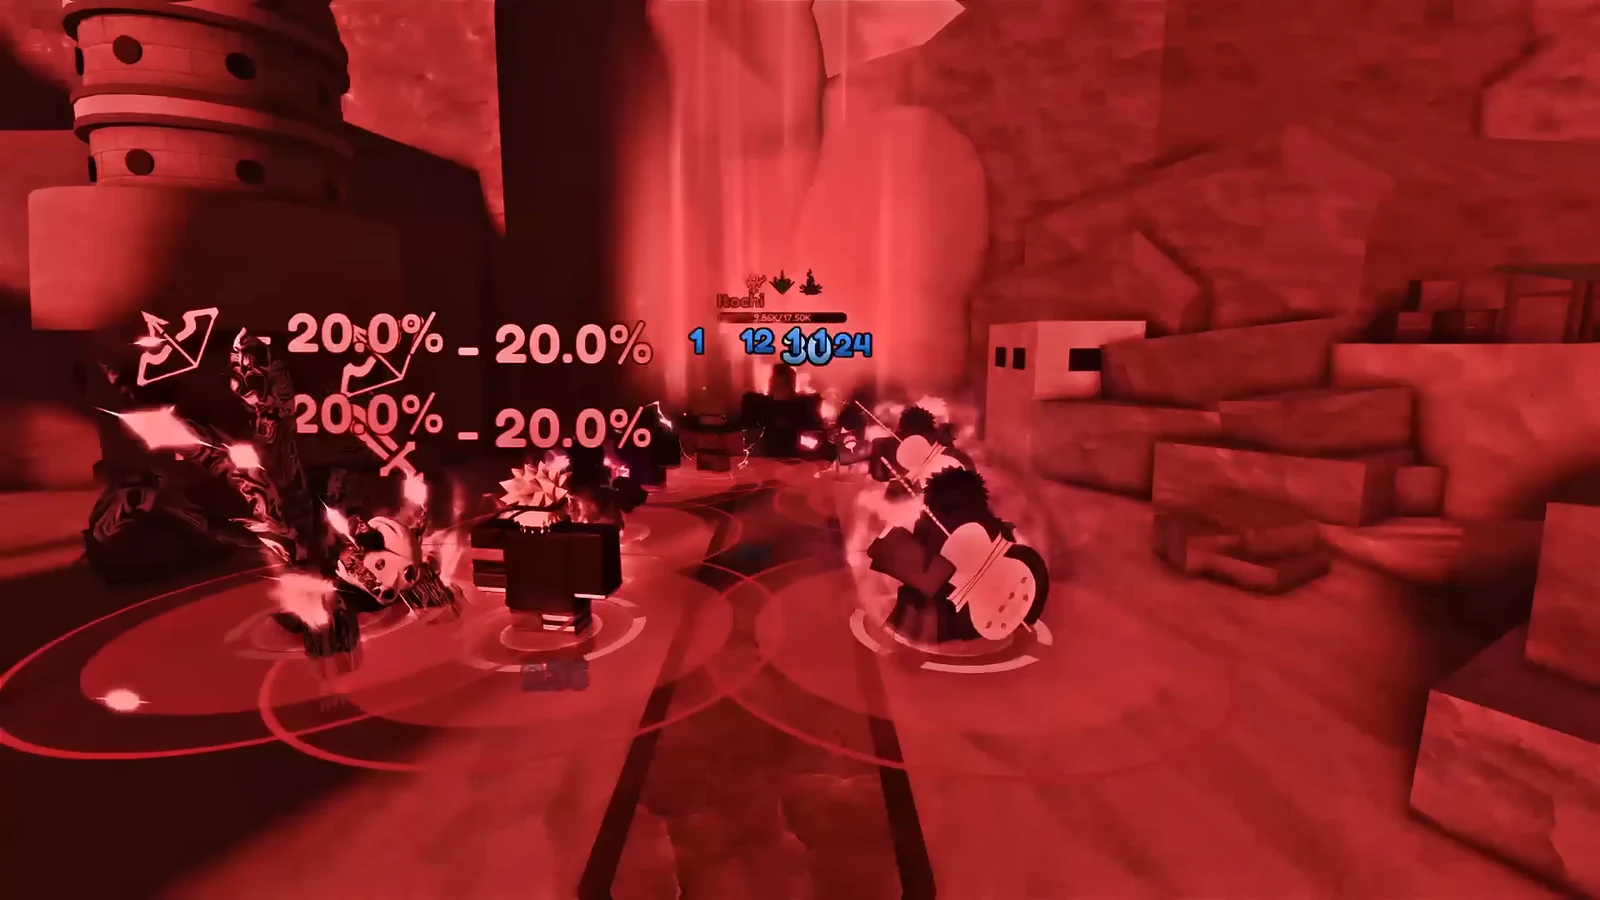
The Returned Dungeon is Raid Stage 6 – Act 1 Nightmare in Anime Vanguards, and clearing it on Nightmare is a required step for the Ascendant / Transcendent Song Jinwu questline. The fight runs 17 waves and ends against the Axe Statue and God Statue. A Dragon Ball lineup built around Holy Deceiver (Dark) clears it reliably because his Tier 3 passives buff every Dragon Sphere ally on the field at once.
Quick answer: Place the Dragon Ball team, rush Holy Deceiver (Dark) upgrades, fuse Roku (Super 3) into Super Vegito, and fire Big Spirit Beam twice uncharged to stack amp until Holy Deceiver hits Tier 3 — the team then clears all 17 waves.
Recommended Returned Dungeon team
The core of this run is a Dragon Sphere (Dragon Ball) category team plus Song Jinwu, who must be on the field for quest progression. Six slots are used in total, with one slot dedicated to money farming.
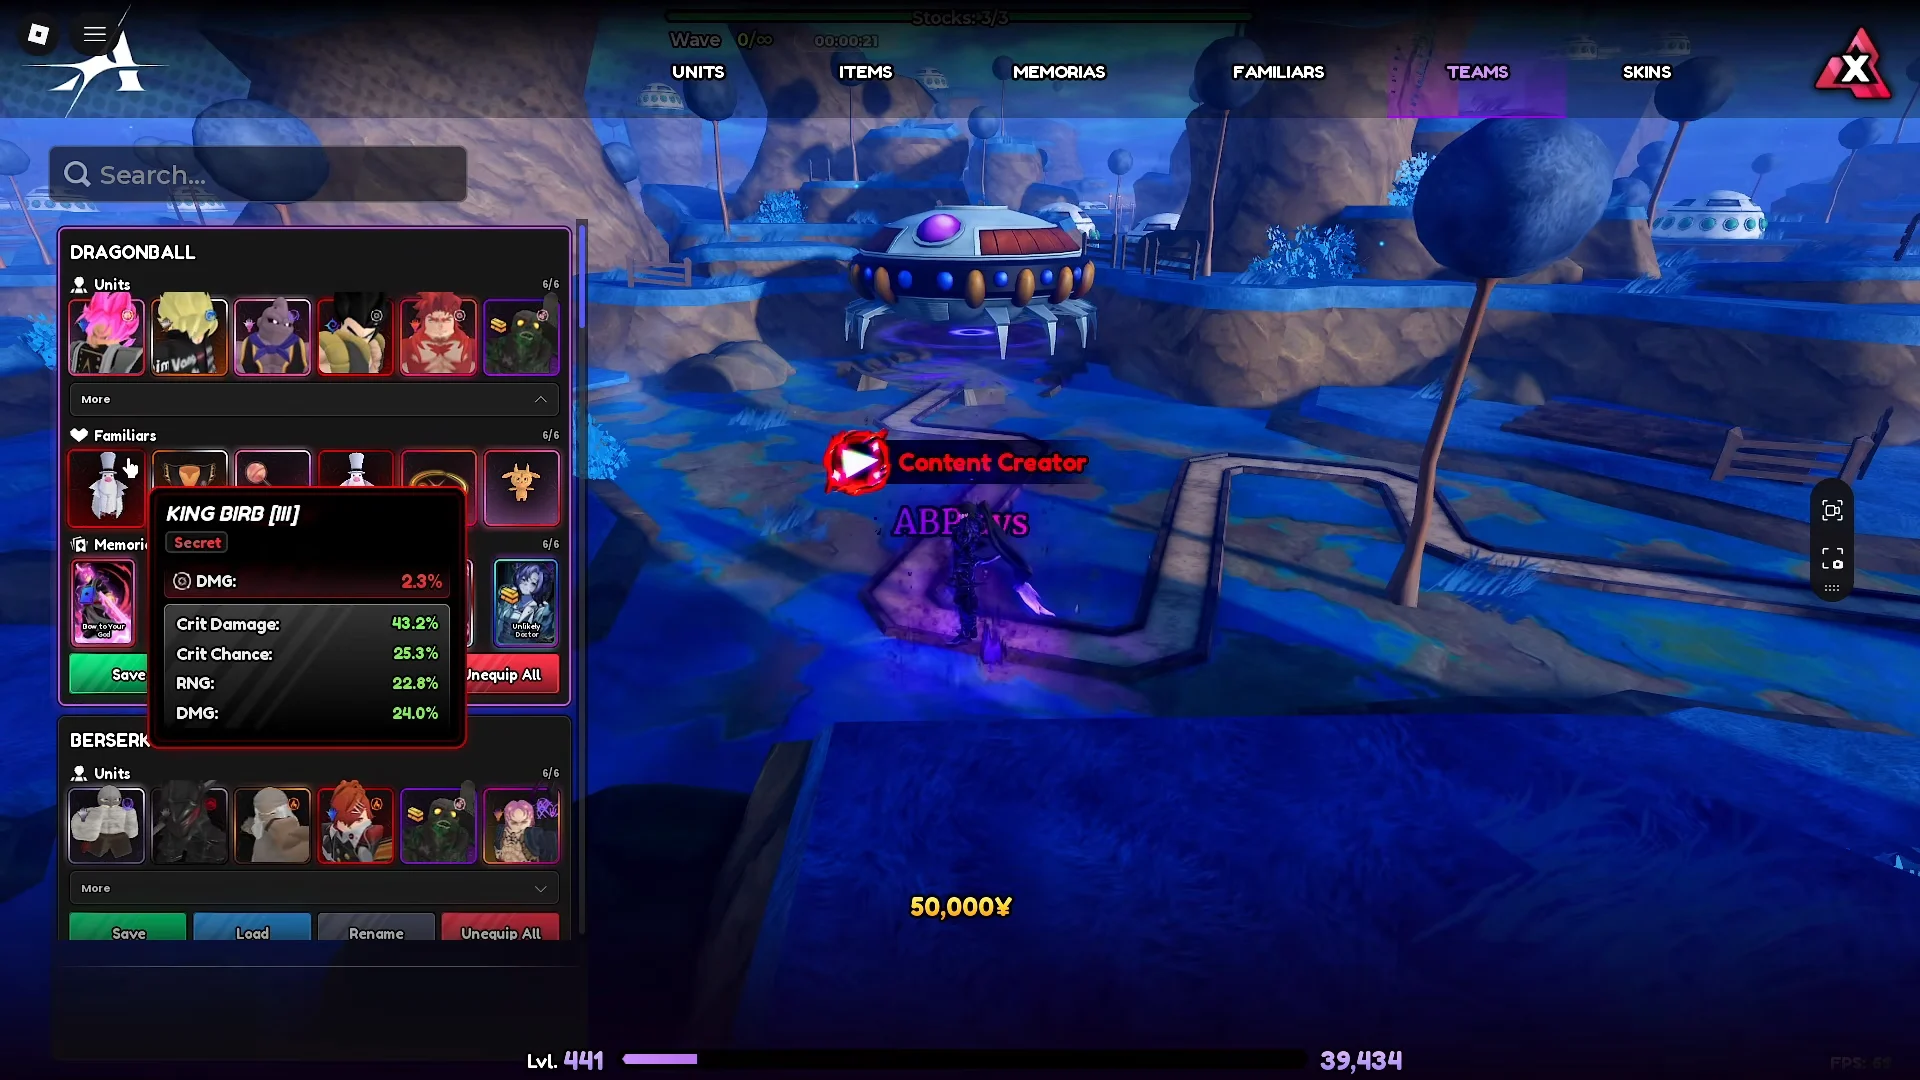
| Unit | Familiar | Memoria |
|---|---|---|
| Holy Deceiver (Dark) | King Birb | His Vow to your God |
| Roku (Super 3) | Birb [III] | Battle of the Strongest |
| Rogita (Super 4) | King Birb | Battle of the Strongest |
| Boo (Evil) | Candy Ball | Bond of Master and Disciple |
| True Shadow Monarch (Song Jinwu) | — | — |
| Sprintwagon | — | — |
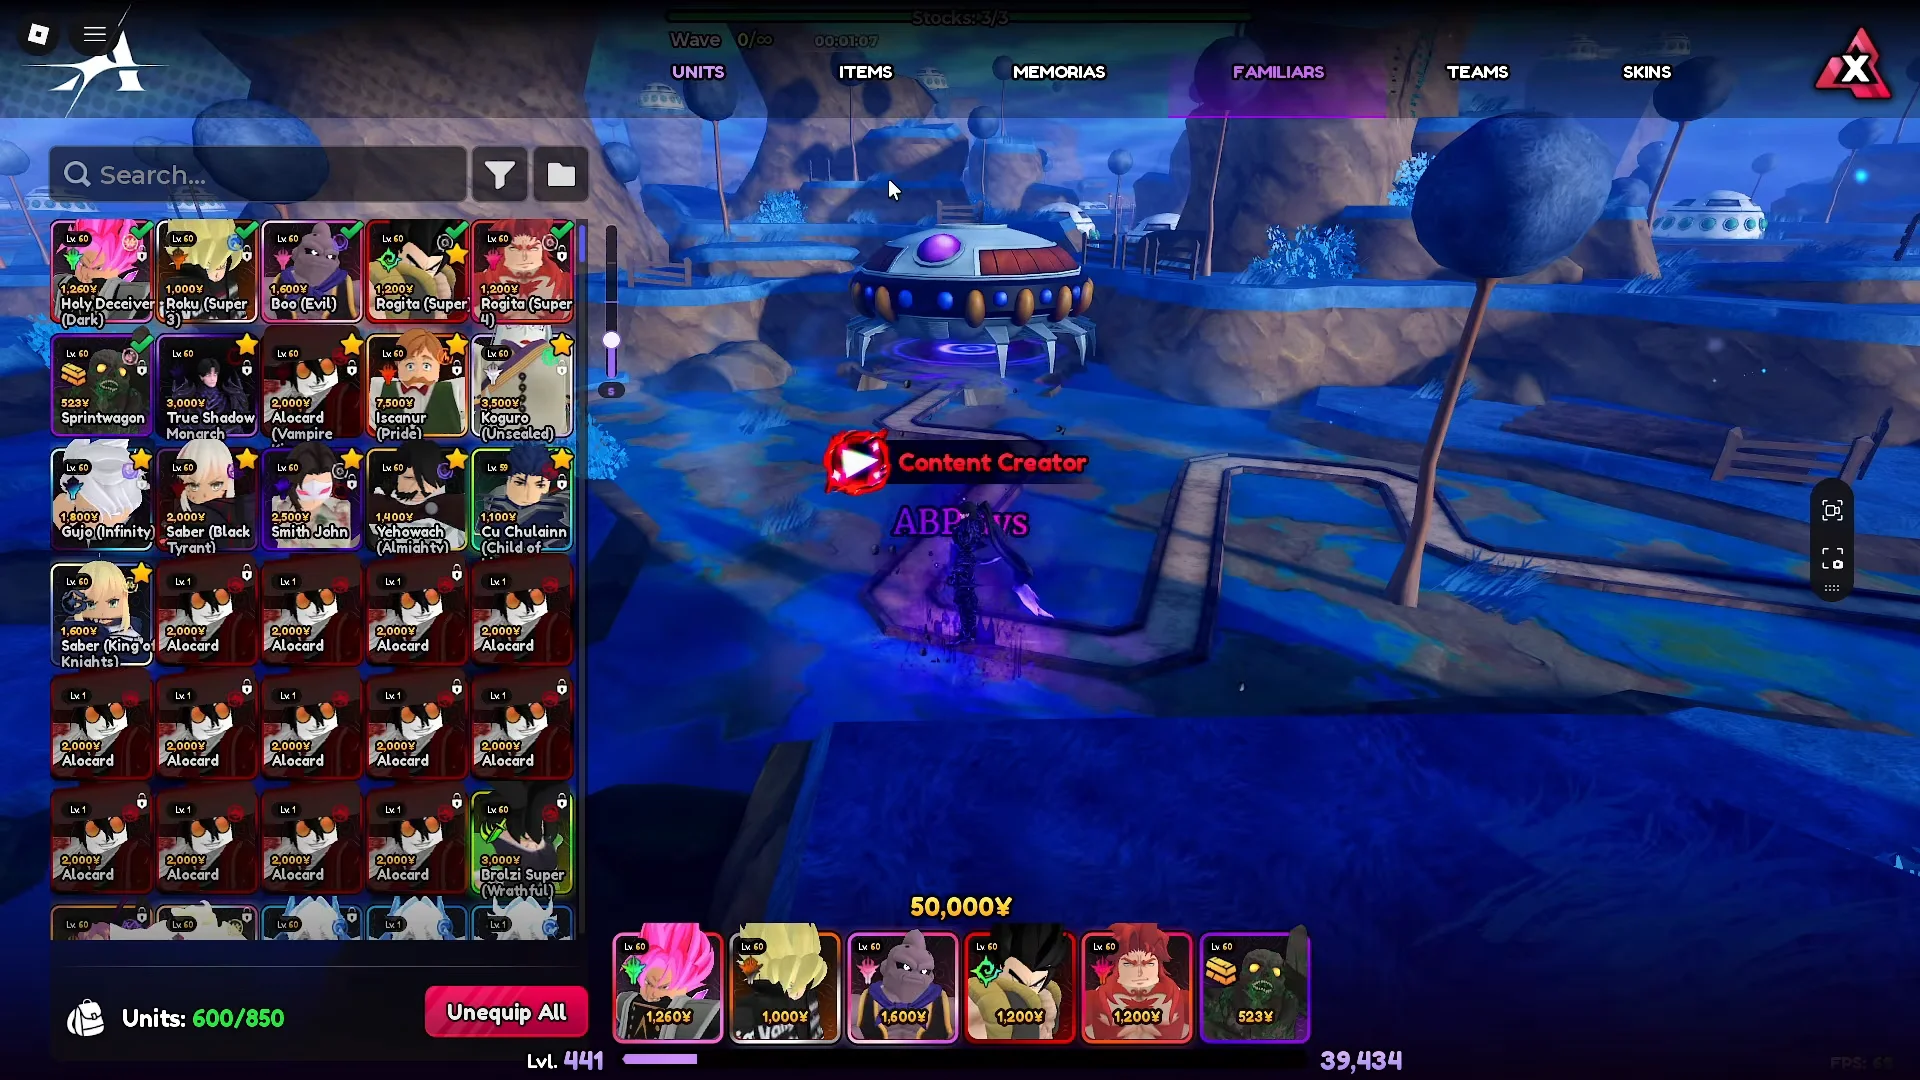
Match the familiars and memorias before you queue. Holy Deceiver (Dark) with His Vow to your God (ideally rolled with a Jack of all Trades stat) is what makes the ramp-up work, so check that loadout first.
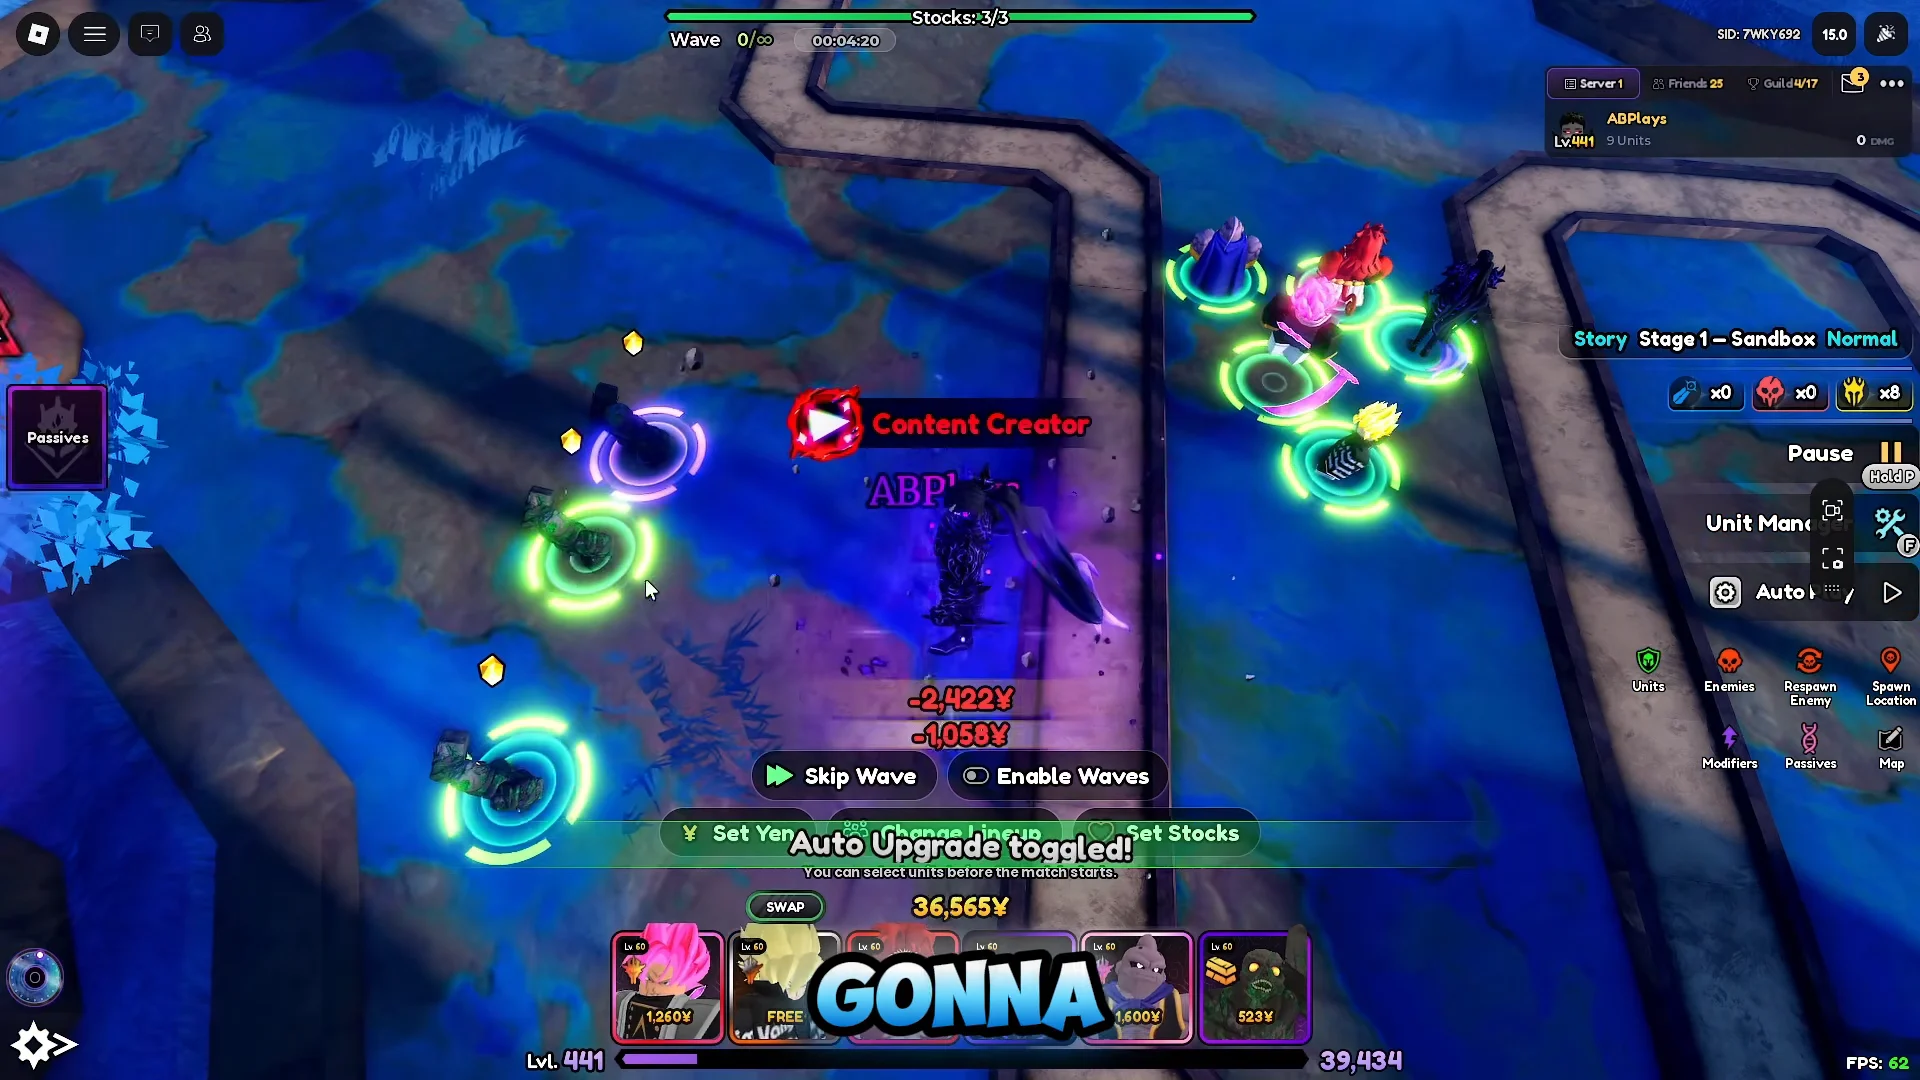
Placement and upgrade order
The same sequence works whether you practice it in Sandbox on Planet Namek Act 1 or run it live on Nightmare. Follow the order below without skipping the early farm step, since the whole plan depends on getting Holy Deceiver (Dark) to Tier 3 quickly.
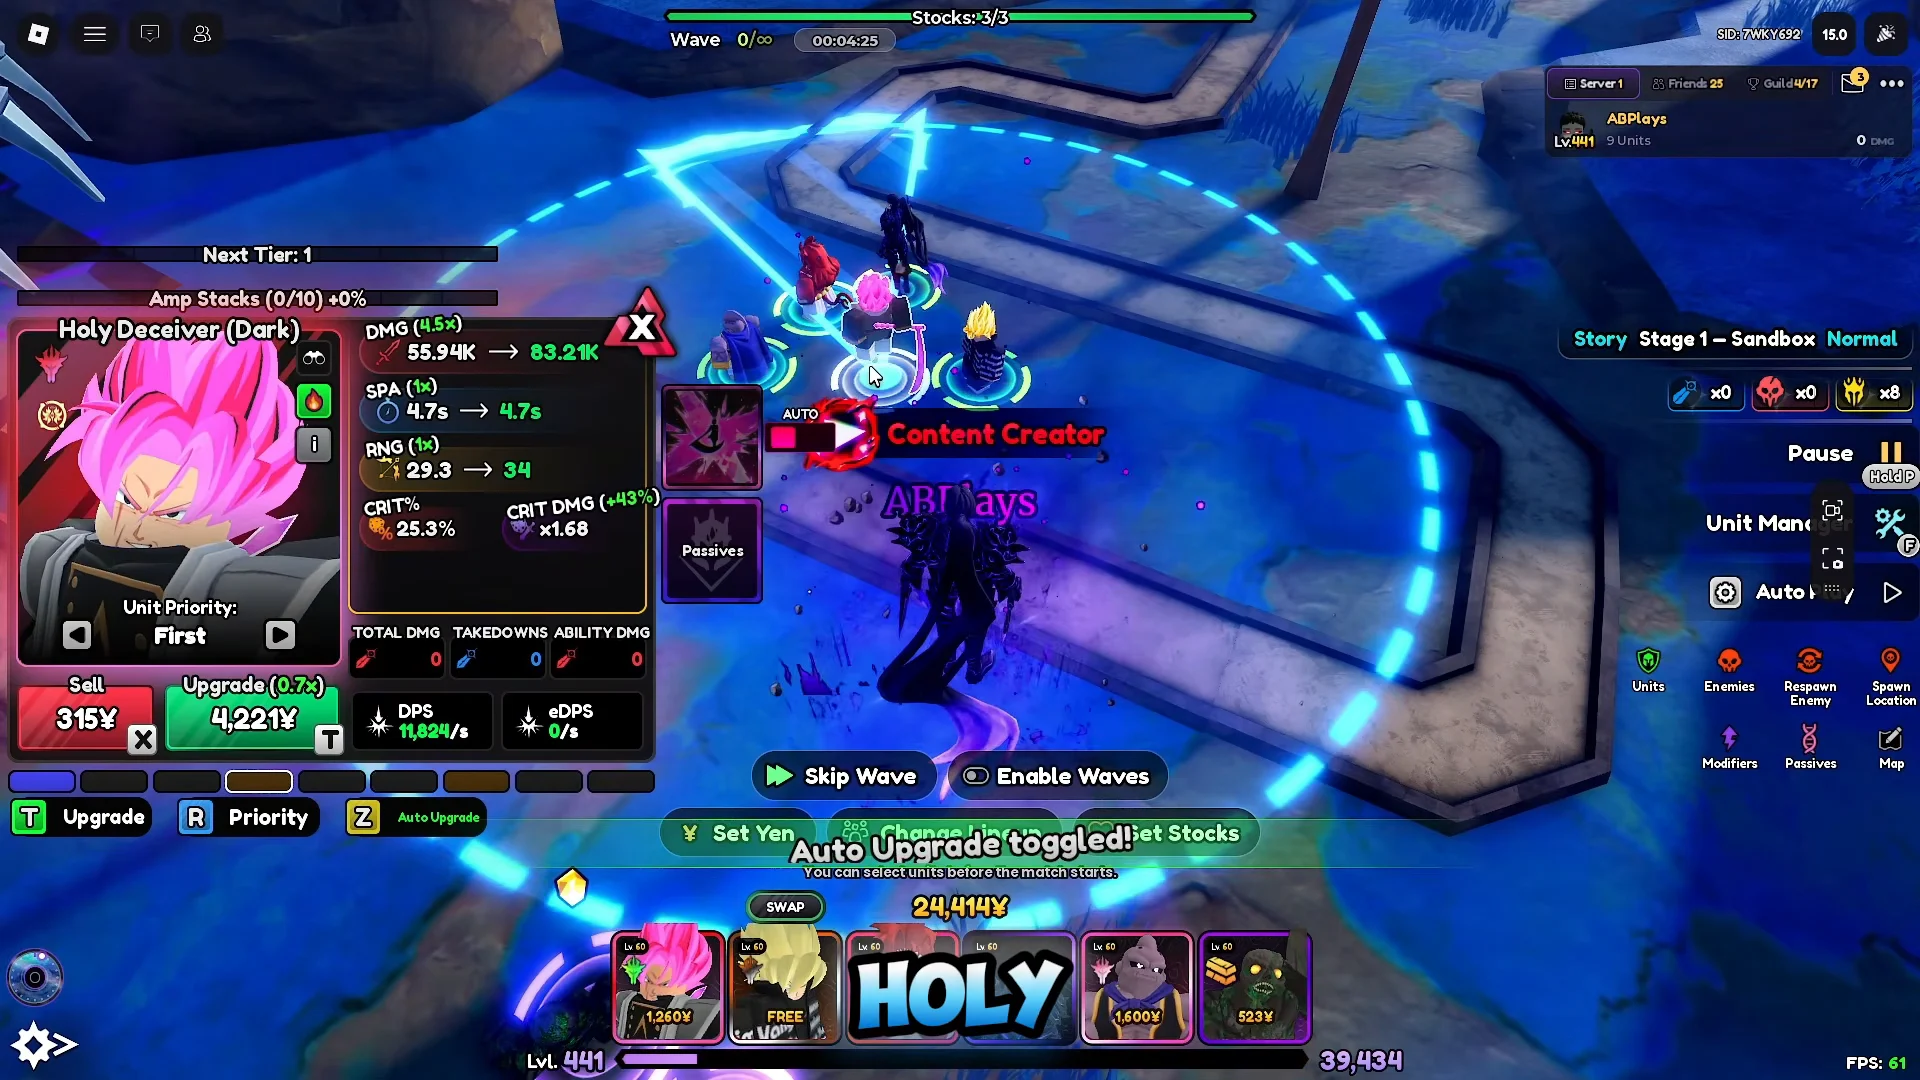
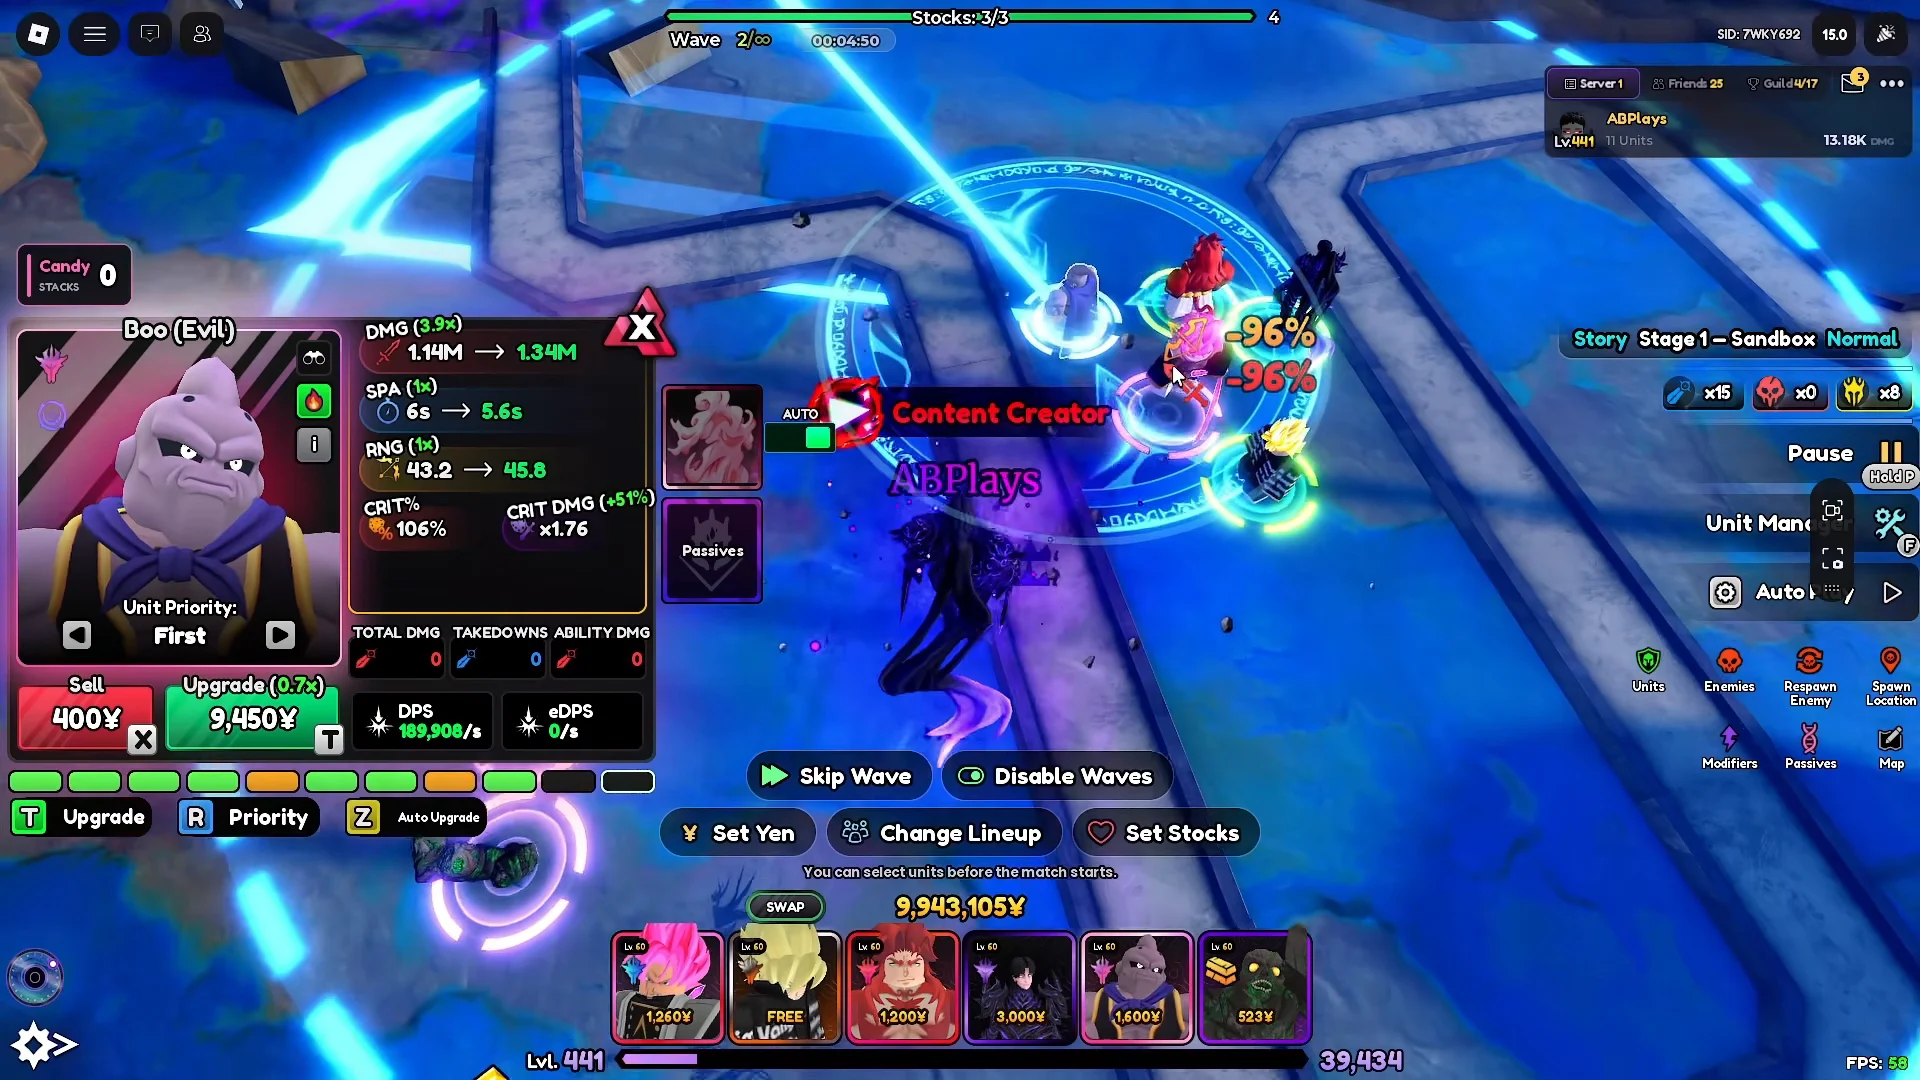
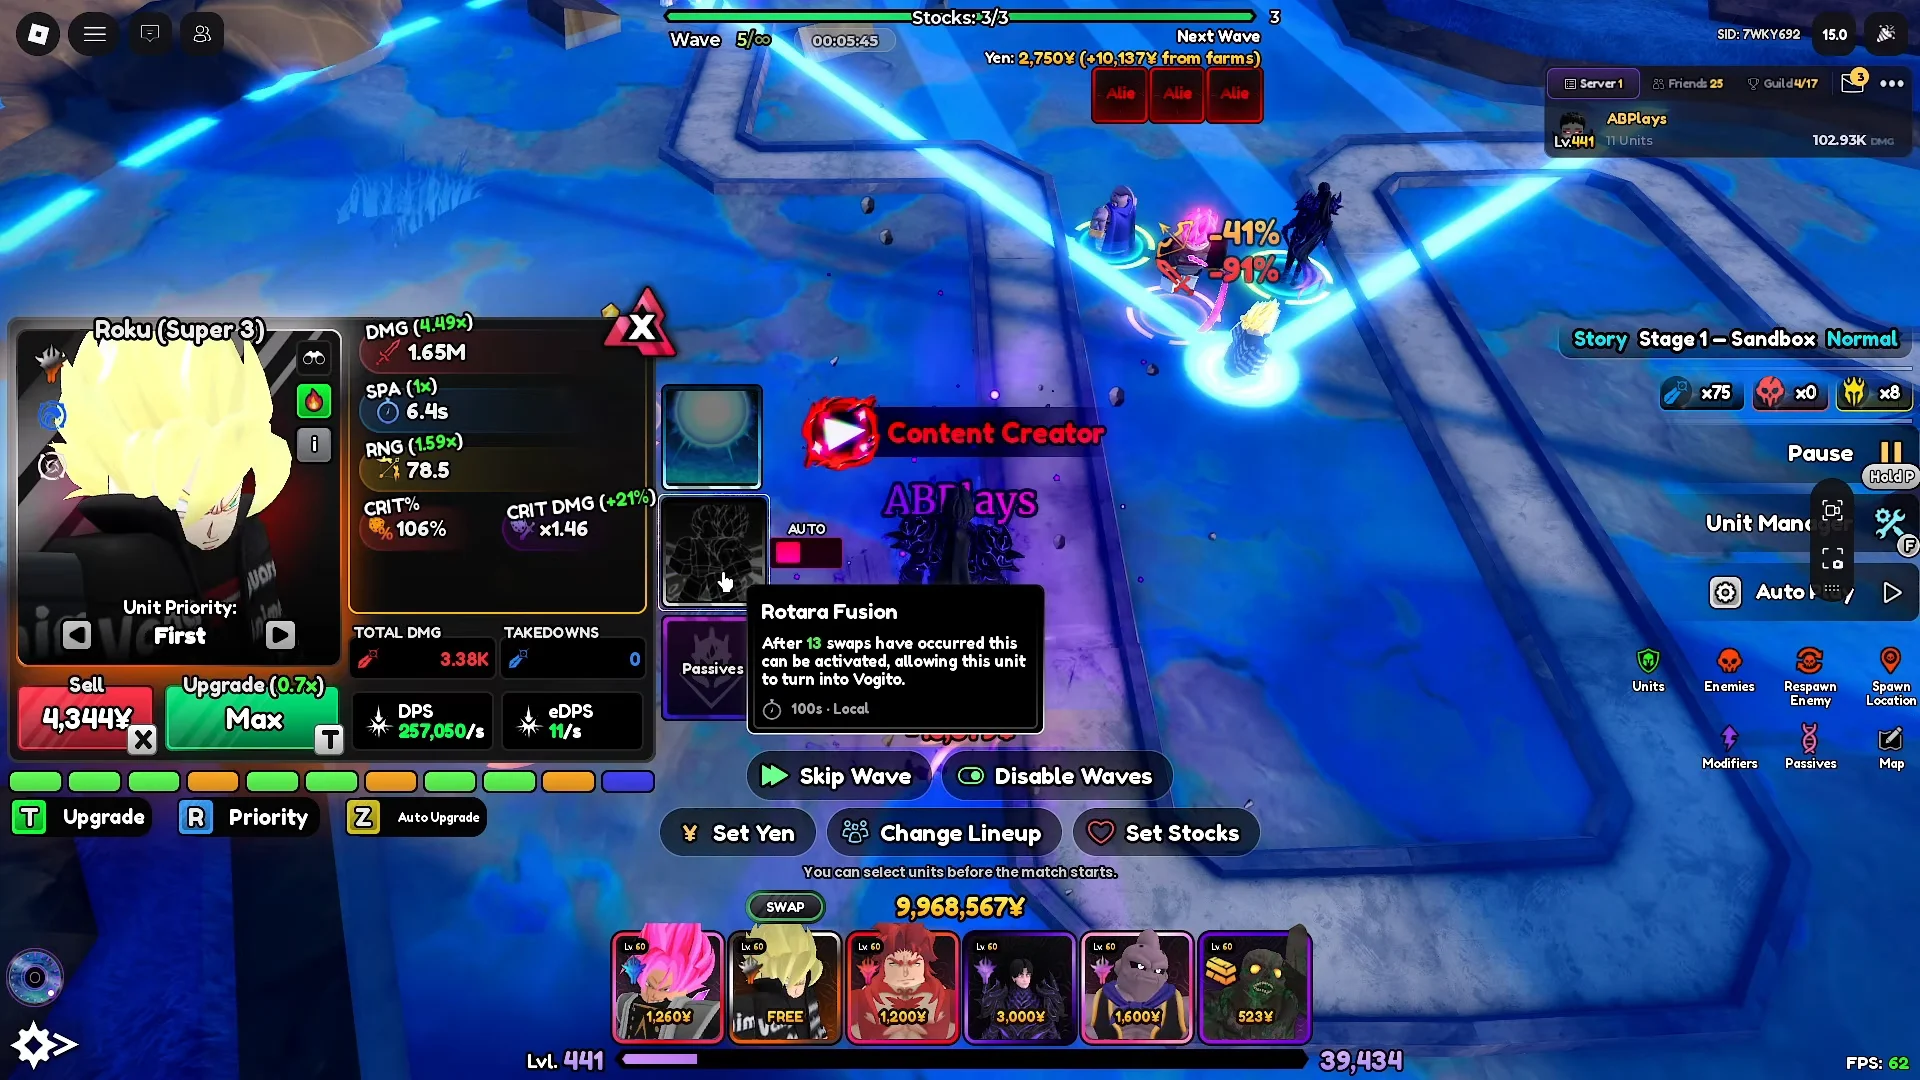
Why Holy Deceiver (Dark) carries the clear
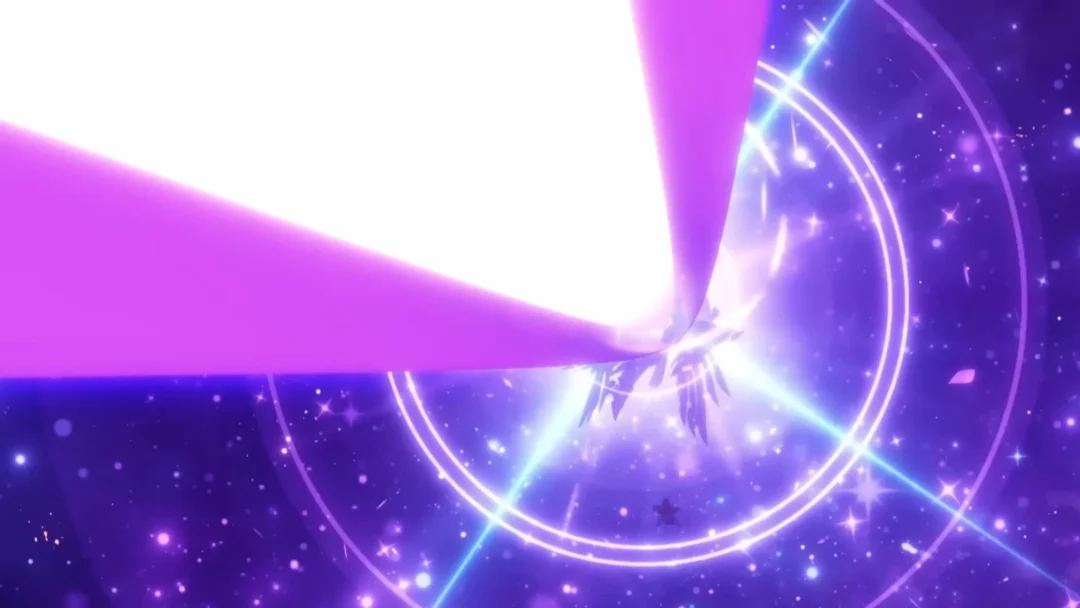
Holy Deceiver (Dark) gains amp stacks, and the amp stacks are what push him to Tier 3, where his two passives unlock. Firing Super Vegito’s Big Spirit Beam repeatedly is simply the fastest way to generate those stacks.
- Holy Retribution buffs 150% Damage and Active Ability, applies 5 Slow for 5 seconds on attacks, and every 4 seconds generates 400 Mana plus a 20% active cooldown reduction for all Dragon Sphere allies.
- Inviting Oblivion triggers an extra strike for 125% of this unit’s max damage whenever a Dragon Sphere ally uses a damaging active, and follows up allied abilities with a 1,200% damage hit on all enemies.
Because Holy Deceiver upgrades buff every other Dragon Ball unit at the same time, the whole team ramps together. That shared scaling is how the lineup keeps pace with the very high boss HP on Nightmare rather than relying on one carry.
Substitutions if you are missing units
The clear leans heavily on Gogeta, Vegito, and Goku Black, so it is hardest to replicate without them. If a slot is missing, these swaps keep the run functional.
- No Boo (Evil): replace with Whitebeard for damage, Elastic Captain for stall and slow, or a second money farm.
- Without a Dragon Ball core, you can use Fynon with Graceful, Katakuri, or a complete Berserk / Falcon category team instead.
How to confirm the clear
You have beaten the Returned Dungeon when the Victory screen appears after Wave 17 is completed, labelled Act 1 Nightmare. A successful run lands around 6 units placed, roughly 3.97B total damage, and about 1,562 takedowns over a five-minute clear. With the dungeon cleared on Nightmare, the Song Jinwu questline can continue toward its Ascendant / Transcendent evolution.