Blocking pop-up windows in apps can significantly enhance your Windows experience by reducing distractions and improving productivity. Microsoft's PC Manager offers a straightforward way to manage and block these pop-ups on Windows 11 and 10.
Use PC Manager to block pop-up windows in apps
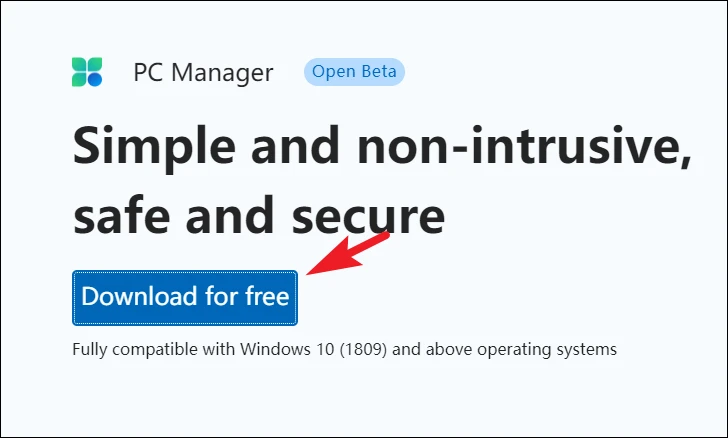
Step 1: Open PC Manager on your Windows device. If you haven't installed it yet, you can download it from the official Microsoft website. Launch your preferred browser and navigate to pcmanager.microsoft.com. Click on the 'Download for free' button and save the installer file to a convenient location on your computer.
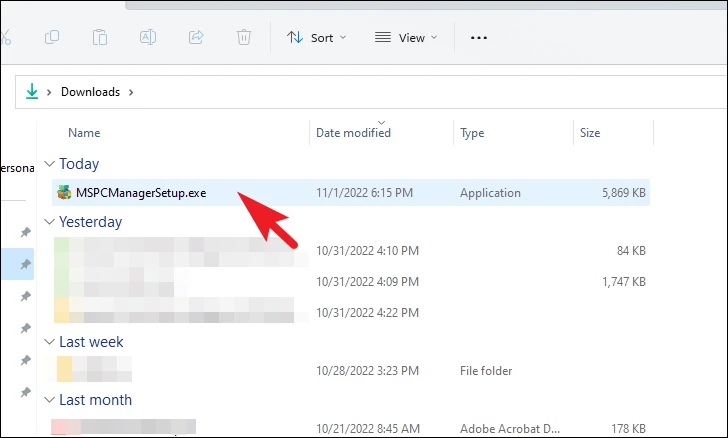
Step 2: Locate the downloaded installer file in File Explorer. Double-click the .EXE file to begin the installation process.
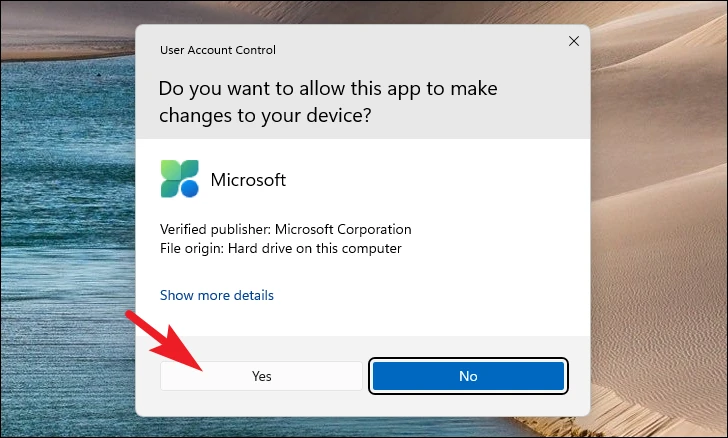
Step 3: If prompted by User Account Control (UAC), click 'Yes' to allow the installation. If you're not logged in as an administrator, you may need to enter administrative credentials.
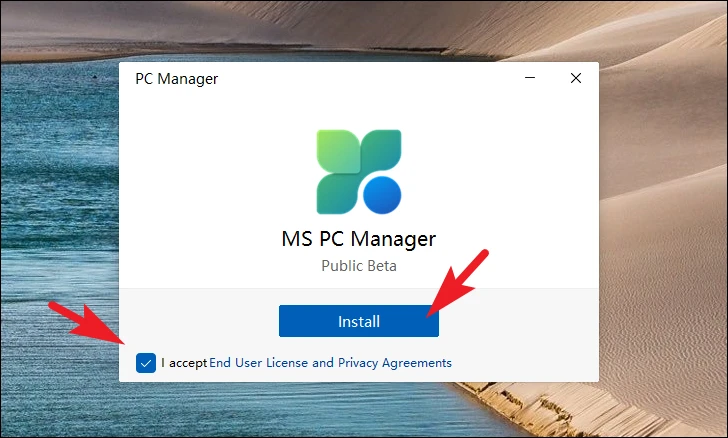
Step 4: In the PC Manager setup window, check the box to accept the End User License Agreement (EULA), then click 'Install' to proceed.
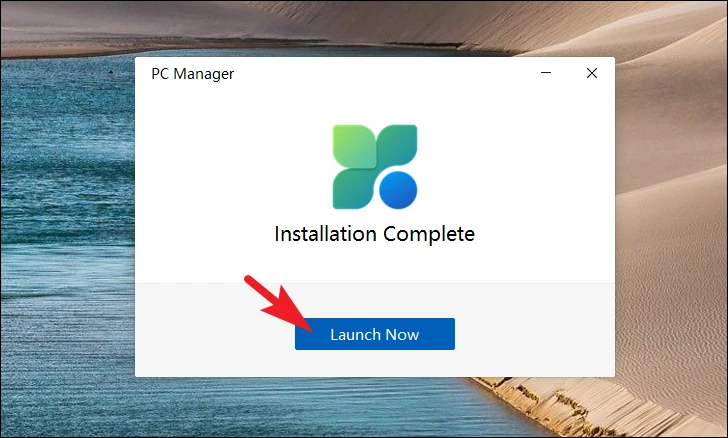
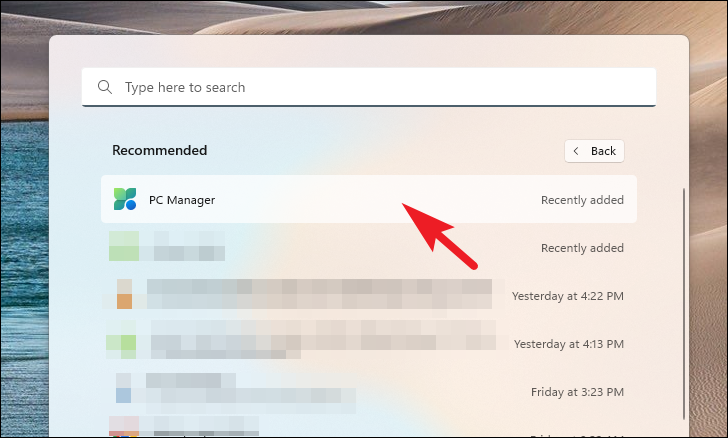
Step 5: Wait for the installation to complete. Once finished, click 'Launch Now' to open PC Manager.
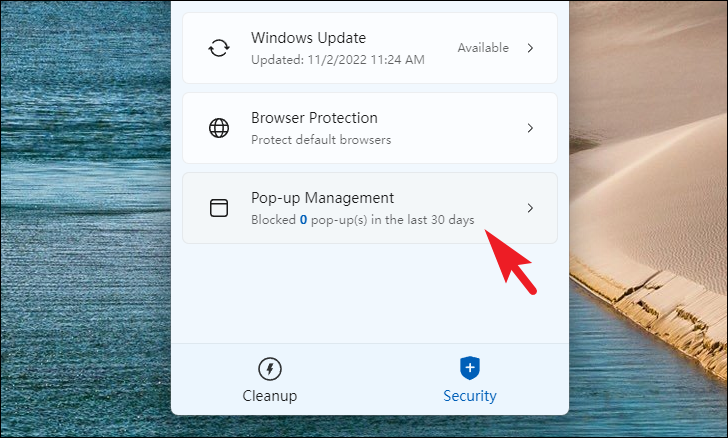
Step 6: In PC Manager, click on the 'Security' tab located at the bottom of the window.
Step 7: Click on the 'Pop-up Management' tile to access the pop-up settings.
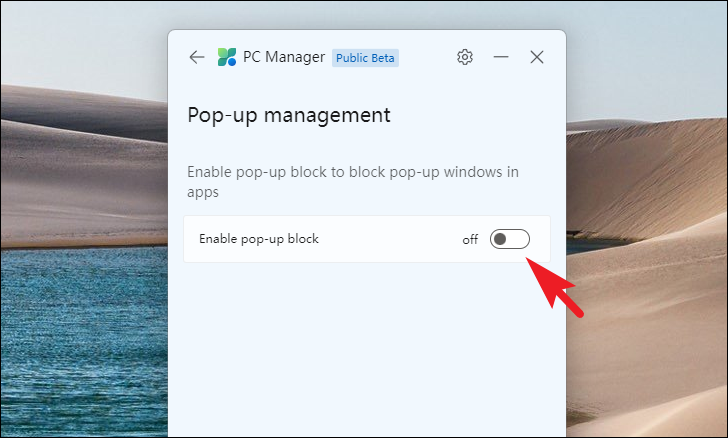
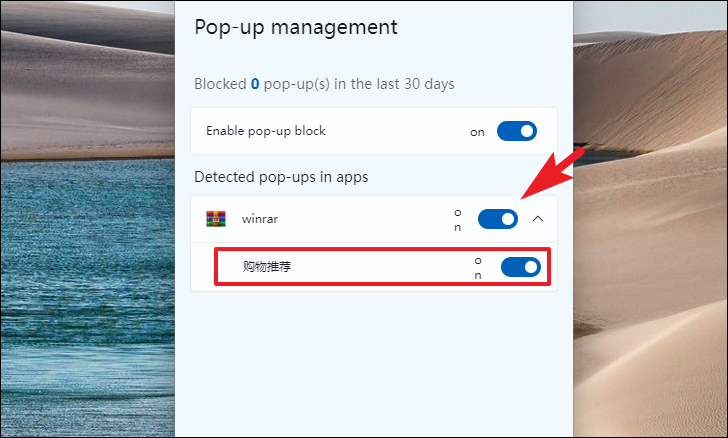
Step 8: Toggle the switch to 'On' to enable pop-up blocking. A list of apps that generate pop-up notifications will appear, with all toggles turned on by default to block pop-ups from these apps.
Step 9: If you want to allow pop-ups from specific apps, turn off the toggle next to those apps. Some apps may have sub-categories that you can manage individually.
By configuring these settings in PC Manager, you can effectively block unwanted pop-up windows in apps on your Windows device, leading to a smoother and more focused computing experience.


