How to Blur Background of Any Photo Using Photos App on Windows 11
Quickly blur the background of any photo using the new AI-powered Photos app in Windows 11.
Quickly blur the background of any photo using the new AI-powered Photos app in Windows 11.
by Raj Kumar
Microsoft has enhanced its Photos app in Windows 11 with a new Background Blur feature, allowing users to easily blur the background of any photo, much like the Portrait mode on smartphones. This tool automatically detects the background and applies a blur effect, making your subject stand out more prominently. If needed, you can manually adjust the areas to blur for a perfect finish.
How to Get the Background Blur Feature on the Photos App
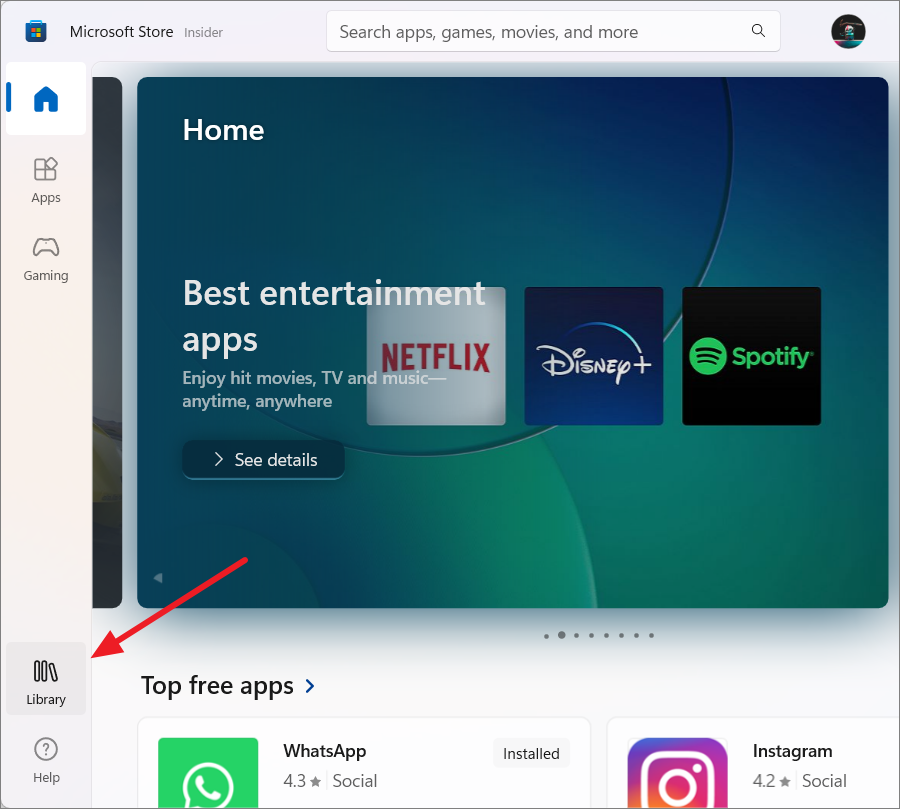
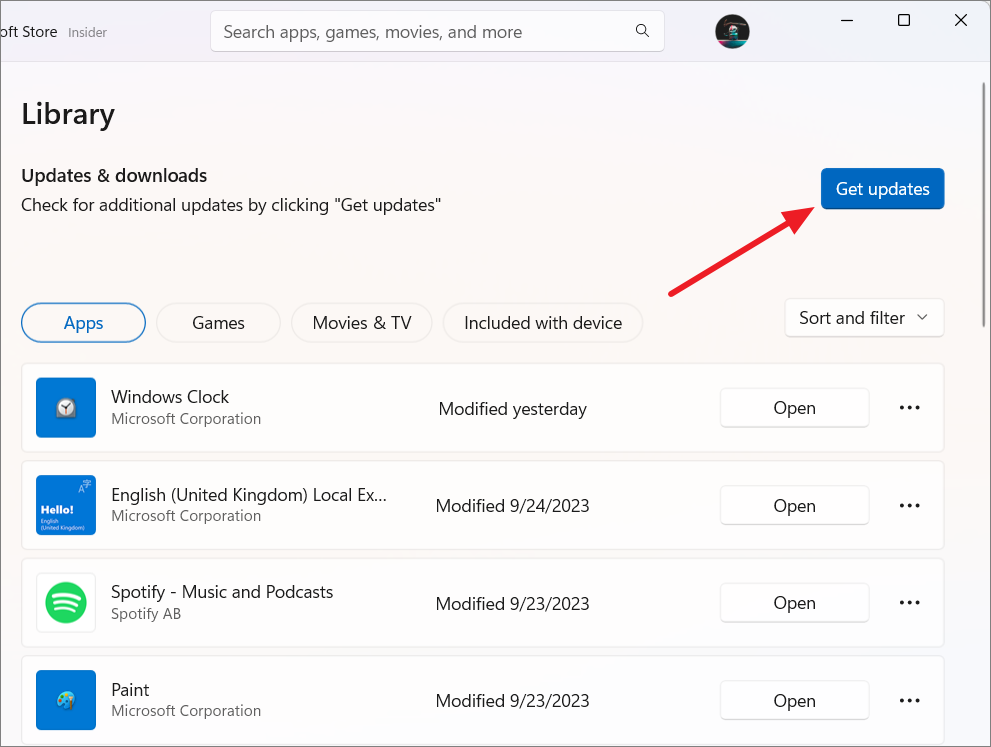
To utilize the Background Blur feature, ensure that your Photos app is updated to version 2023.11090.13001.0 or newer. This update also brings additional features like Search functionality and Motion photo support. Here’s how to update your Photos app:
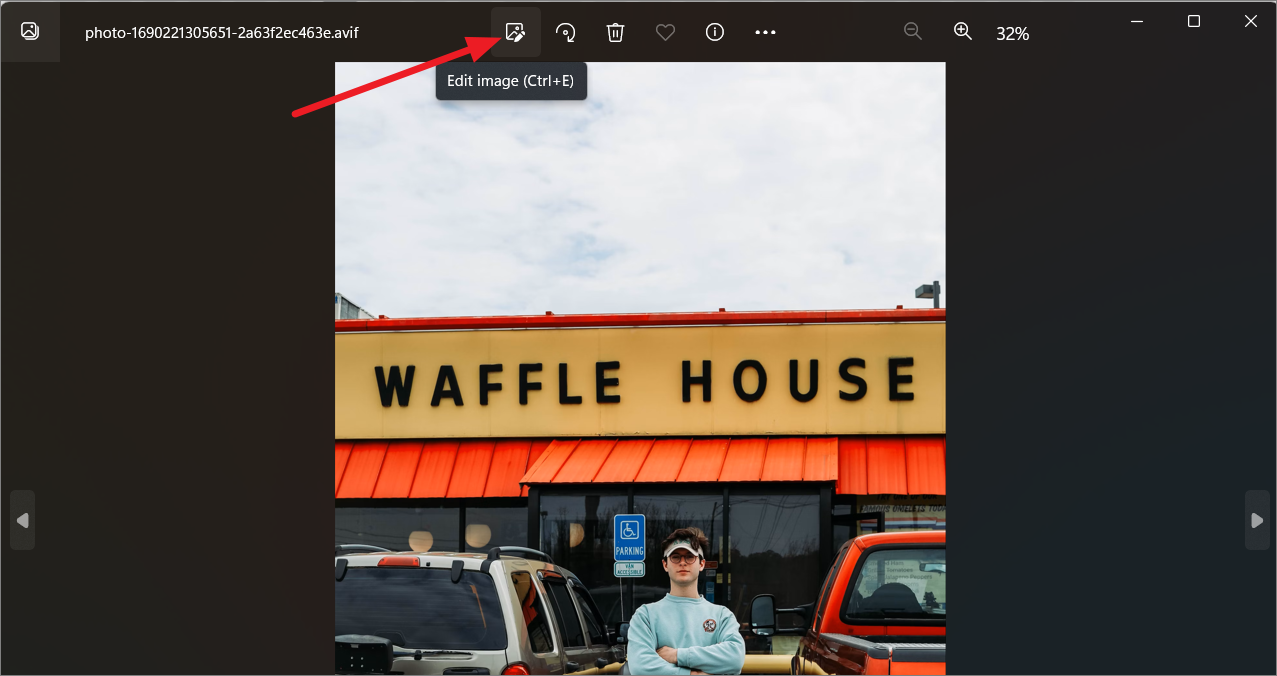
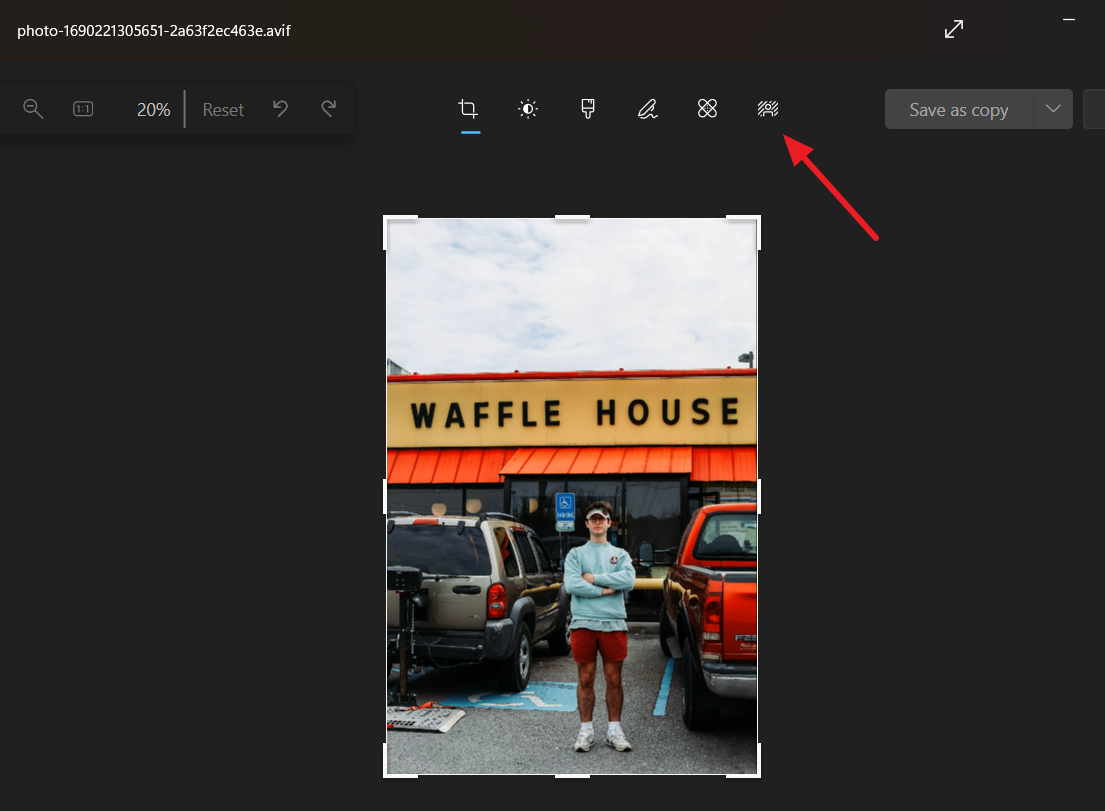
Once updated, open the Photos app. You should now see the ‘Background Blur’ tool next to the ‘Retouch’ tool in the toolbar.
How to Blur Background in Photos App on Windows 11
The Background Blur feature in the Photos app helps you enhance your images by focusing on the subject and blurring out the background. Follow these steps to apply the blur effect to your photos:
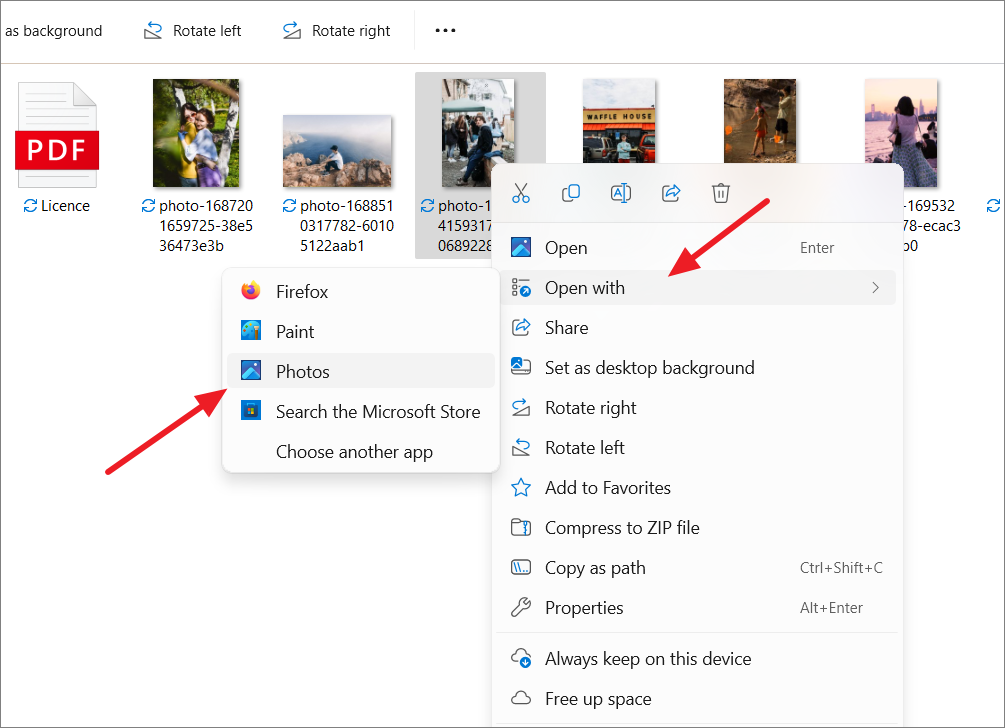
Open the image you want to edit using the Photos app. You can do this by right-clicking the image file in File Explorer, selecting ‘Open with’, and choosing ‘Photos’. Alternatively, launch the Photos app and open the image from within the app.
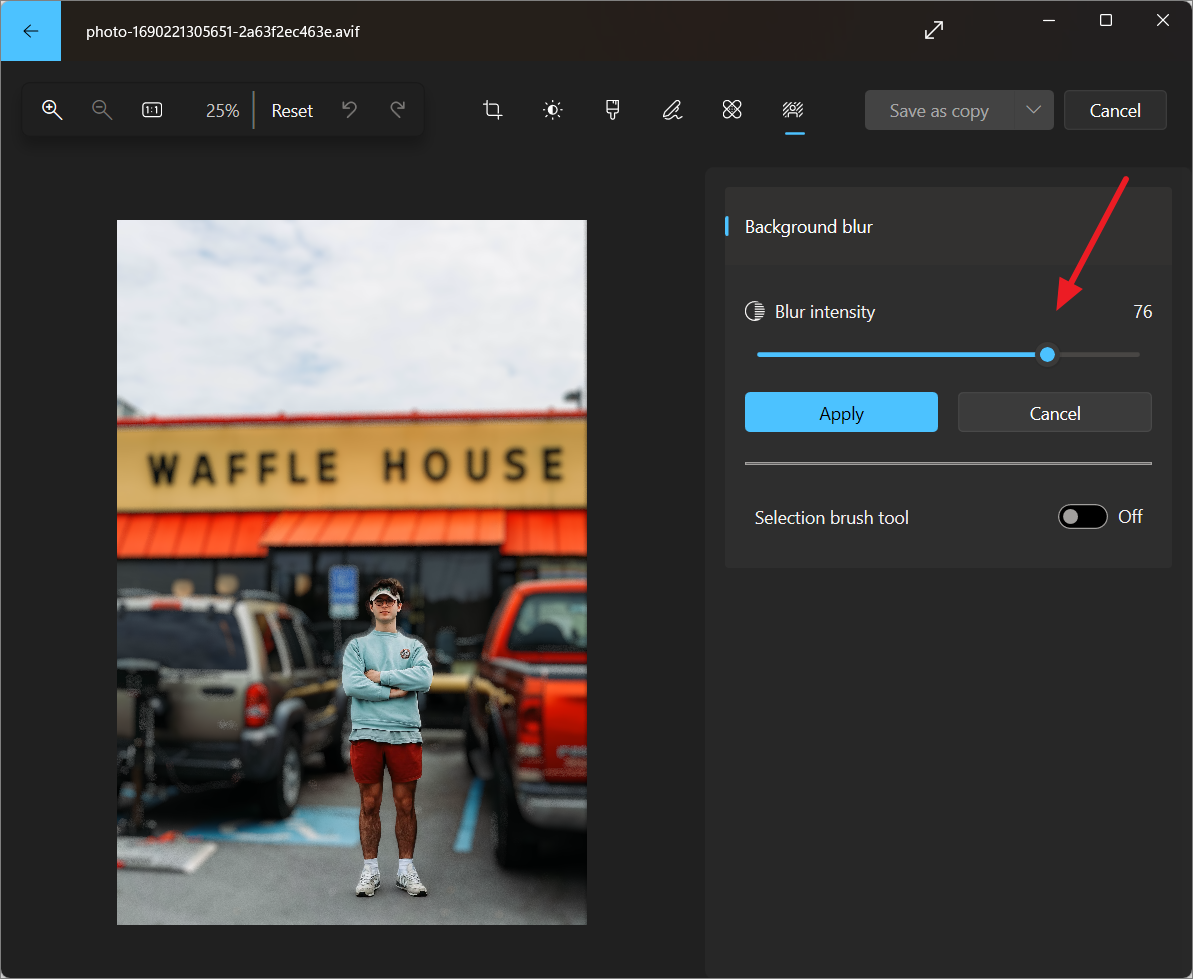
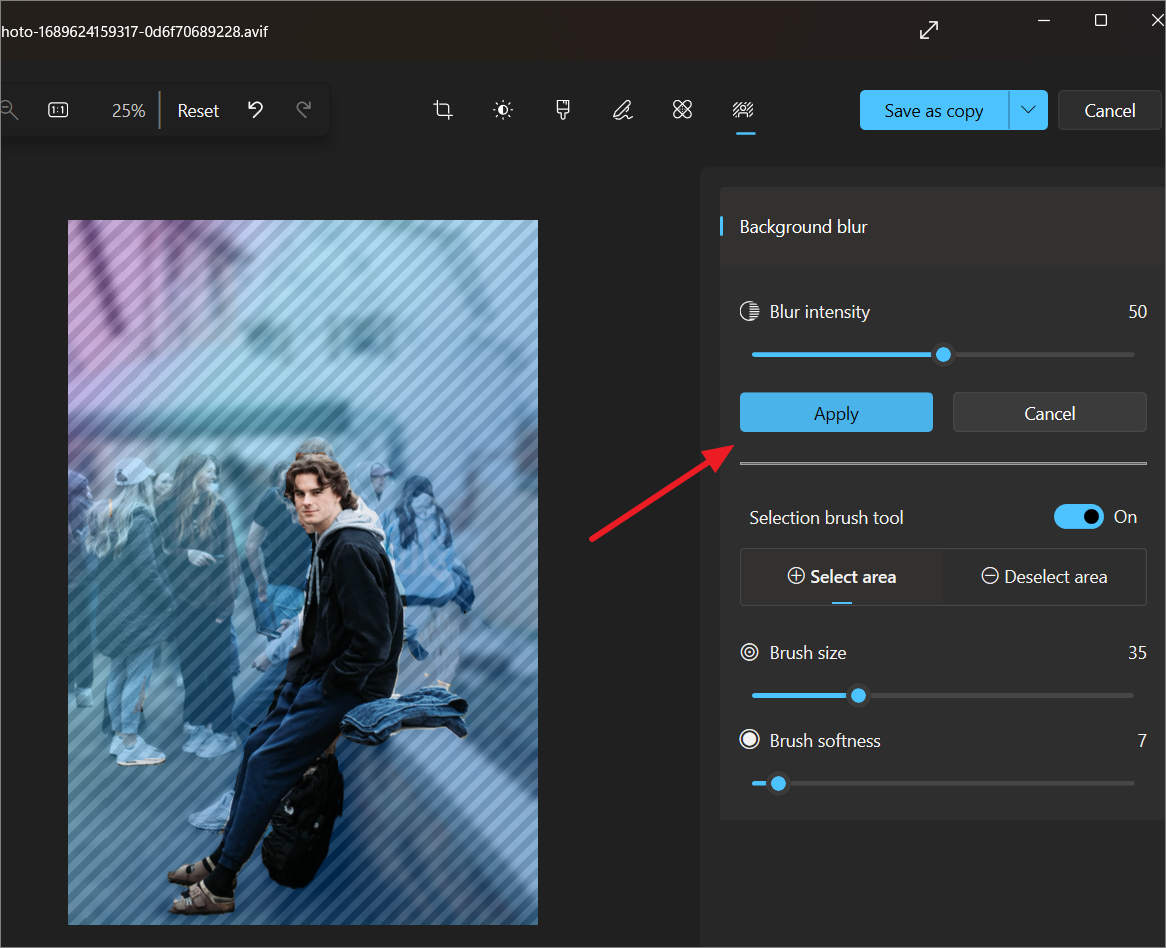
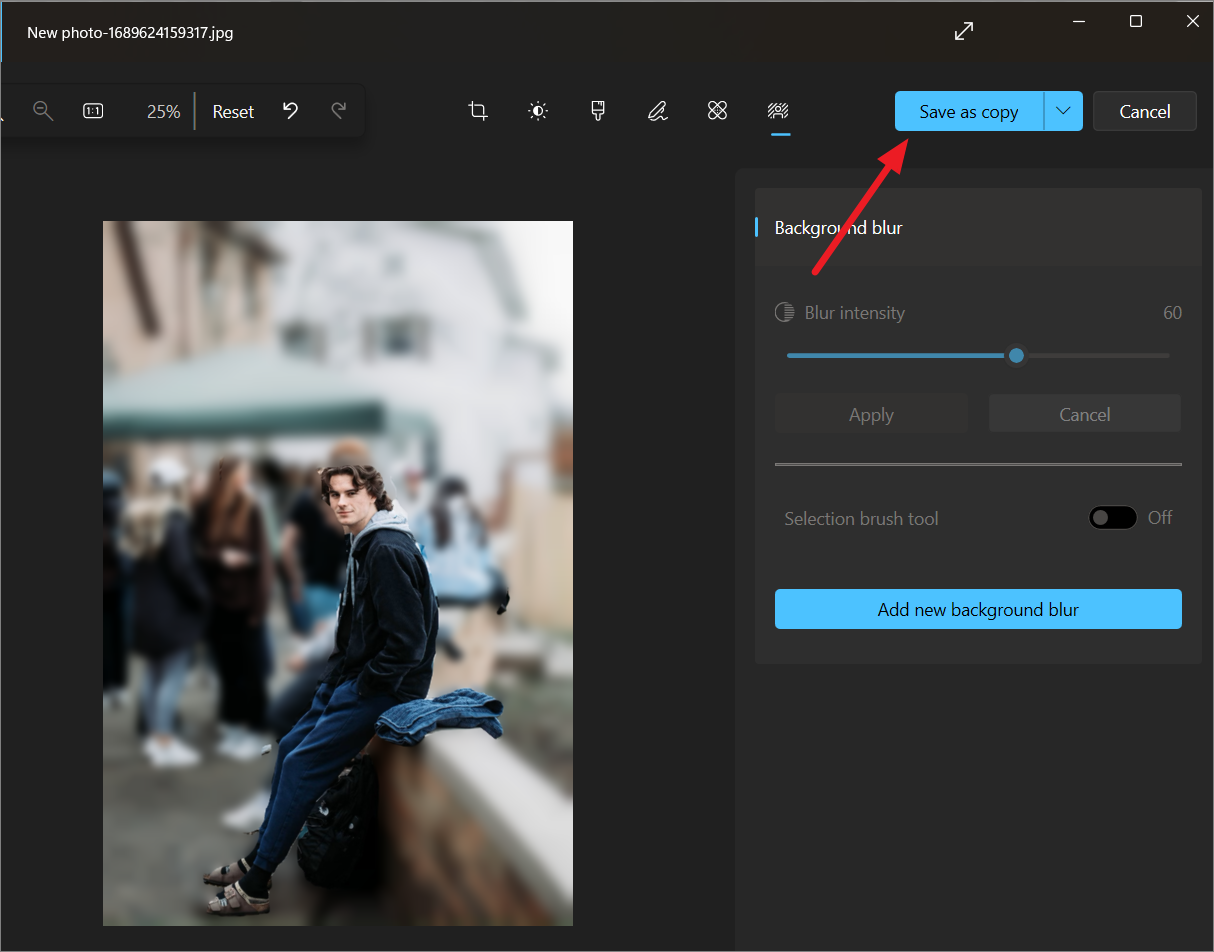
Adjust the ‘Blur intensity’ by moving the slider on the right side of the screen to achieve the desired level of blur. The default setting is 50%.
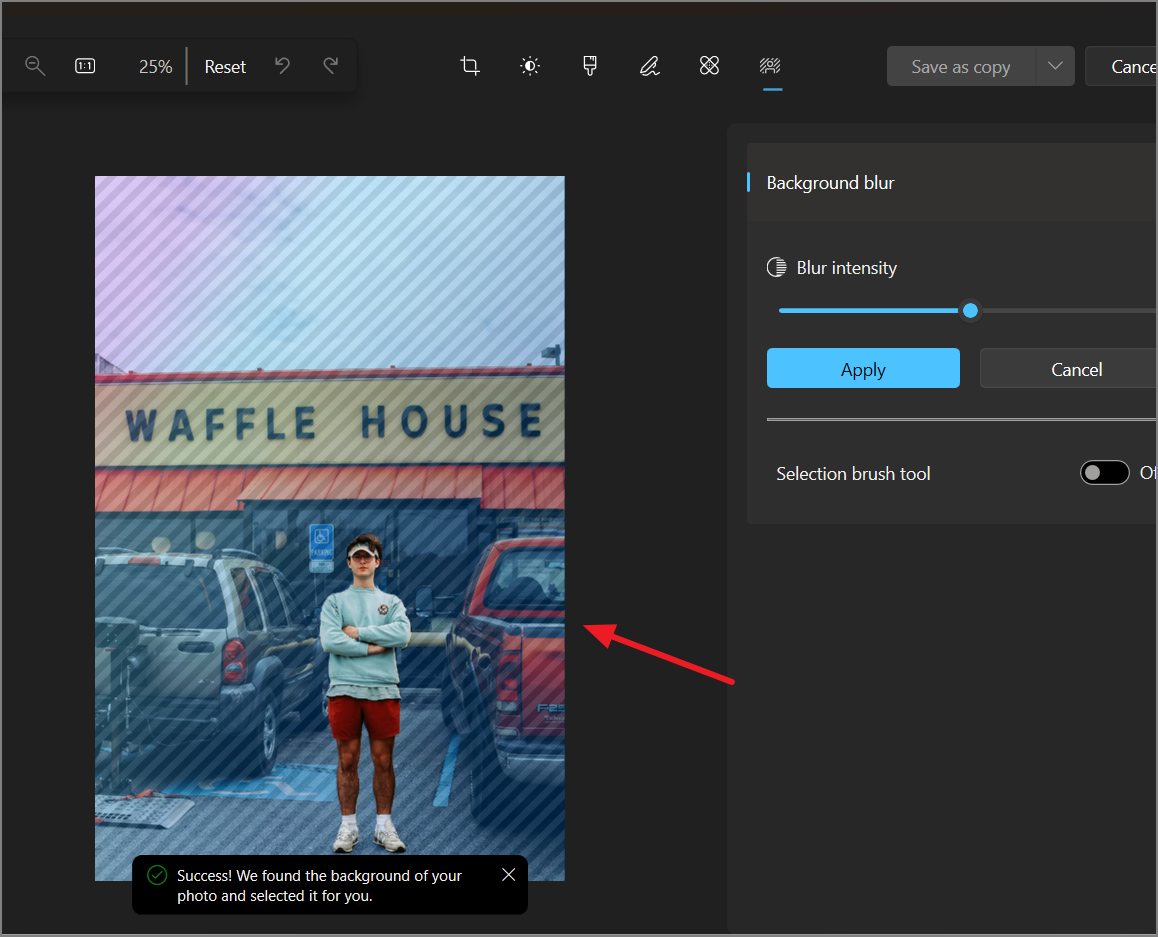
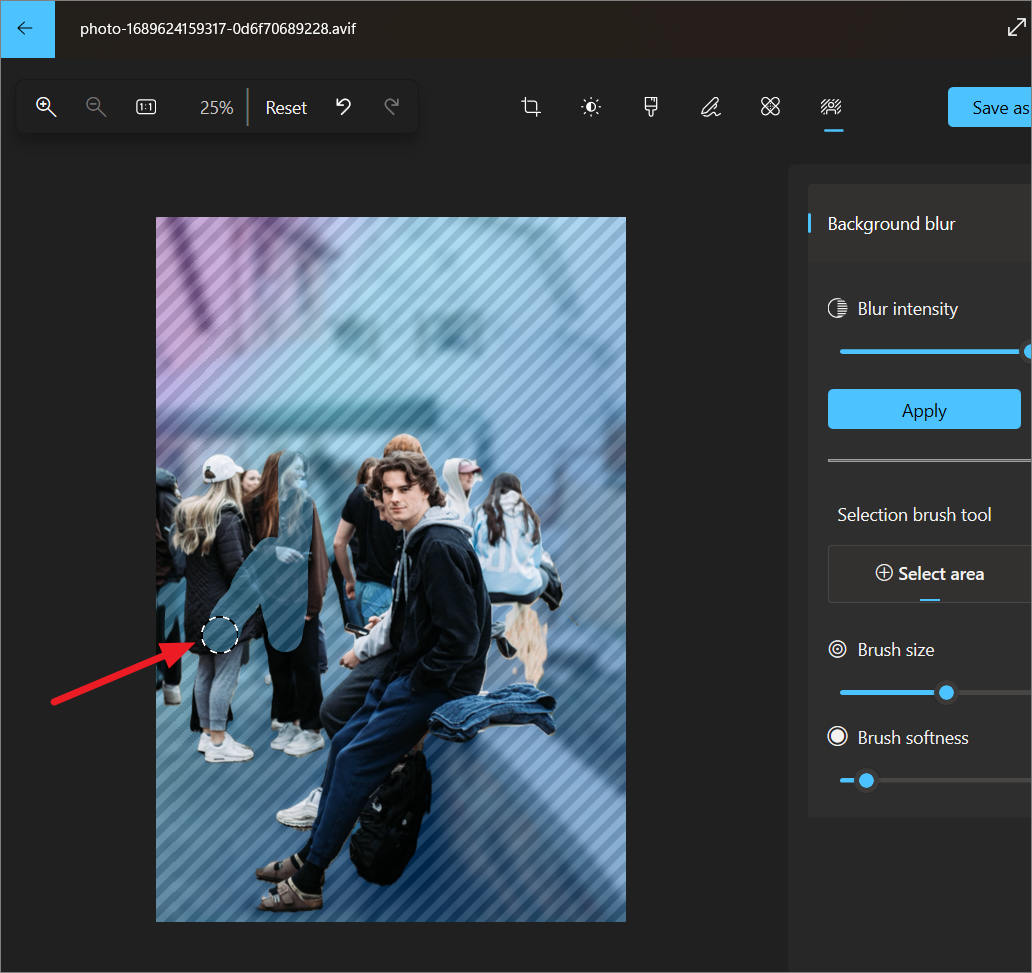
Manually Adjusting the Blur Effect: If the automatic selection doesn’t perfectly isolate the background or misses certain areas, you can manually refine the blur effect.
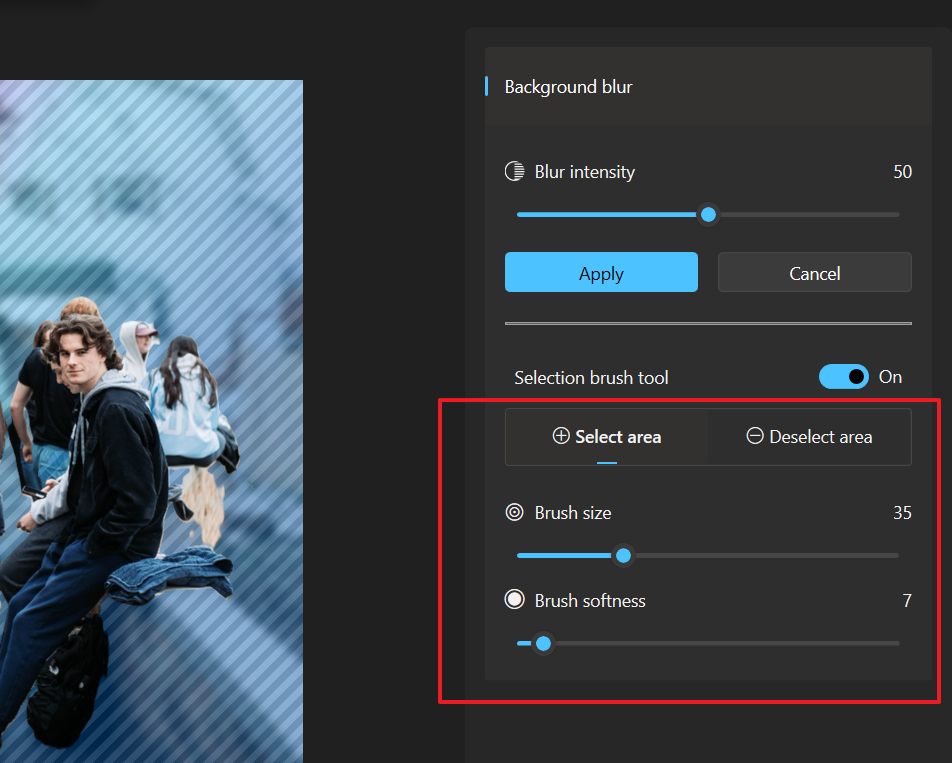
Enable the ‘Selection brush tool’ by toggling it on from the right-hand panel. This allows you to manually select or deselect areas for the blur effect.
Use the ‘Select area’ option to highlight additional background areas you want to blur, or use ‘Deselect area’ to remove any over-blurred sections from the subject.
Adjust the ‘Brush size’ and ‘Brush softness’ sliders to control the precision of your selections. A larger brush covers more area, while a softer brush creates smoother transitions.
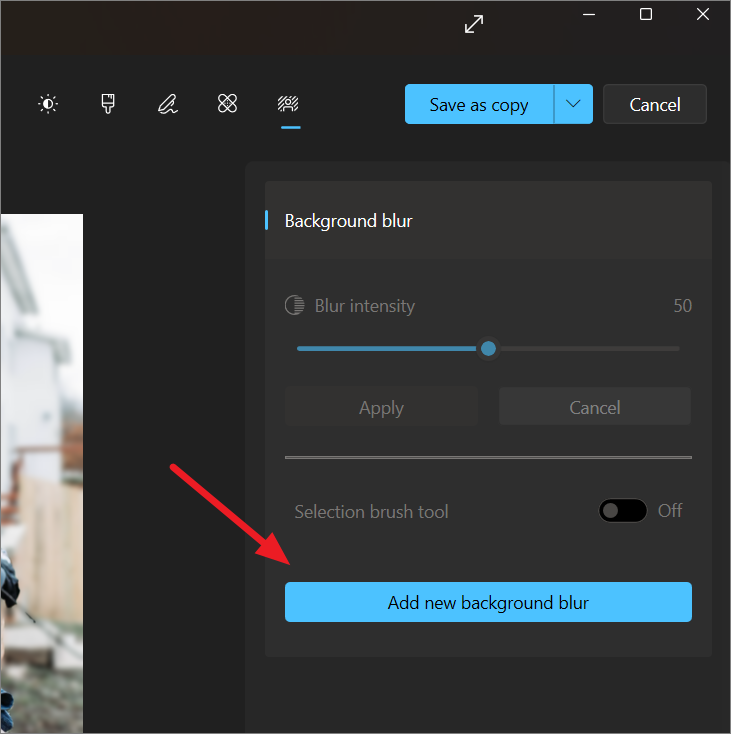
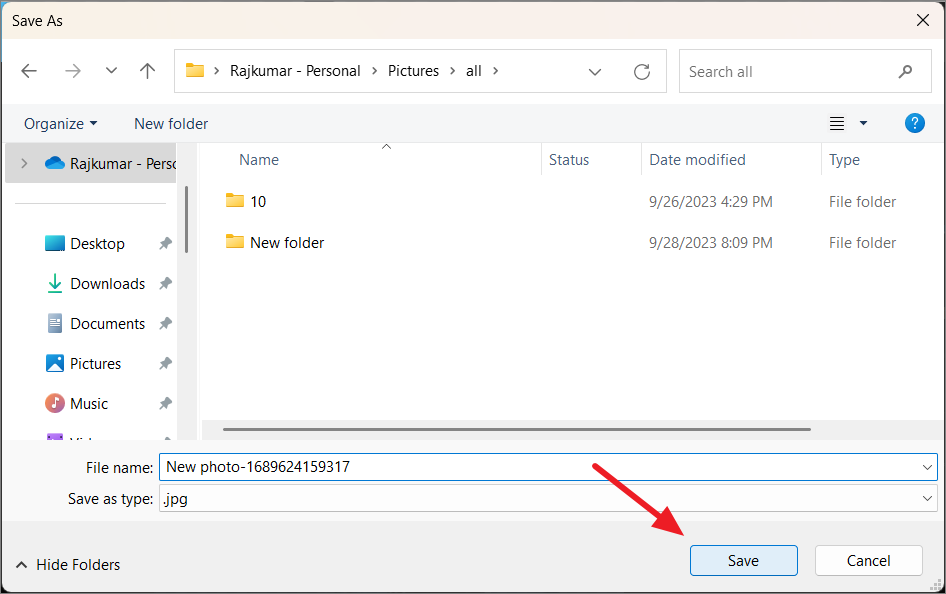
Choose the destination folder, enter a new file name for the edited image, and click ‘Save’.
Your photo now has a beautifully blurred background, emphasizing the main subject, similar to the portrait mode effect found on many smartphones.
Additionally, Microsoft is introducing a background removal feature in the Paint app. Unlike the blur effect in Photos, this new feature completely removes the background, leaving a transparent or solid color backdrop. Both tools offer different ways to edit your images depending on your needs—whether you want to soften the background or remove it entirely.