
Most of us know about changing the DNS settings on a Windows PC from network adapter properties, but Windows 10 has a much simpler and user friendly way of changing DNS address from the device settings itself.
To get started, open Start menu on your Windows 10 PC and click on the Settings gear icon on the left side.
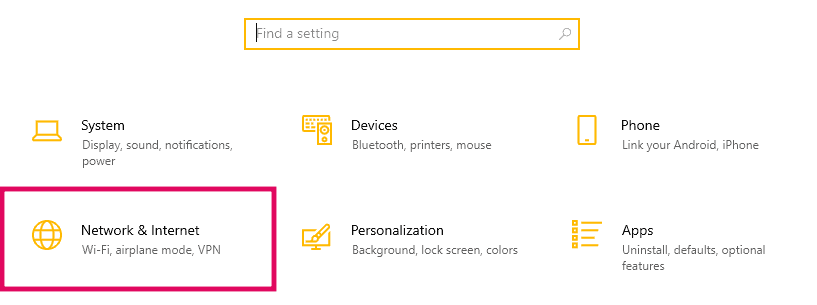
Then select Network & Internet from the Windows 10 settings main screen.
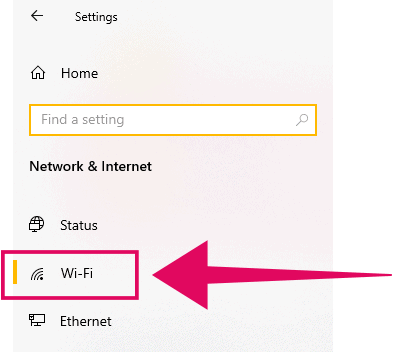
On the next screen, select Wi-Fi from the left panel of the Network & Internet settings screen.
💡 Tip
If you’re connected to a wired LAN network instead of a Wi-Fi network, then select Ethernet from the left panel and then select the network name of the currently connected network.
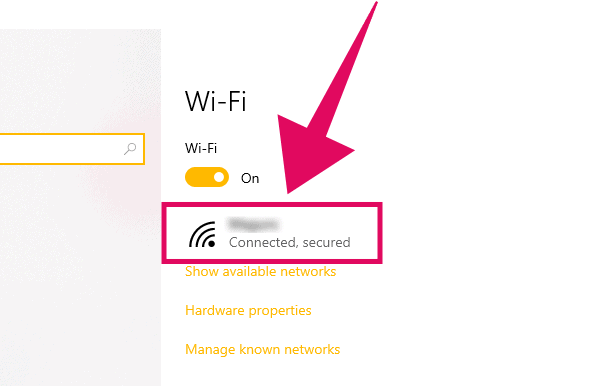
On the Windows 10 Wi-Fi settings screen, click the name of the currently connected Wi-Fi network. It’ll be shown right below the Wi-Fi toggle switch.
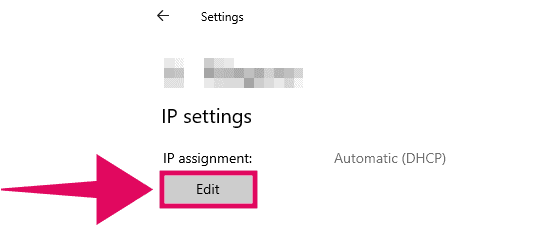
On the selected Wi-Fi network settings screen, scroll down until you see the IP settings section. Click on the Edit button to change DNS server for the selected network.
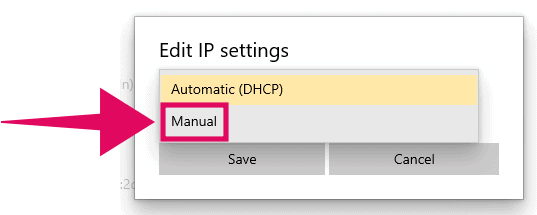
You will see a pop-up window with a drop-down option selector. Select Manual from the available options.
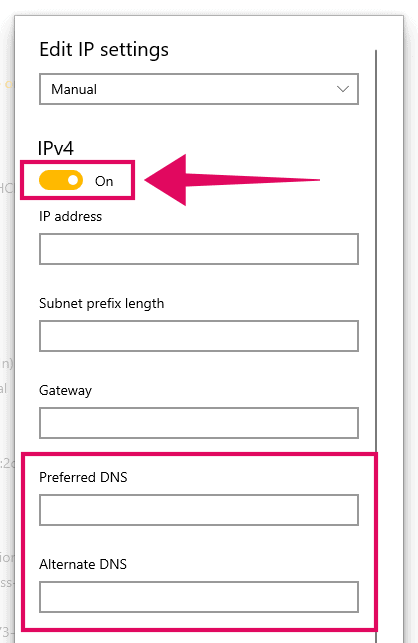
Then turn on the toggle switch for IPv4 to reveal IP and DNS address setting for the network.
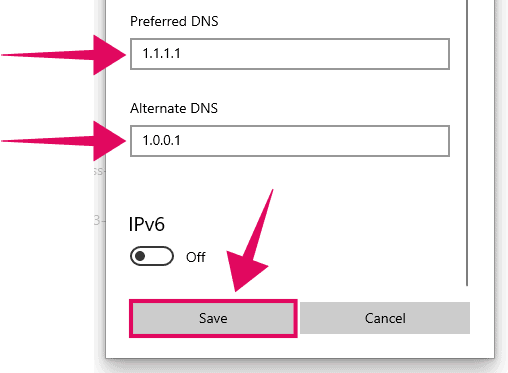
Now finally set/change the DNS server address to your liking. You could either use Google’s 8.8.8.8 DNS server or Cloudflare’s 1.1.1.1. Both are very reliable.
Google DNS server:
Preferred DNS: 8.8.8.8
Alternate DNS: 8.8.4.4
Cloudflare DNS server:
Preferred DNS: 1.1.1.1
Alternate DNS: 1.0.0.1
Click on the Save button on the pop-up window after you set a custom DNS server of your preference.
That’s it. You’ve now successfully configured a custom DNS server on your Windows 10 PC.


