4 methods to let you manage your fan speed in Windows 11.
4 methods to let you manage your fan speed in Windows 11.
by Pallav Pathak
Adjusting your computer’s fan speed is essential for optimizing performance and managing system temperatures. Whether you want to enhance cooling during intensive tasks or reduce noise during lighter use, changing the fan speed can help achieve the desired balance. This guide will walk you through several methods to adjust the fan speed on your Windows 11 PC.
Using First-Party Software
Many manufacturers provide proprietary software that allows users to customize hardware settings, including fan speed control. Utilizing this software ensures compatibility and reduces the risk of issues that might arise with third-party applications.
Identify your PC’s manufacturer and model. Look for a label on the bottom or back of your computer. If you have a custom-built system, refer to the documentation or supplier for the motherboard’s make and model.
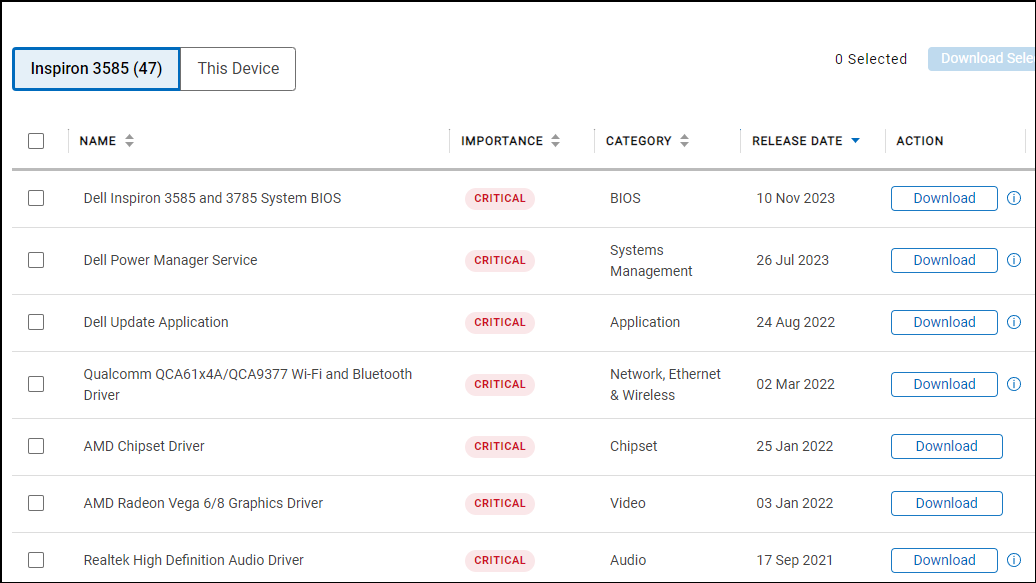
Visit the manufacturer’s official website and navigate to the support or downloads section. Search for your specific PC model to find available utilities and software.
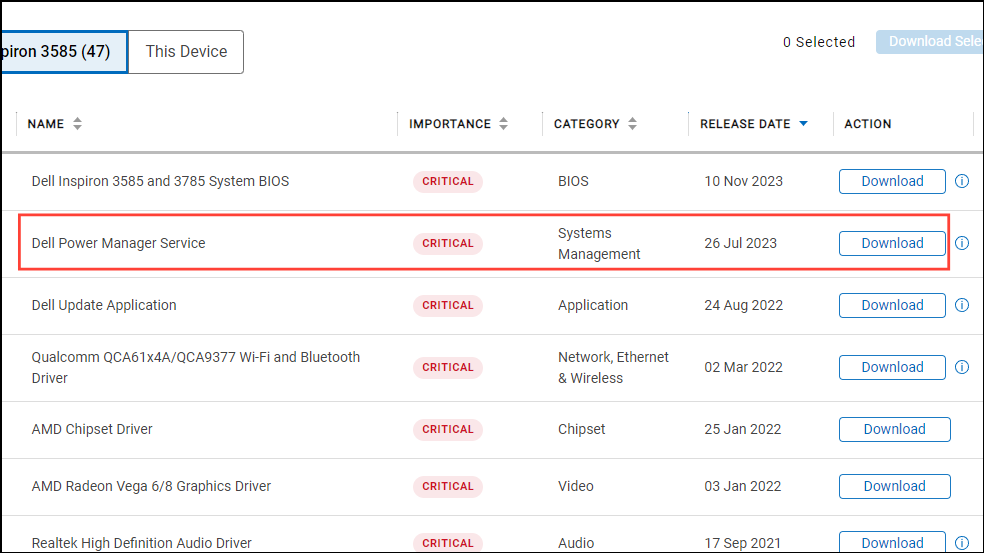
Look for software related to power or thermal management. Manufacturers often bundle fan control options within these applications. For instance, Dell includes thermal management in the Dell Power Manager Service. Download the appropriate software for your system.
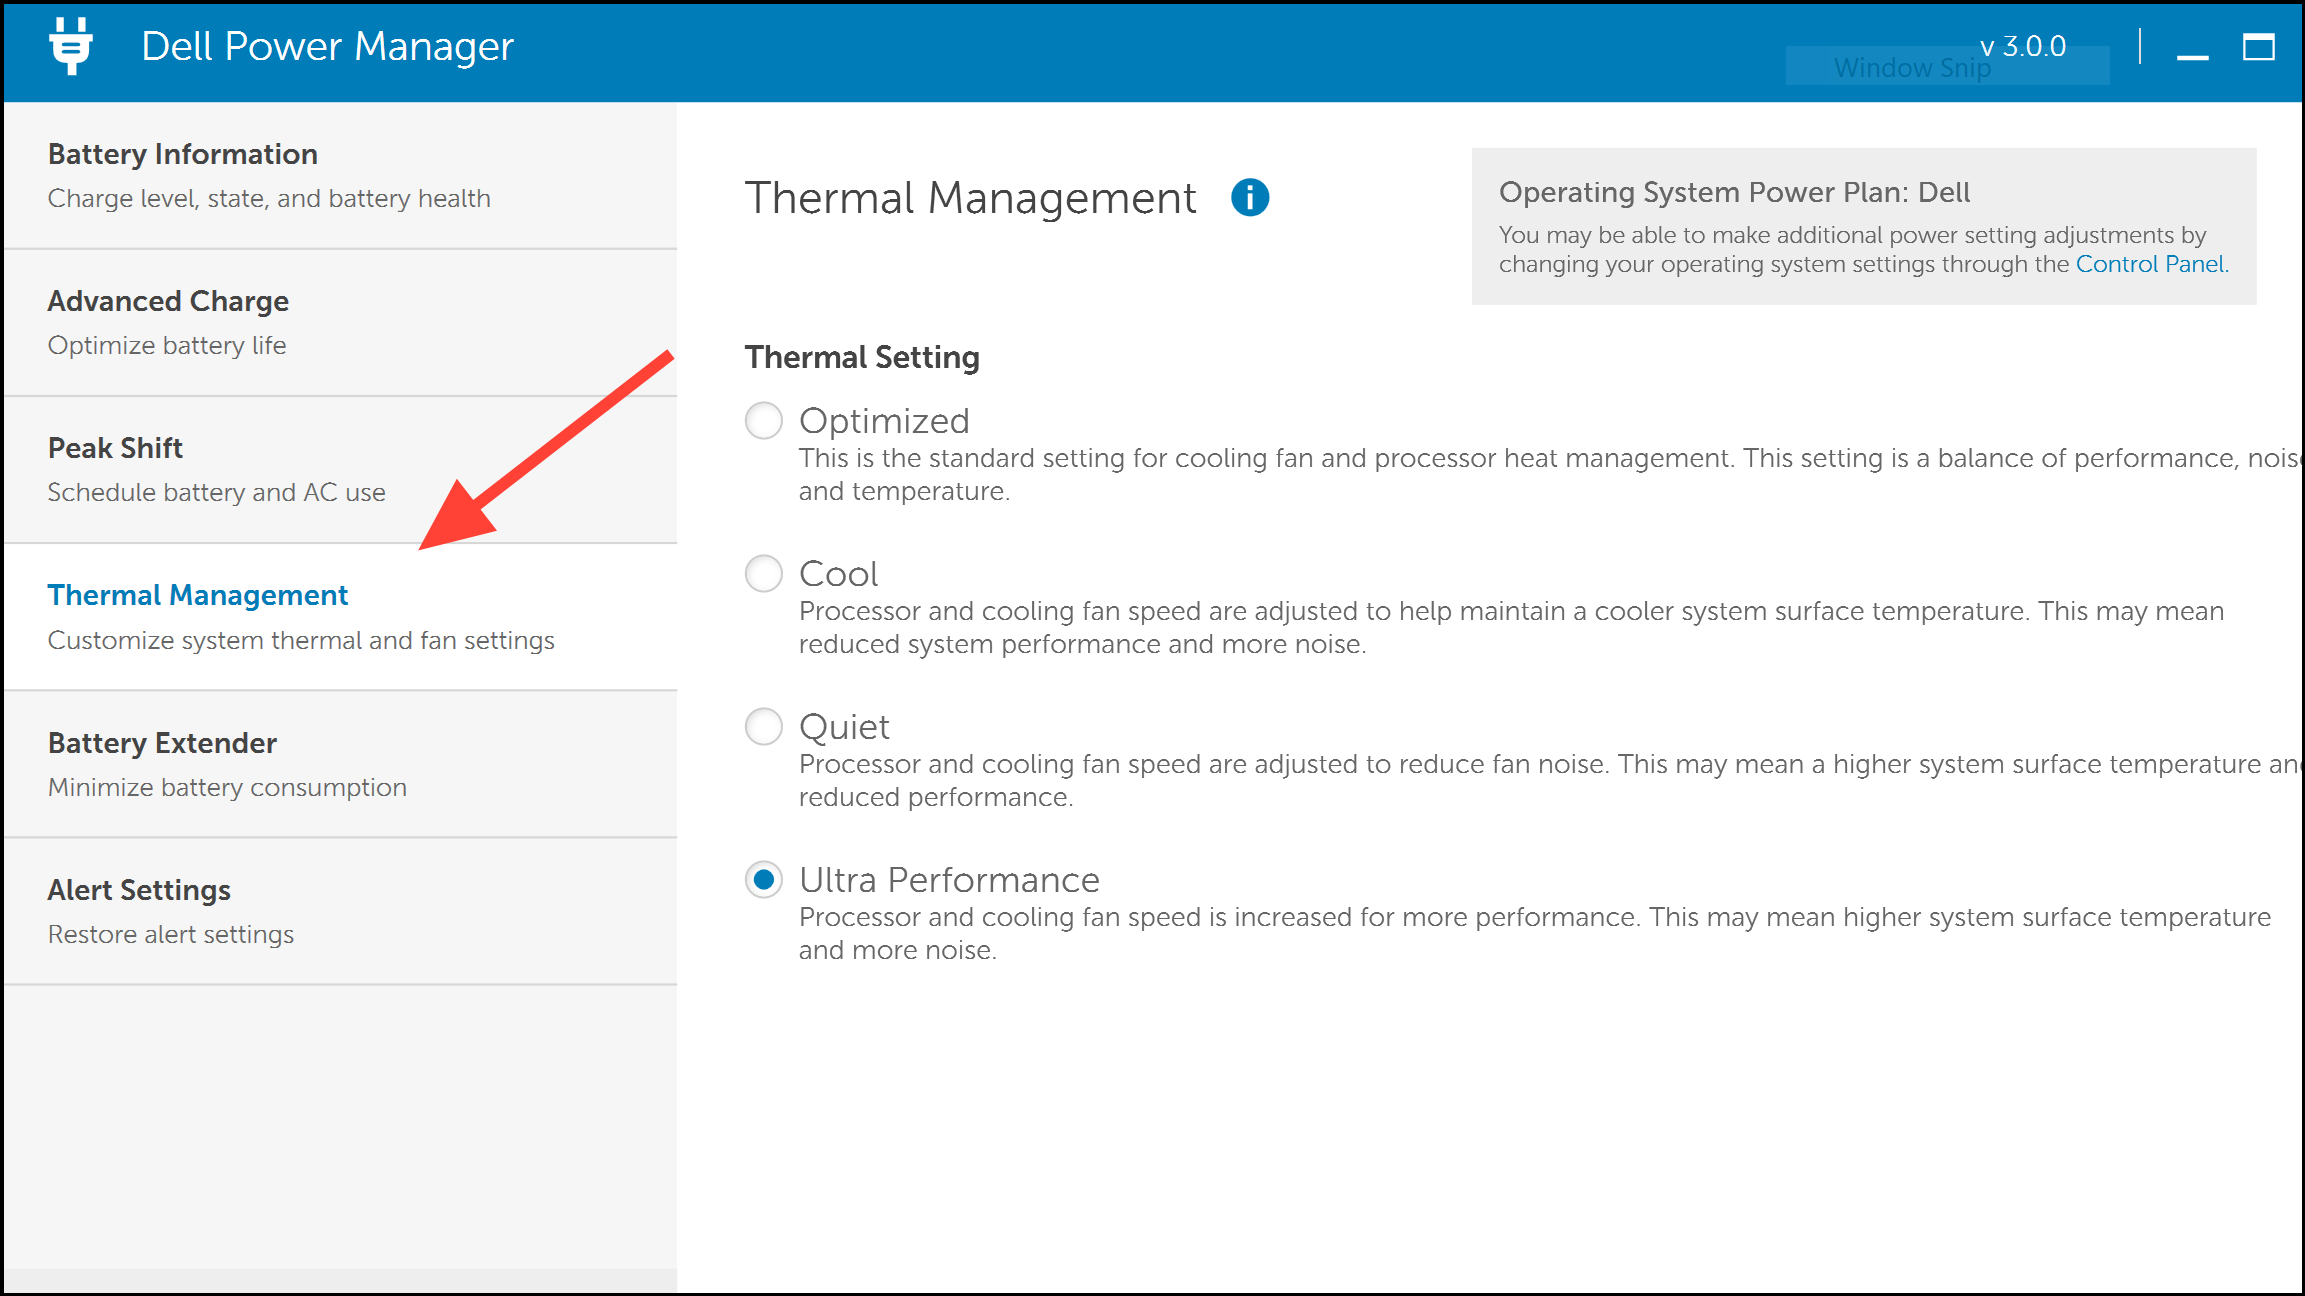
Install the downloaded software and launch it. Navigate to the fan control settings, which might be under sections like ‘Fan,’ ‘Thermal Management,’ or similar.
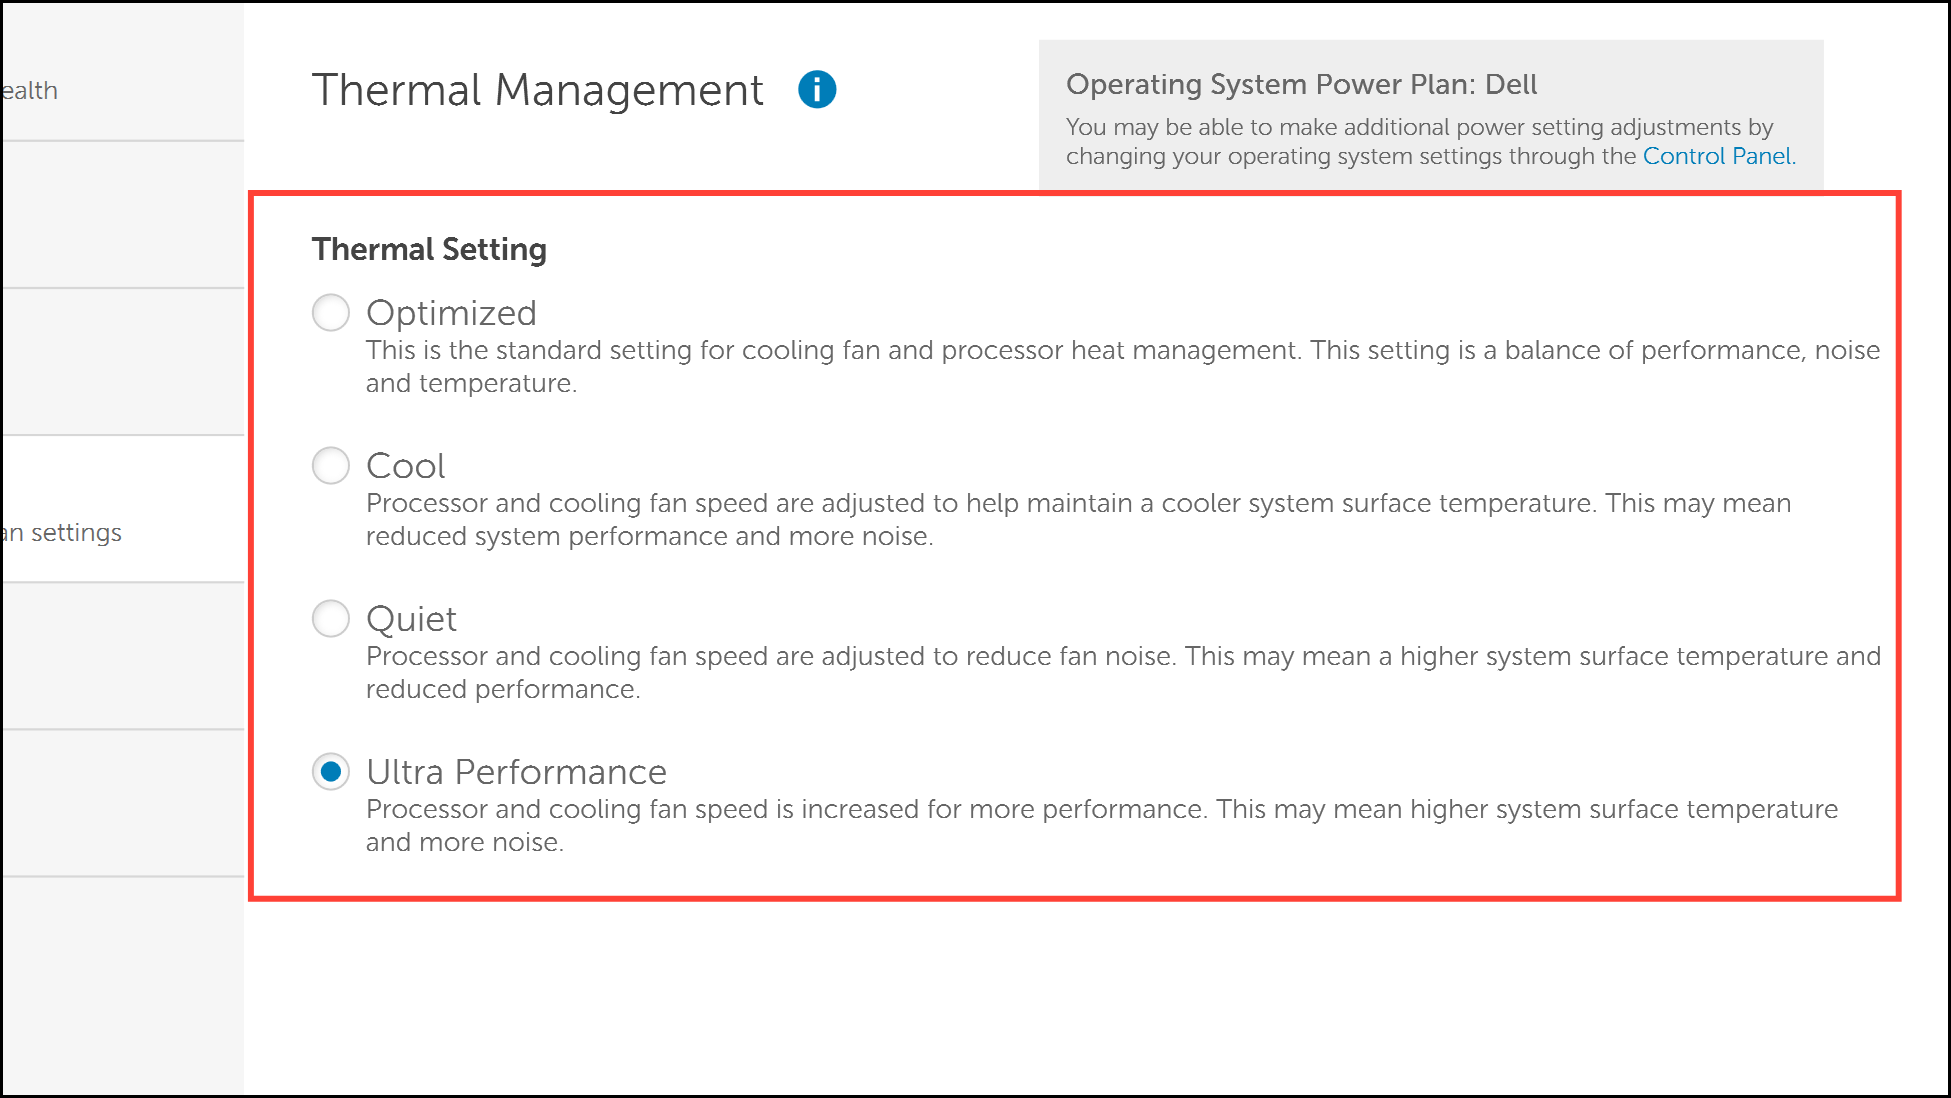
Choose the desired fan speed settings. Options may include ‘Default,’ ‘Power Saver,’ ‘High Performance,’ etc. Select the setting that best suits your needs to adjust the fan speed accordingly.
Note: If the software allows direct control of fan speed, you’ll see options to set the speed as a percentage of the maximum. Avoid setting the fan speed to zero to prevent overheating and potential damage to your PC.
From the BIOS
Accessing the BIOS (Basic Input/Output System) provides a way to adjust hardware settings at a fundamental level, including fan speed control. This method offers precise adjustments but should be approached with caution.
Restart your computer. Before Windows 11 begins to load, press the key that enters the BIOS setup. Common keys include F2, F10, or Delete, depending on your manufacturer.
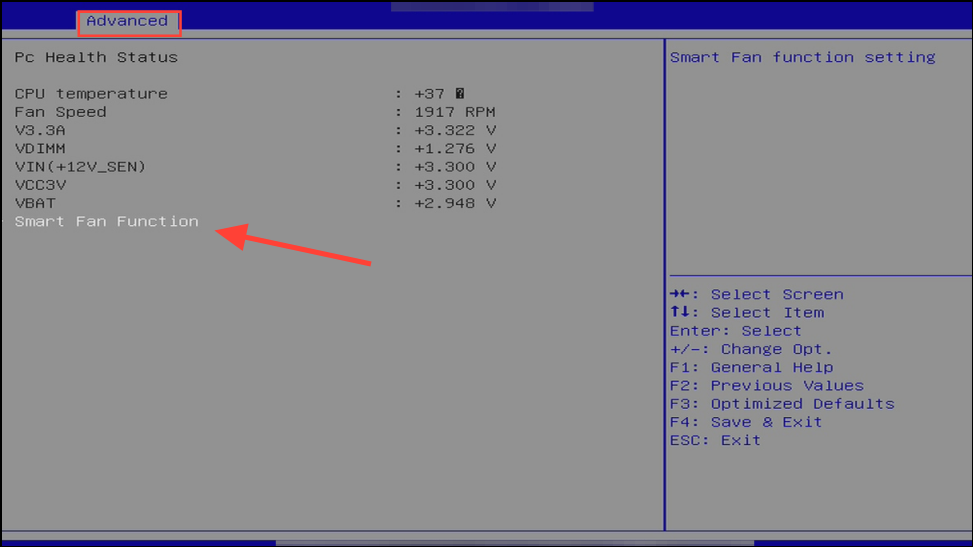
Within the BIOS, navigate through the menus to locate the fan control settings. They may be found under categories like ‘Hardware Monitor,’ ‘Advanced,’ ‘Overclocking,’ or ‘PC Health.’
Adjust the fan speed settings to your preference. Options might include setting specific speeds or choosing profiles like ‘Silent,’ ‘Standard,’ or ‘Turbo.’ Ensure you save your changes before exiting the BIOS and allow your computer to reboot.
Using Third-Party Software
If first-party software isn’t available, third-party applications can provide fan control functionality. Popular options include Fan Control, Argus Monitor, and SpeedFan. Be aware that compatibility may vary based on your hardware.
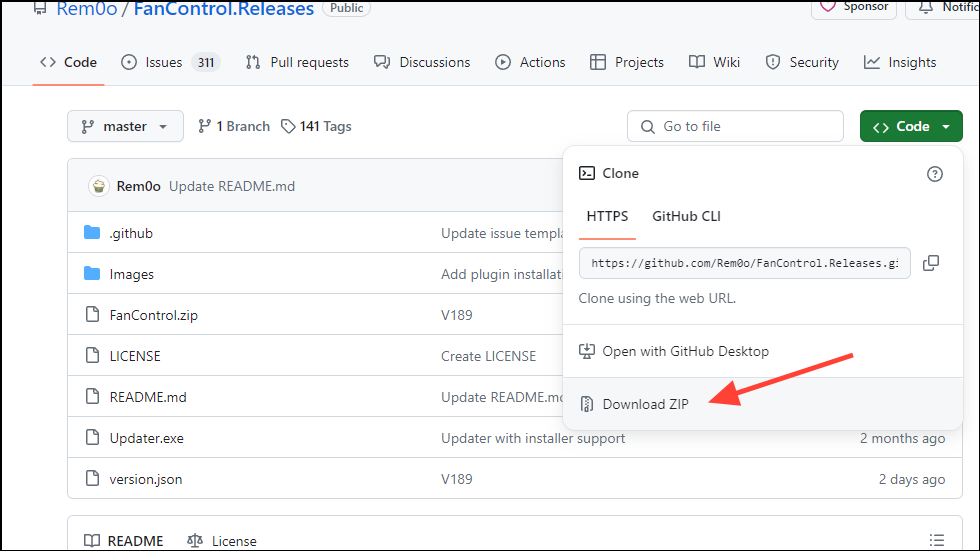
Download your chosen third-party software from its official website. For example, to download Fan Control, visit the Fan Control GitHub page and click on the ‘Download Zip’ button.
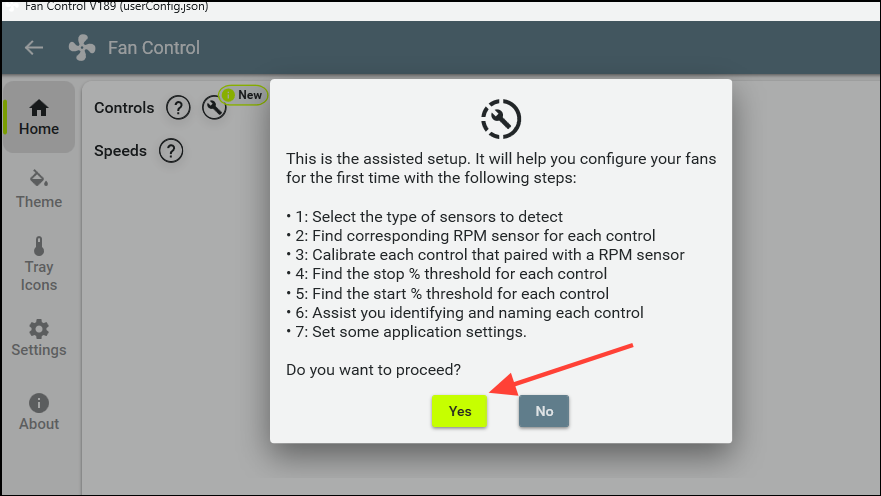
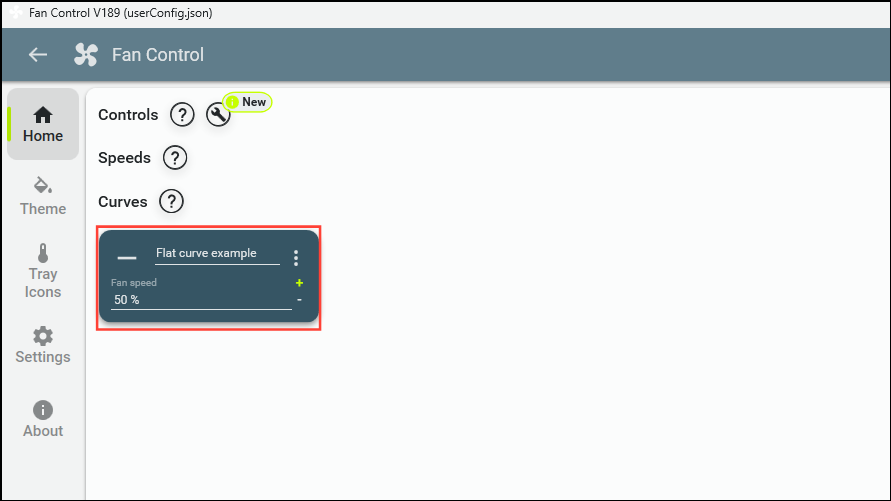
The software will scan your hardware to detect controllable fan settings. Once the scan is complete, you’ll be able to adjust the fan speed, typically ranging from 0% to 100%.
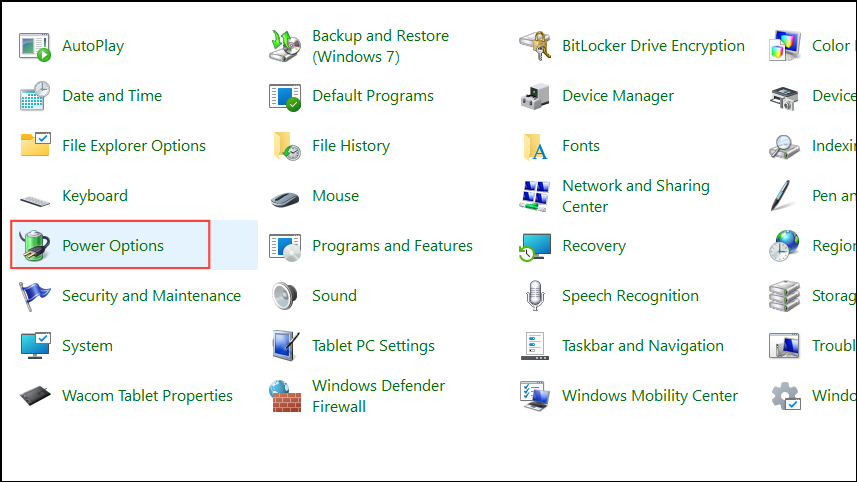
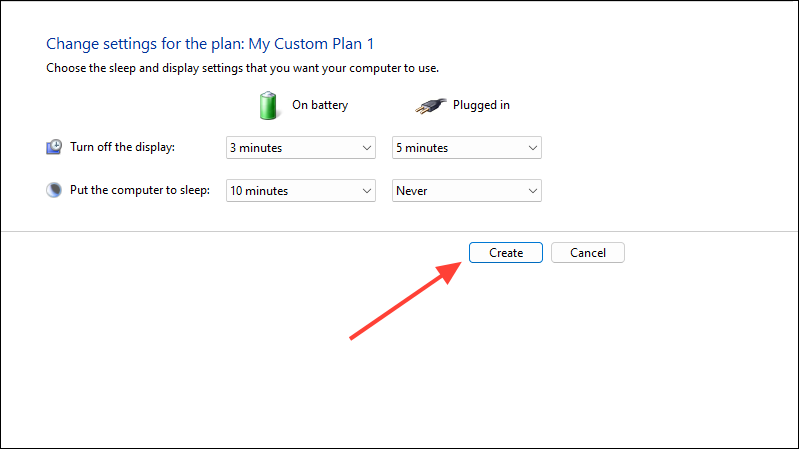
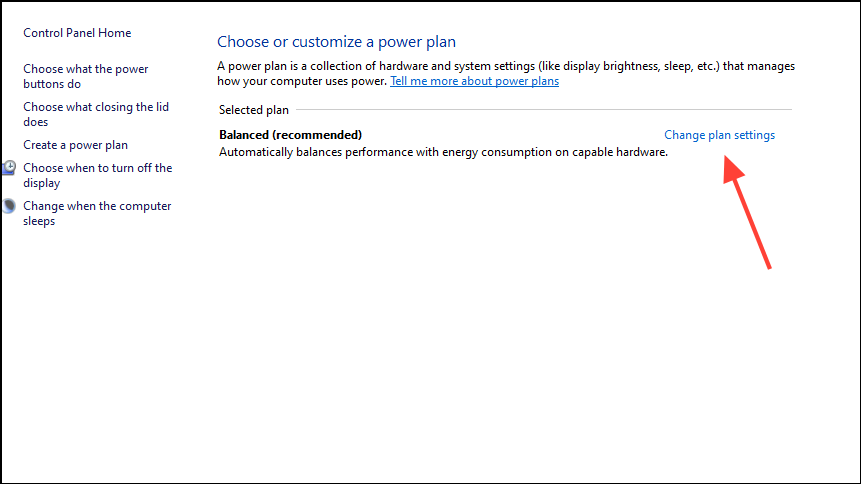
From the Power Plan Settings
Windows 11’s power plans allow you to manage how your system consumes energy, which can indirectly affect fan speed by adjusting processor performance levels.
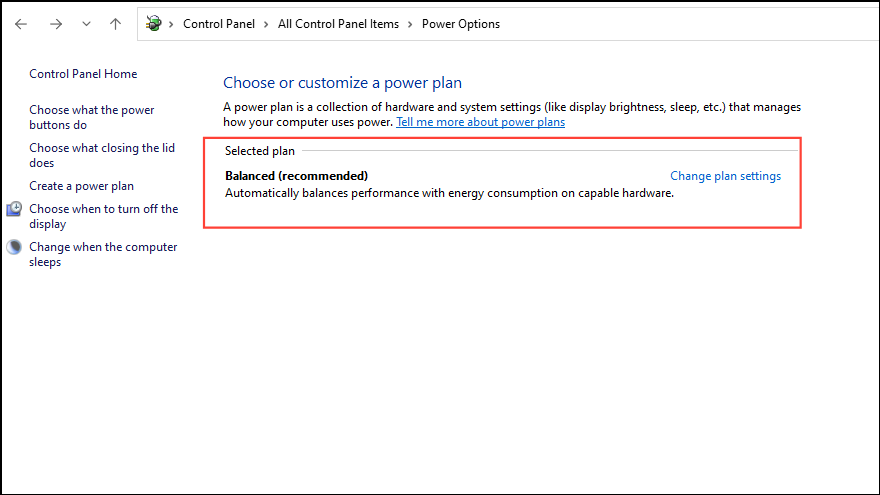
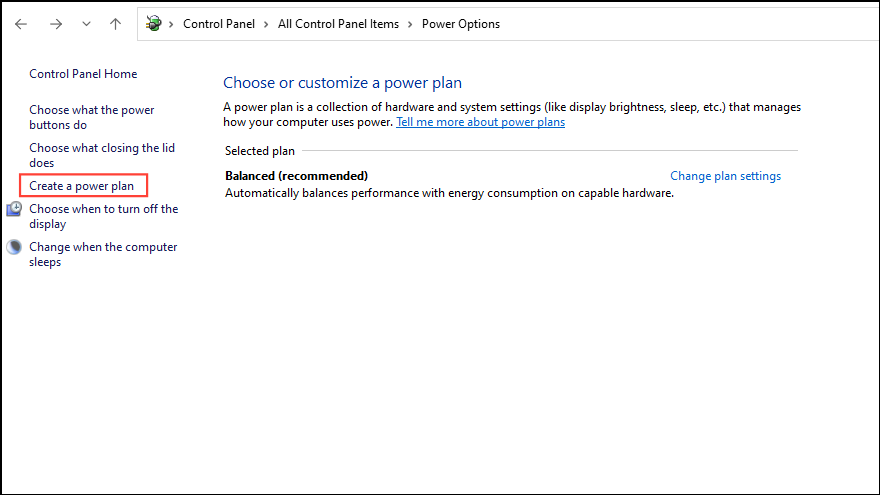
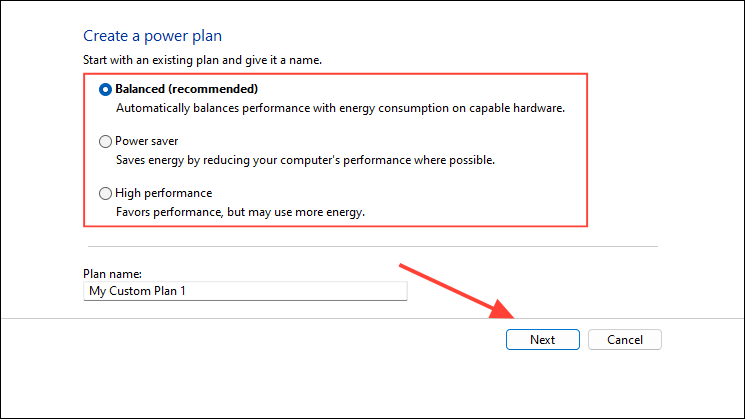
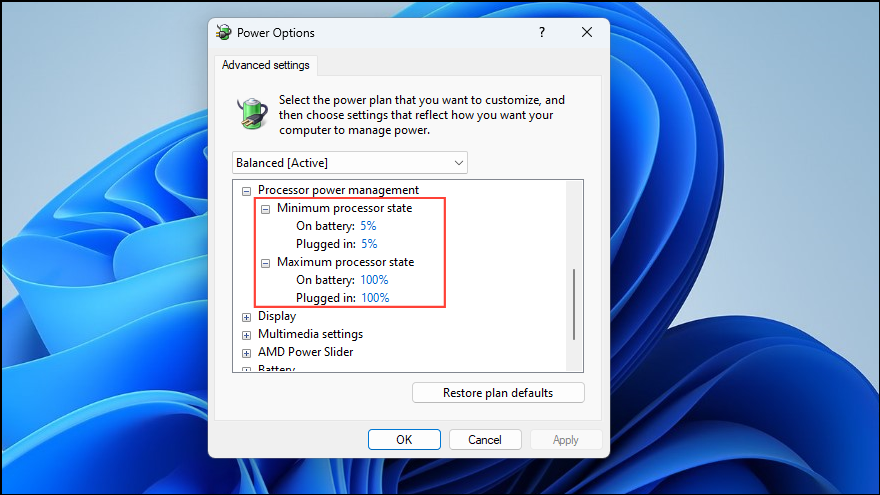
Select a power plan that suits your needs. ‘Balanced’ is the default, ‘Power Saver’ reduces performance and can lower fan speed, and ‘High Performance’ increases performance and fan speed. Click on the plan you prefer.
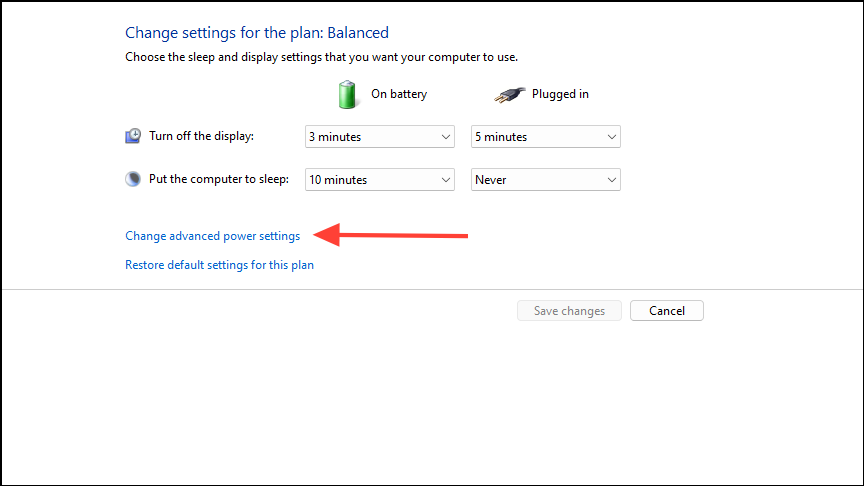
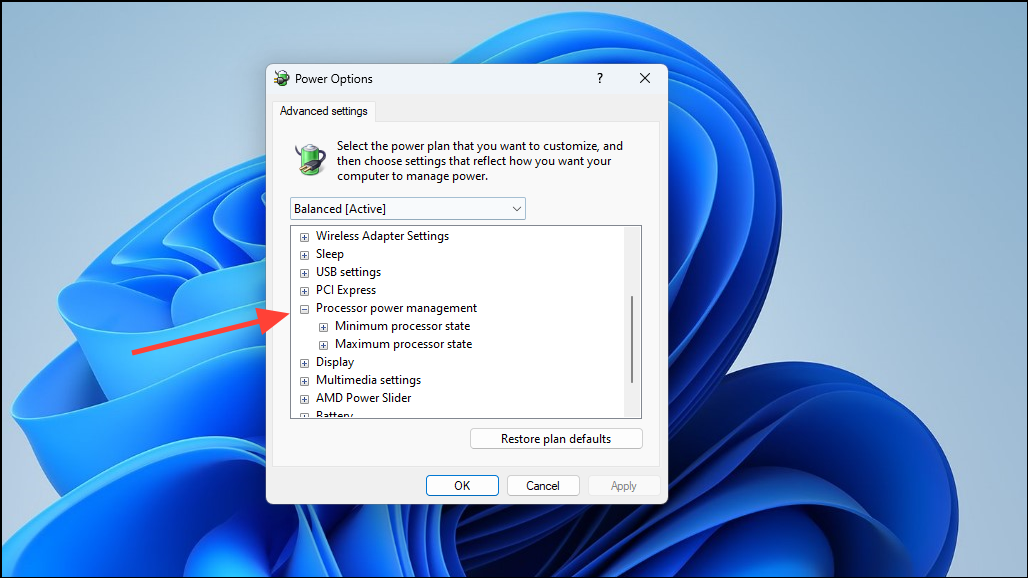
Adjust the ‘Minimum processor state’ and ‘Maximum processor state’ values. Reducing these percentages can lower heat generation and, consequently, fan speed. Setting the minimum to 5% and the maximum to 100% is standard, but you can modify these based on your preferences.
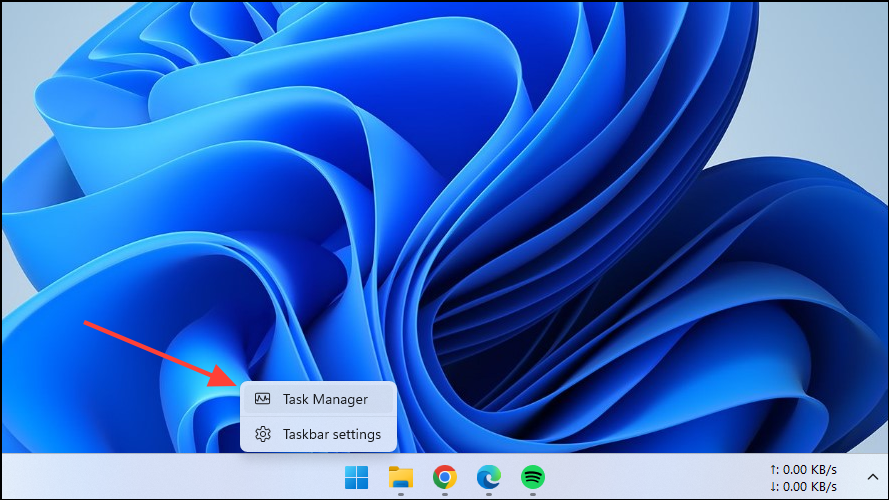
Using the Task Manager
High CPU usage from certain applications can cause fans to run at higher speeds. Managing these resource-intensive processes can help reduce fan activity.
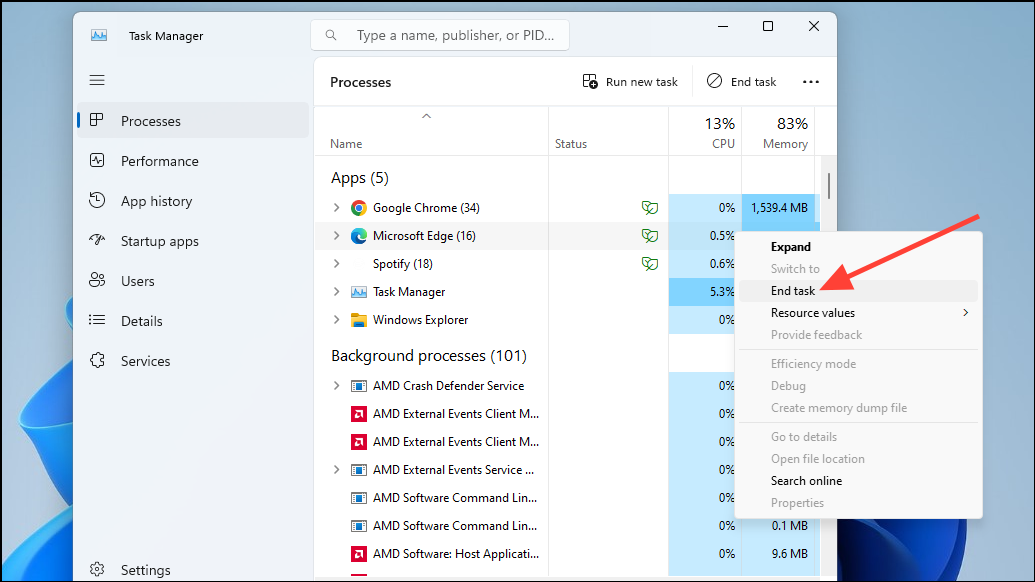
To reduce CPU load, right-click on the heavy process and choose ‘End Task.’ Be careful not to end essential system processes, as this can lead to system instability or crashes.
By utilizing these methods, you can effectively manage your Windows 11 PC’s fan speed to balance performance and noise levels. Always ensure adequate cooling to prevent overheating, which can damage components.
Before making significant changes, especially when using third-party software or adjusting BIOS settings, consider backing up your system. This precaution allows you to restore your PC to a previous state if unexpected issues arise.