
Having a complete backup of your Windows 11 system is crucial for safeguarding your data and settings in case your primary drive fails or becomes corrupted. Windows 11 includes built-in tools that allow you to create a full system image of your hard drive. This system image captures your operating system, installed programs, system settings, and personal files, enabling you to restore your system exactly as it was.
A system image differs from a standard backup because it creates an exact snapshot of your system at a specific moment in time. This includes all system files, applications, and settings, which means you can quickly restore your entire system without the need to reinstall Windows or your programs. This is especially beneficial if you’re planning to switch PCs, upgrade to a larger hard drive, or if your storage device starts failing.
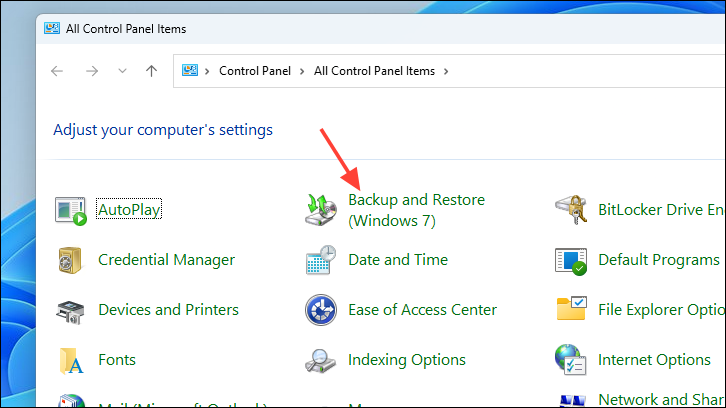
Create a system image using the Control Panel
Control Panel into the search field. From the results, select the Control Panel app.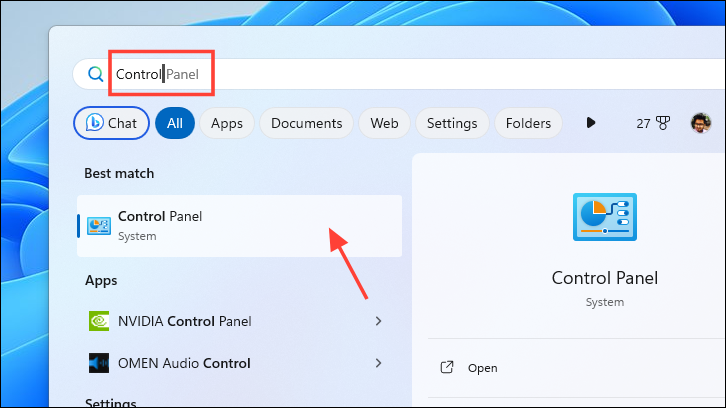


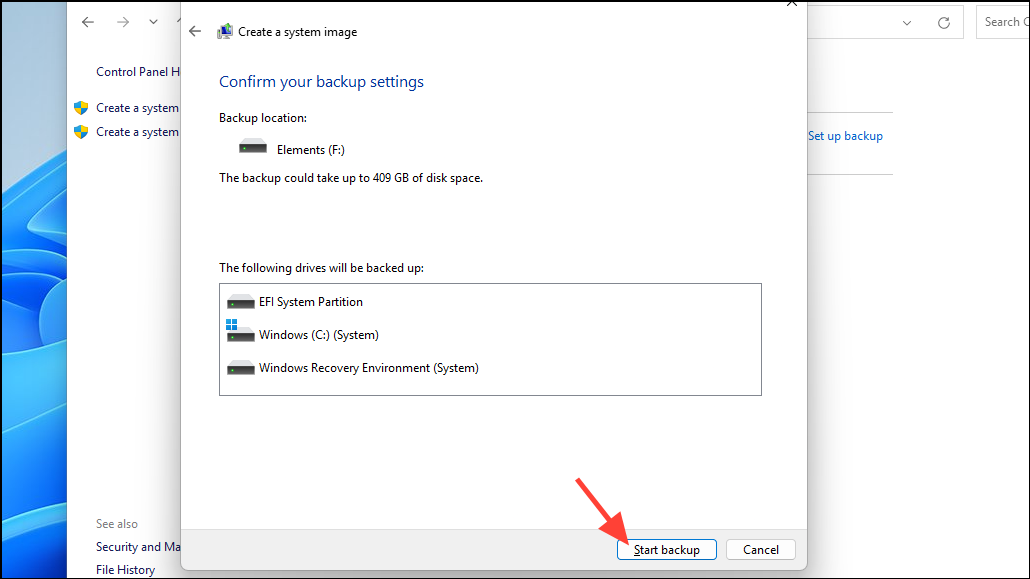
After the backup completes, a folder named WindowsImageBackup will be created at the destination you specified. This folder contains the system image, which you can use to restore your PC if needed.
Maintaining a system image backup is as important as having a recovery drive or creating system restore points. It enables you to restore your entire system swiftly, minimizing downtime and ensuring that your computer is back to its exact previous state.


