Changing your desktop background can personalize your Windows 11 experience, making your PC feel more like your own. There are several methods to update your wallpaper, ranging from quick and straightforward to more customizable options. Here, we’ll explore the different ways you can change your wallpaper on Windows 11.
Using the Right-Click Context Menu
One of the fastest ways to change your wallpaper is through the right-click context menu.
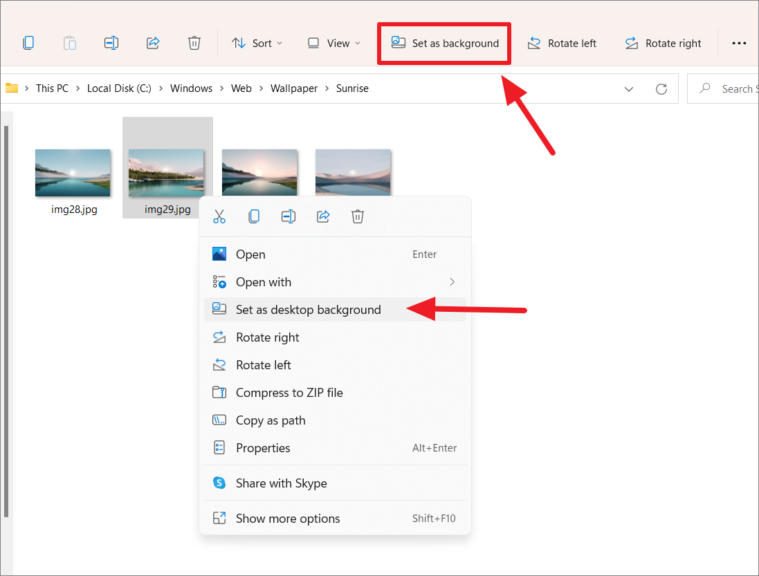
- Locate the image you want to use as your wallpaper on your computer.
- Right-click on the image file.
- Select ‘Set as desktop background’ from the context menu.
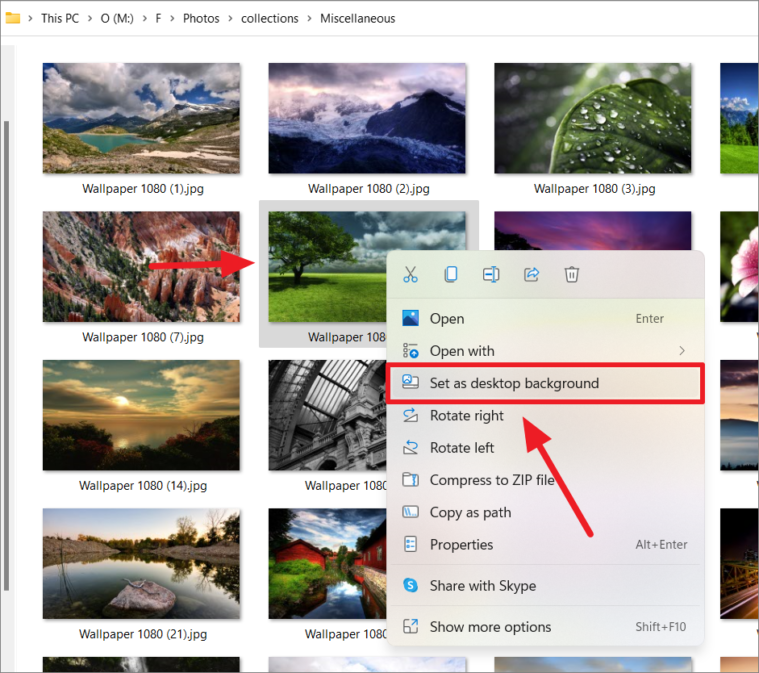
Note: This method works with image formats supported by Windows. If the ‘Set as desktop background’ option is not available, the image format may not be supported.
Using the Photos App
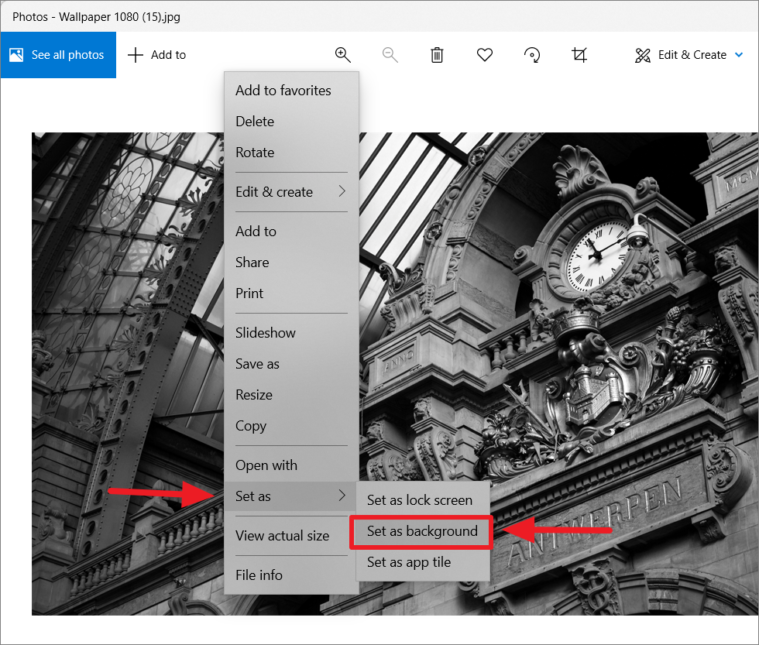
You can also set an image as your wallpaper directly from the Photos app:
- Open the image in the Photos app.
- Right-click anywhere on the image.
- Hover over ‘Set as’ and select ‘Set as background’.
Changing Wallpaper from File Explorer
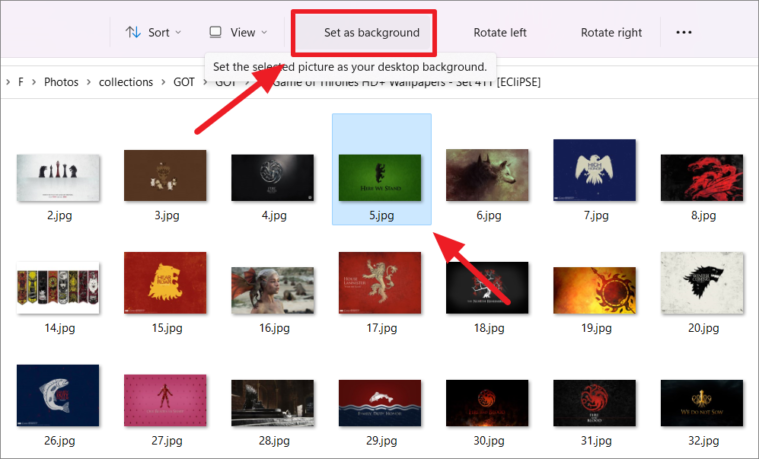
You can change your wallpaper directly from File Explorer without opening the image:
- Open File Explorer and navigate to the desired image.
- Click on the image to select it.
- Click the ‘Set as background’ button in the toolbar at the top.
Setting a Wallpaper from a Web Browser
Some web browsers allow you to set an image as your desktop background directly from the browser:
- Find an image online that you’d like to use.
- Ensure the image is opened in full resolution.
- Right-click on the image and select ‘Set image as desktop background’.
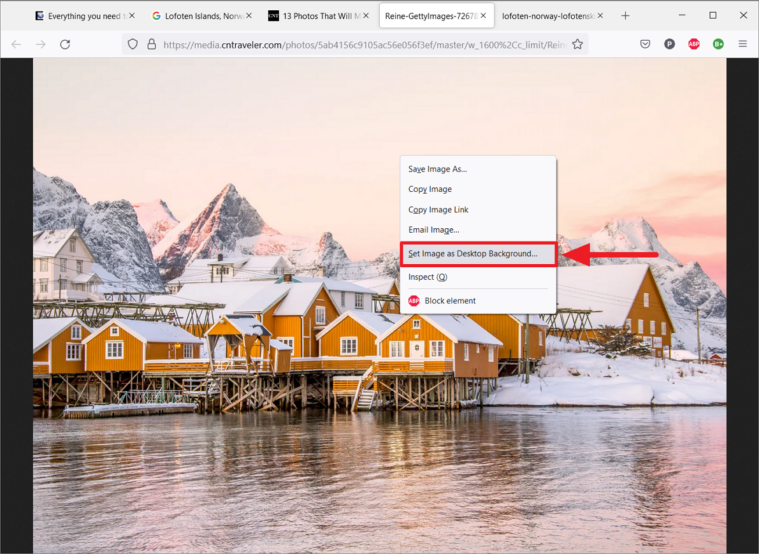
Note: If you don’t open the full-resolution image, the wallpaper might appear blurry or improperly sized.
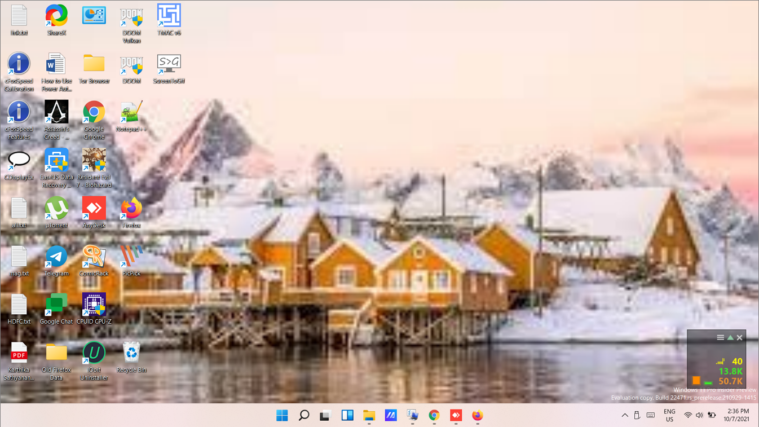
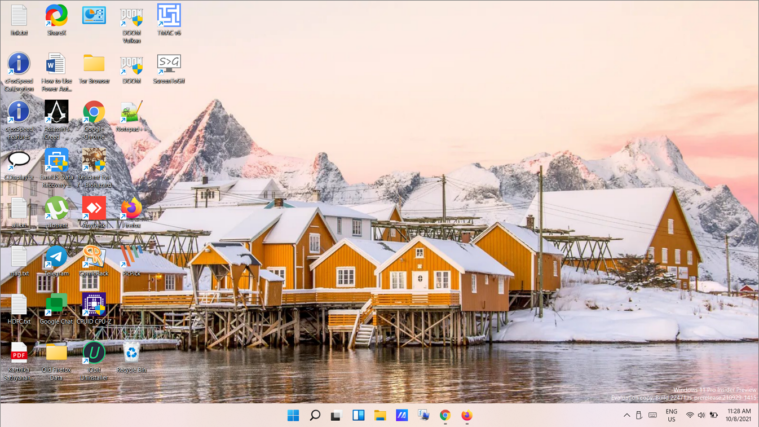
The correct method ensures your wallpaper looks crisp:
Using Settings to Change Your Wallpaper
For more customization options, you can change your wallpaper via the Settings app:
- Click the Start icon or press
Windowsand select ‘Settings’. - Navigate to ‘Personalization’ in the left panel.
- Click on ‘Background’ on the right.

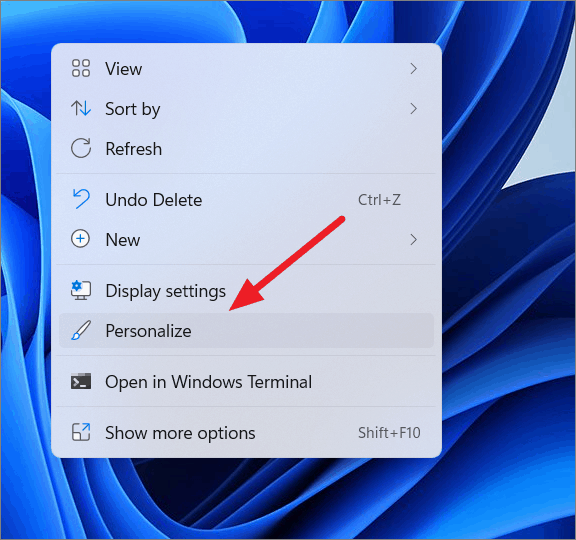
Alternatively, right-click on the desktop and select ‘Personalize’ from the context menu.
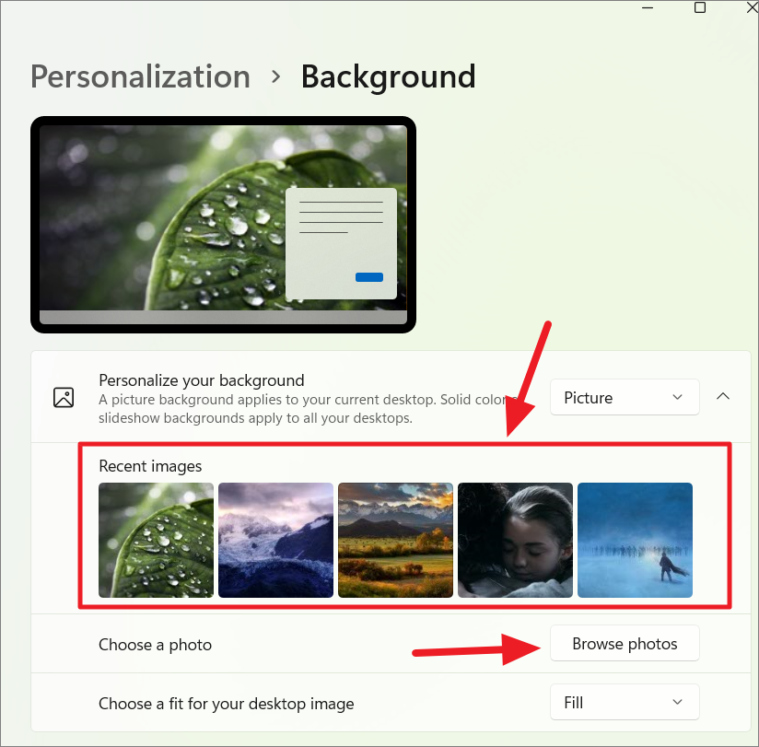
In the Background settings, you can choose from Recent images or set a new one.
Setting a Custom Picture as Background
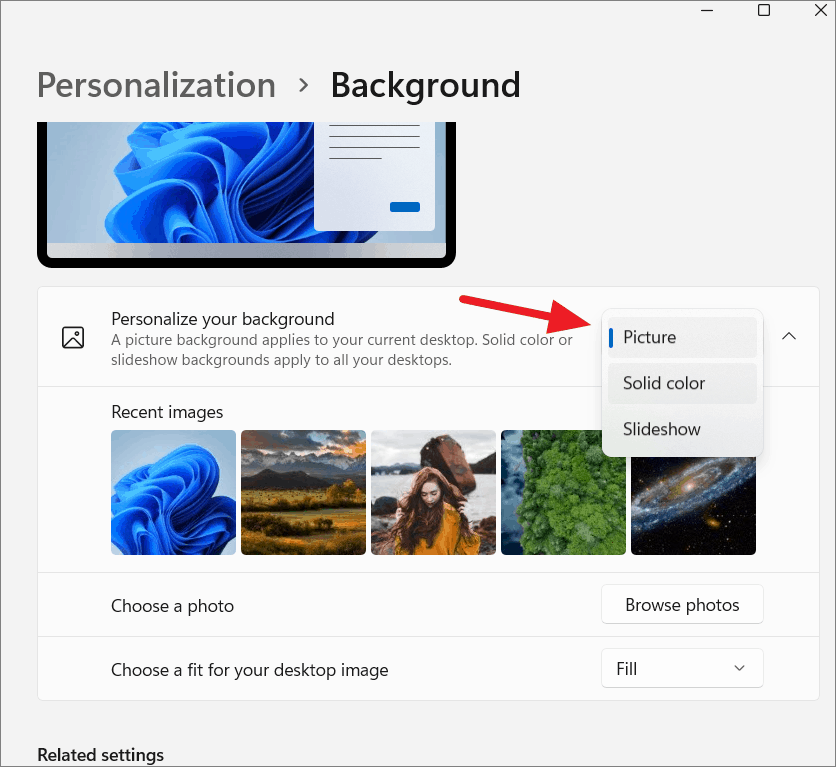
- In Background settings, ensure the ‘Picture’ option is selected.
- Click on ‘Browse photos’ to select an image from your computer.
- Navigate to the desired image and click ‘Choose picture’.
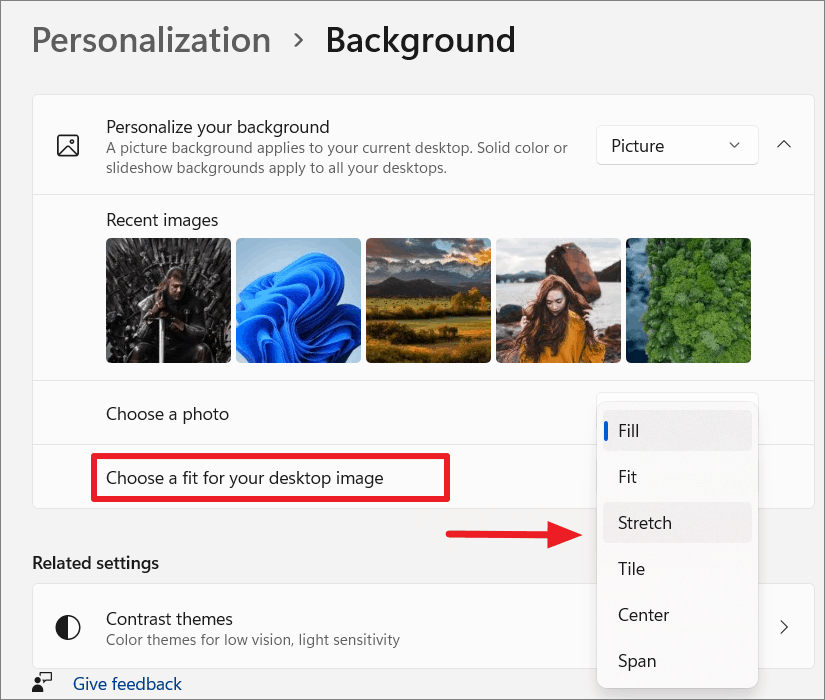
- Adjust the fit of the image using the ‘Choose a fit for your desktop image’ drop-down menu.
Your selected image will now be set as your desktop background.
Using a Solid Color as Background
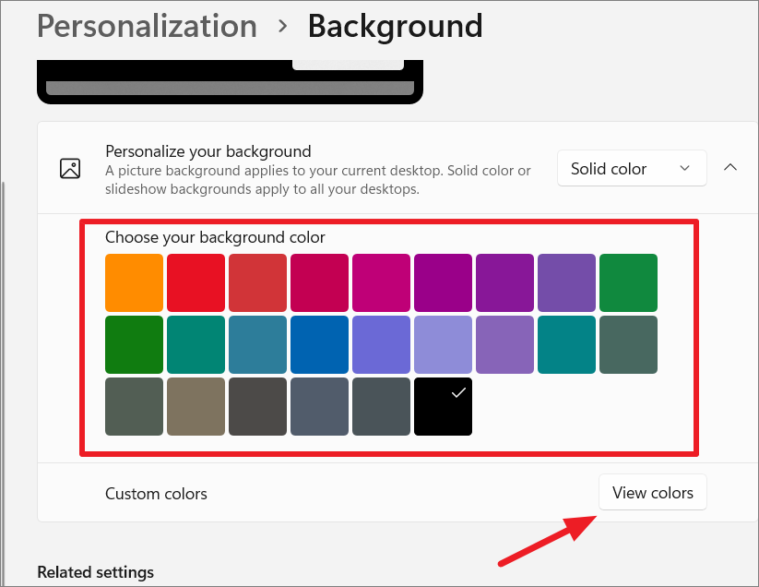
- In Background settings, select ‘Solid color’ from the drop-down menu.
- Choose a color from the palette provided.
- If you prefer a custom color, click on ‘View colors’.
- Select your desired color and click ‘Done’.
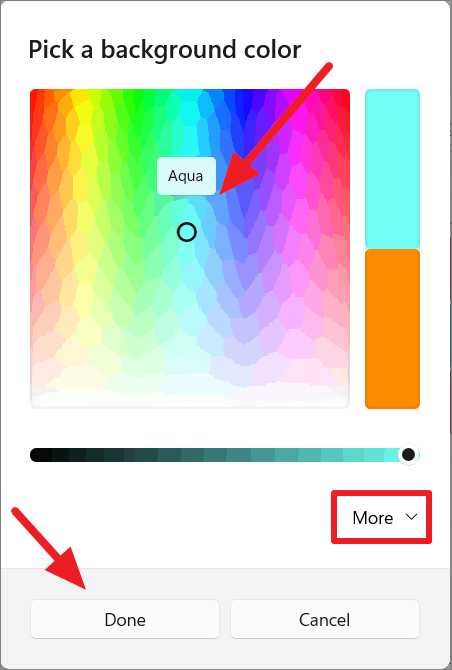
You can also enter specific RGB or HSV values for a precise color.
Creating a Slideshow Background
- Choose ‘Slideshow’ from the ‘Personalize your background’ drop-down menu.
- Click on ‘Browse’ to select a folder containing your images.
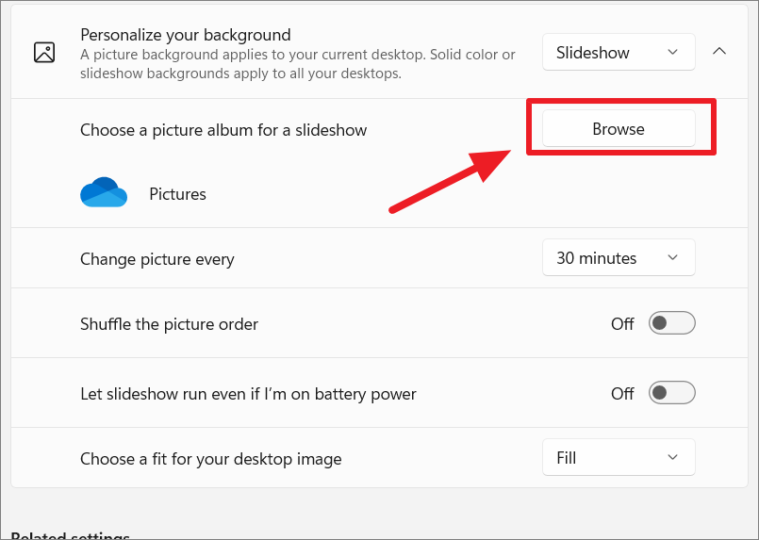
- Select your folder and click ‘Choose this folder’.
- Set how often the picture changes using the ‘Change picture every’ drop-down menu.
- Toggle ‘Shuffle the picture order’ if you want the images to display randomly.
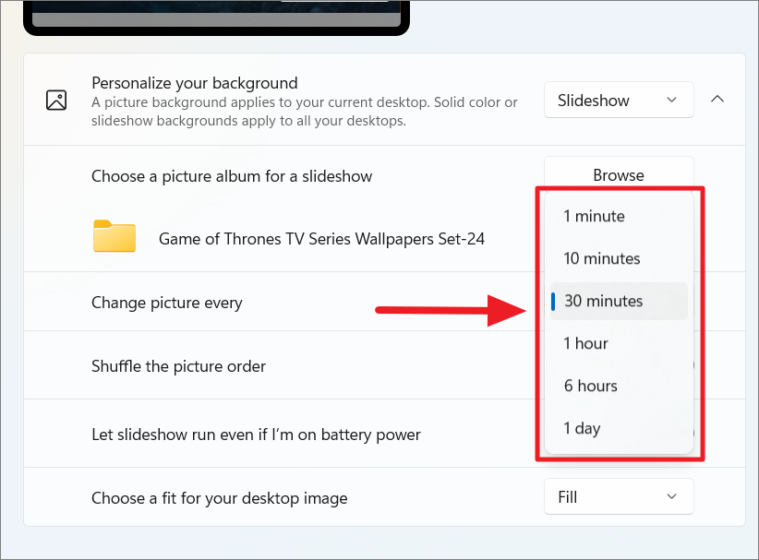
- If you want the slideshow to continue when on battery power, toggle on ‘Let slideshow run even if I’m on battery power’.
- Choose a fit type for your images from the drop-down menu.
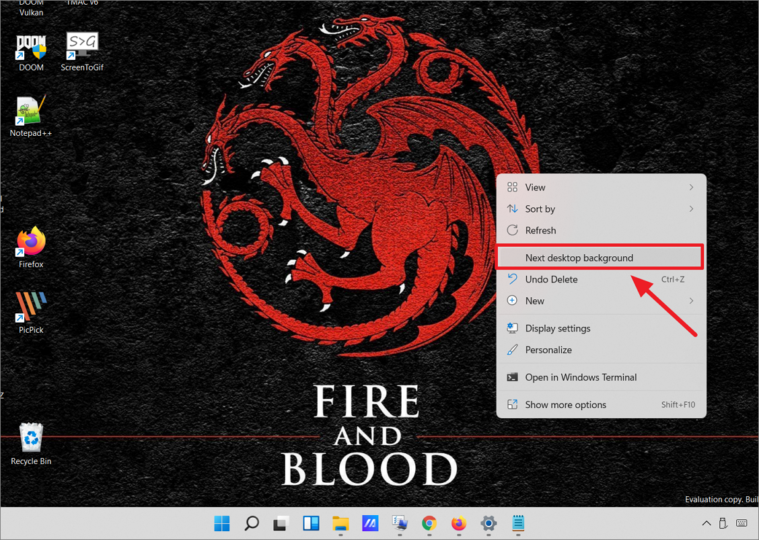
To manually change to the next background image, right-click on the desktop and select ‘Next desktop background’.
Setting Different Wallpapers on Multiple Desktops
If you use multiple virtual desktops in Windows 11, you can set different wallpapers for each:
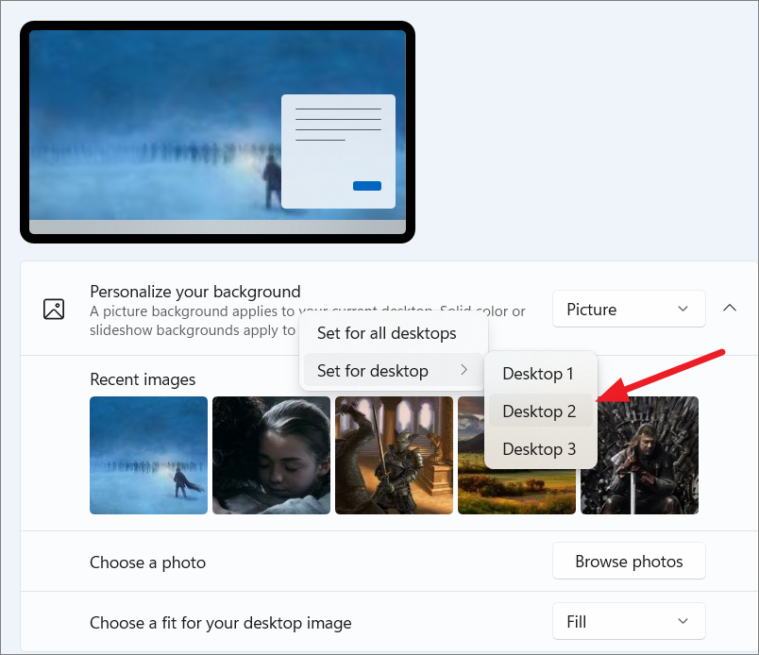
- Set your background type to ‘Picture’ in Background settings.
- Right-click an image under ‘Recent images’, hover over ‘Set for desktop’, and choose the desktop you want to apply it to.
Alternatively:
- Click on the ‘Task View’ icon on the taskbar.
- Right-click the desktop you want to customize and select ‘Choose background’.
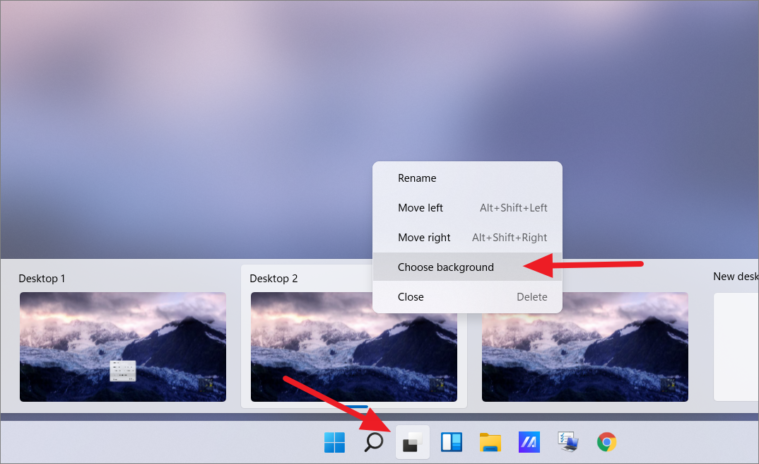
This will open Background settings, where you can select a different image for that desktop.
Using Default Windows 11 Wallpapers
Windows 11 comes with a collection of high-quality default wallpapers:
- Open File Explorer and navigate to
C:\Windows\Web\Wallpaper. - Browse through the available folders and select a wallpaper you like.
- Right-click the image and choose ‘Set as desktop background’, or click the ‘Set as background’ button in the toolbar.
Using Wallpaper Changer Apps
You can use third-party apps to automate wallpaper changes:
Microsoft’s own Bing Wallpaper app updates your wallpaper daily with stunning images from around the world.
Check out: Best Windows 11 Themes
Changing the Lock Screen Wallpaper
You can also customize your Windows 11 lock screen wallpaper:
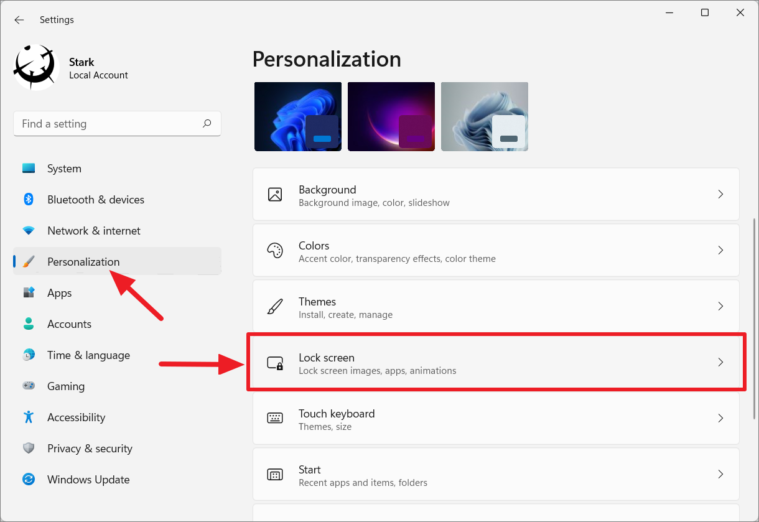
- Open Settings and navigate to ‘Personalization’.
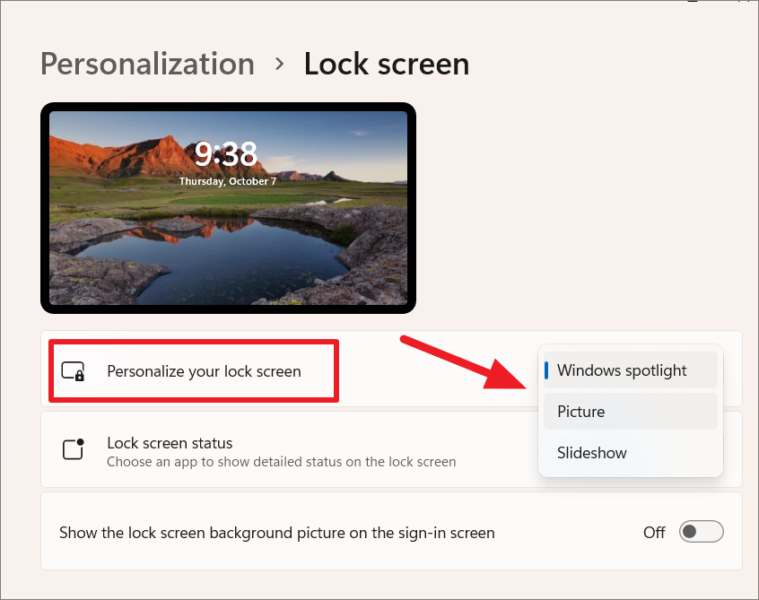
- Click on ‘Lock screen’.
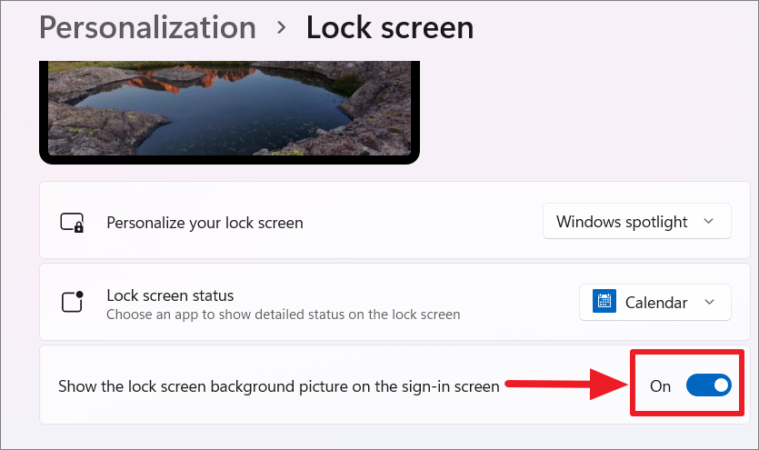
- Under ‘Personalize your lock screen’, choose one of the options from the drop-down menu:
- Windows Spotlight: Automatically updates with images from Bing.
- Picture: Choose a single image as your lock screen background.
- Slideshow: Display a slideshow of images.
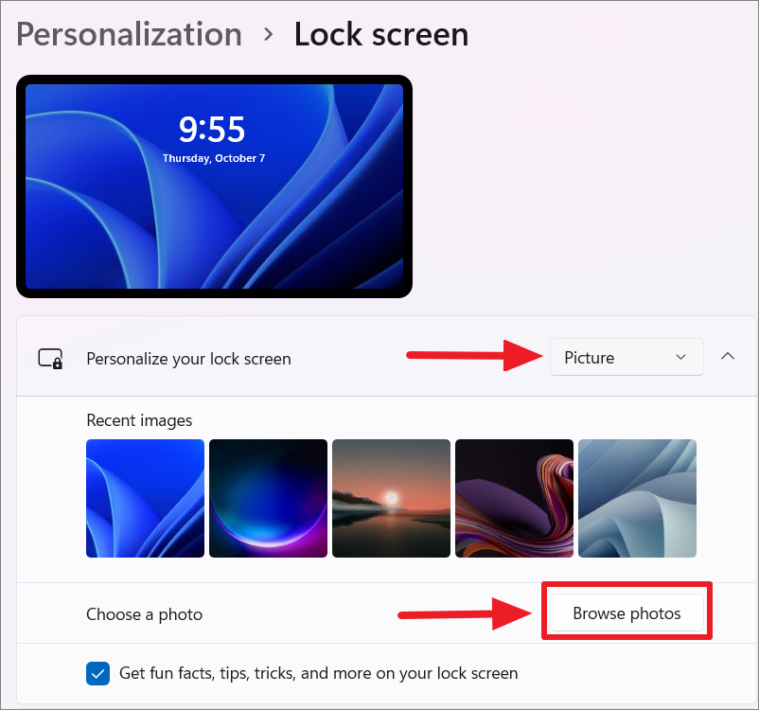
If you select ‘Picture’, you can browse for an image on your computer.
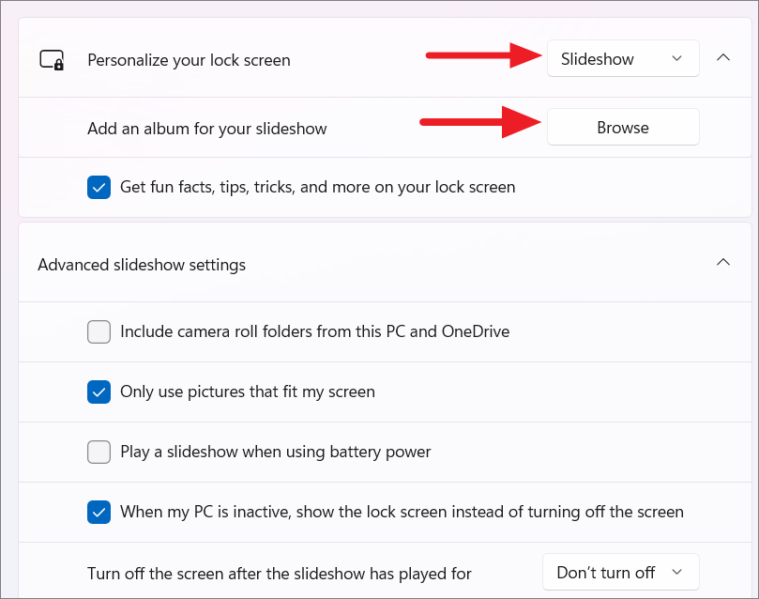
For the ‘Slideshow’ option, you can select a folder of images and adjust additional settings.
You can also choose an app to show detailed or quick status on the lock screen, or set it to ‘None’ if you prefer not to display any status.
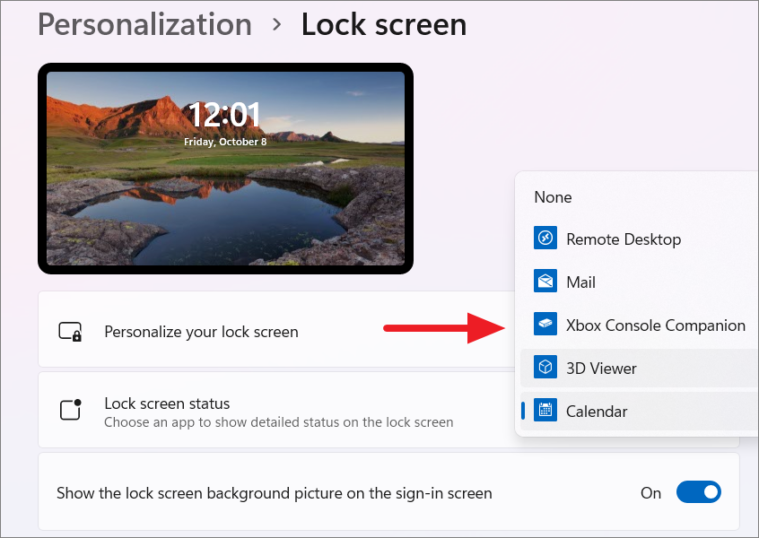
Additionally, you can decide whether to show the lock screen background picture on the sign-in screen by toggling the option on or off.
Changing your wallpaper is a simple way to personalize your Windows 11 experience. Whether you prefer a personal photo, a solid color, or a rotating slideshow, Windows 11 offers several options to make your desktop uniquely yours.


