Encountering the error code 0x8007007f when upgrading to Windows 11 can be a significant hurdle. This issue often arises during the upgrade process using the Windows 11 Installation Assistant, halting the installation and leaving users frustrated. In this guide, we’ll explore the causes of this error and provide effective solutions to help you successfully upgrade your system to Windows 11.
What is Error Code 0x8007007f?
Error code 0x8007007f commonly appears when users attempt to upgrade to Windows 11 using the Windows 11 Installation Assistant. The installation process typically halts around the 70% mark, and the following message is displayed:
“Something went wrong. Select try again, and if that doesn’t work, contact Microsoft support for help. Error code 0x8007007f.”
This error prevents the completion of the Windows 11 upgrade, leaving the system on the previous version of Windows.
Possible Causes of the Error
The 0x8007007f error code is somewhat generic, making it challenging to identify a specific cause. However, several factors might contribute to this issue:
- Insufficient permissions to modify system files.
- Lack of sufficient disk space on the system drive.
- Outdated or incompatible graphics drivers.
- User Account Control (UAC) settings disabled.
- Interference from third-party antivirus software.
- Corrupted or damaged system files.
- TPM 2.0 and Secure Boot are disabled.
How to Fix Error Code 0x8007007f on Windows
Below are several methods to resolve the error code 0x8007007f. Follow these steps to troubleshoot and fix the issue.
1. Run the Windows 11 Installation Assistant as Administrator
Running the Installation Assistant with administrative privileges can resolve permission issues that prevent the upgrade.
- Locate the Windows 11 Installation Assistant executable file.
- Right-click on the file and select ‘Run as administrator’ from the context menu.

- When prompted by User Account Control, click ‘Yes’ to grant permissions.
- Proceed with the installation process as usual.
Running the Installation Assistant as an administrator should bypass permission restrictions and allow the upgrade to proceed.
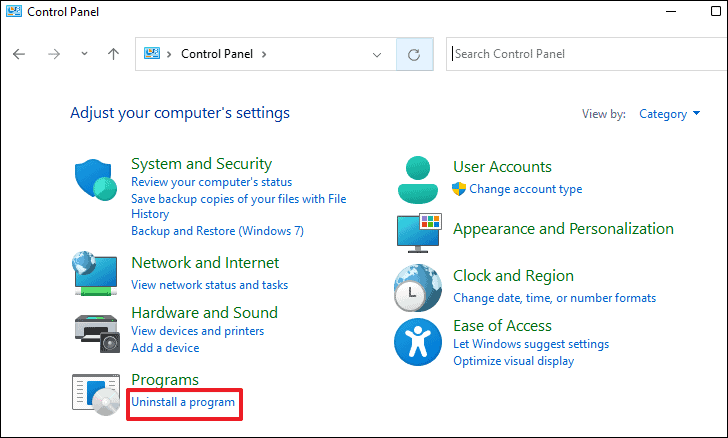
2. Free Up Disk Space
Insufficient disk space can trigger installation errors. Ensure you have at least 50-100 GB of free space on your system drive (typically the C: drive).
To free up space:
- Delete unnecessary files or move them to an external drive.
- Uninstall unused programs via Control Panel > Programs > Uninstall a program.
- Use the Disk Cleanup utility to remove temporary files.
3. Update Your Graphics Drivers
Outdated or incompatible graphics drivers can cause the upgrade to fail. Updating your graphics drivers may resolve the issue.
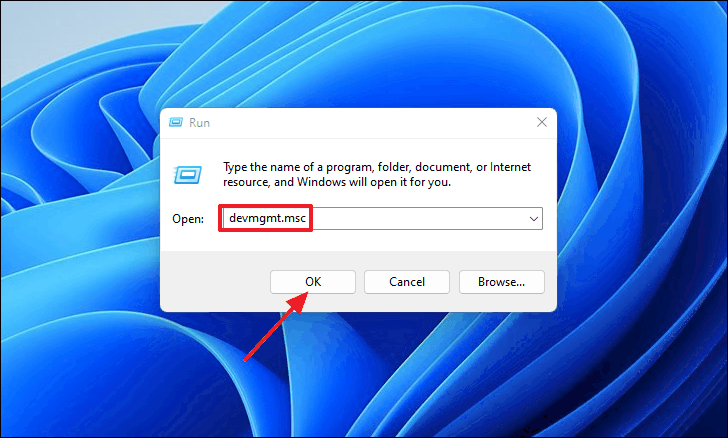
- Press
Windows + Rto open the Run dialog box.

- Type
devmgmt.mscand pressEnterto open Device Manager.
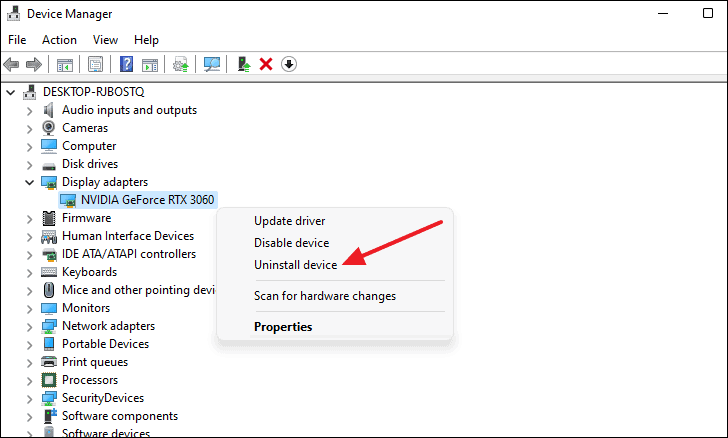
- Expand the ‘Display adapters’ section.
- Right-click on your graphics card and select ‘Uninstall device’.
- Check ‘Attempt to remove the driver for this device’ and click ‘Uninstall’.
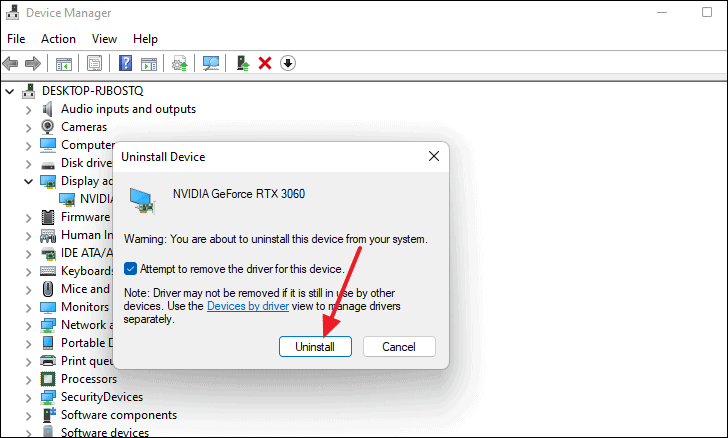
- Restart your computer. Windows will automatically reinstall and update the graphics driver.
Alternatively, visit your graphics card manufacturer’s website to download and install the latest drivers.
Read: How to Update Drivers on Windows 11
4. Enable User Account Control (UAC)
User Account Control helps prevent unauthorized changes to your system. Enabling UAC may resolve permission issues during installation.
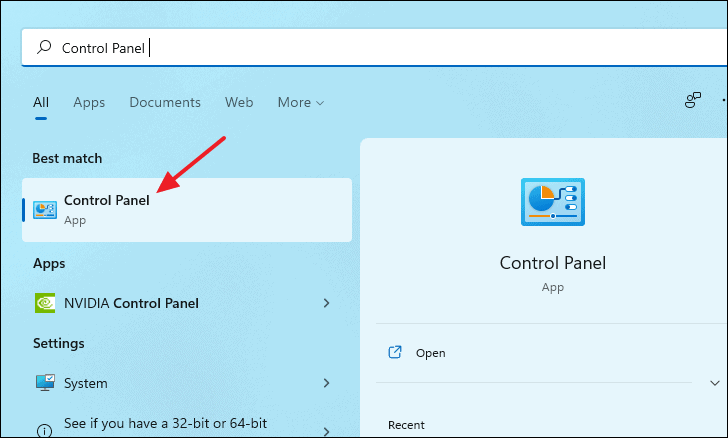
- Open the Control Panel by searching for it in the Start menu.
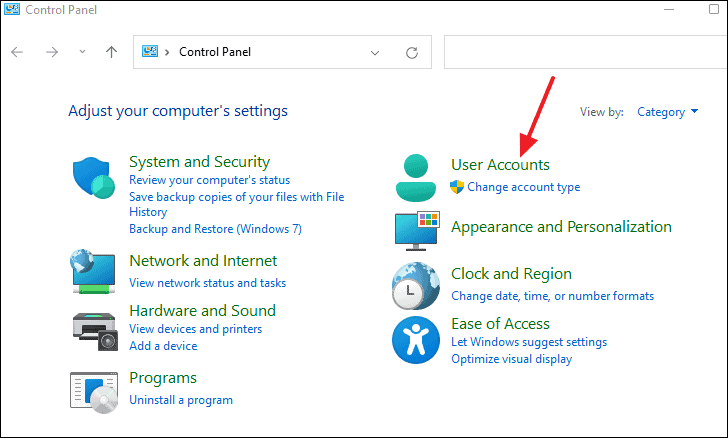
- Click on ‘User Accounts’.
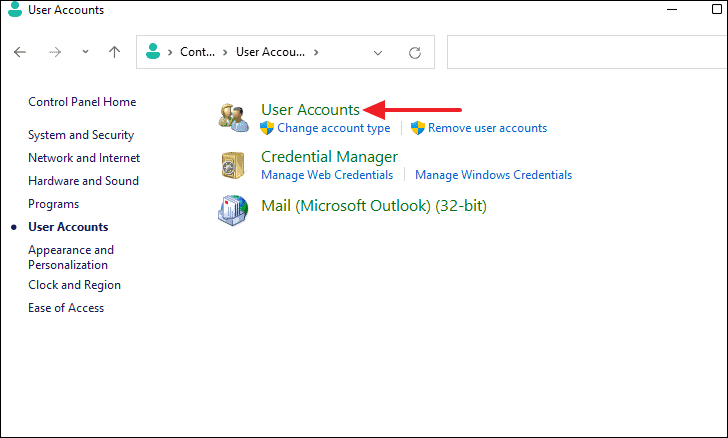
- Select ‘User Accounts’ again.
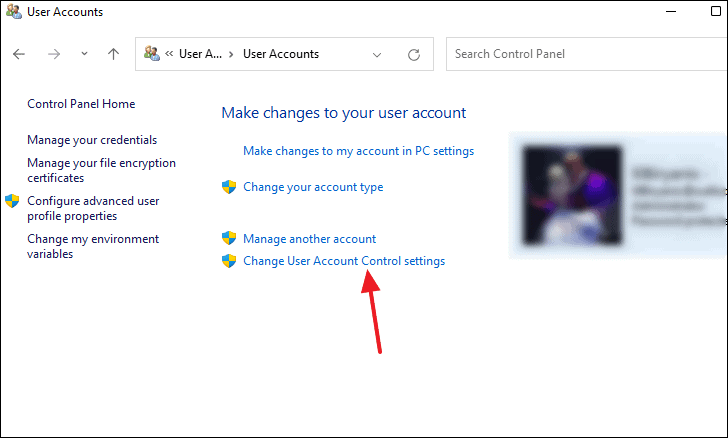
- Click on ‘Change User Account Control settings’.
- Move the slider to ‘Always notify’ and click ‘OK’.
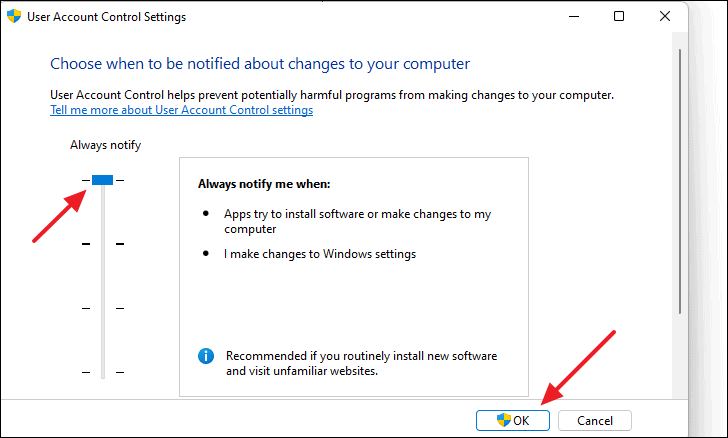
- Confirm any prompts that appear.
After enabling UAC, try running the Installation Assistant again.
5. Disable Third-Party Antivirus Software
Antivirus programs can interfere with the upgrade process. Temporarily disabling or uninstalling third-party antivirus software may resolve the error.
- Open the Control Panel from the Start menu.

- Under ‘Programs’, click on ‘Uninstall a program’.
- Find your antivirus software, right-click it, and select ‘Uninstall’.
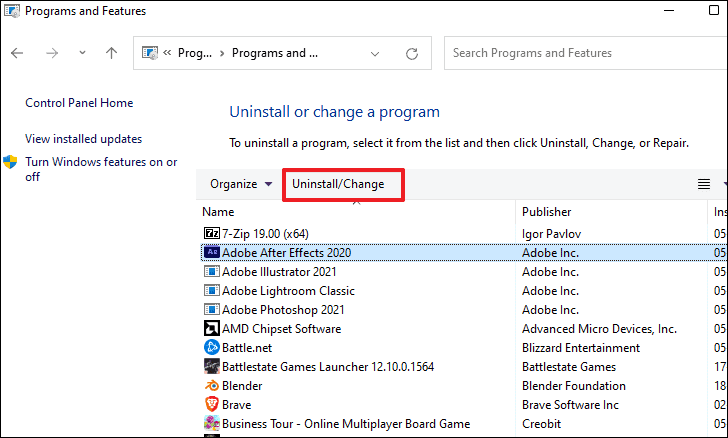
After uninstalling, attempt the upgrade again. Remember to reinstall the antivirus software after upgrading, ensuring it’s compatible with Windows 11.
6. Restart Your Computer
Restarting your computer can resolve temporary glitches that may cause the error.
- Click on the ‘Windows’ icon on the taskbar.
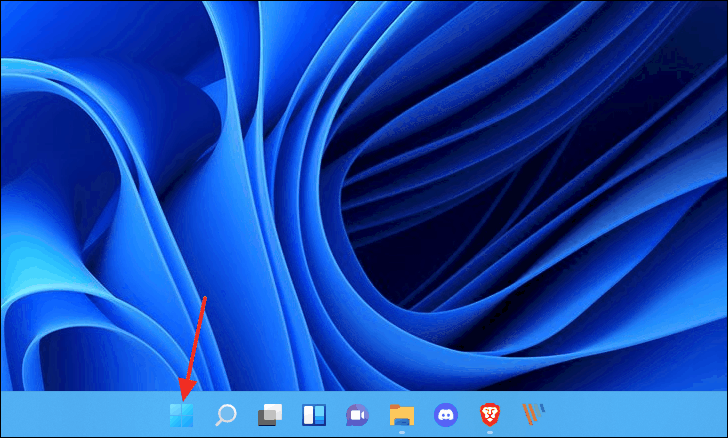
- Click on the ‘Power’ button and select ‘Restart’.
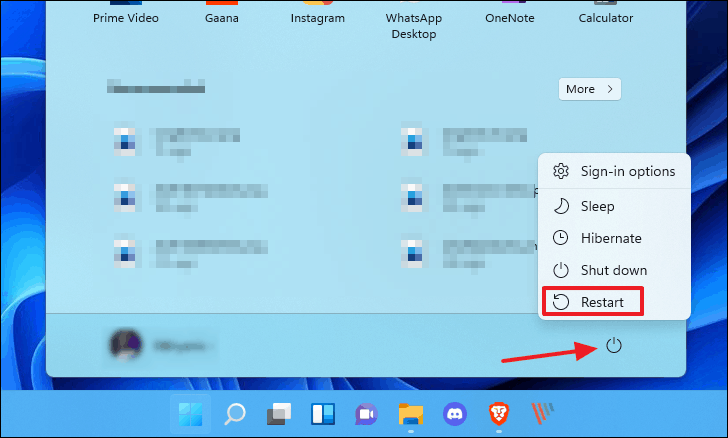
After restarting, try running the Installation Assistant again.
7. Run an SFC Scan on Your System
Corrupted system files can prevent the upgrade. Running a System File Checker (SFC) scan can identify and repair these files.
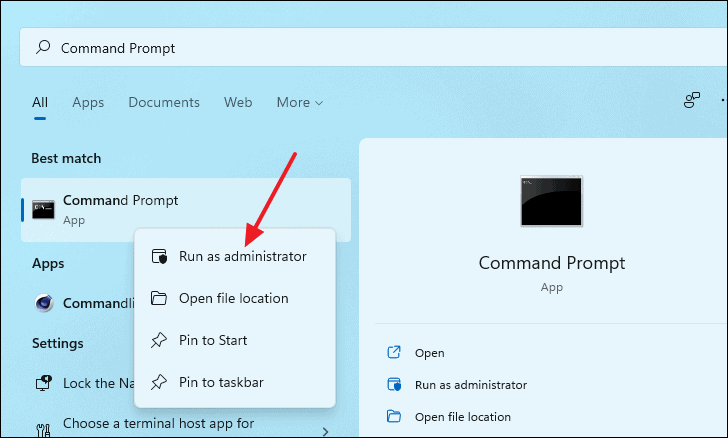
- Press the ‘Windows’ key and type ‘Command Prompt’.
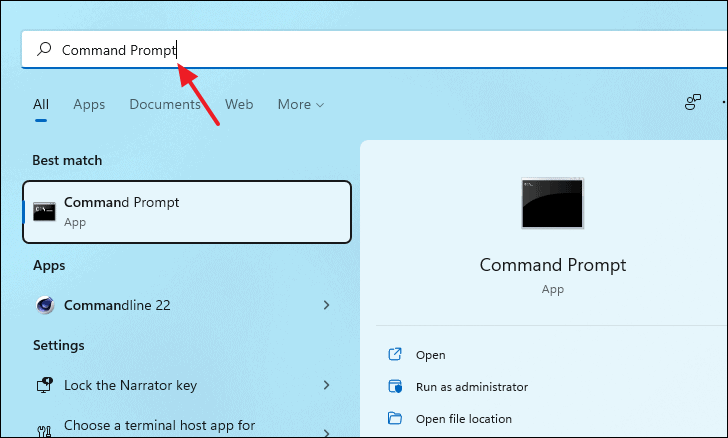
- Right-click on ‘Command Prompt’ and select ‘Run as administrator’.
- In the Command Prompt window, type the following command and press
Enter:
sfc /scannow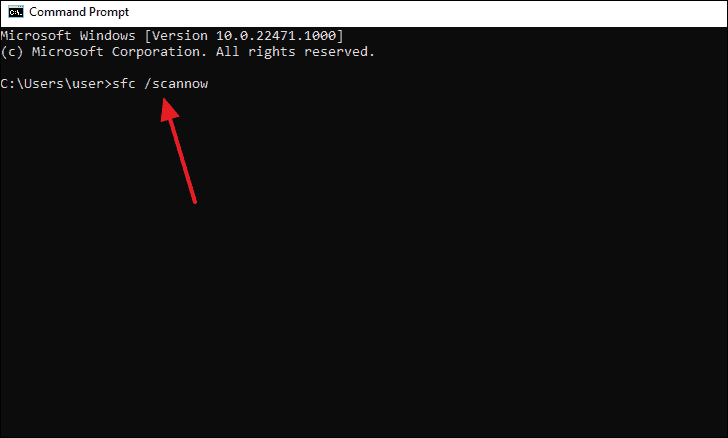
- Wait for the scan to complete. The tool will repair any detected issues.
After the scan, attempt the upgrade again.
8. Ensure TPM 2.0 and Secure Boot Are Enabled
Windows 11 requires TPM 2.0 and Secure Boot to be enabled. Verify these settings to ensure compatibility.
To check if TPM 2.0 is enabled:
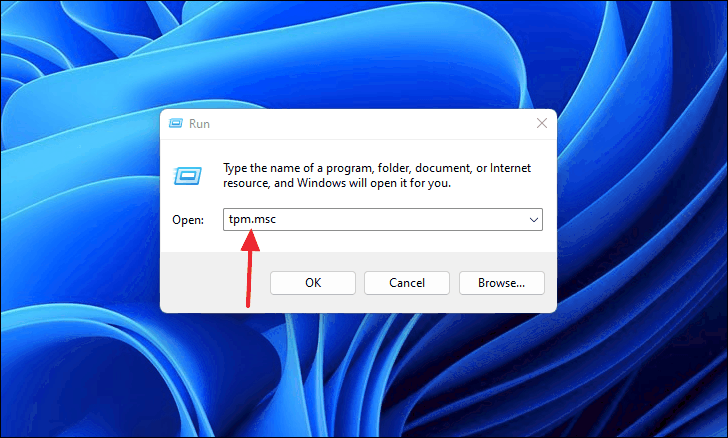
- Press
Windows + Rto open the Run dialog. - Type
tpm.mscand pressEnter.
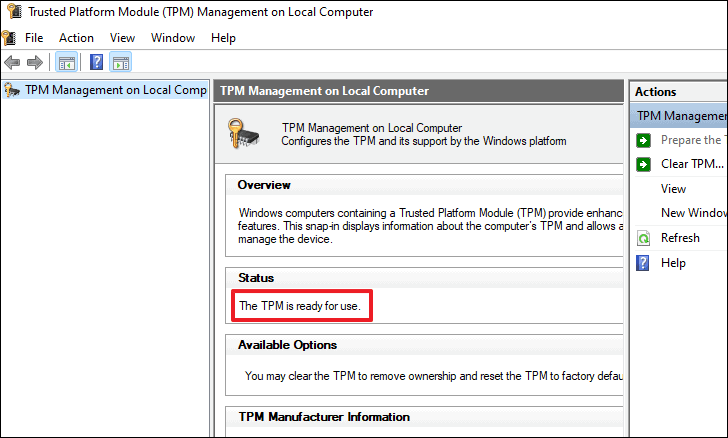
- Check the Status section. It should state ‘The TPM is ready for use.’
If TPM is not enabled, activate it in your system’s BIOS settings.
To check if Secure Boot is enabled:
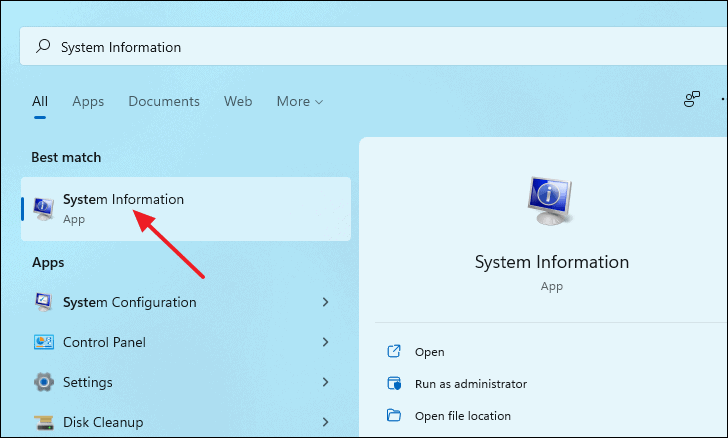
- Open the System Information app by searching for it in the Start menu.
- In the System Summary, find ‘Secure Boot State’. It should display ‘On’.
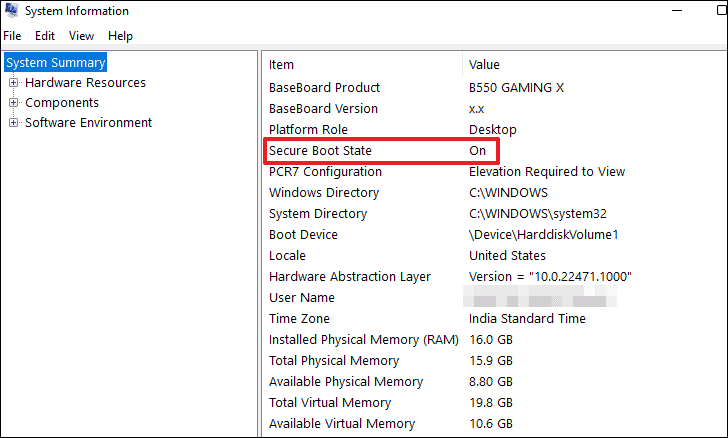
If Secure Boot is disabled, enable it through your system’s BIOS settings.
Read: How to Enable Secure Boot on Windows 10 PC
9. Use a Bootable Windows 11 USB Drive
If none of the above methods work, consider using a bootable USB drive to install Windows 11.
- Visit microsoft.com/software-download/windows11.
- Under ‘Create Windows 11 Installation Media’, click on ‘Download Now’.
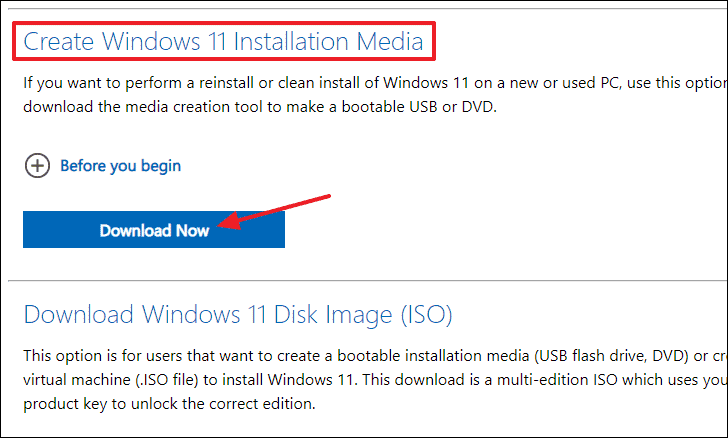
- Run the downloaded ‘MediaCreationToolW11.exe’ file.
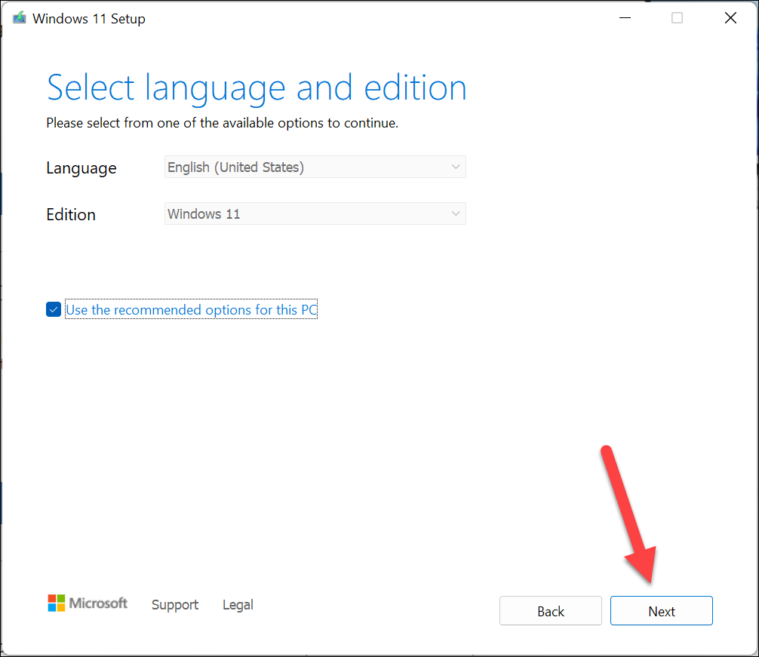
- Accept the license terms.
- Select your preferred language and click ‘Next’.
- Choose ‘USB flash drive’ and click ‘Next’.
- Select your USB drive and click ‘Next’.
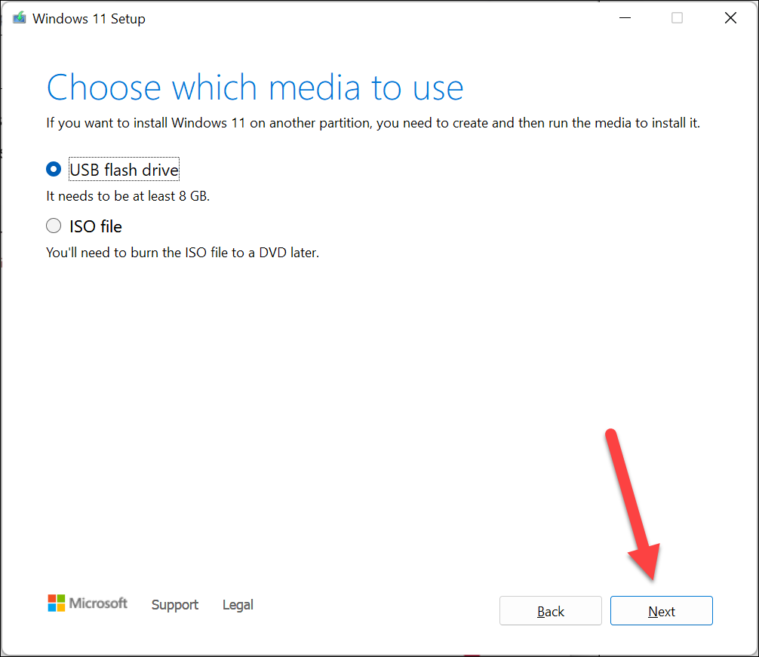
- Wait for the tool to create the bootable USB drive.
- Restart your computer and boot from the USB drive to install Windows 11.
Read: How to Install Windows 11 from a USB Drive
By following these methods, you should be able to resolve the error code 0x8007007f and successfully upgrade to Windows 11. Enjoy exploring the new features and enhancements Windows 11 brings to your system!


