
Personalizing your Xbox profile by changing your gamer pic not only makes your account stand out but also reflects your gaming persona. The Xbox app on Windows 11 makes it easy to update your profile picture, and this guide will walk you through the steps to do so.
Open the Start Menu on your Windows 11 PC and type
Xbox in the search bar. Click on the Xbox app from the search results to launch it.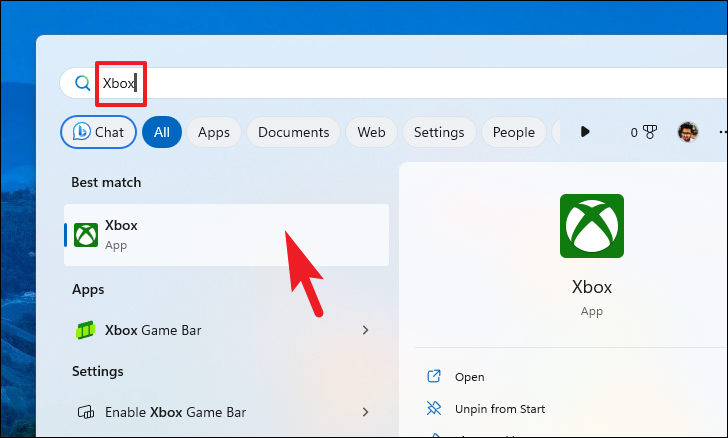
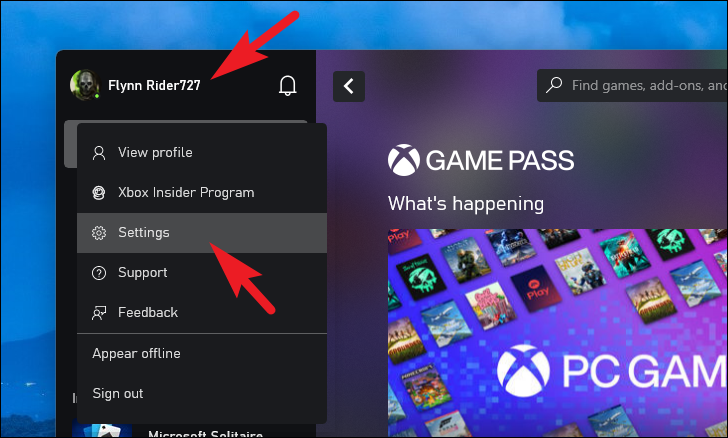
Once the Xbox app is open, locate your gamer tag at the top-left corner of the window and click on it. This will open a menu with several options. From this menu, select Settings.
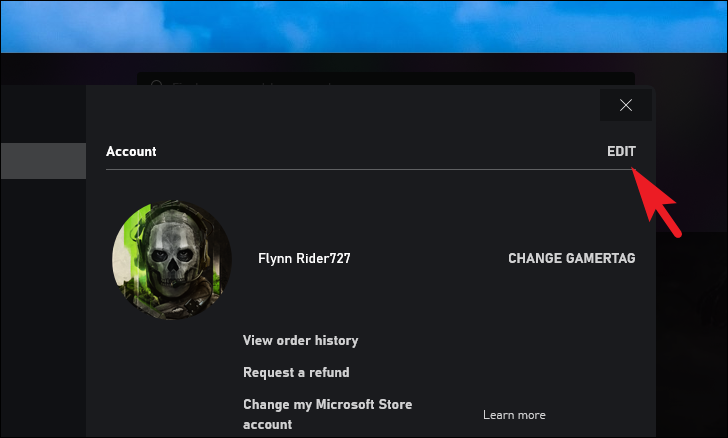
In the Xbox Settings overlay window, ensure you’re in the Account section from the left-hand navigation pane. To proceed with editing your account details, click on the Edit button located at the top-right corner of the overlay.
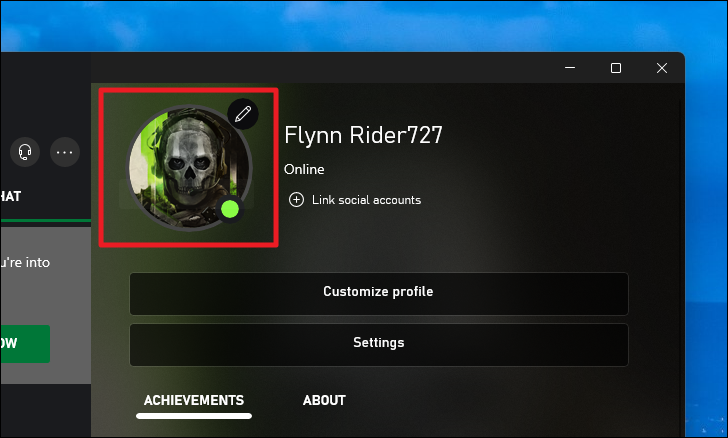
Next, click on your current gamer pic or the Edit icon adjacent to it. This action will bring up another overlay window where you can select a new gamer pic.
In the overlay window, browse through the collection of available gamer pics by scrolling down. Once you find an icon that you like, click on it to select it. After selecting your new gamer pic, click the Save button to apply the changes. Keep in mind that while the change is saved instantly, it may take up to 48 hours for the new picture to sync across all Xbox systems.
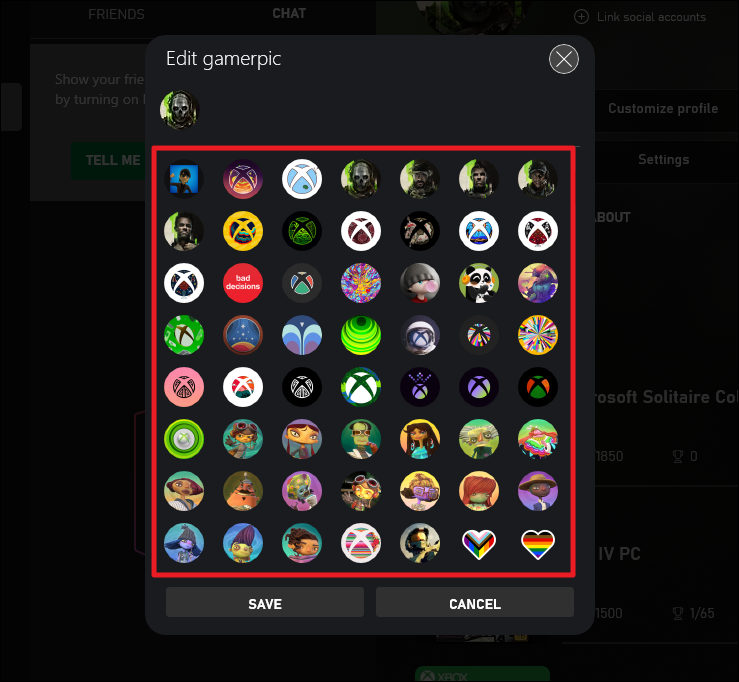
At this time, the Xbox app on Windows 11 does not support uploading a custom image from your device to use as a gamer pic. You can only select from the predefined set of icons provided within the app.
Updating your gamer pic on the Xbox app is straightforward and allows you to personalize your profile easily. Feel free to change it whenever you want a fresh look for your gaming persona.


