
Clicking a stable selfie, or capturing a large group in a picture can be quite challenging at times. In the former scenario, you have to manage the stability of the phone, whilst in the latter situation, you either have to find a person that can click a picture for you, or set a timer to click a picture on your phone and run back to your designated space in the group to include all members.
Fortunately, if you own an Apple Watch, things will get real smooth for you, as you can use your Apple Watch as a camera remote to click pictures, tweak some of the camera settings, and even look at the pictures you clicked. This ease of convenience will allow you to take the perfect shot without all the hassles that present themselves typically.
Moreover, tweaking settings, clicking pictures, or even viewing clicked pictures on your Apple Watch is easy to learn.
Note: To use your Apple Watch as a camera remote, it should be within the normal Bluetooth range (about 33 feet or 10 meters) of your iPhone.
Summon your iPhone Camera from your Apple Watch
You do not even need to launch the Camera app on your iPhone, you can simply head to your Apple Watch and launch the Camera Remote app on it to launch the Camera app on your iPhone and start clicking away those amazing pictures.
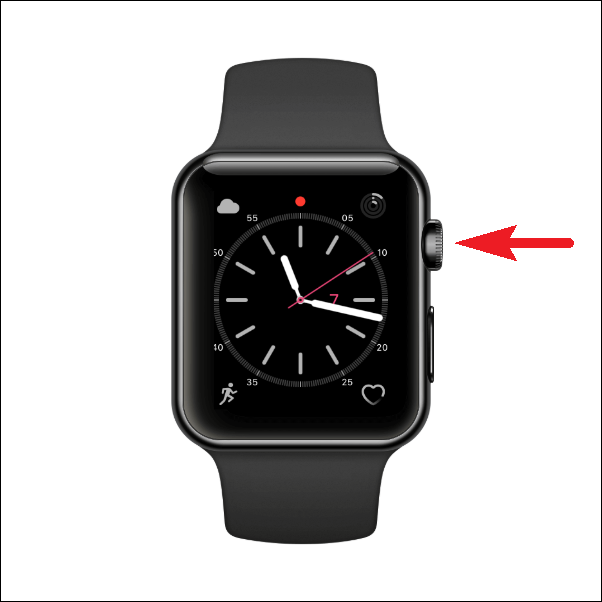
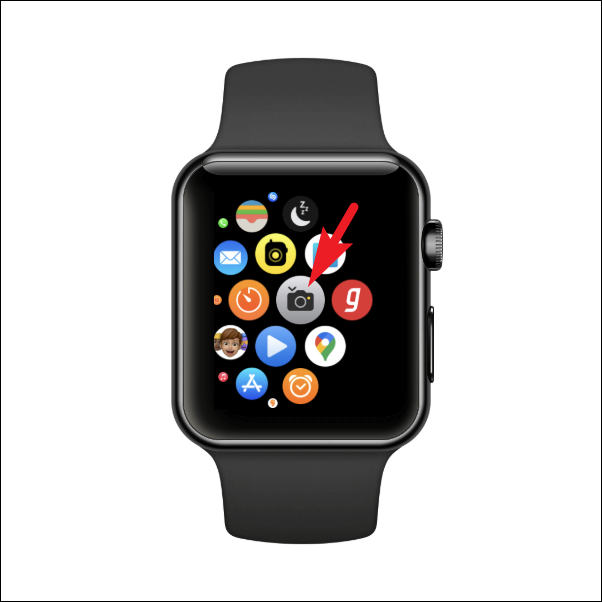
On your Apple Watch, press the Crown/Home Button to head to the home screen of the watch, if not already there.
After that, locate and tap on the ‘Camera Remote’ app tile from the grid or the list of apps. As soon as the app launches on your device, the Camera app will open on the connected iPhone.

Once the Camera app is open on your iOS device, your Apple Watch screen will display the feed from the viewfinder. Now, to click a picture tap on the ‘Shutter’ button present in the bottom section of the screen. By default, a three-second timer is enabled to click a picture from the Apple watch, but you can change it from the settings.

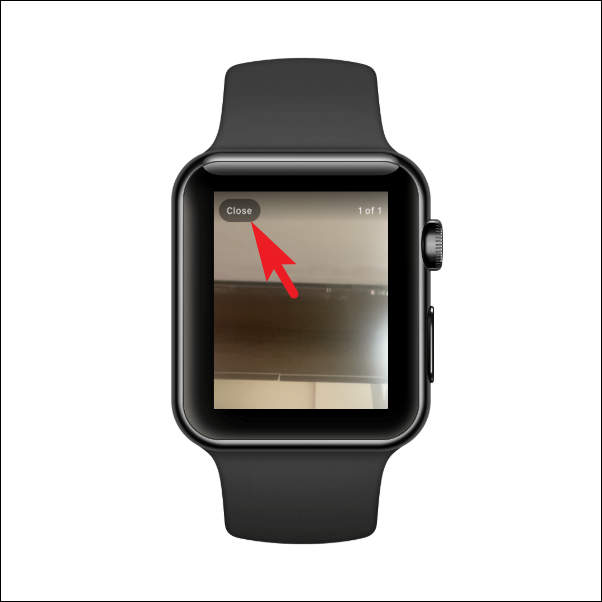
After clicking the picture, you can tap on the thumbnail present in the bottom-left corner of your Apple Watch screen to view it. You can zoom the photo by turning the digital crown.

Now, to exit the preview picture and head back to the camera viewfinder, tap on the ‘Close’ button present in the top left corner of the screen.
By default, the Camera Remote app initiates the back Camera, however, you can also switch to the front camera right from your Apple Watch.
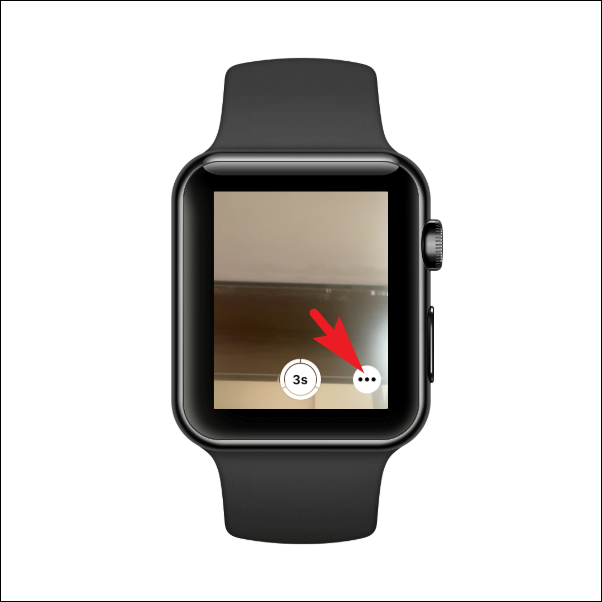
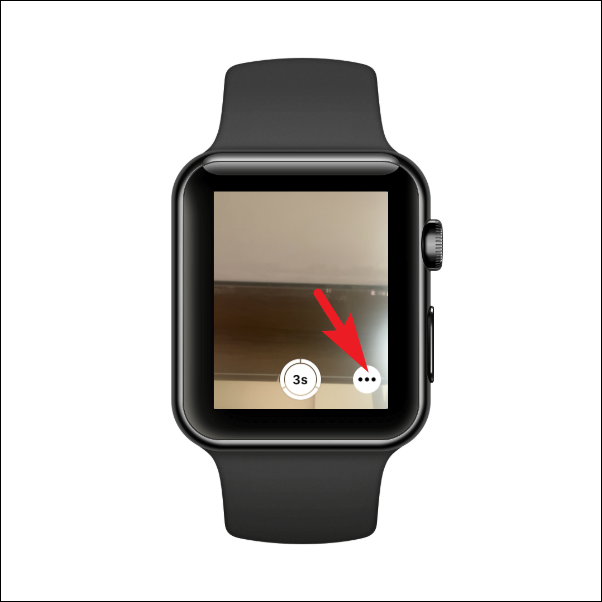
To switch to the front camera, tap on the ‘ellipsis’ icon (three horizontal dots) present in the bottom right corner of the screen. This will bring an overlay window to your Apple Watch screen.
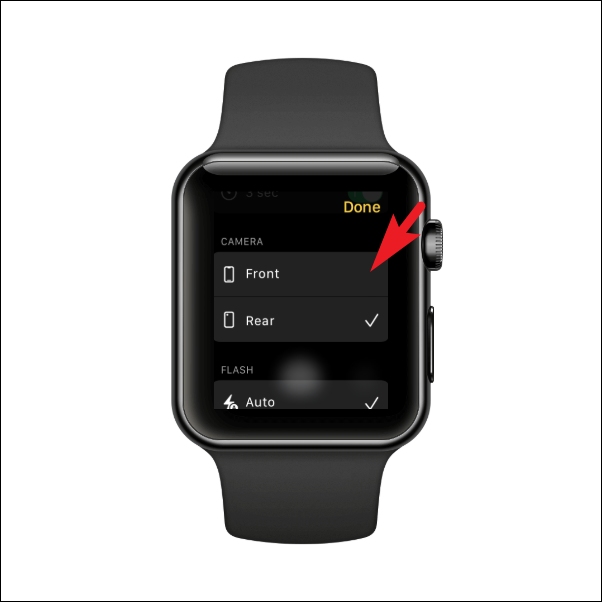
After that, locate the ‘Camera’ section and tap the ‘Front’ option to switch to the front camera on your iPhone. Then, press the ‘Done’ button present in the top right corner of the screen to return to the viewfinder screen on your Apple Watch.
You will be able to find the pictures stored in the Photos app on your iPhone.
Along with clicking pictures, you can also adjust some of the Camera settings on your Apple Watch.
Tweak Camera Settings from your Apple Watch
You can tweak basic settings such as toggling the options for HDR or Live Photos, changing flash modes, or even turning the timer for photos on or off.
To tweak the settings, head to the Camera Remote app from the home screen of your Apple Watch if not already opened.
Next, tap on the ‘ellipsis’ (three horizontal dots) icon present on the bottom right corner of the screen to proceed.
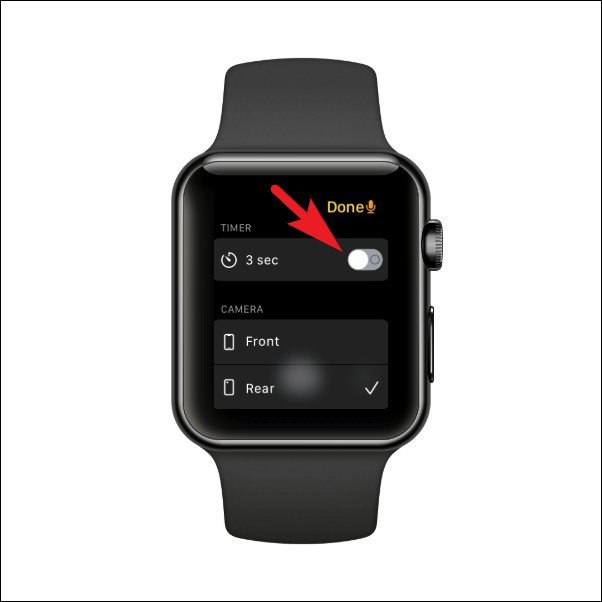
Then, on the next screen, if you wish to disable the timer, locate the ‘Timer’ section and tap on the toggle switch present on the far right edge of the ‘3-sec’ option.
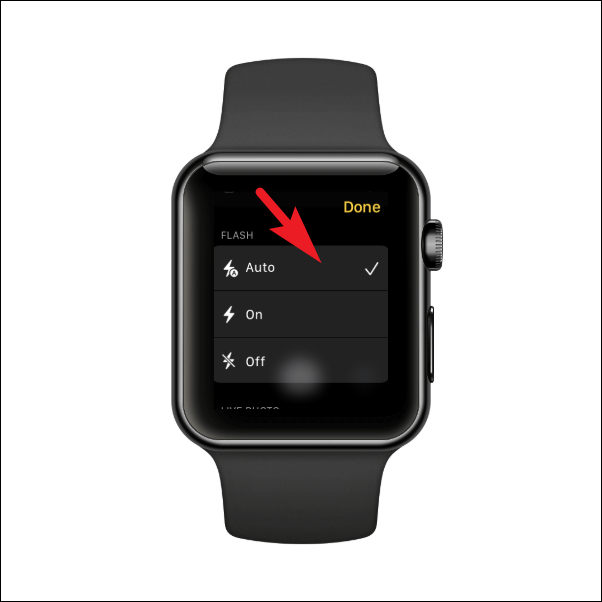
After that, if you wish to change the flash settings, locate the ‘Flash’ section on the screen and tap on the preferred option from the list to continue. To give you a gist, these options are identical to the flash options present on your iPhone. The ‘Auto’ option automatically detects if the flash is needed or not, the ‘On’ option always initiates a flash at the time of clicking a picture, and the ‘Off’ turns the flash off completely for every picture.
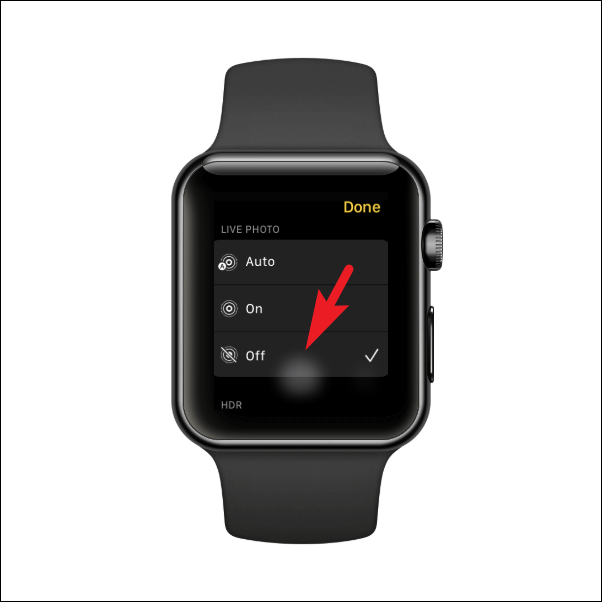
Now, if you wish to toggle the settings for live photos, head to the ‘Live Photo’ section. Then, under the section choose one of the preferred options. Just to give you a refresher, the ‘Auto’ option would automatically capture a live photo only when conditions are favorable, and the ‘On’ option would always take a Live Photo on your iPhone.
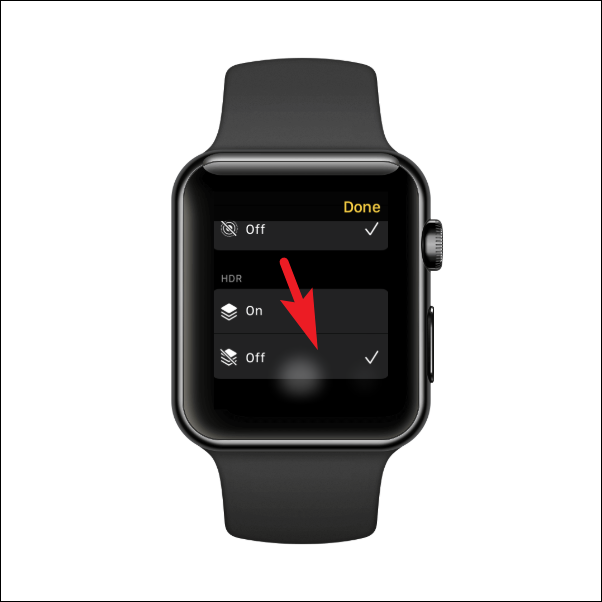
You can also toggle the HDR settings for photos from your Apple Watch. Head to the ‘HDR’ section on the Settings screen and then tap on the ‘On’ option to enable HDR photos. In case you wish to turn off HDR for photos, tap on the ‘Off’ option.
And that’s about it, these are all the settings you can tweak from your Apple Watch.
How to Record Video, Slow-Mo, Time-Lapse, or Capture Portrait Photos from your Apple Watch
Along with simply clicking pictures, you can also record videos, create slo-mo or time-lapse videos, and click pictures using the Portrait mode on your iPhone with the Apple Watch. However, please keep in mind that you cannot click ‘Panoramic’ pictures using the Apple Watch.
However, there is a bit of a catch to the situation. While you can definitely record videos and click photos as mentioned above, you will need to manually change the mode on your iPhone and there is no provision to change the mode right from the Apple Watch, which might come across as an inconvenience to some.
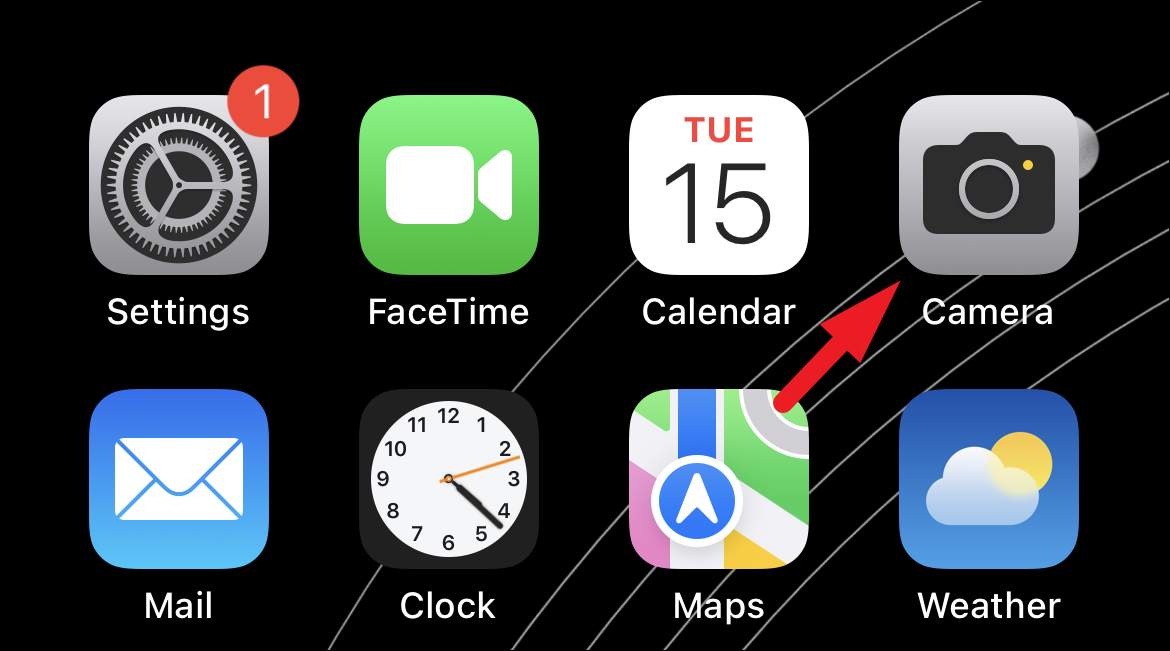
Hence to record a normal video, slow-mo, or time-lapse, first, open the ‘Camera’ app on your iPhone either from the home screen or the App Library.
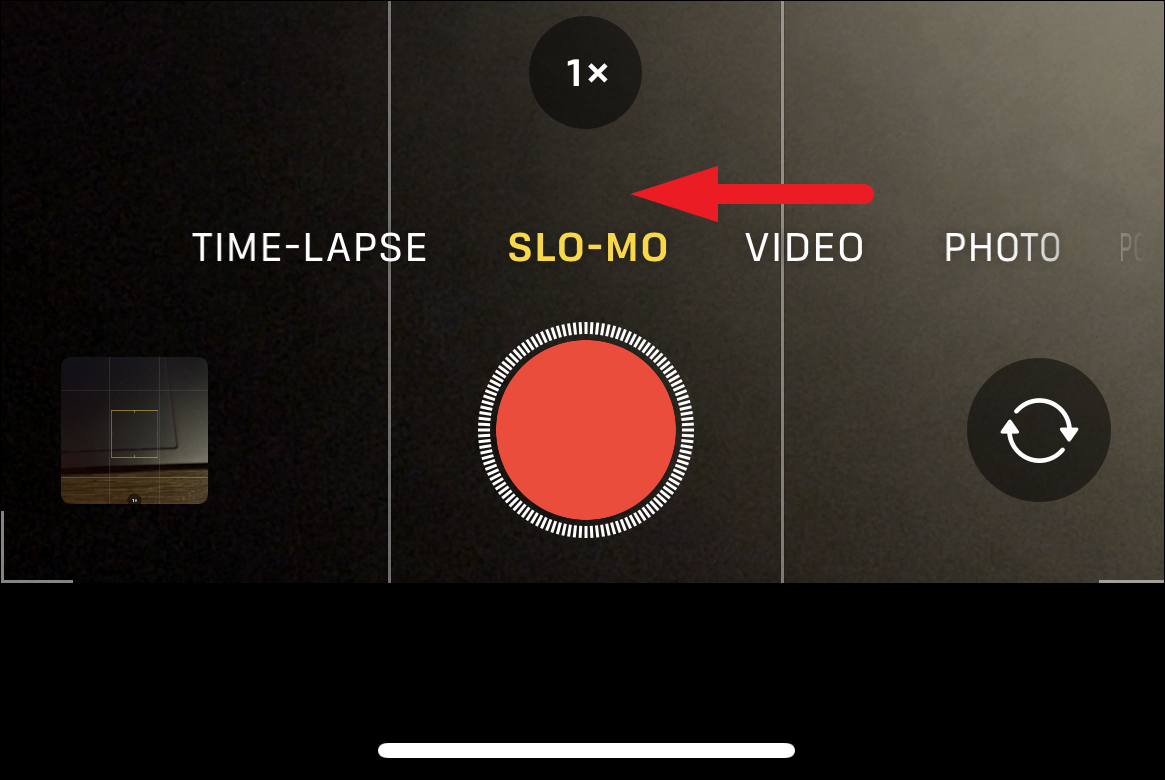
After that, swipe left to right till you reach the desired mode in the Camera app.
Now, on your Apple Watch, press the Crown/Home button to reach the home screen.
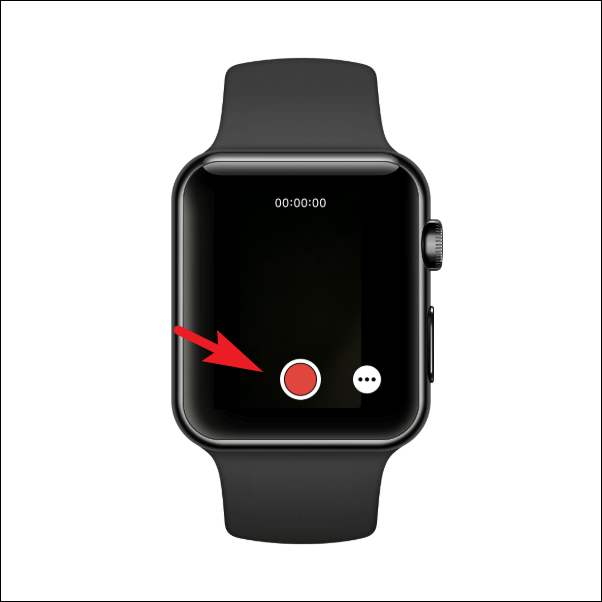
Now, locate and tap on the ‘Camera Remote’ button to continue. The app will open in the same mode that you have selected on your iPhone.
Then, tap on the ‘Record’ button to start recording the video. In case you are taking a portrait photo, click on the ‘Camera Shutter’ button to take the picture.
There you go, folks! Hopefully, using this guide, you will be able to take amazing pictures on your iPhone using your Apple Watch.


