How to Fix 4K Video Not Playing (Stuttering) on Windows 11
4K video too laggy to view when playing? Try one of these fixes to resolve the issue on your Windows computer and get back that buttery smooth playback.
4K video too laggy to view when playing? Try one of these fixes to resolve the issue on your Windows computer and get back that buttery smooth playback.
by Parth Sawhney
Many Windows 11 users have reported experiencing stuttering or lag while playing 4K videos on their devices. This issue can be particularly disruptive, especially if your workflow involves viewing high-resolution videos regularly. While this problem isn’t critical, it’s essential to address it for a smoother multimedia experience on your PC. Below, you’ll find several methods to resolve this playback issue.
1. Update your graphics drivers
Outdated graphics drivers are a common cause of video playback problems, including stuttering with 4K videos. Updating your graphics drivers can enhance performance and resolve compatibility issues.
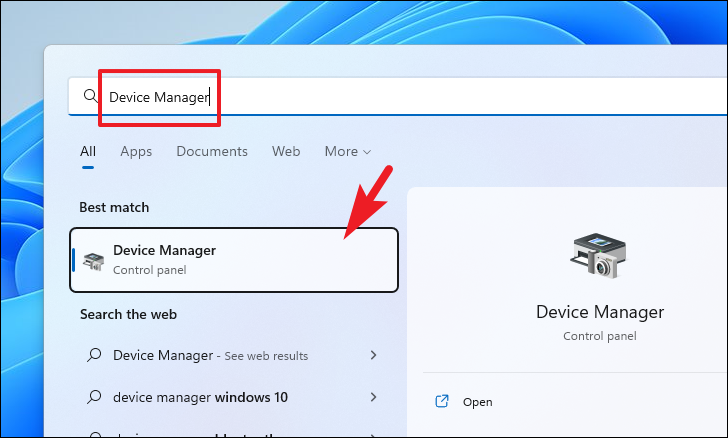
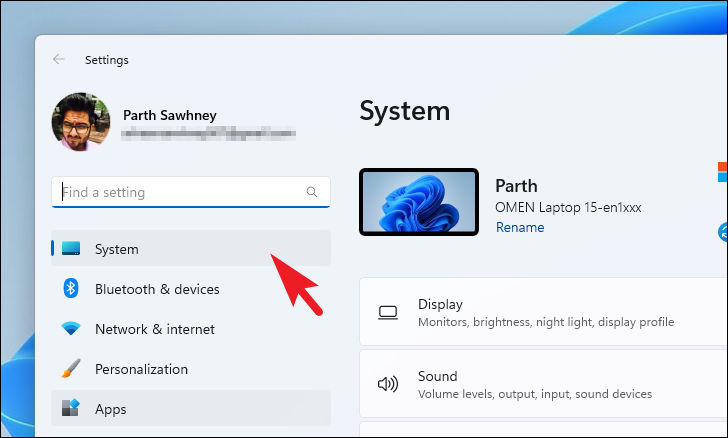
Open the Device Manager. Click on the Search icon on the Taskbar, type Device Manager in the search bar, and select the Device Manager app from the results.
In the Device Manager window, locate and expand the Display adapters section by clicking the arrow next to it. Right-click on your primary graphics card and select Update driver from the context menu.
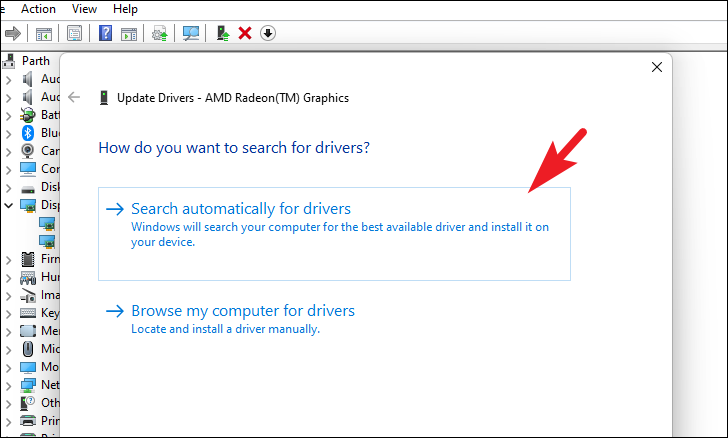
In the Update Drivers window, click on Search automatically for drivers. Windows will search for the latest drivers and install them if available.
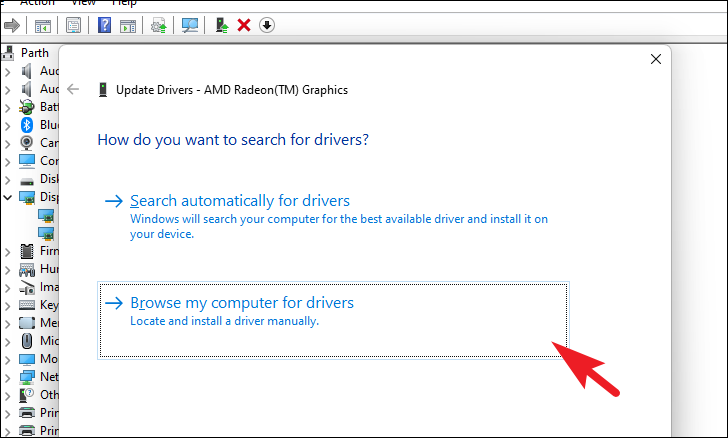
If you have already downloaded the latest drivers from the manufacturer’s website, choose Browse my computer for drivers and navigate to the location where the driver is saved.
Once the drivers are updated, restart your computer and try playing the 4K video again to see if the issue persists.
2. Switch to the dedicated graphics card
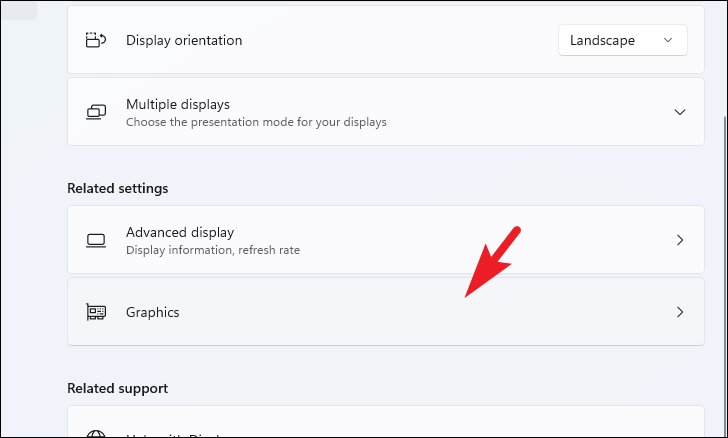
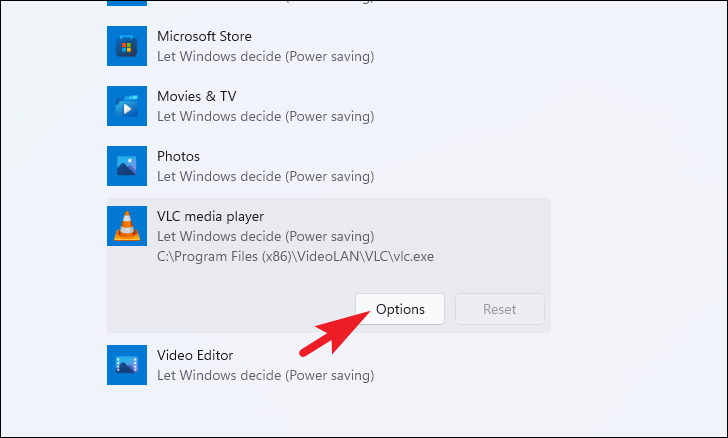
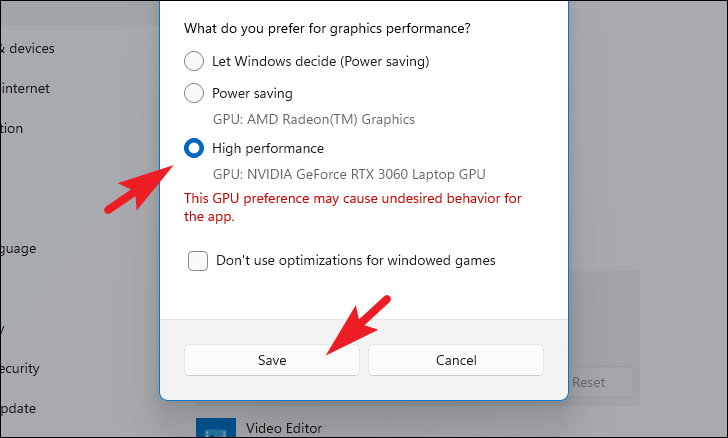
Many modern computers come with both integrated and dedicated graphics cards. The integrated card handles less demanding tasks, while the dedicated card is designed for high-performance applications. Ensuring that your video player uses the dedicated graphics card can improve 4K video playback.
In the Graphics settings, find your video player in the list under Custom options for apps. If you don’t see it, you can add it by clicking on Browse and selecting the application executable file.