
Creating a recovery drive in Windows 11 is an essential step to safeguard your system against critical issues that standard troubleshooting cannot fix. By having a recovery drive, you can reinstall Windows 11 and recover your system without losing important data. This guide will walk you through the steps to create your own recovery drive.
recovery into the search bar. From the search results, select the ‘Create a Recovery Drive’ option to open the Recovery Drive wizard.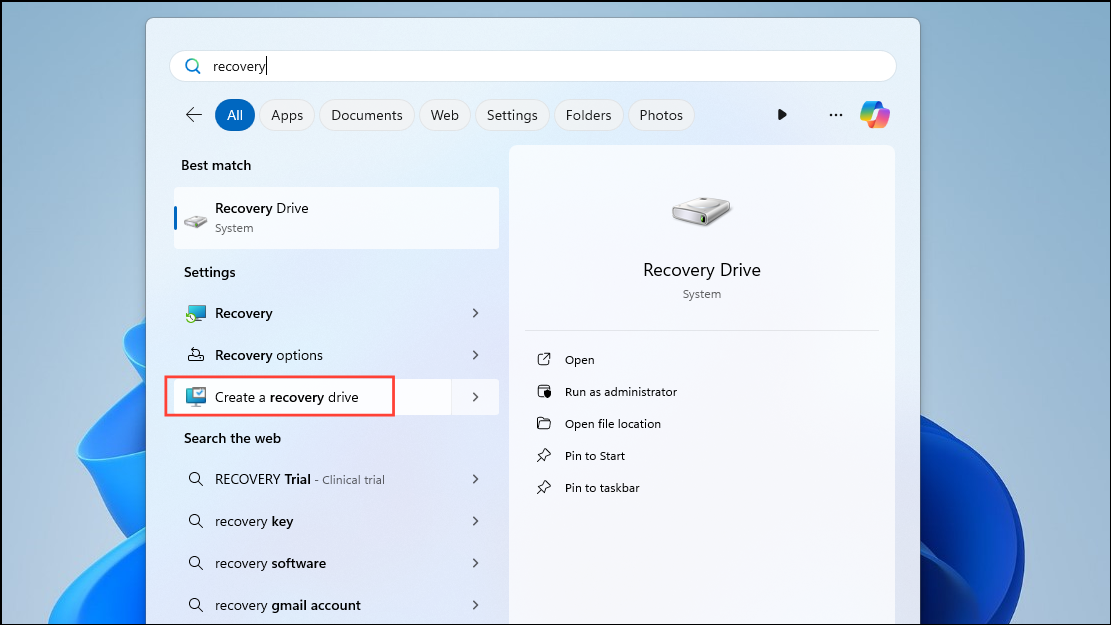
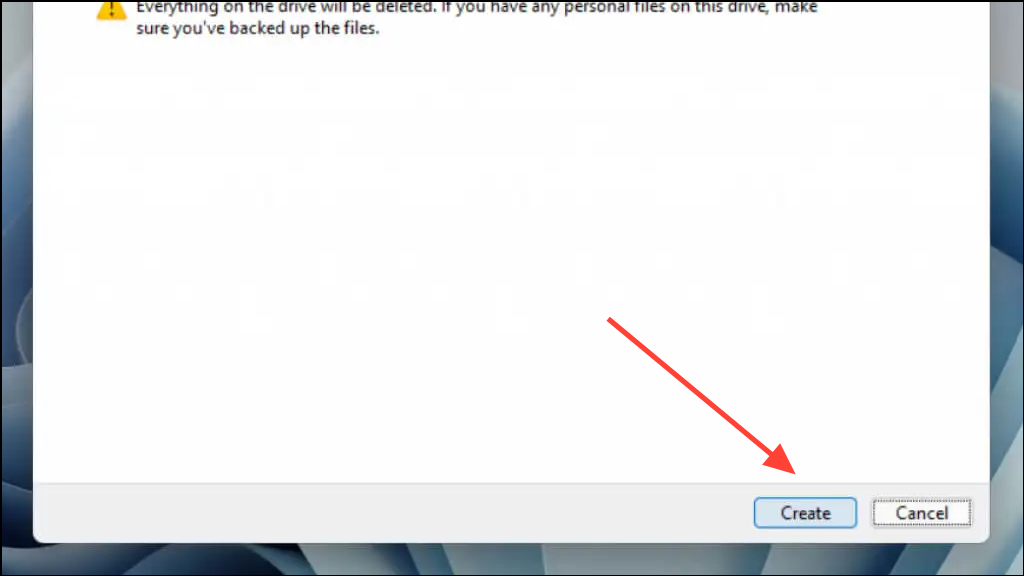

By following these steps, you now have a recovery drive that can help you reinstall Windows 11 if your system encounters serious issues or fails to start. You can also use the recovery drive to restore your PC if you have previously created a system restore point. It’s advisable to update your recovery drive regularly to include the latest system updates and features, ensuring you have the most current recovery options available.


