
Sharing your PC’s internet connection with other devices can be incredibly handy in various situations. Windows 11 provides a simple way to turn your computer into a mobile hotspot, allowing you to share your internet over Wi-Fi, Bluetooth, or Ethernet. This guide will walk you through the steps to create and configure a Wi-Fi hotspot on your Windows 11 device.
Create and configure the Wi-Fi hotspot from the settings
Settings icon to proceed. Alternatively, you can search for Settings in the Start Menu search bar.
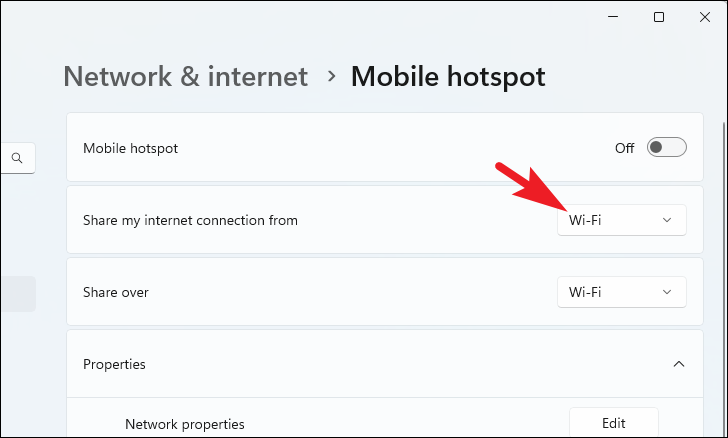
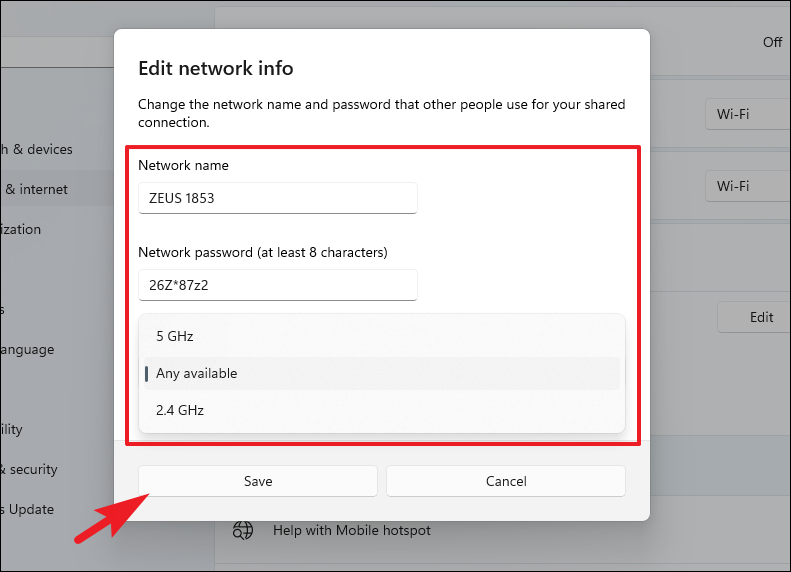
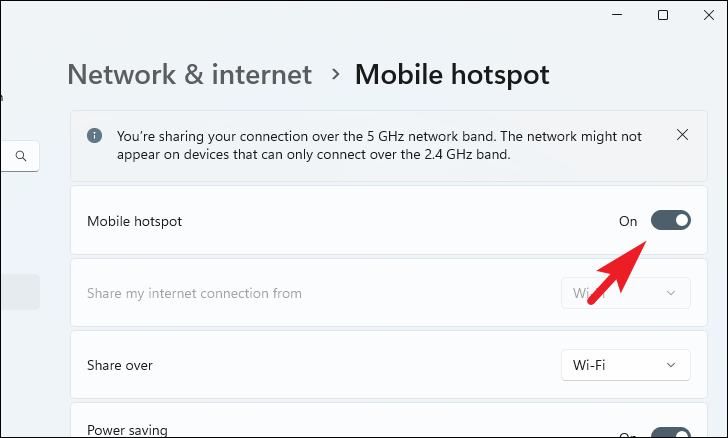
Wi-Fi or Bluetooth. If you have an Ethernet connection, that option will also be available.

Tip: For a longer range, consider using the 2.4 GHz frequency.
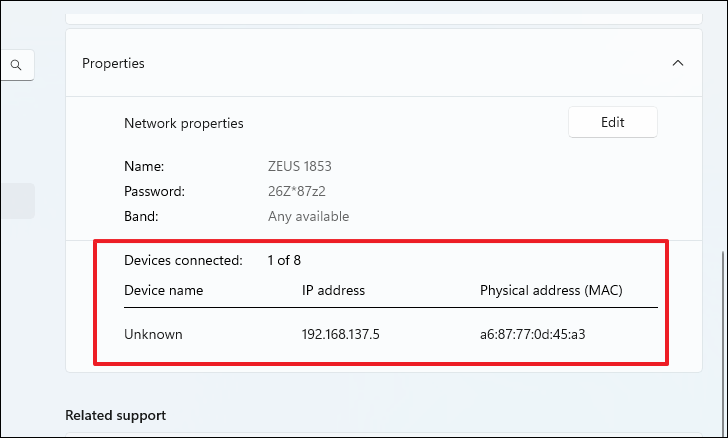
Once the hotspot is enabled, you can view connected devices on the same page. Windows 11 allows up to eight devices to connect simultaneously.
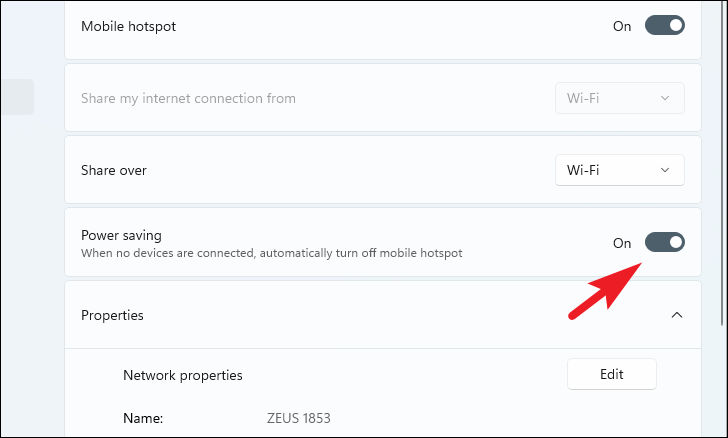
Optional: If you want the hotspot to automatically turn off when no devices are connected, enable the toggle next to Power saving.
Now you’re all set. By following these steps, you can easily configure and activate a hotspot on your Windows 11 computer.


