
Switching mouse pointers frequently on shared Windows 11 devices can disrupt workflow and confuse users who rely on familiar visual cues. Enforcing a standard mouse pointer helps organizations, schools, and families maintain consistency and prevent accidental or unwanted changes. Windows 11 offers a straightforward way to lock down mouse pointer customization through Group Policy, with alternative registry methods for editions lacking the Group Policy Editor.
Use Local Group Policy Editor to Block Mouse Pointer Changes
Win+R, then typing gpedit.msc and pressing Enter. This tool is available in Windows 11 Pro, Enterprise, and Education editions. If you’re using Windows 11 Home, skip to the next method.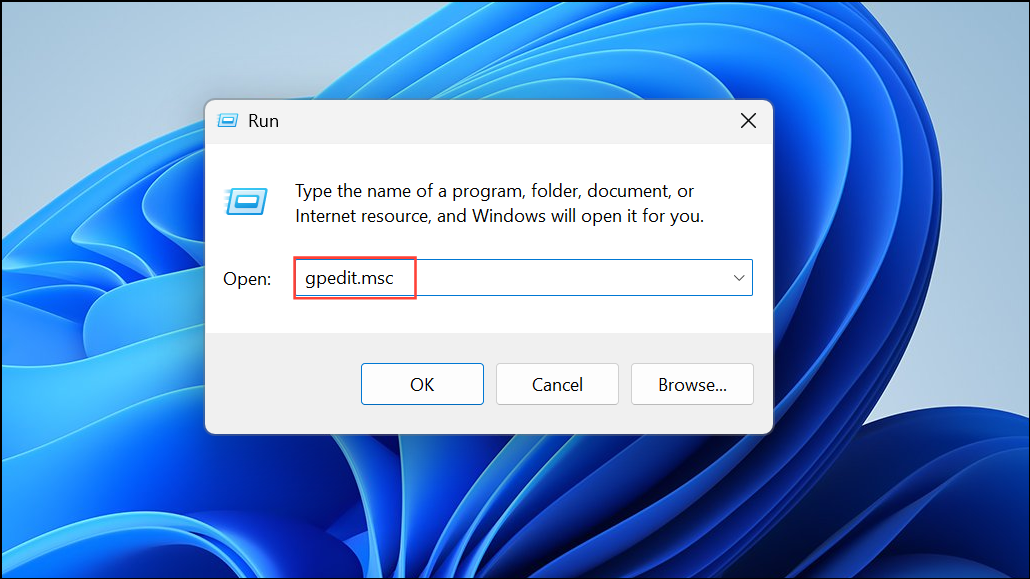
User Configuration > Administrative Templates > Control Panel > Personalization. This section contains user interface policies for personalization settings.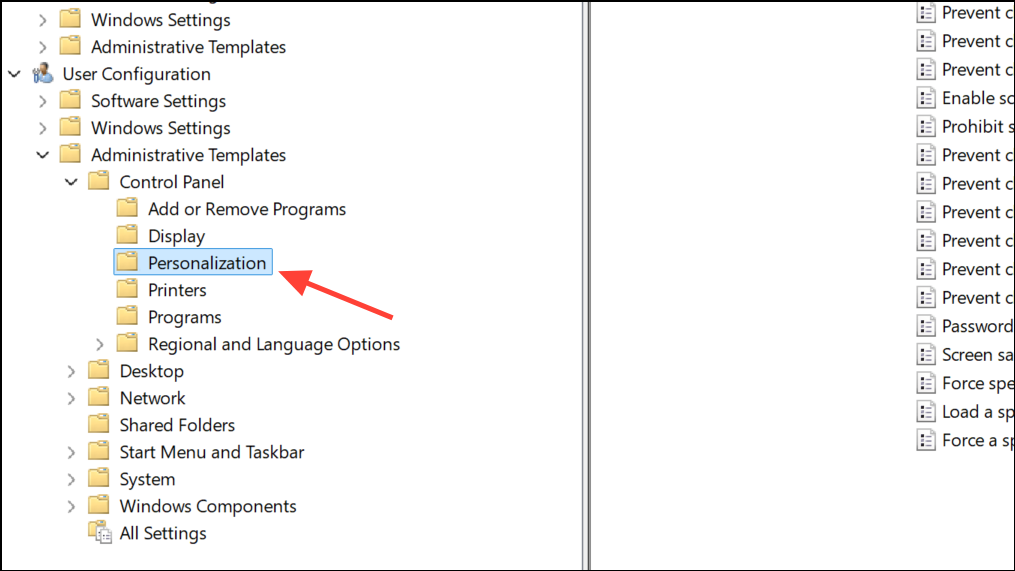
Prevent changing mouse pointers. Double-click it to open its configuration window.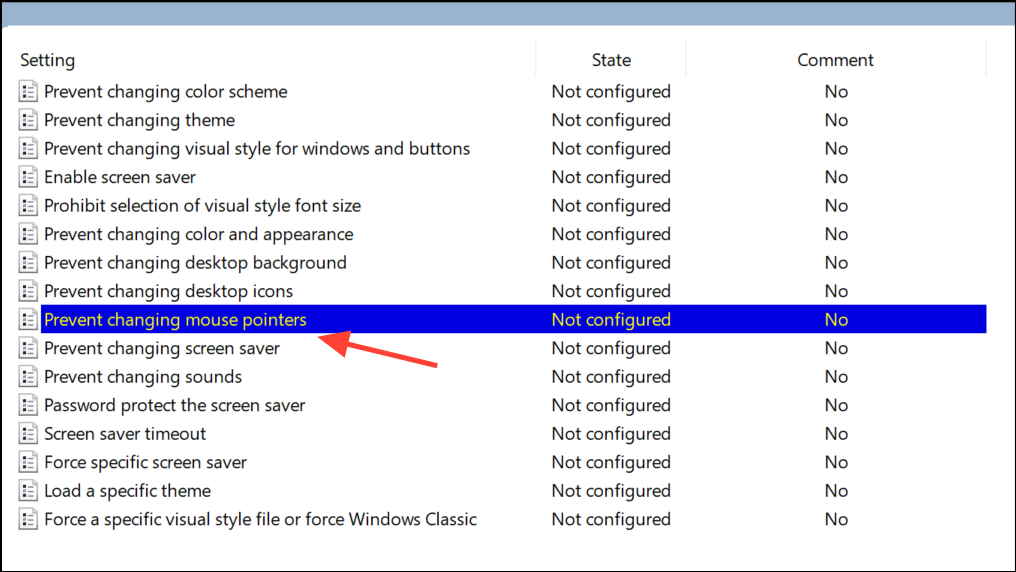
Enabled option. This setting removes the ability for users to access the “Pointers” tab in the Mouse Properties window, effectively blocking any pointer changes. Click Apply and then OK to save your changes.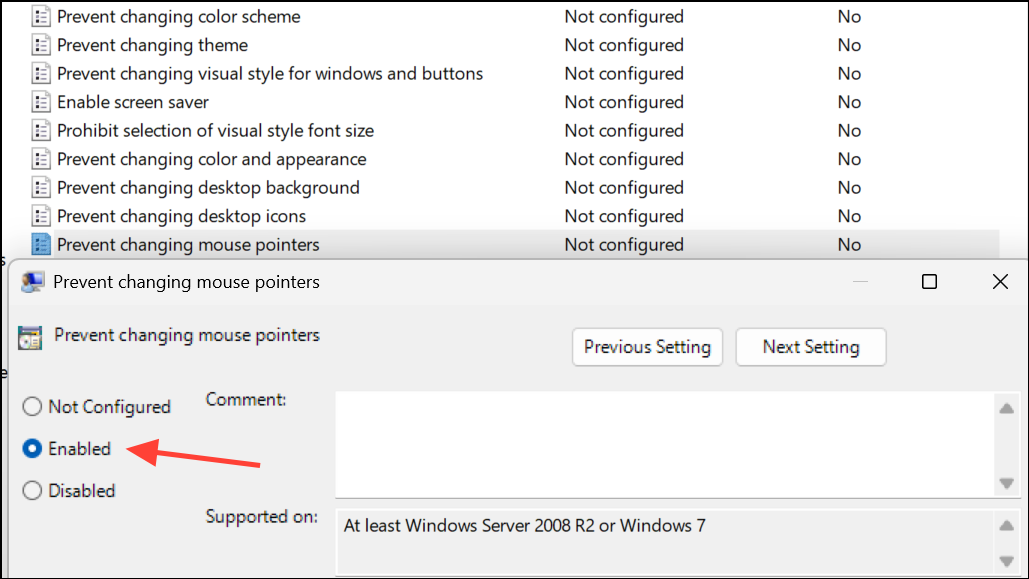
This method is reliable for environments where multiple users share the same device, such as classrooms, libraries, or offices. If you ever need to re-enable pointer customization, return to the same policy and set it to Not Configured or Disabled.
Apply a Registry Tweak to Disable Pointer Changes (All Editions)
For Windows 11 Home users or anyone preferring a direct registry approach, modifying a specific registry value achieves the same result. This method is also useful for deploying the setting across multiple devices using scripts.
Win+R, type regedit, and press Enter to open the Registry Editor. If prompted by User Account Control, click Yes.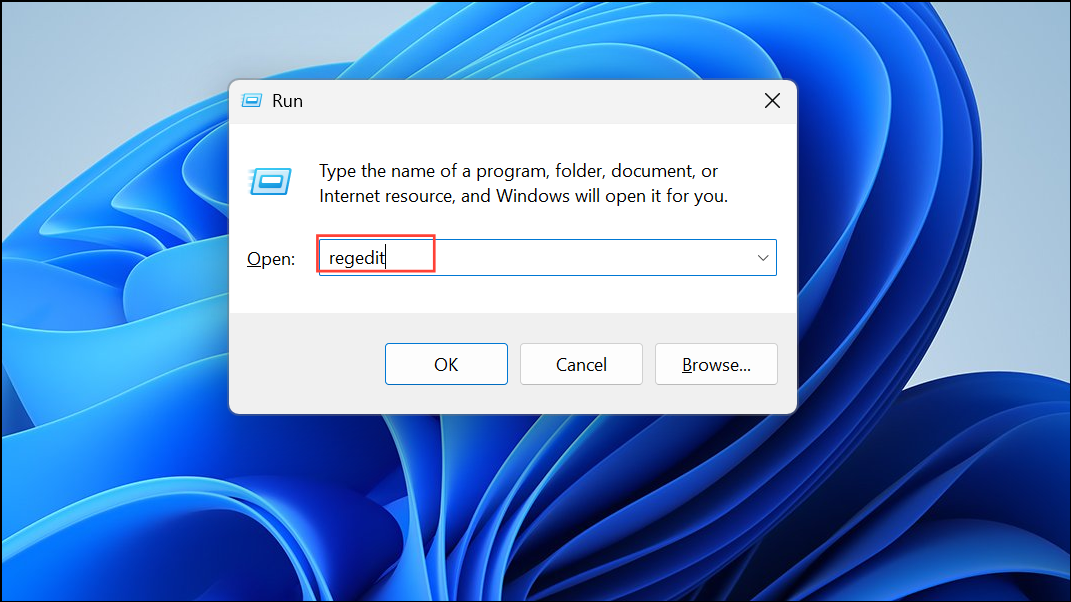
HKEY_CURRENT_USER\Software\Policies\Microsoft\Windows\PersonalizationIf the Personalization key does not exist, right-click the Windows key, select New > Key, and name it Personalization.
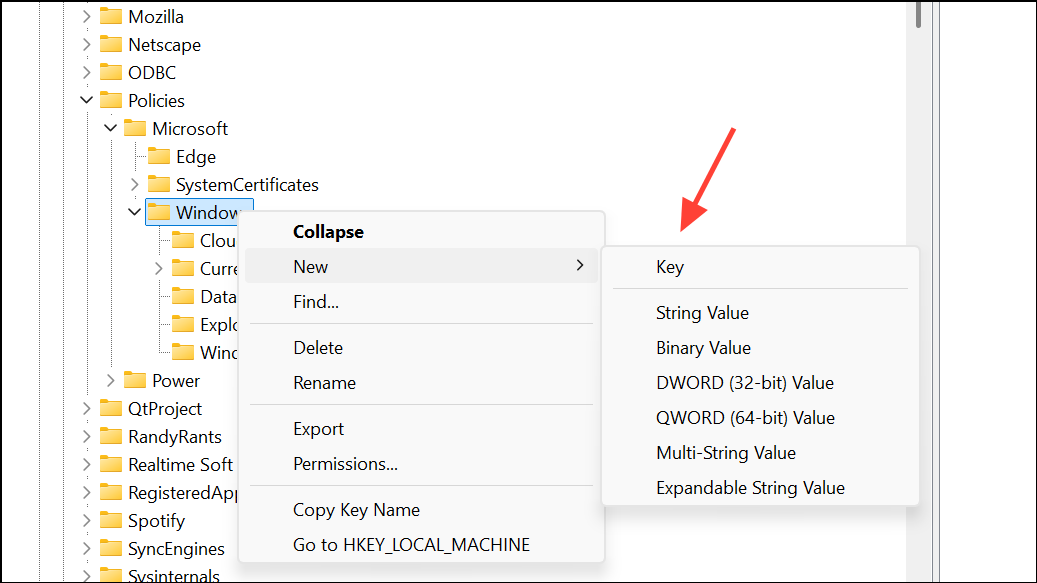
Personalization key, right-click the right pane, choose New > DWORD (32-bit) Value, and name it NoChangingMousePointers.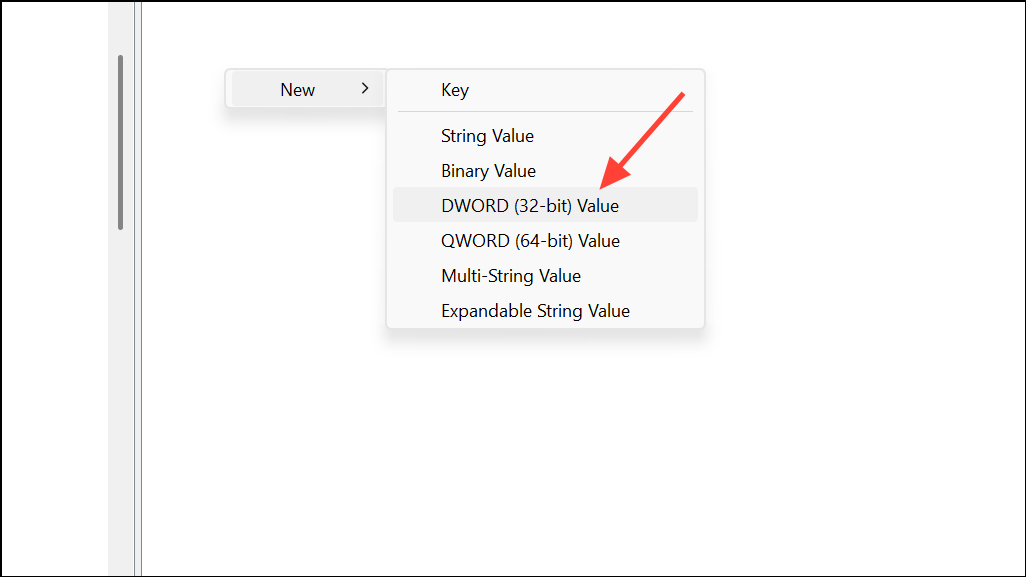
NoChangingMousePointers and set its value to 1. This disables the ability to change mouse pointers for the current user.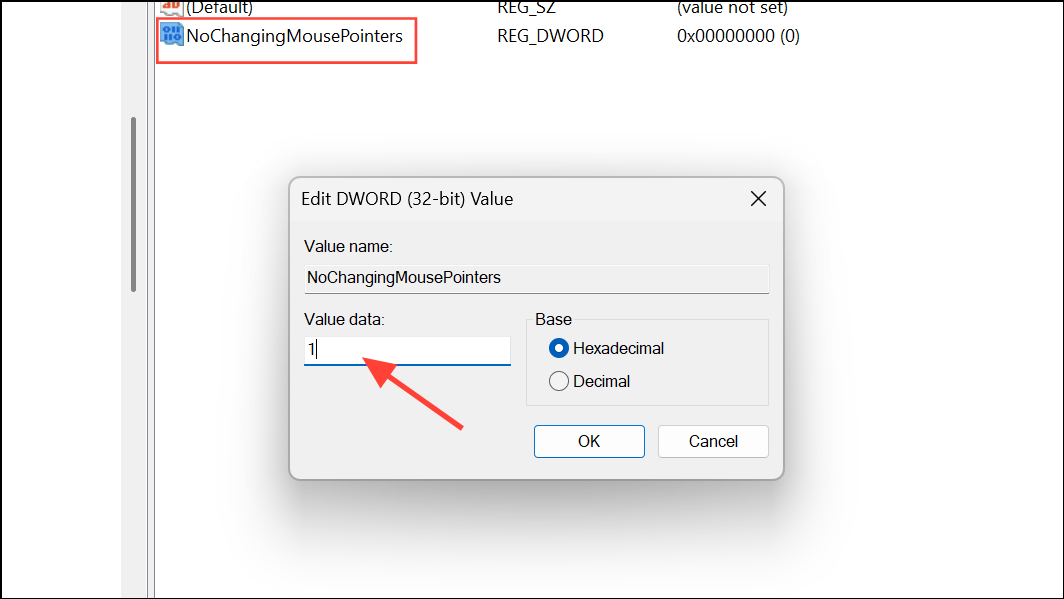
To re-enable pointer changes, either delete the NoChangingMousePointers value or set it to 0, then restart the computer.
Prevent Themes from Changing Mouse Pointers
Windows 11 themes can also modify mouse pointers. If you want to allow users to switch themes but not alter the pointer scheme, you can block theme-driven pointer changes through the registry.
HKEY_CURRENT_USER\Software\Microsoft\Windows\CurrentVersion\ThemesKey Considerations and Maintenance Tips
Blocking pointer changes helps keep the user interface predictable for all users. Keep in mind that these restrictions apply to all non-administrator users by default. If you need to allow exceptions for specific users, apply the policy or registry change only to their user profiles.
Regularly review group policy and registry settings after major Windows updates, as updates may reset or override some customizations. Document any changes for future troubleshooting or to quickly revert settings if needed.
Locking down mouse pointer customization in Windows 11 streamlines the user experience and avoids confusion on shared devices. These settings are easy to adjust if your needs change down the road.


