3 easy methods to create a Windows 11 installation media so you can fresh install the OS in a jiffy when required.
3 easy methods to create a Windows 11 installation media so you can fresh install the OS in a jiffy when required.
by Parth Sawhney
Having a Windows 11 installation media at your disposal is essential for installing or reinstalling the operating system on your PC. It can also be extremely helpful if you’re assisting others with setting up their computers. This guide will walk you through several methods to create a bootable Windows 11 installation media, complete with detailed instructions and images to guide you through the process.
Method 1: Create a bootable media using the Media Creation Tool
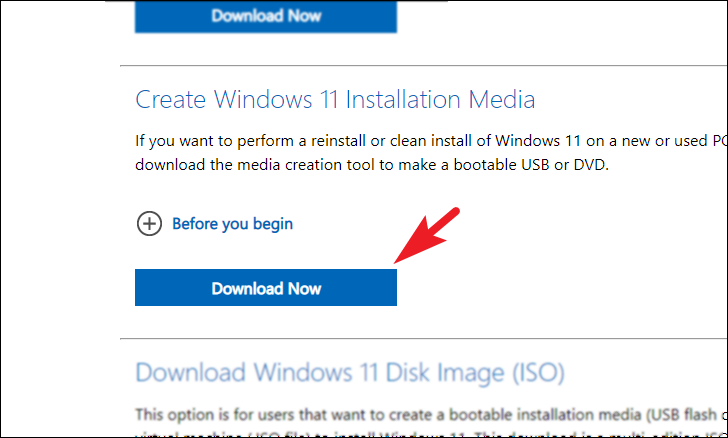
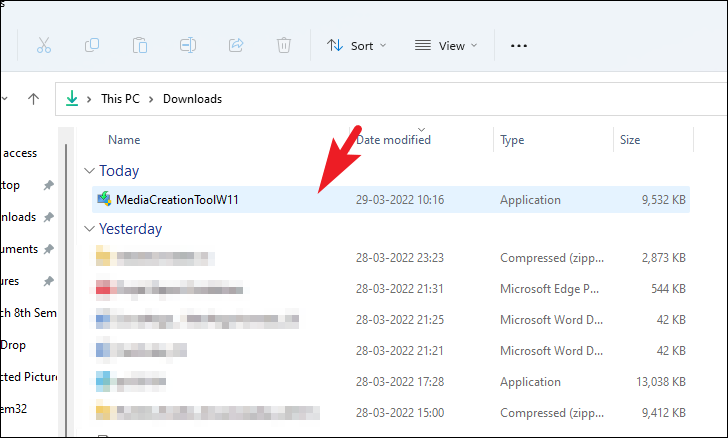
Creating a bootable USB drive using the Media Creation Tool is one of the simplest and most convenient ways to get a Windows 11 installation media. This method doesn’t require you to have a Windows 11 ISO file beforehand. Step 1: Visit the official Windows 11 Download page using your favorite web browser. Scroll down to the ‘Create Windows 11 Installation Media’ section and click on the ‘Download Now’ button to download the Media Creation Tool.
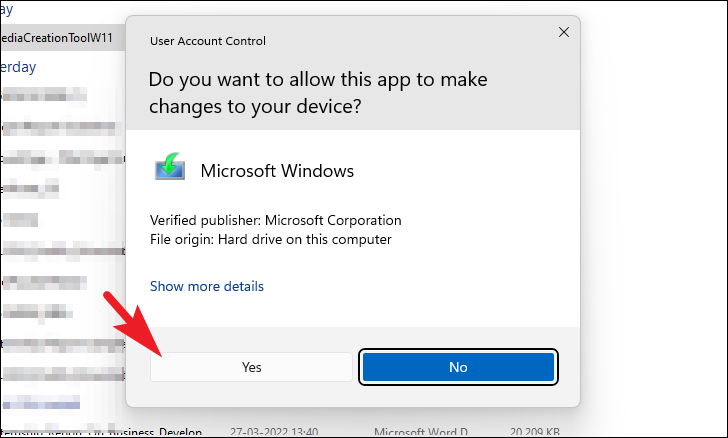
If prompted by the User Account Control (UAC), click ‘Yes’ to allow the tool to make changes to your device. If you’re not logged in as an administrator, you may need to enter administrator credentials.
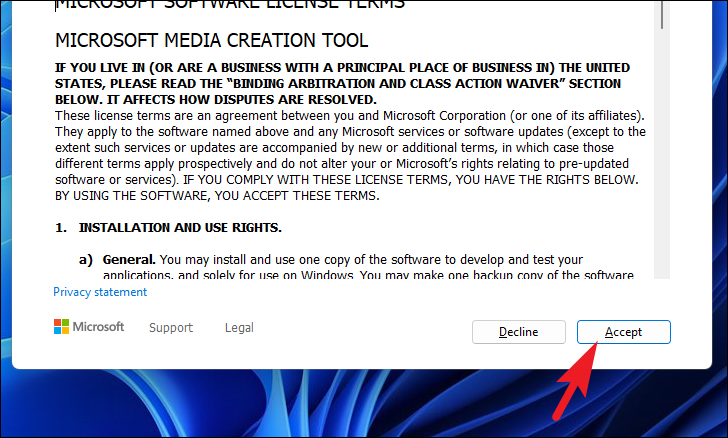
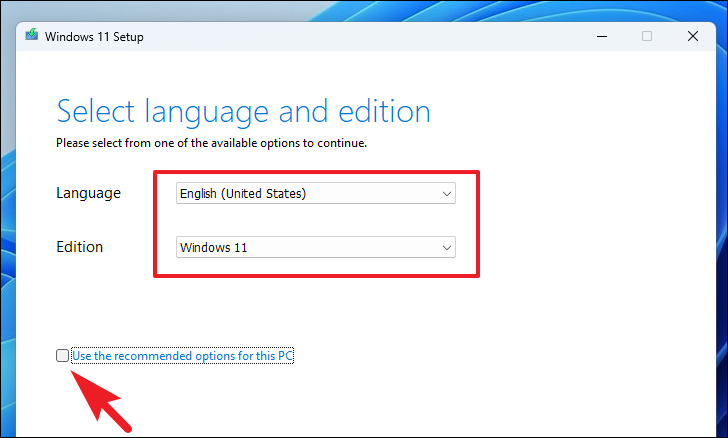
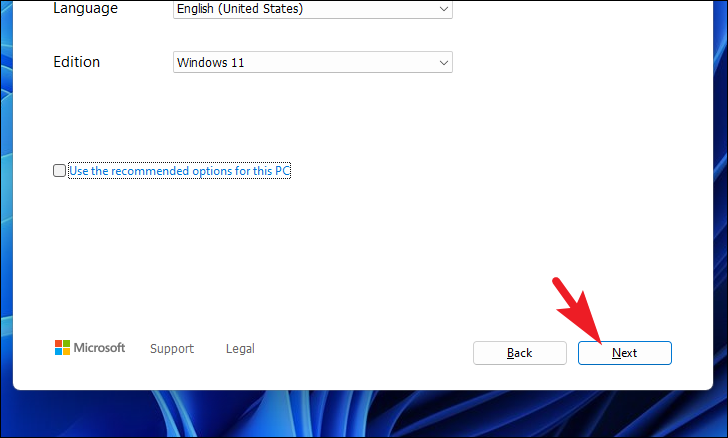
The tool will automatically select the language and edition that best match your current PC. If you want to use the recommended options, simply click ‘Next’. If you need to change the language or edition, uncheck the ‘Use the recommended options for this PC’ box and select your desired options from the drop-down menus before clicking ‘Next’.
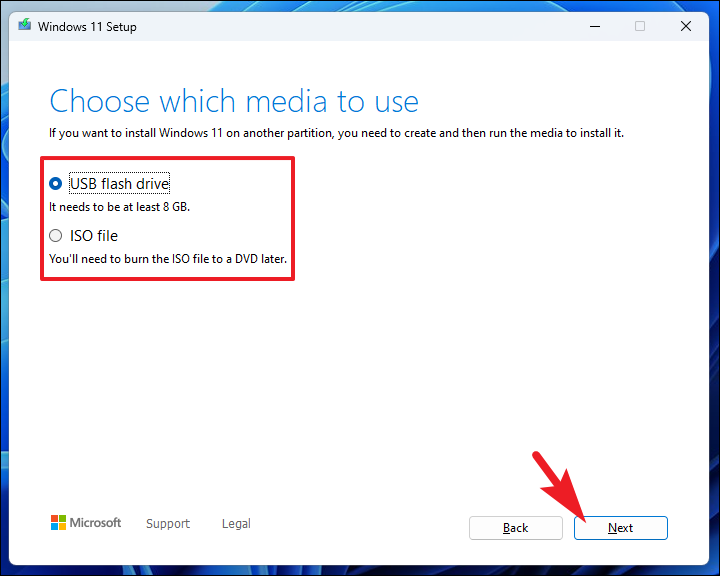
Choose the type of media you want to use. Select ‘USB flash drive’ to create a bootable USB drive, or ‘ISO file’ to download an ISO that you can burn to a DVD later. Click ‘Next’ to continue.
Note: If you’re creating a bootable USB drive, you’ll need a USB flash drive with at least 8 GB of space.
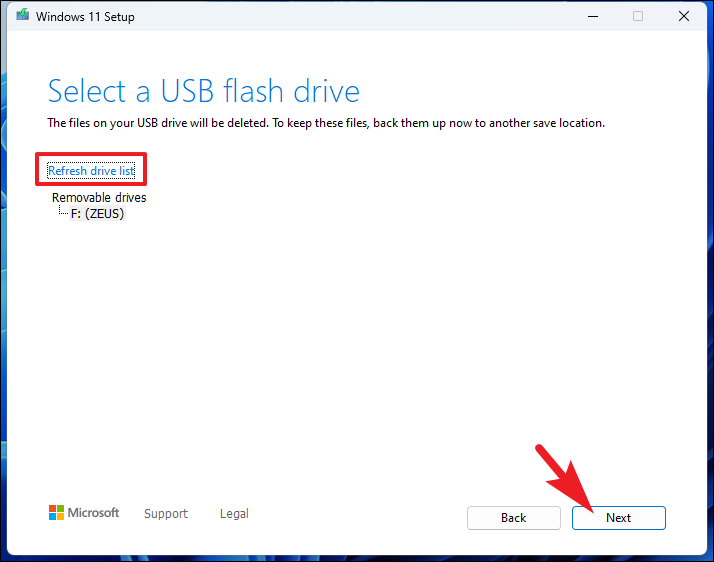
If you chose ‘USB flash drive’ in the previous step, select your USB drive from the list of available drives. If your USB drive isn’t listed, make sure it’s connected properly and click ‘Refresh drive list’. Once selected, click ‘Next’.
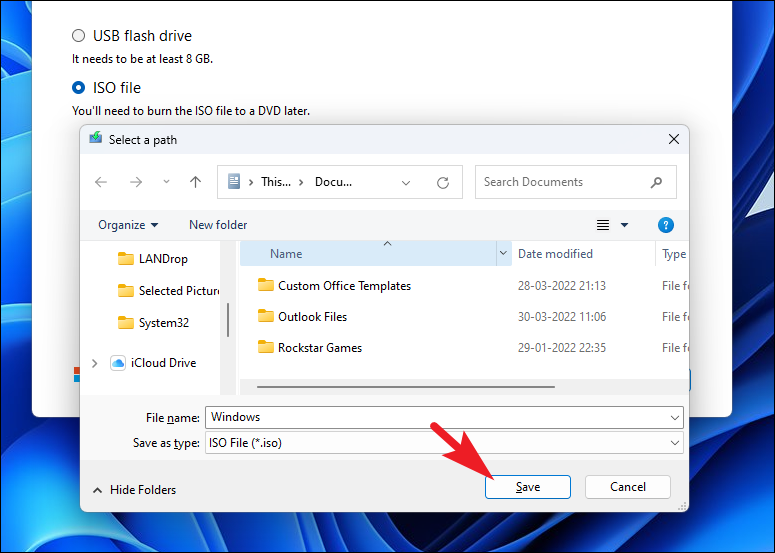
If you selected ‘ISO file’, you’ll be prompted to choose a download location. Browse to your desired folder, enter a file name if you wish, and click ‘Save’ to start downloading the ISO file.
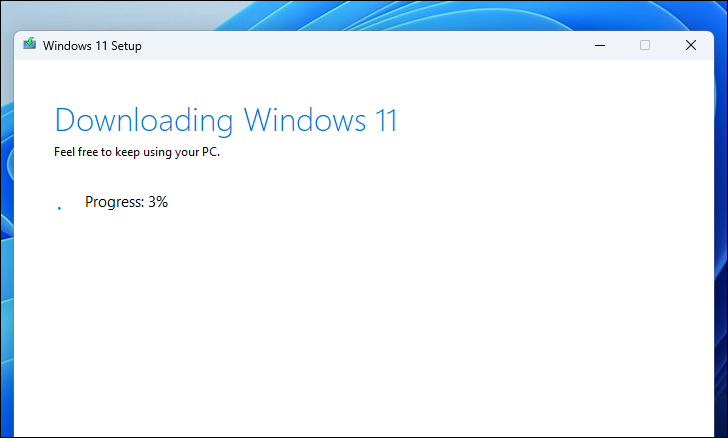
Once the process is finished, you’ll see a confirmation message. If you created a bootable USB drive, it’s now ready to use. If you downloaded an ISO file, you can now burn it to a DVD using your preferred software or create a bootable USB drive using the ISO file.
Method 2: Use a third-party software to create a bootable USB
Another effective method to create a Windows 11 installation media is by using third-party software like Rufus. Rufus is a lightweight and portable application that allows you to create a bootable USB drive using a Windows 11 ISO file.
Note: You’ll need a Windows 11 ISO file and a USB flash drive with at least 8 GB of space for this method.
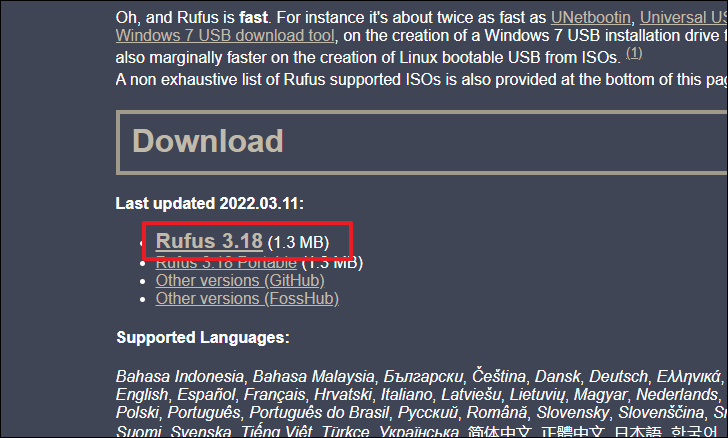
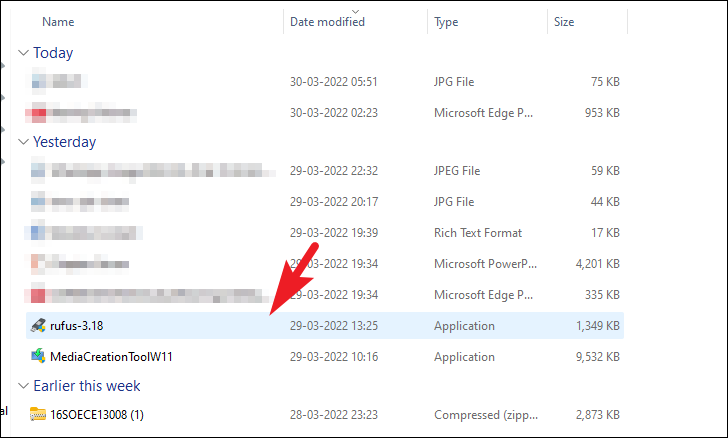
Download the Windows 11 ISO file from the official Microsoft website if you haven’t already. Step 2: Visit the Rufus website at rufus.ie. Scroll down to the ‘Download’ section and click on the latest version of Rufus to download the executable file.
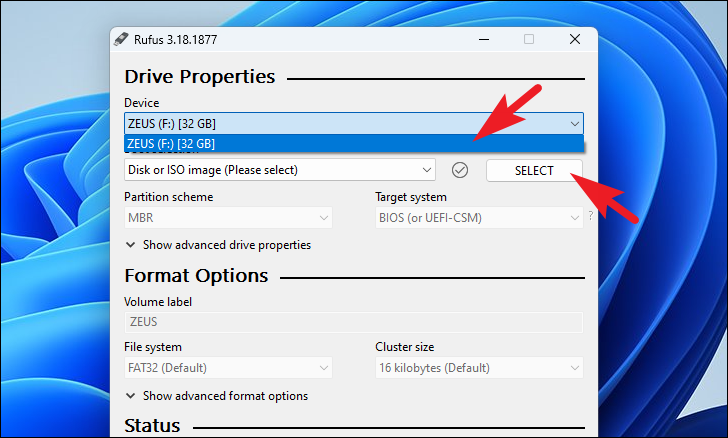
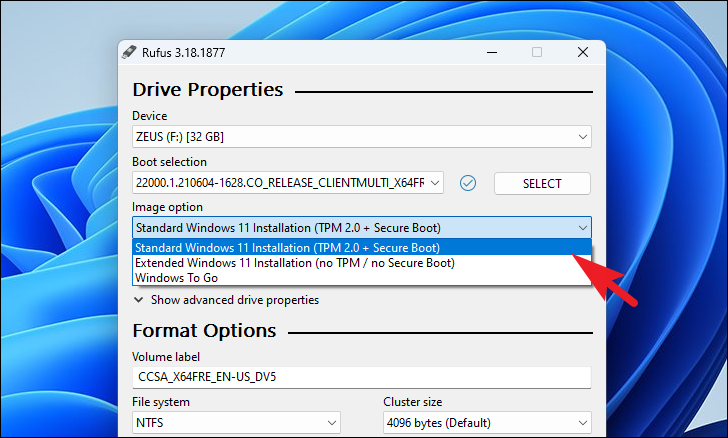
In the Rufus window, select your USB drive from the ‘Device’ drop-down menu. Step 6: Click the ‘Select’ button next to ‘Boot selection’ and browse to the location of the Windows 11 ISO file on your computer. Select the ISO file and click ‘Open’.
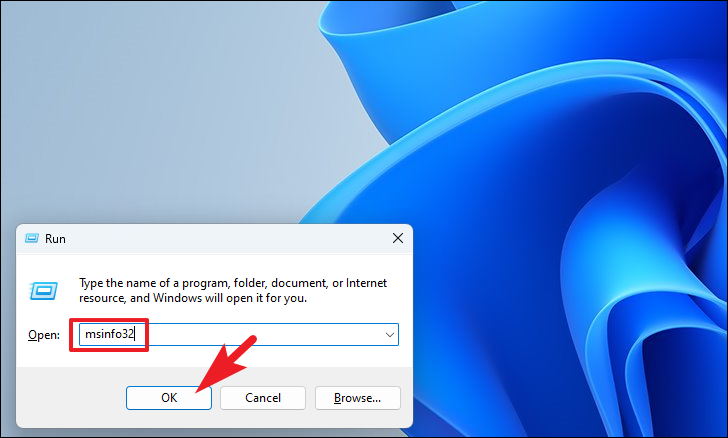
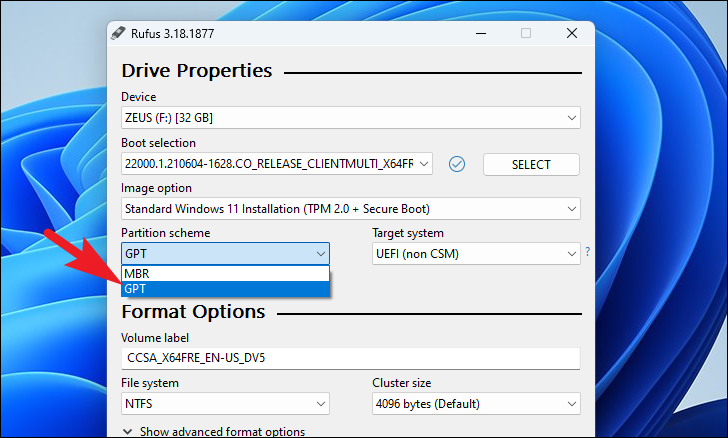
Determine the partition scheme and target system type for your PC. To find out your BIOS mode, press Windows+R, type msinfo32, and press Enter. Look for the ‘BIOS Mode’ field; it will display ‘UEFI’ or ‘Legacy’.
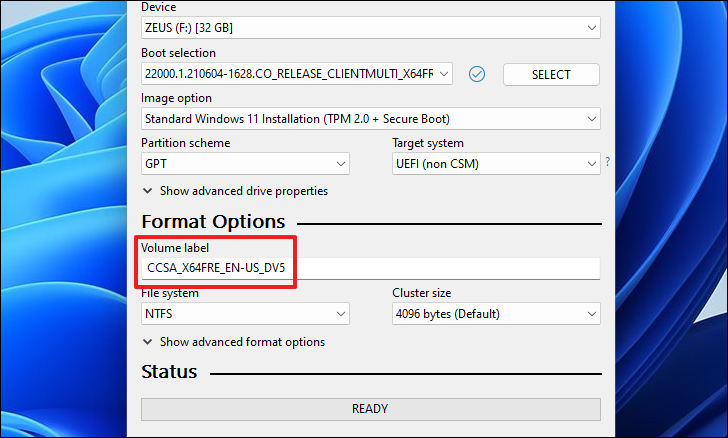
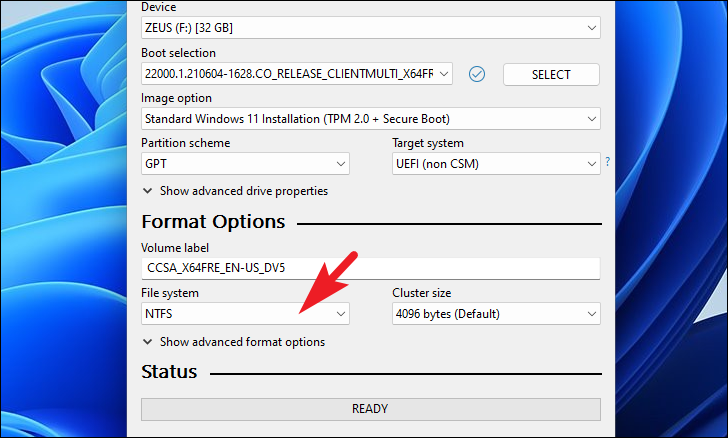
Choose the file system. If you selected ‘GPT’ as the partition scheme, you can choose ‘FAT32’ or ‘NTFS’ from the ‘File system’ drop-down menu. If you chose ‘MBR’, only ‘NTFS’ will be available.
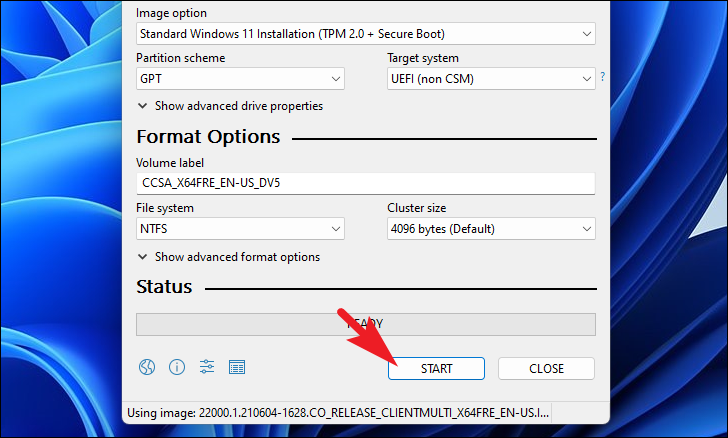
Once all settings are configured, click the ‘Start’ button at the bottom to begin creating the bootable USB drive. A warning will appear that all data on the USB drive will be destroyed.
Click ‘OK’ to confirm and start the process. Wait for Rufus to finish creating the bootable USB drive. This may take several minutes.
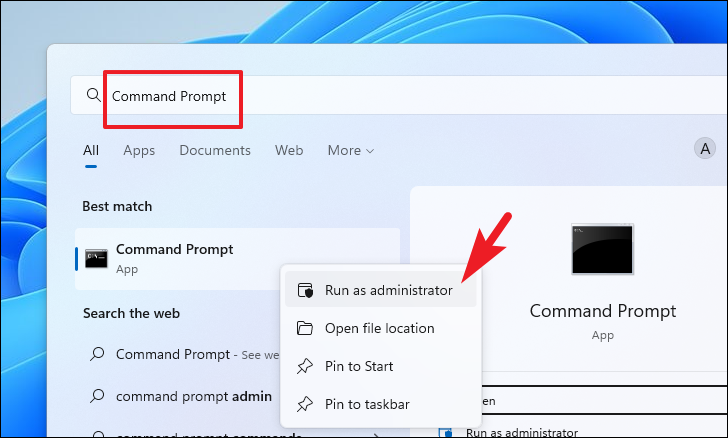
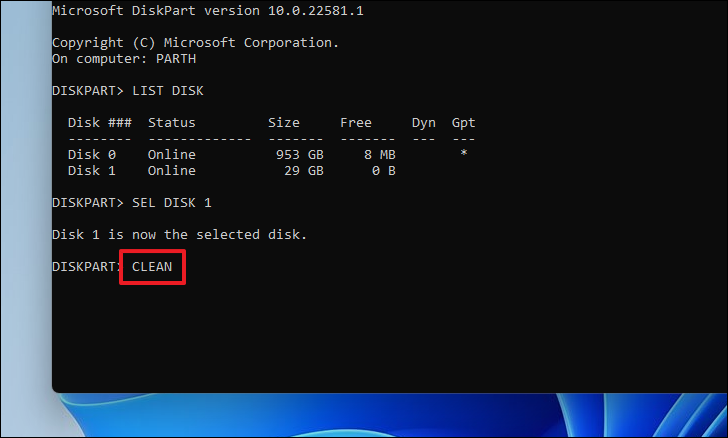
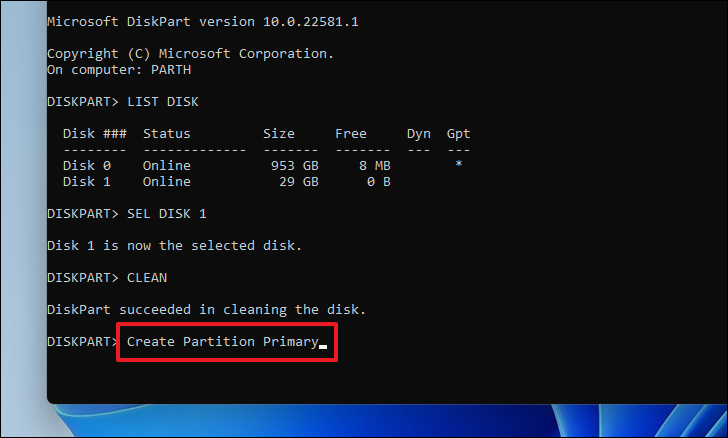
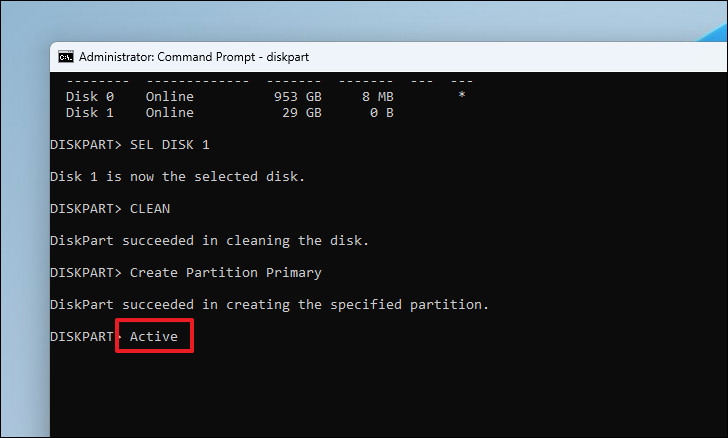
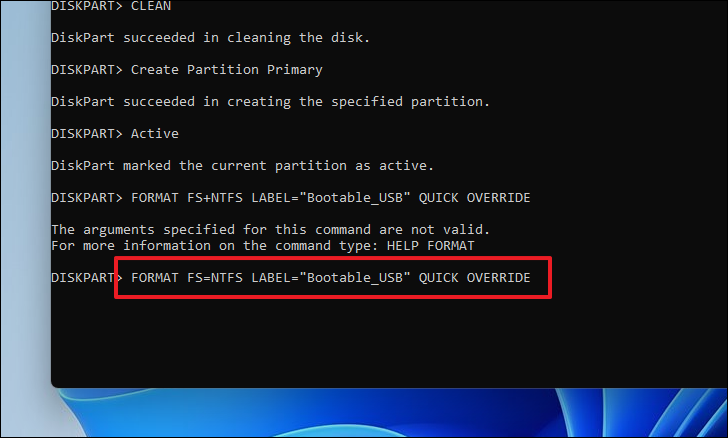
Method 3: Use Command Prompt to create an installation media
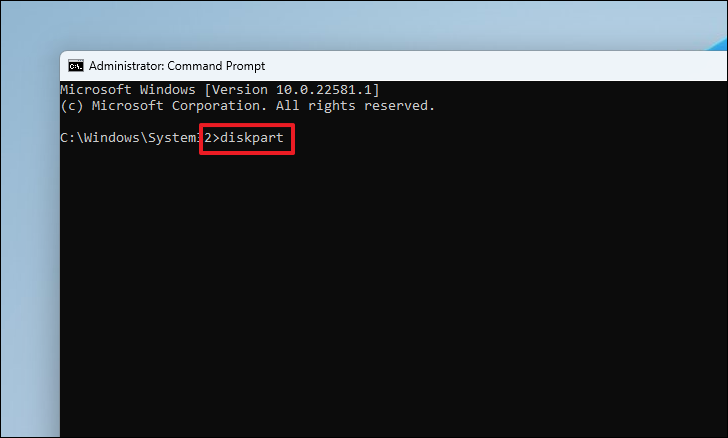
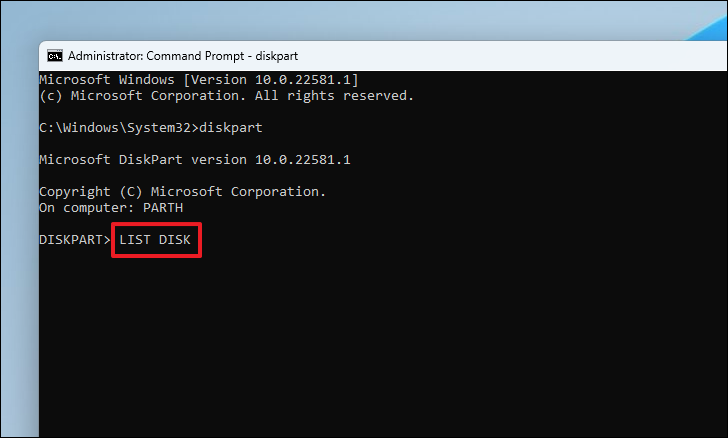
If you prefer using command-line tools, you can create a bootable Windows 11 installation media using Command Prompt. This method doesn’t require any additional software, but it involves typing commands carefully.
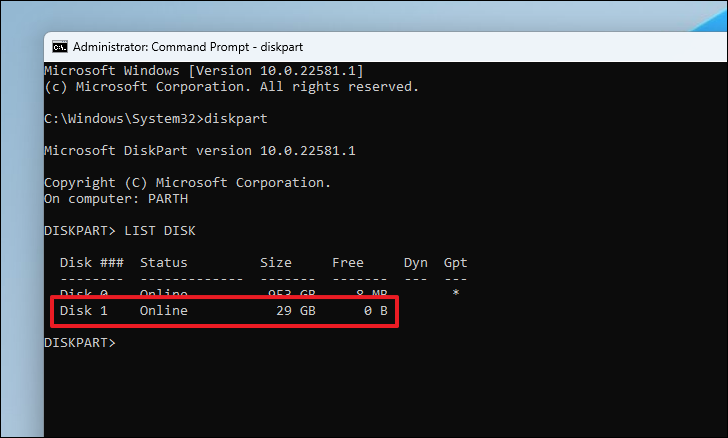
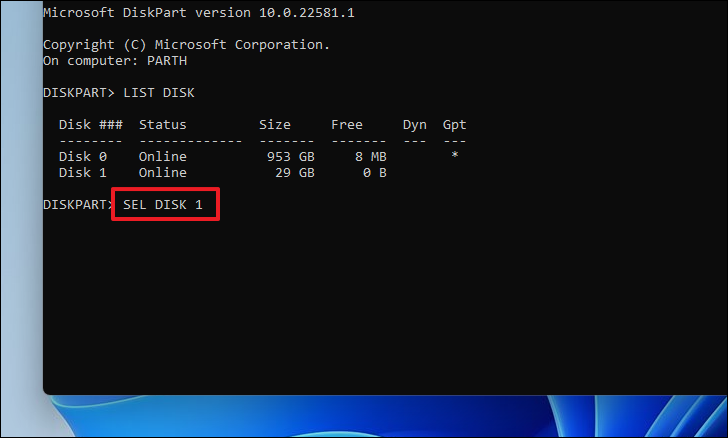
Note: Before proceeding, make sure your USB flash drive is connected to your computer.
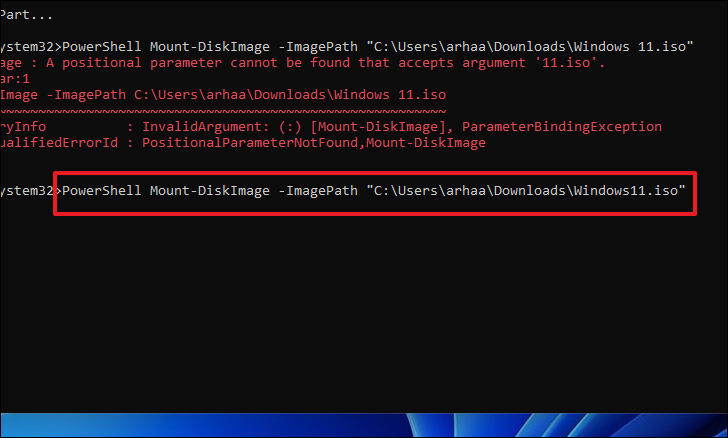
Mount the Windows 11 ISO file. If you’re using Windows 10 or 11, you can right-click the ISO file and select ‘Mount’. Alternatively, use the following command in Command Prompt:
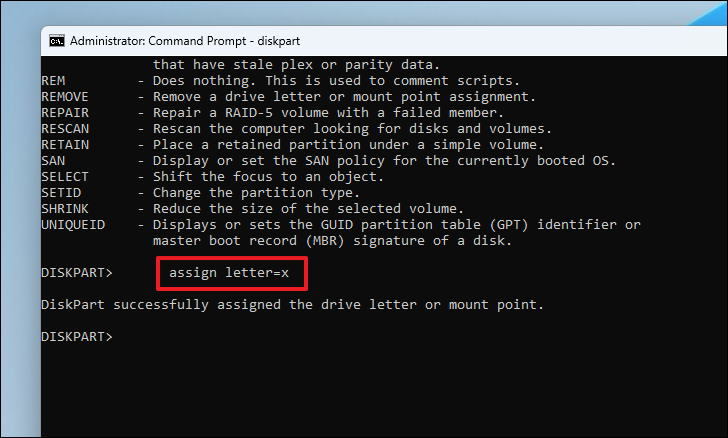
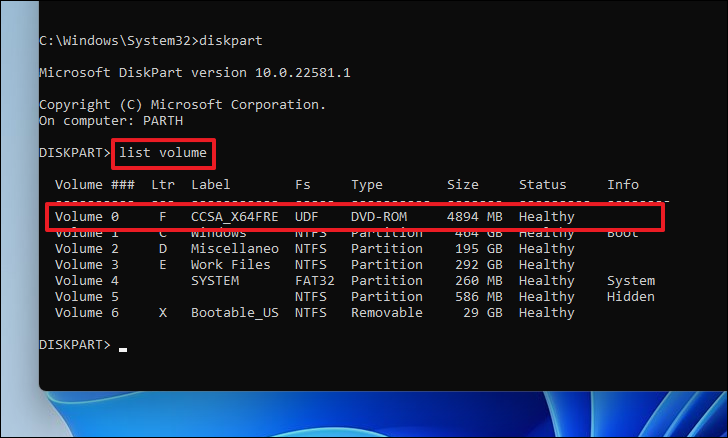
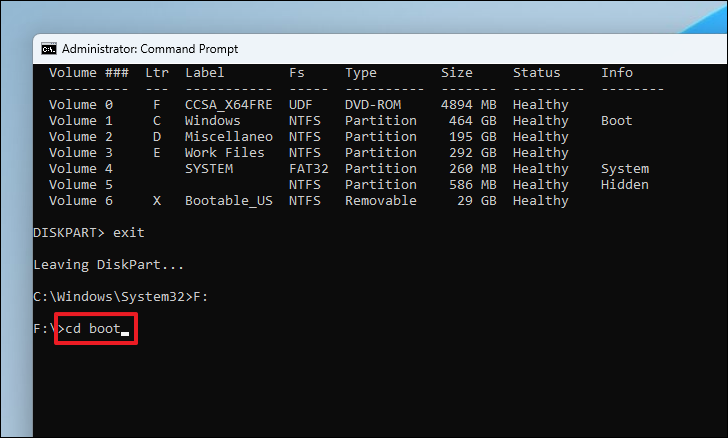
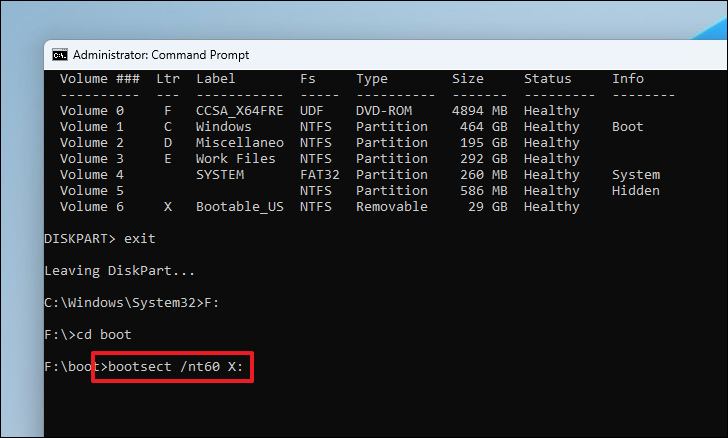
Navigate to the boot directory of the mounted ISO by typing X: (replace ‘X’ with the ISO’s drive letter), pressing Enter, then typing cd boot and pressing Enter.
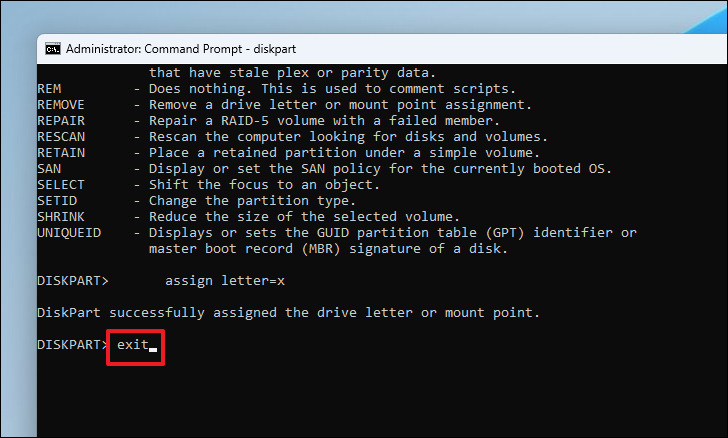
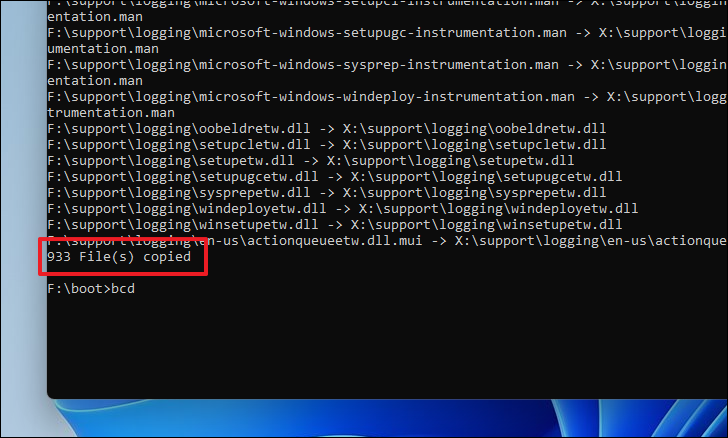
Your bootable Windows 11 USB drive is now ready. You can use it to install Windows 11 on any compatible computer.
Having a Windows 11 installation media prepared ensures that you’re ready for fresh installations or troubleshooting at any time. Whether you choose to use the Media Creation Tool, Rufus, or the Command Prompt method, each approach provides a reliable way to create a bootable Windows 11 media.