Third-party virtualization software like VMware Workstation and VirtualBox may experience conflicts or reduced performance when Hyper-V is enabled in Windows 11. Disabling Hyper-V can resolve these issues and allow your preferred virtualization tools to run smoothly.
Method 1: Disable Hyper-V via Windows Features
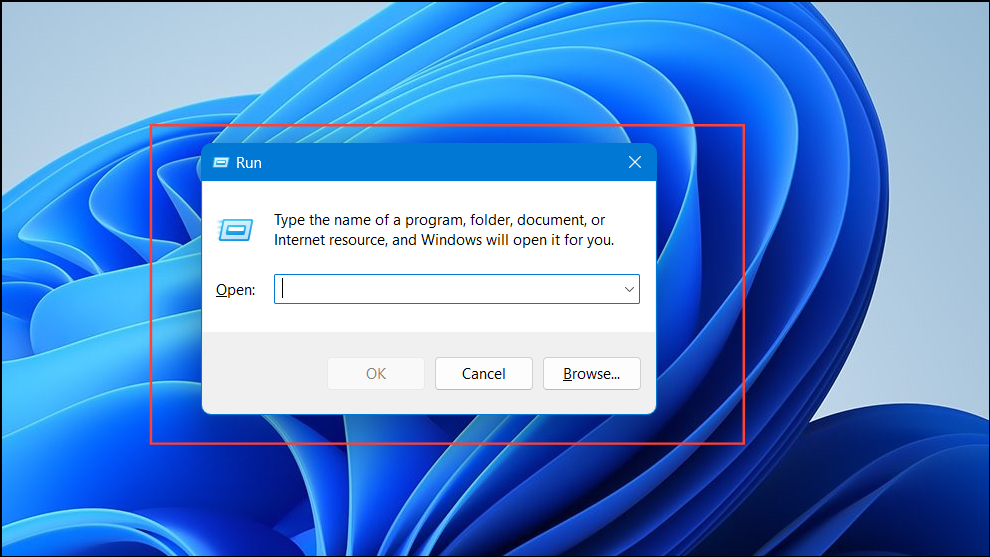
1 Press Win + R to open the Run dialog box.
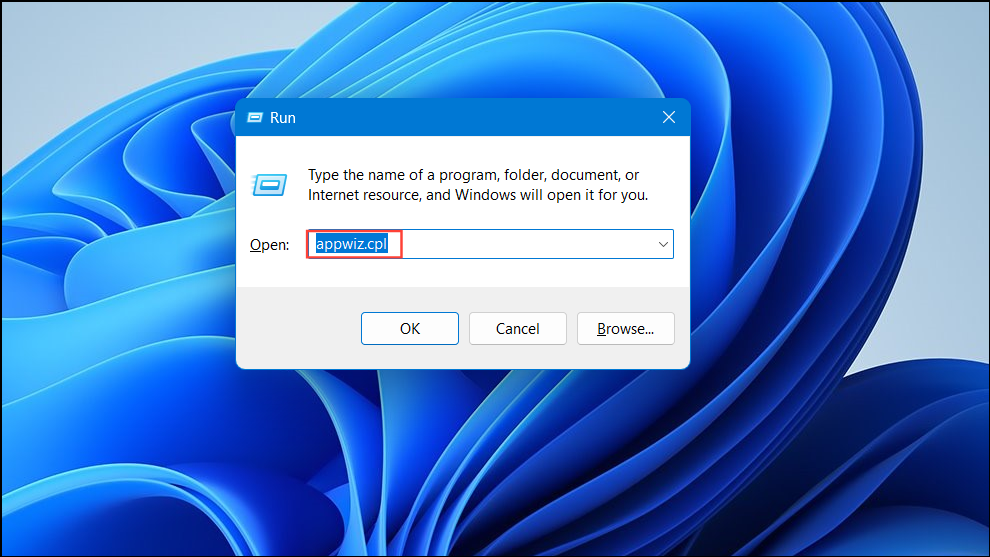
2 Type appwiz.cpl and press Enter to open the Programs and Features window.
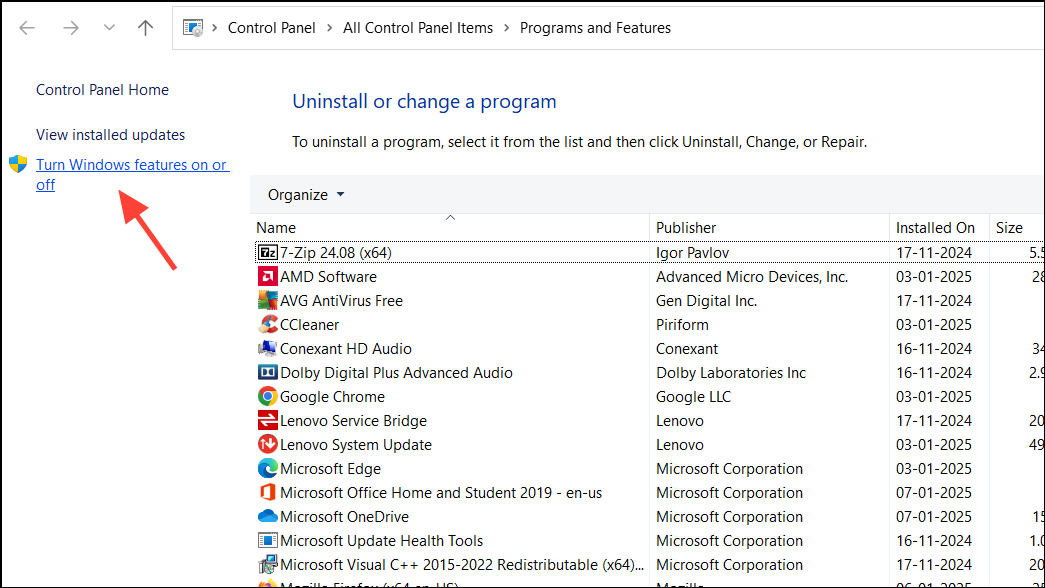
3 In the left pane, click on Turn Windows features on or off .
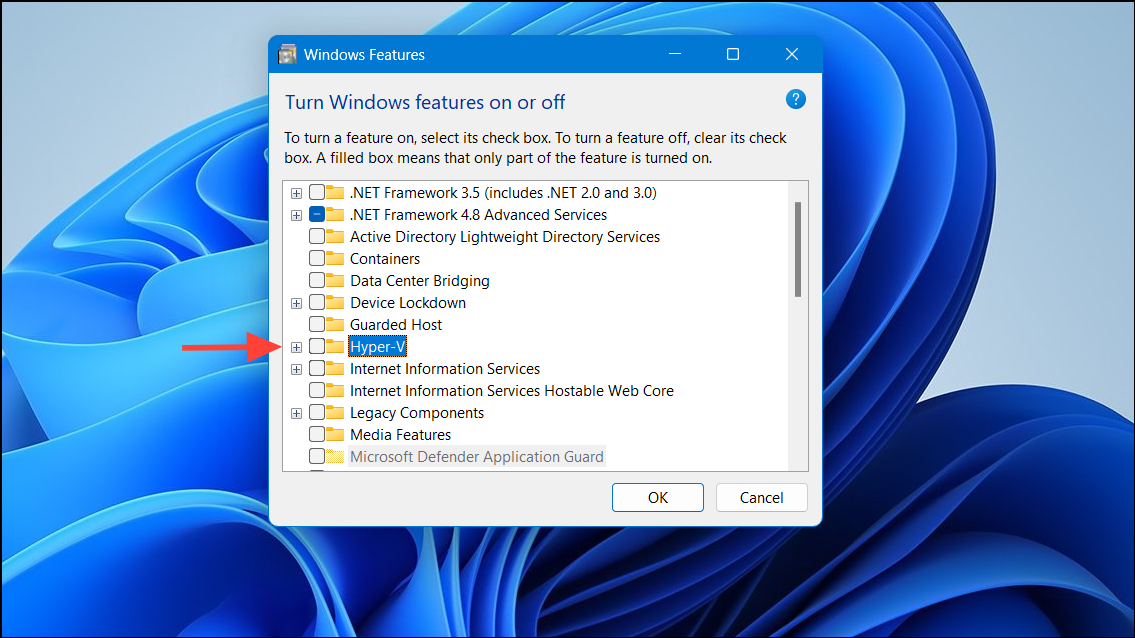
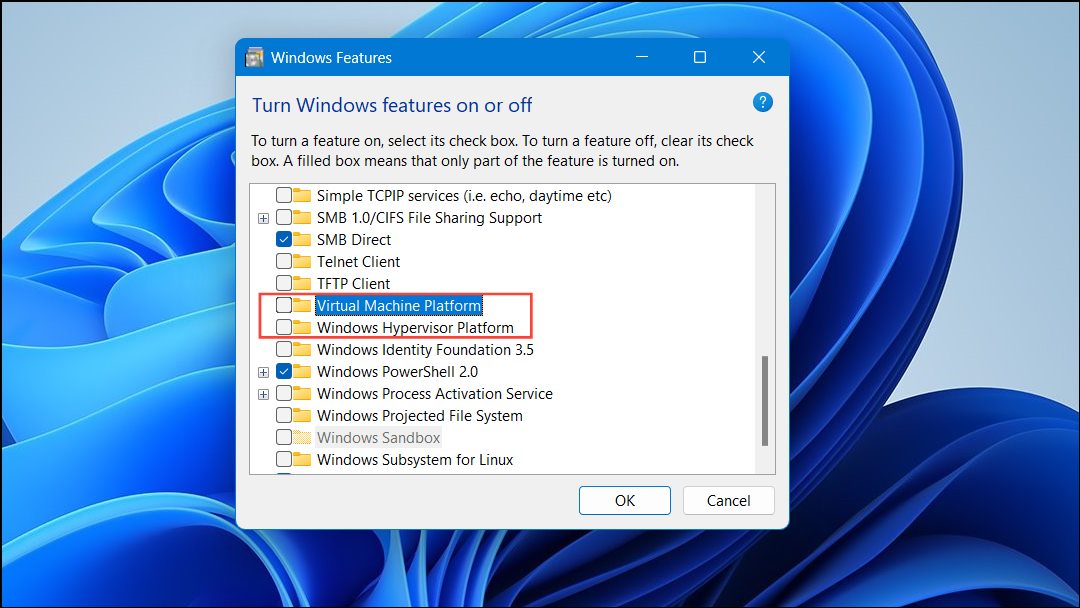
4 In the Windows Features dialog, scroll down and locate Hyper-V .
5 Uncheck the box next to Hyper-V to disable it.
6 Also uncheck Virtual Machine Platform and Windows Hypervisor Platform to ensure complete disablement.
7 Click OK to apply the changes.
8 When prompted, restart your computer to finalize the process.
Method 2: Disable Hyper-V Using Command Prompt
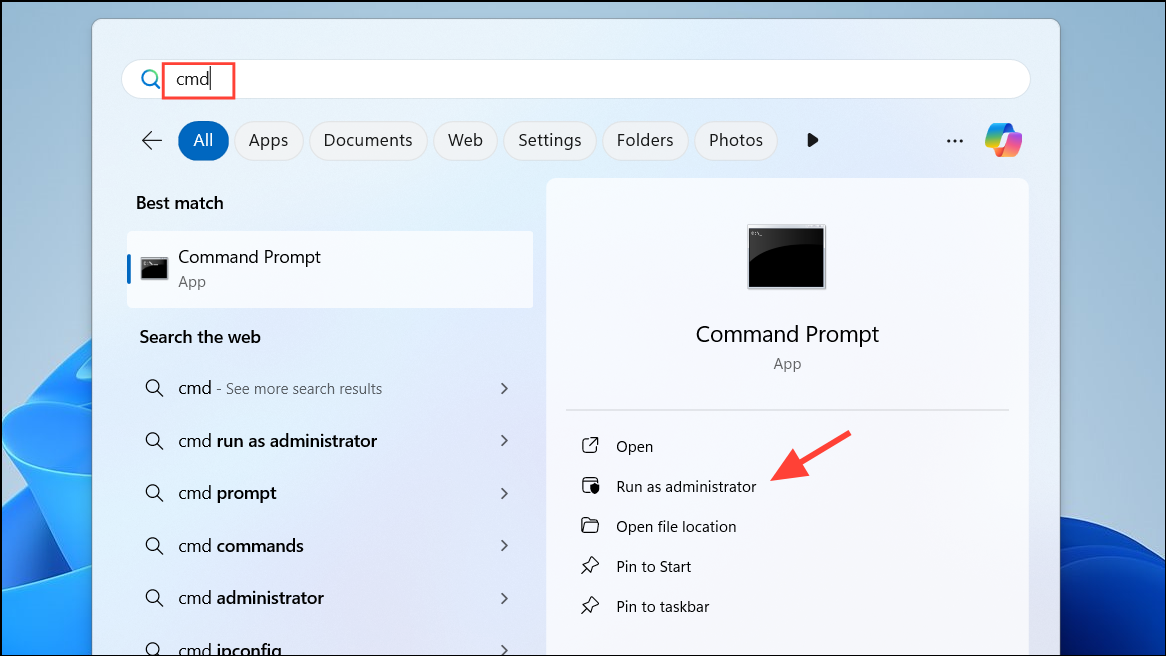
1 Click on the Start button and type cmd.
2 Right-click on Command Prompt and select Run as administrator .
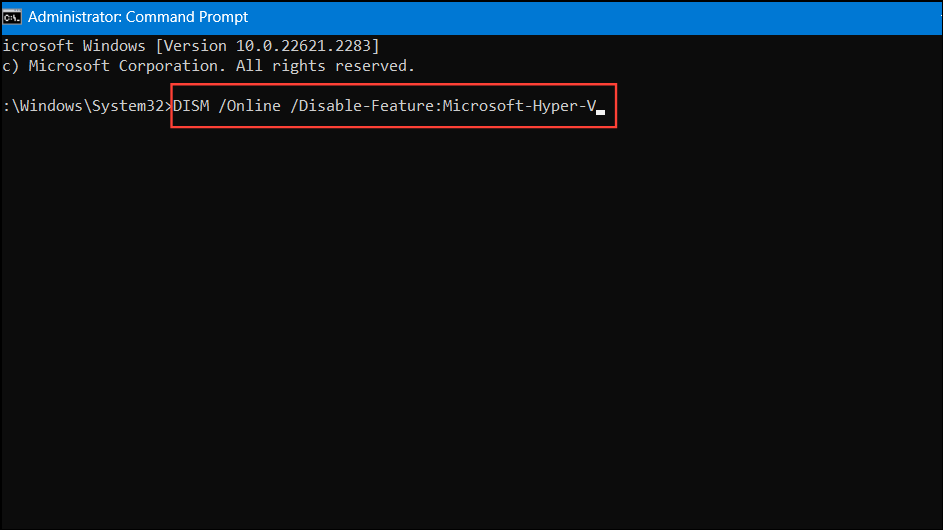
3 In the Command Prompt window, type the following command and press Enter:
DISM /Online /Disable-Feature:Microsoft-Hyper-V4 Wait for the operation to complete, then restart your computer.
Method 3: Disable Hyper-V Using PowerShell
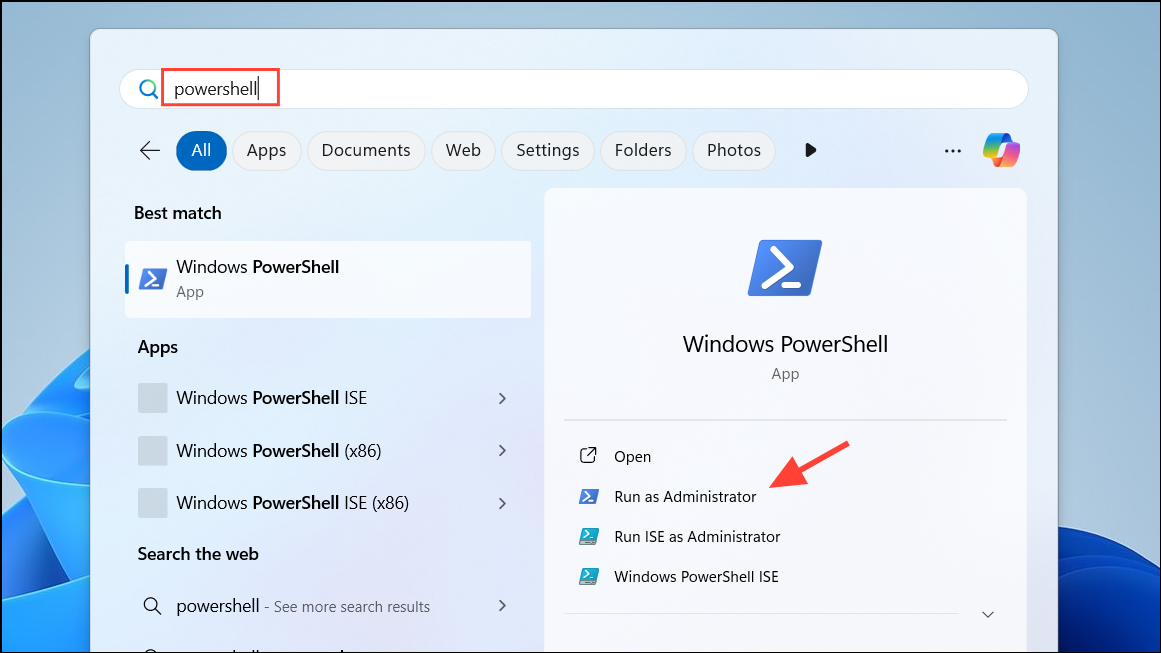
1 Right-click on the Start button and select Windows PowerShell (Admin) .
2 In the PowerShell window, execute the following command:
Disable-WindowsOptionalFeature -Online -FeatureName Microsoft-Hyper-V-All3 When prompted, type Y and press Enter to restart your computer.
Method 4: Disable Hyper-V via Boot Configuration Data (BCD) Edit
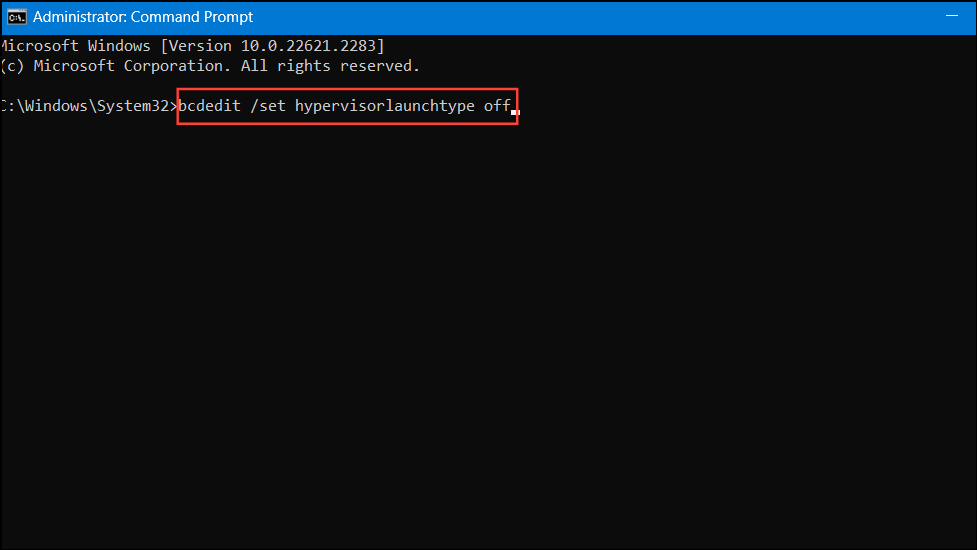
1 Open Command Prompt as an administrator.
2 Run the following command to prevent Hyper-V from launching at boot:
bcdedit /set hypervisorlaunchtype off3 Restart your computer to apply the changes.
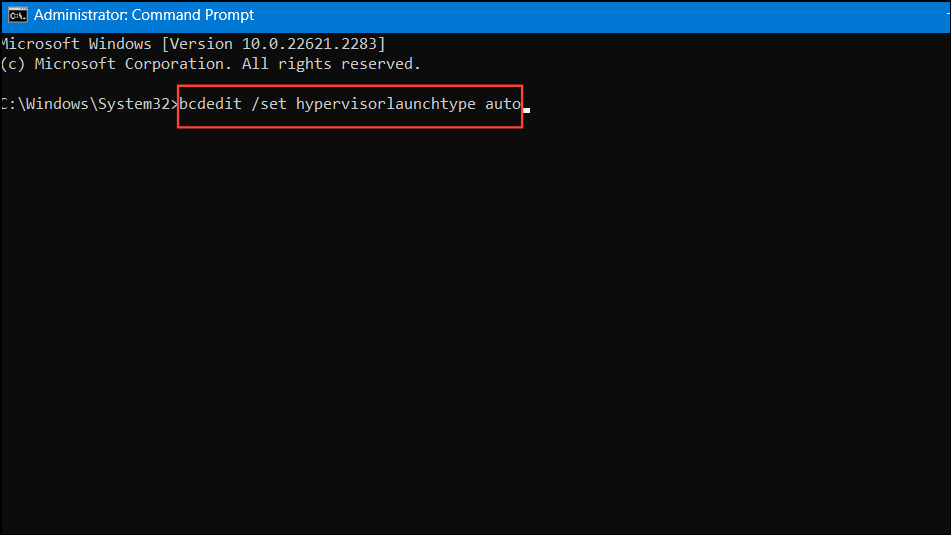
Note: To re-enable Hyper-V in the future, use the command:
bcdedit /set hypervisorlaunchtype autoMethod 5: Disable Hyper-V Services in System Configuration
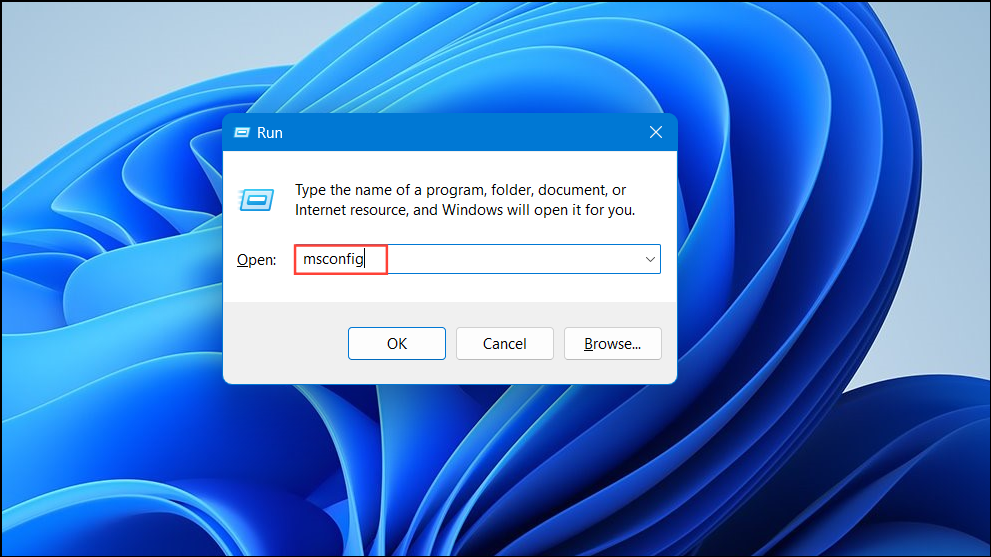
1 Press Win + R, type msconfig, and press Enter.
2 In the System Configuration window, navigate to the Services tab.
3 Uncheck the following services:
Hyper-V Host Compute Service Hyper-V Virtual Machine Management 4 Click Apply and then OK .
5 Restart your computer when prompted.
Method 6: Disable Memory Integrity and Virtualization-Based Security
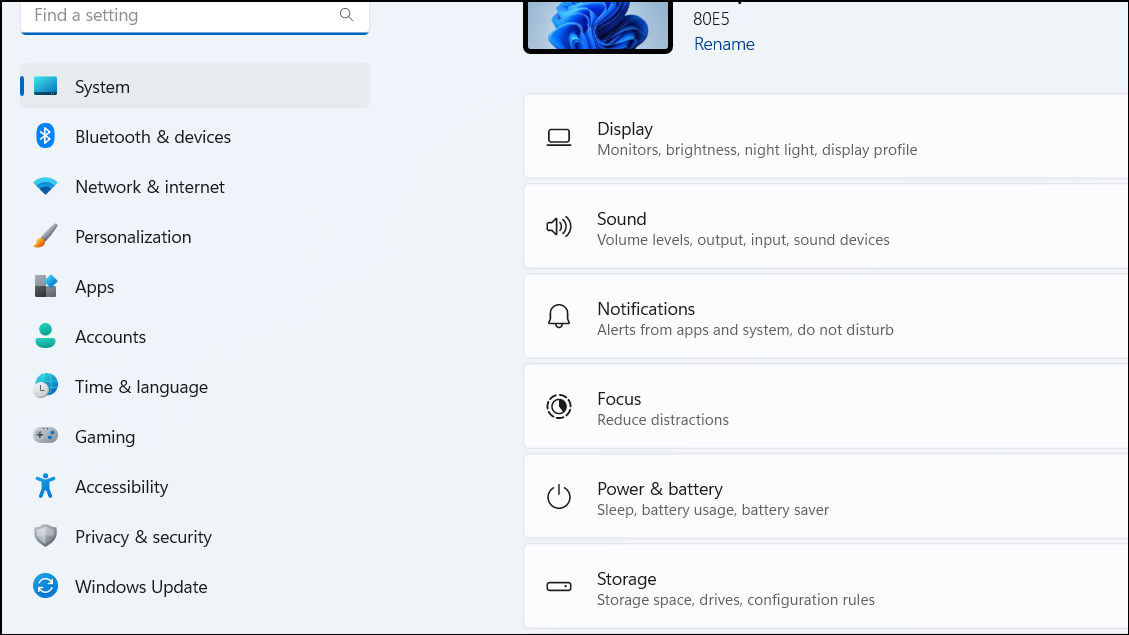
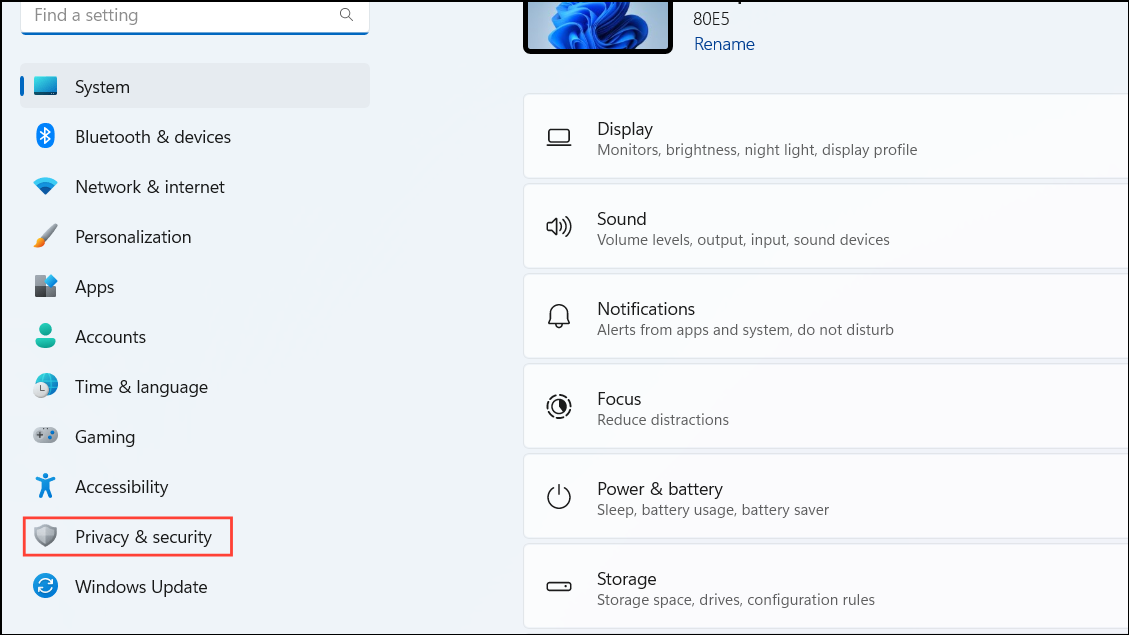
1 Open the Settings app by pressing Win + I.
2 Navigate to Privacy & security in the left pane.
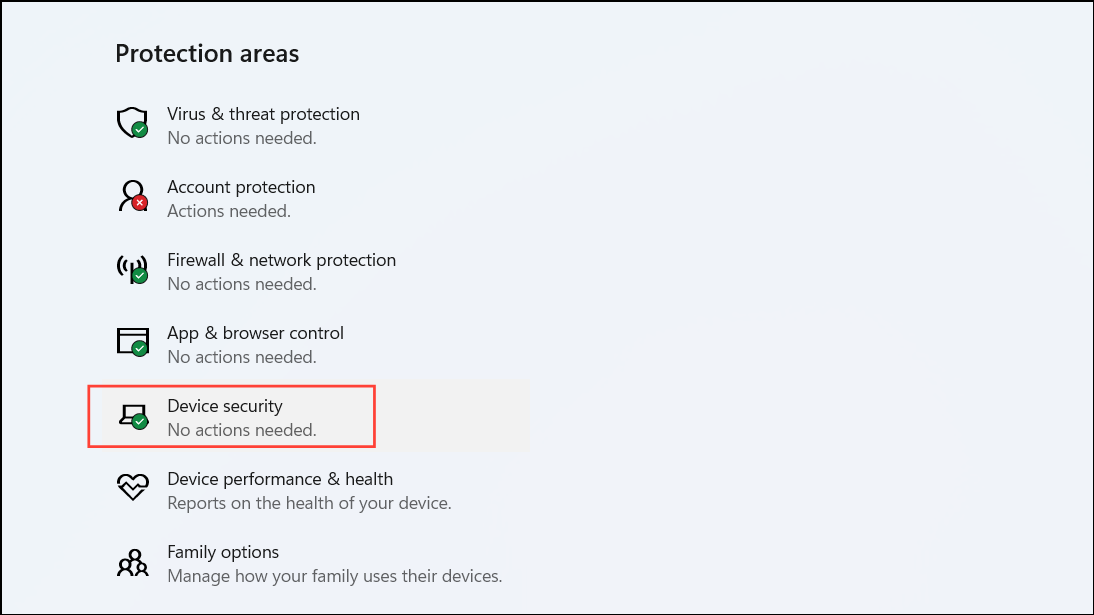
3 Click on Windows Security , then select Device security .
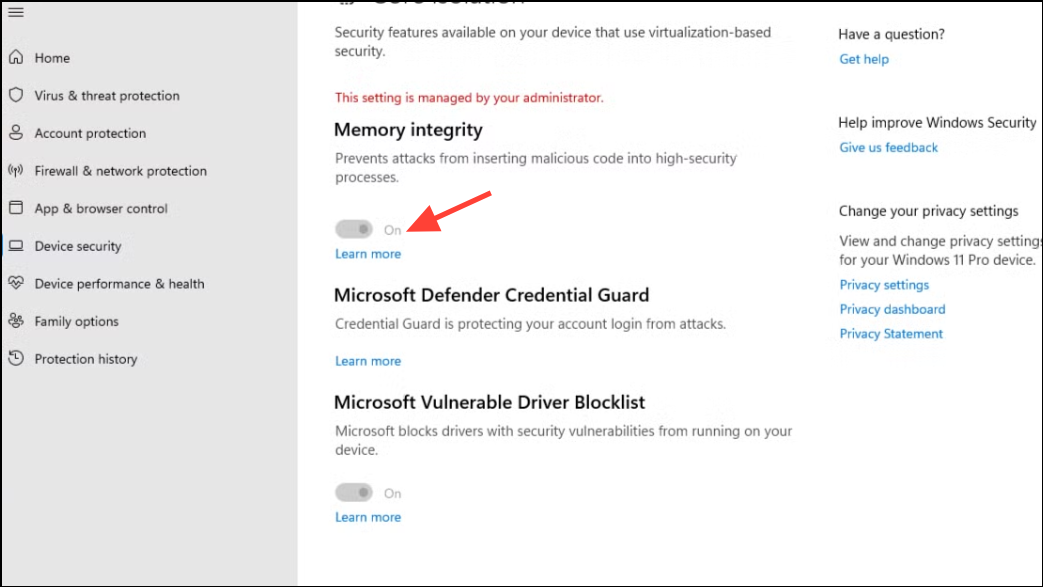
4 Under Core isolation , click on Core isolation details .
5 Toggle Memory integrity to Off .
6 Restart your computer to apply the changes.
Method 7: Disable Device Guard and Credential Guard via Registry Editor
Caution: Modifying the registry can cause system instability if done incorrectly. It’s recommended to back up the registry before proceeding.
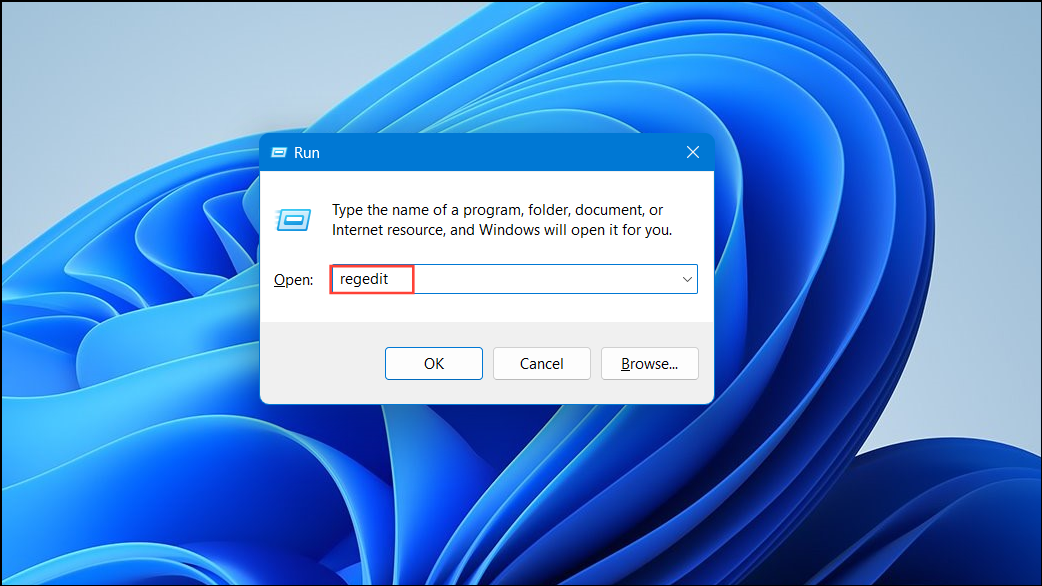
1 Press Win + R, type regedit, and press Enter to open the Registry Editor.
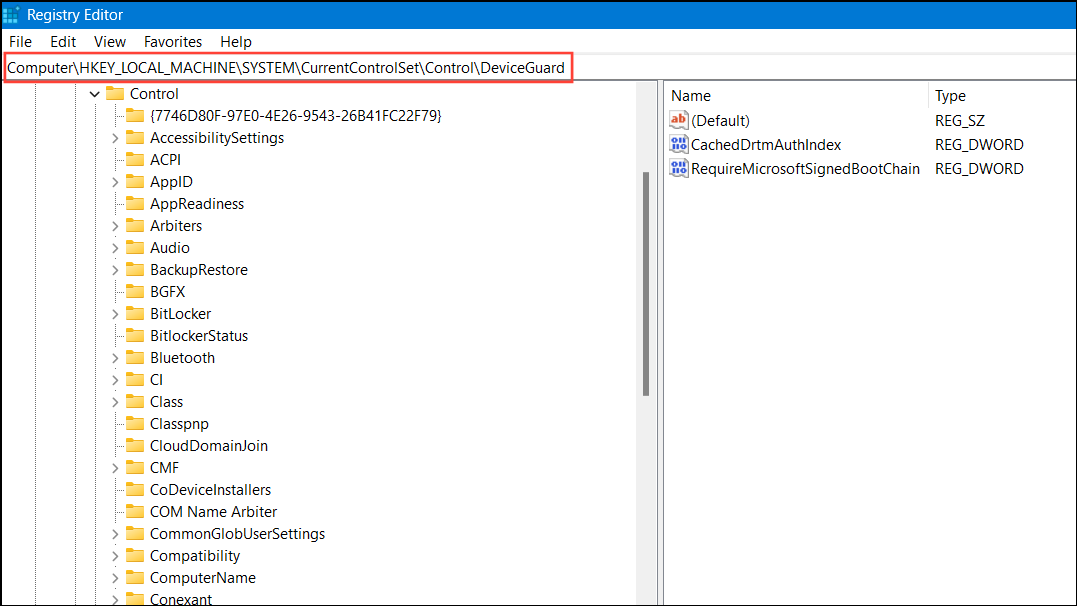
2 Navigate to the following path:
HKEY_LOCAL_MACHINE\SYSTEM\CurrentControlSet\Control\DeviceGuard
3 In the right pane, double-click on EnableVirtualizationBasedSecurity .
4 Set the value data to 0 and click OK .
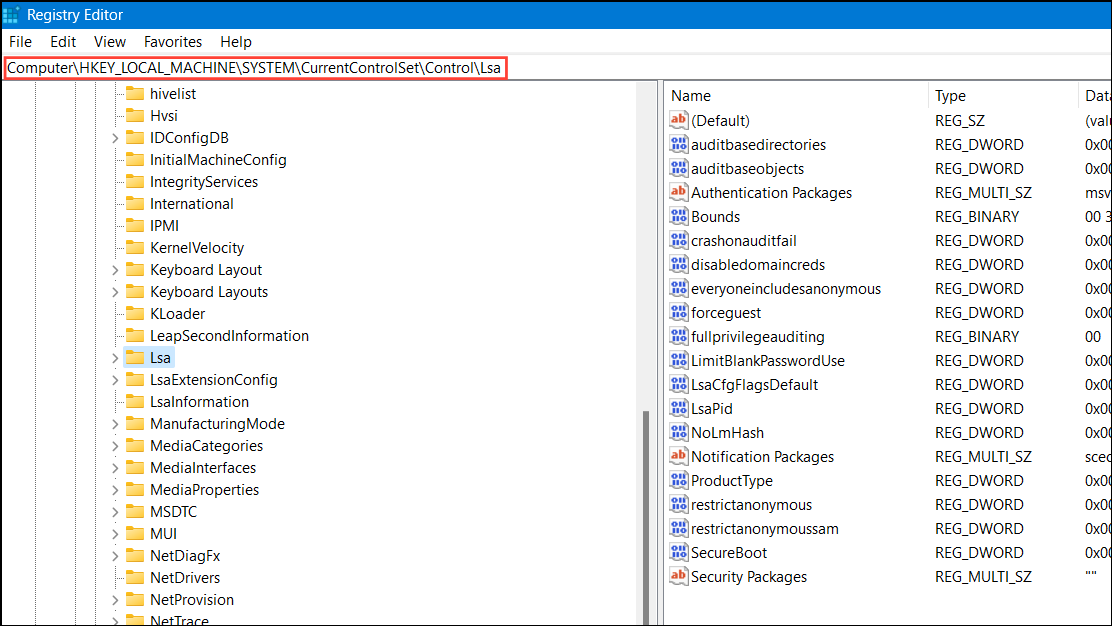
HKEY_LOCAL_MACHINE\SYSTEM\CurrentControlSet\Control\Lsa
6 Find LsaCfgFlags and set its value data to 0.
7 Close the Registry Editor and restart your computer.
Disabling Hyper-V in Windows 11 can resolve conflicts with other virtualization software, allowing you to use your preferred tools without any issues.