
The touchpad on your laptop helps you navigate the cursor on the screen and is an essential part. It is a replacement for a mouse.
Many users still prefer using the conventional mouse over the touchpad. It is difficult for a person accustomed to the use of a mouse to use a touchpad. Also, you may swipe the touchpad by mistake while working on the system. Windows 10 offers a very simple process to disable the touchpad so that you can do it easily whenever needed.
Disabling Touchpad on Windows 10
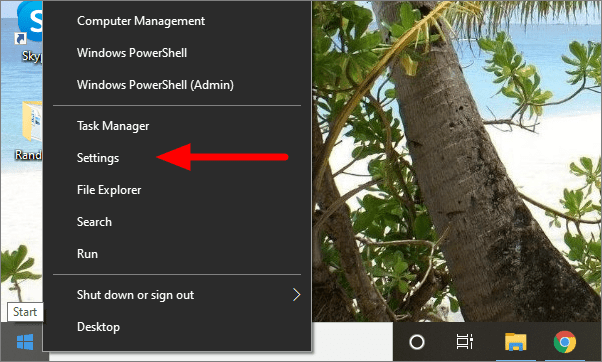
Right-click on the Windows icon on the left corner of the taskbar and select ‘Settings’.
After opening ‘Settings’, click on ‘Devices’.

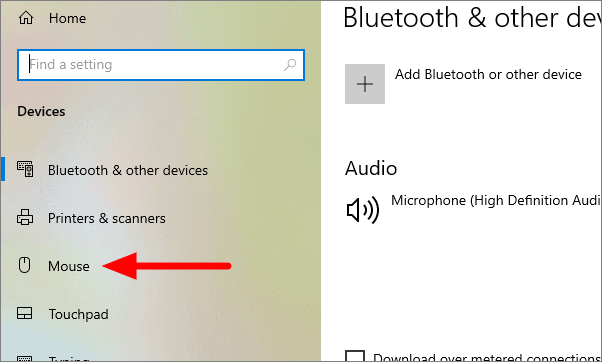
In the next window, click on ‘Mouse’ on the left of the screen.
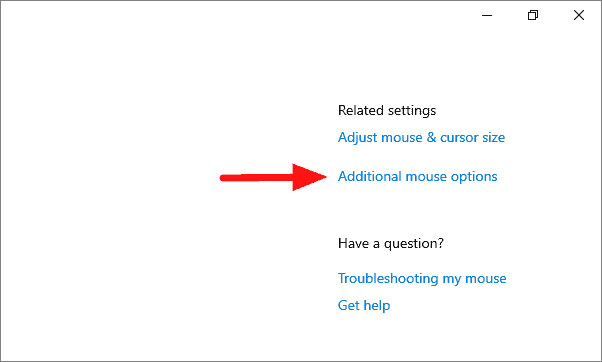
Click on ‘Additional mouse options’ at the right of the screen in the mouse settings.
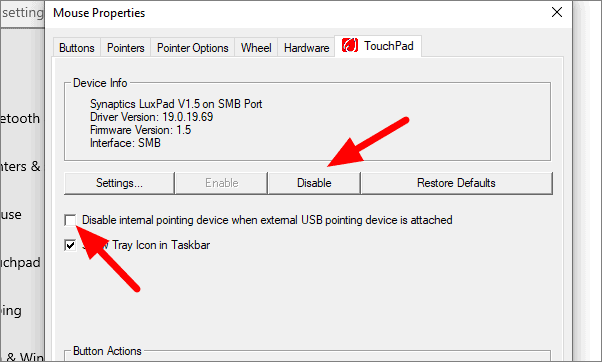
Click on ‘Disable’ under the ‘Touchpad’ tab in the popup. Windows 10 also offers the option to automatically disable the touchpad if an external mouse is connected, thus saving users time. To enable this feature, click on the checkbox which says “Disable internal pointing device when external USB pointing device is attached”.
The touchpad has now been disabled. You can enable it again through the same process by clicking on ‘Enable’ instead of ‘Disable’.


