
Active Directory is a powerful tool for managing users, computers, and organizational units in Windows environments. While not included in the default Windows installation, it can be easily added as an optional feature. This guide will walk you through the process of enabling Active Directory in Windows 11.
What is Active Directory in Windows?
Active Directory Users and Computers (ADUC) is a management console used to administer network resources. It allows IT administrators to centralize storage repositories, manage access rights, and control user configurations. One of its key benefits is the single sign-on feature, which eliminates the need for users to authenticate multiple times when accessing different resources.
It’s important to note that Active Directory is only available for professional or server versions of Windows operating systems.
Enable Active Directory from the Settings app on Windows 11
The Settings app provides a straightforward method to enable Active Directory:
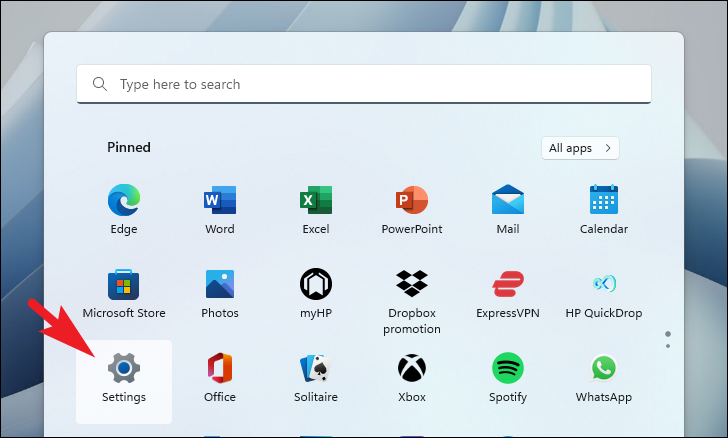
- Open the Start Menu and click on the ‘Settings’ tile under ‘Pinned apps’ or search for it.
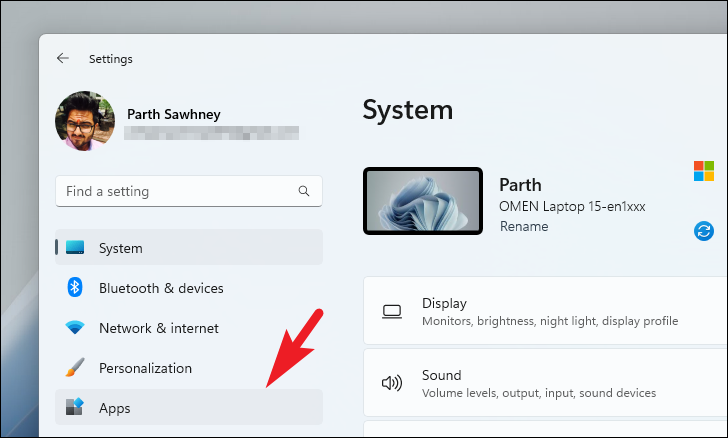
- In the Settings window, select the ‘Apps’ tab from the left sidebar.
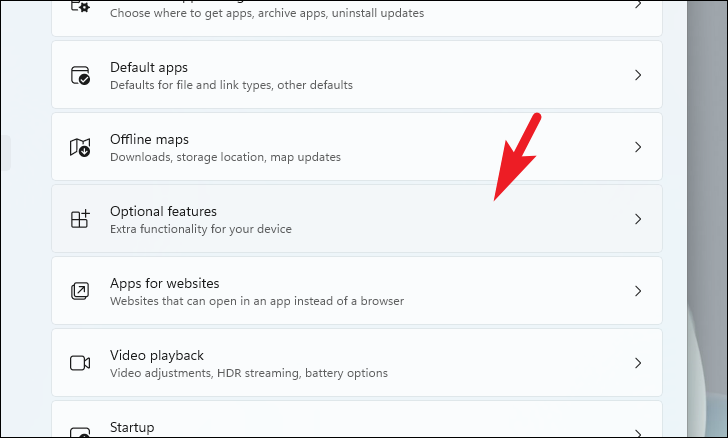
- Click on ‘Optional features’ in the right section.
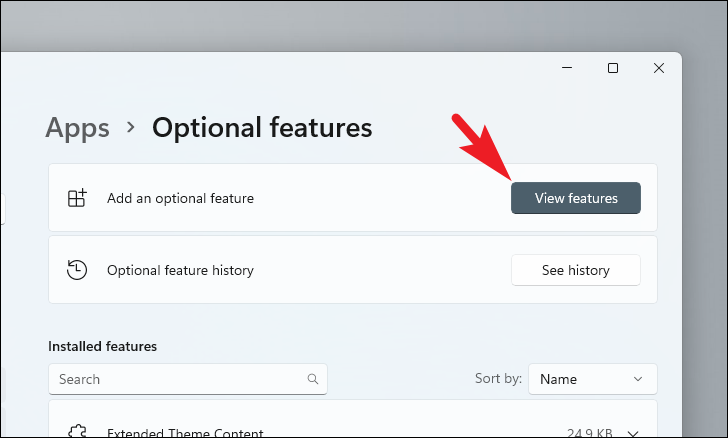
- Find ‘Add an optional feature’ and click ‘View features’.
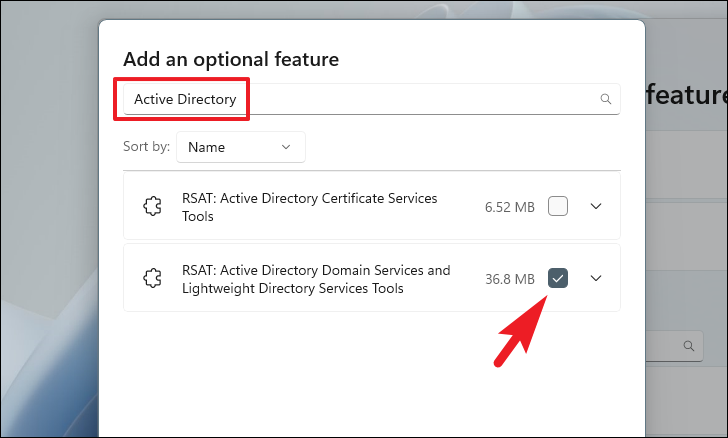
- In the search bar, type “Active Directory”. Select ‘RSAT: Active Directory Domain Services and Lightweight Directory Services’ and click ‘Next’.
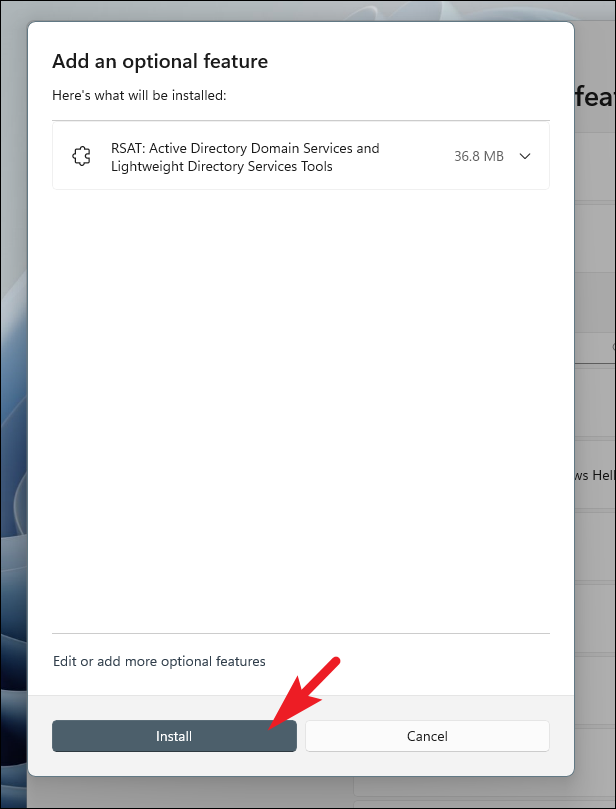
- Click ‘Install’ to begin the installation process.
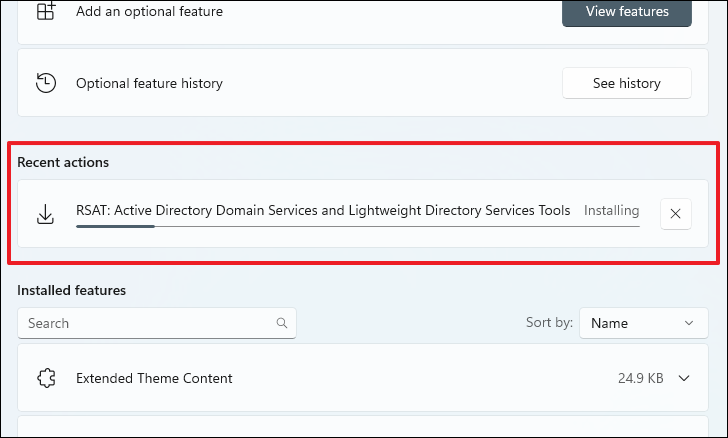
- Wait for the installation to complete.
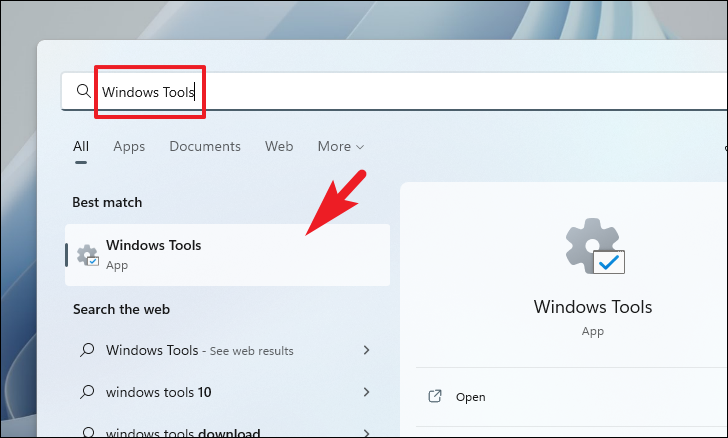
- Once installed, open the Start Menu and search for ‘Windows Tools’.
- In the Windows Tools window, locate and double-click ‘Active Directory Users and Computers’.

Enable Active Directory using PowerShell
For those who prefer using PowerShell, follow these steps:
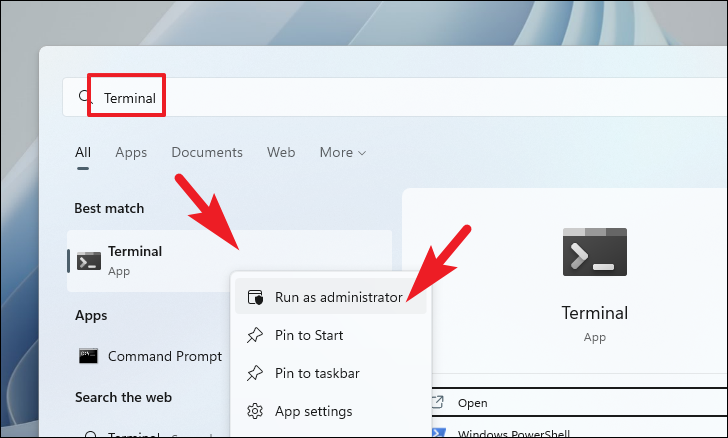
- Open the Start Menu, search for ‘Terminal’, right-click it, and select ‘Run as administrator’.
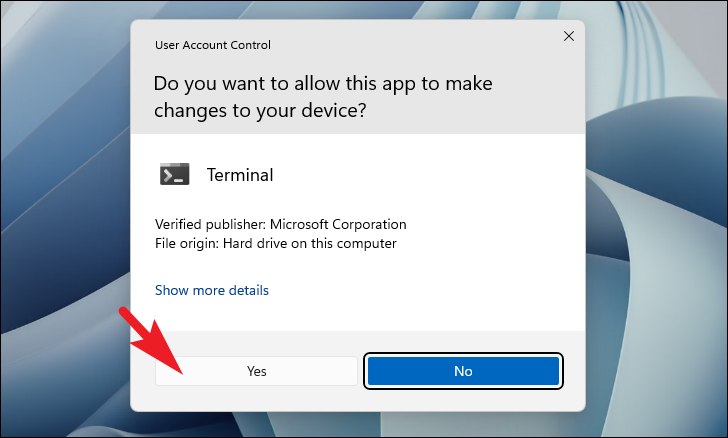
- Click ‘Yes’ in the User Account Control (UAC) window.
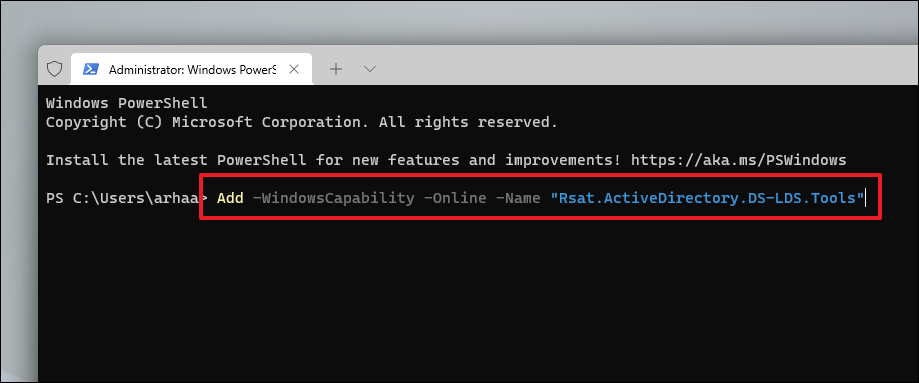
- In the terminal window, enter the following command and press Enter:
Add-WindowsCapability -Online -Name "Rsat.ActiveDirectory.DS-LDS.Tools"
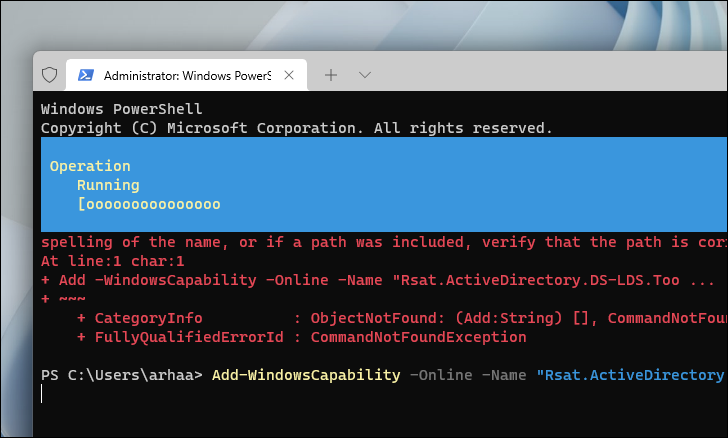
- Wait for the installation to complete.
- After installation, open the Start Menu and search for ‘Windows Tools’.

- In the Windows Tools window, locate and double-click ‘Active Directory Users and Computers’.

Use Command Prompt to enable Active Directory
For those who prefer using Command Prompt:
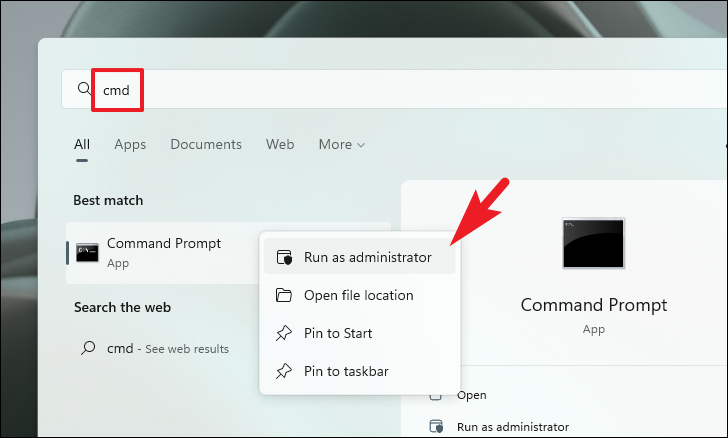
- Open the Start Menu, search for ‘cmd’, right-click ‘Command Prompt’, and select ‘Run as administrator’.
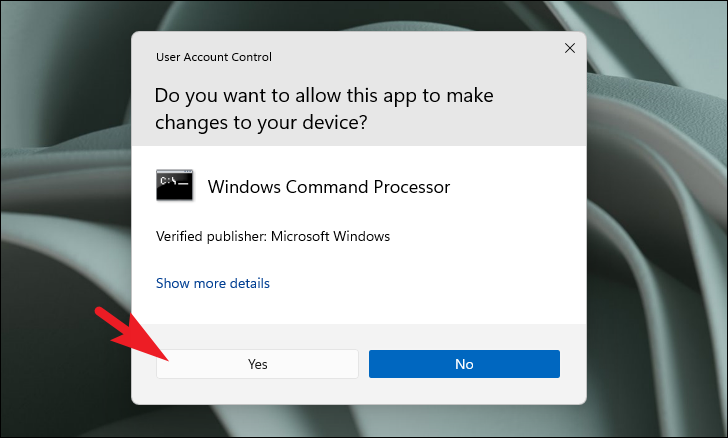
- Click ‘Yes’ in the User Account Control (UAC) window.
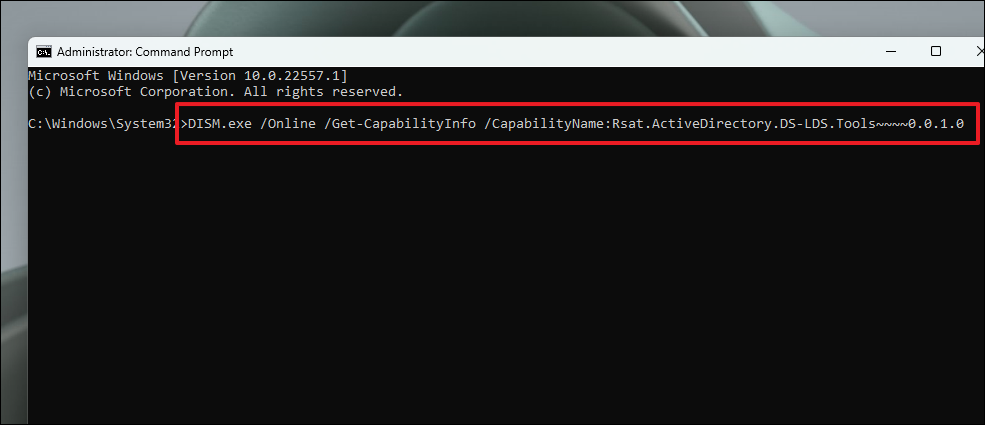
- In the Command Prompt window, enter the following command and press Enter:
DISM.exe /Online /Get-CapabilityInfo /CapabilityName:Rsat.ActiveDirectory.DS-LDS.Tools~~~~0.0.1.0
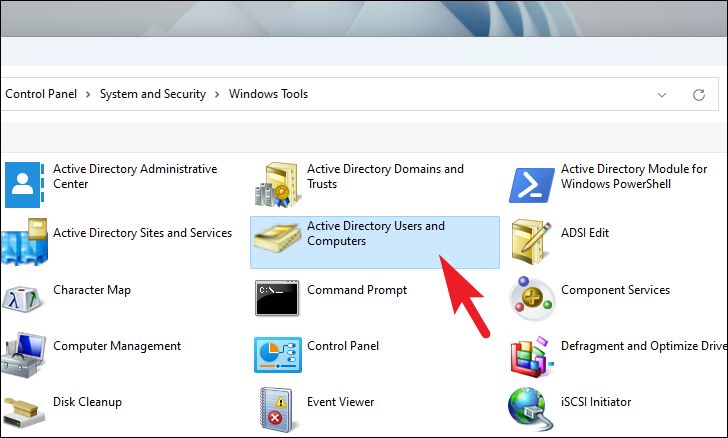
- After installation, open the Start Menu and search for ‘Windows Tools’.

- In the Windows Tools window, locate and double-click ‘Active Directory Users and Computers’.
By following these methods, you can successfully enable Active Directory on your Windows 11 PC and begin managing users and resources centrally.


