Screen brightness can be a significant source of discomfort, especially during nighttime or in low-light environments. Excessive blue light from screens can lead to eye strain and disrupt your sleep patterns. Windows 11 offers a built-in solution called Night Light that reduces the blue light emitted from your display, replacing it with warmer colors that are easier on the eyes. Here’s how to enable, adjust, and schedule Night Light on your Windows 11 device.
How to turn on Night Light on Windows 11
Follow these steps to enable Night Light:
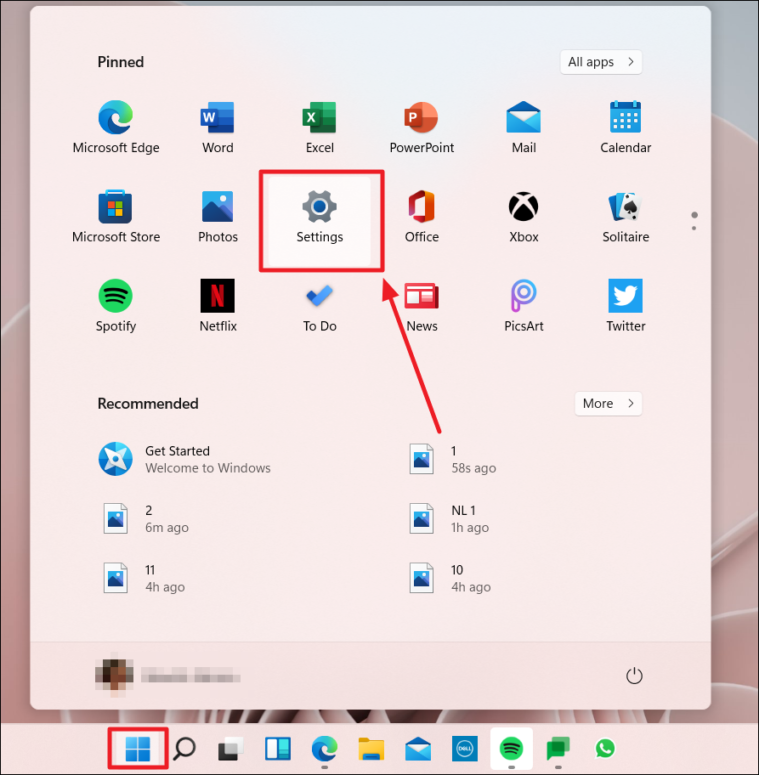
- Click on the Start button and select Settings (the gear icon).
- In the Settings window, make sure you’re on the System tab, then click on Display.
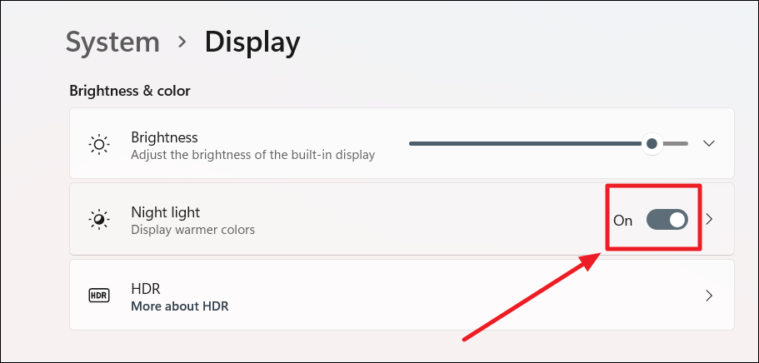
- Under the Brightness & color section, find the Night light option and toggle it to On.

You should now notice a warmer tint on your screen, indicating that Night Light is active.
How to adjust Night Light strength in Windows 11
If the default warmth level doesn’t suit your preference, you can adjust it as follows:
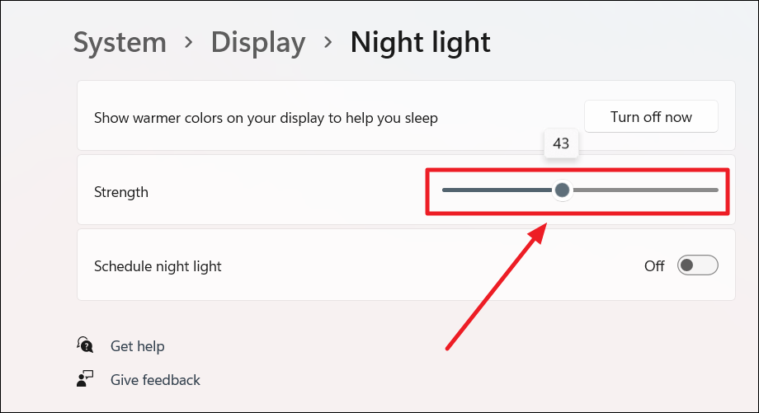
- In the same Display settings window, click on the Night light text to access more options.
- Use the slider under Strength to set your desired warmth level. Sliding to the right increases the warmth, while sliding to the left decreases it.
How to schedule Night Light on Windows 11
To have Night Light turn on automatically during specified hours, you can schedule it:
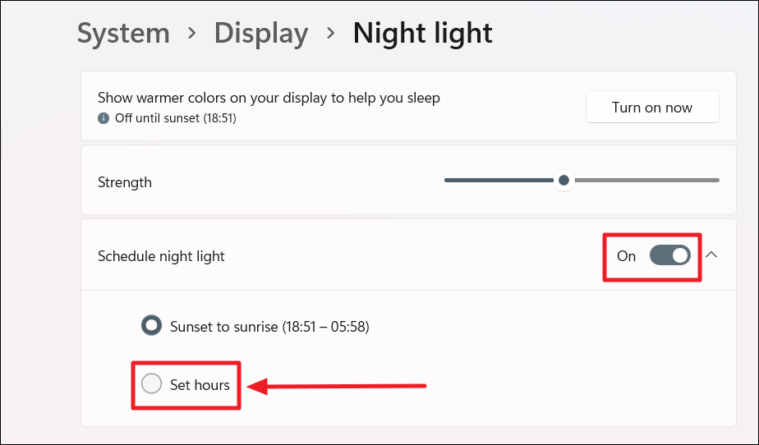
- In the Night light settings, toggle on the Schedule night light option.
- Choose Sunset to sunrise to have Night Light automatically adjust based on your location.
- If you prefer to set custom hours, select Set hours.
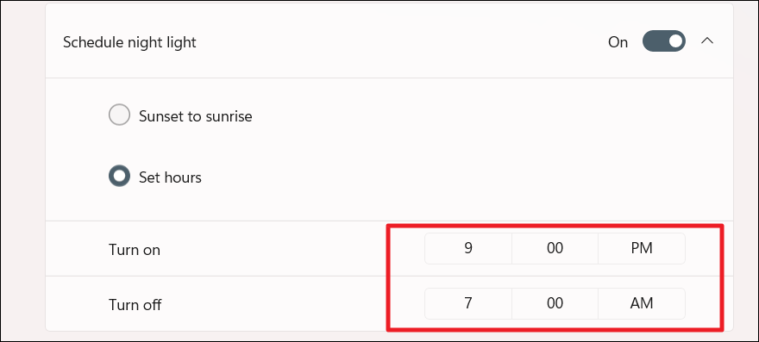
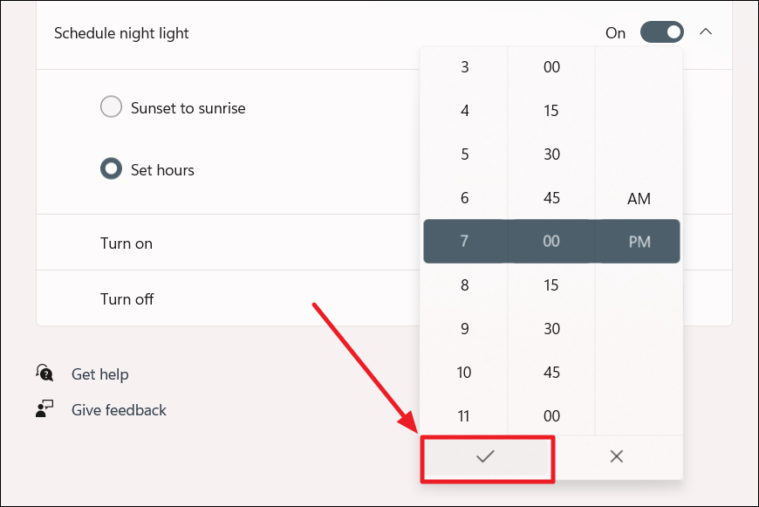
- Under Set hours, click on the time next to Turn on and select when you want Night Light to activate.
- Click on the time next to Turn off to choose when Night Light should deactivate.
With the schedule set, Night Light will automatically adjust your screen’s color temperature during the specified hours.
By taking advantage of Windows 11’s Night Light feature, you can reduce eye strain and ensure a more comfortable viewing experience during nighttime. Customizing the strength and setting a schedule helps you tailor it to your specific needs, promoting better eye health and sleep quality.


