
In Windows 11, managing your microphone settings is straightforward thanks to the redesigned interface. Whether you want to completely enable or disable your microphone, restrict certain apps from accessing it, or control individual microphone devices, Windows 11 provides simple steps to tailor these settings to your needs.
Enable or disable microphone for all apps
You can enable or disable your microphone for all apps with just a few clicks. Here’s how:
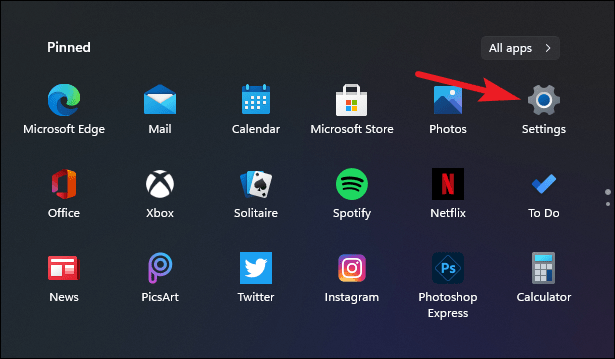
- Open the Settings app on your computer. You can do this by clicking the Start button and selecting the Settings icon, or by pressing Windows + I on your keyboard.
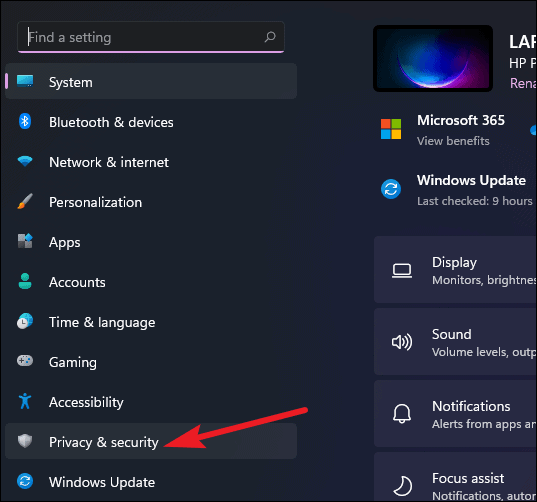
- In the Settings window, select Privacy & Security from the left-hand menu.
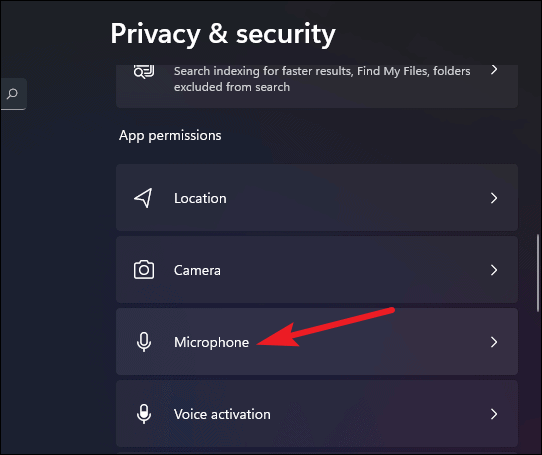
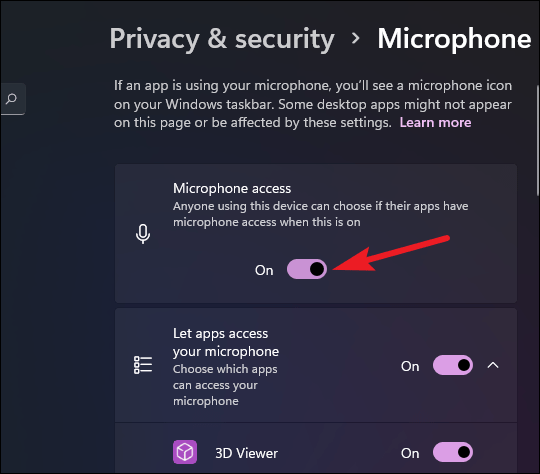
- Scroll down to the App permissions section and click on Microphone.
- To disable microphone access for all apps, toggle off the switch next to Microphone access.
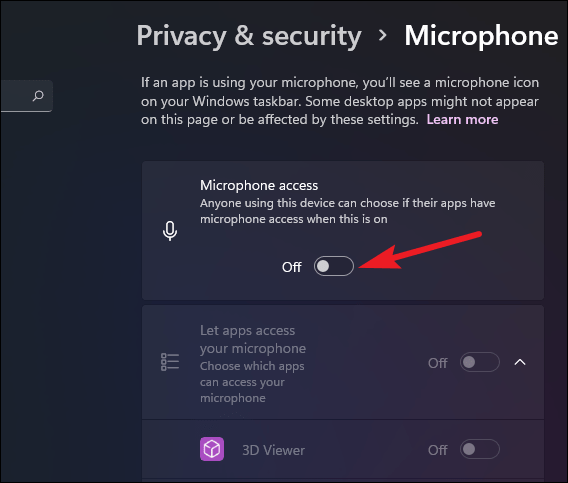
This will disable the microphone entirely, preventing all apps from accessing it.
To enable the microphone again, simply toggle the switch back on.
Disable or enable a specific microphone device
If you have multiple microphone devices connected and want to disable or enable a particular one, follow these steps:
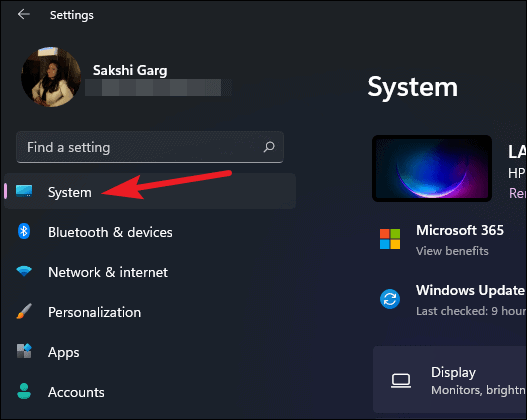
- Open the Settings app by pressing Windows + I or selecting Settings from the Start menu.
- Go to the System section.
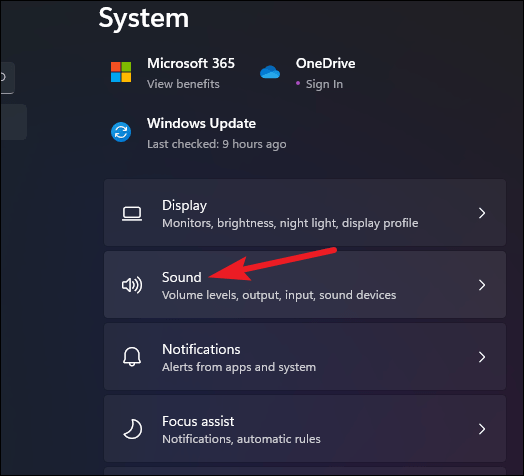
- Click on Sound.
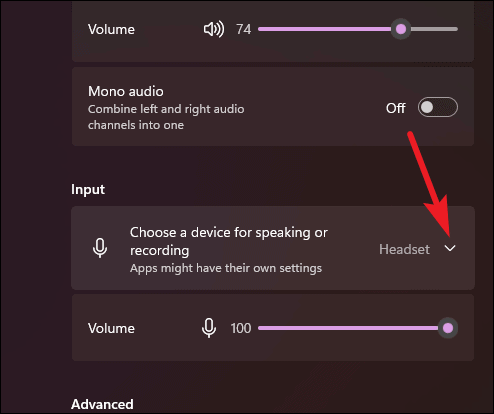
- Under the Input section, you’ll see a list of available microphone devices. Select the microphone you wish to disable.
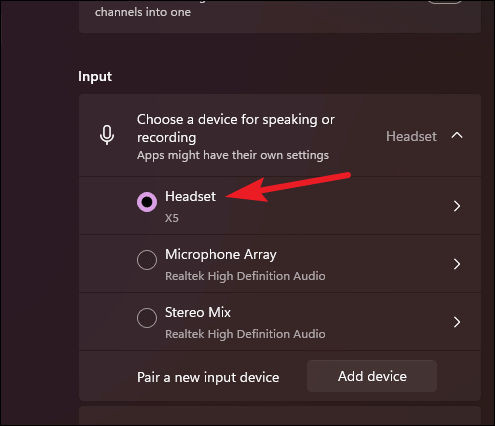
If you don’t see the device, click the arrow next to Choose a device for speaking or recording to expand the list.
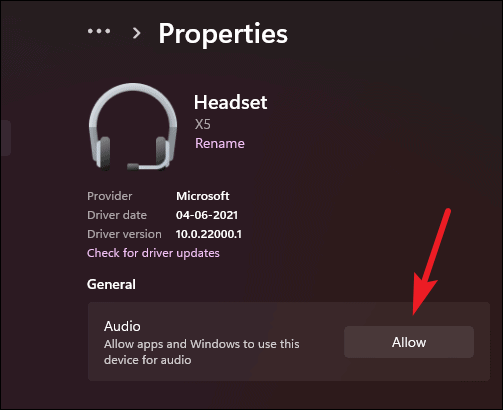
- In the device properties, click on Don’t Allow to disable the microphone device.
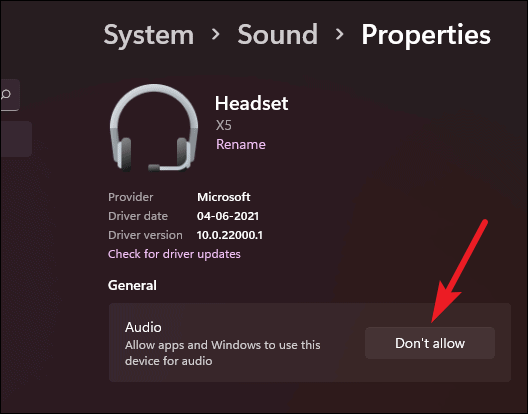
The microphone device will now be disabled and won’t be accessible by apps.
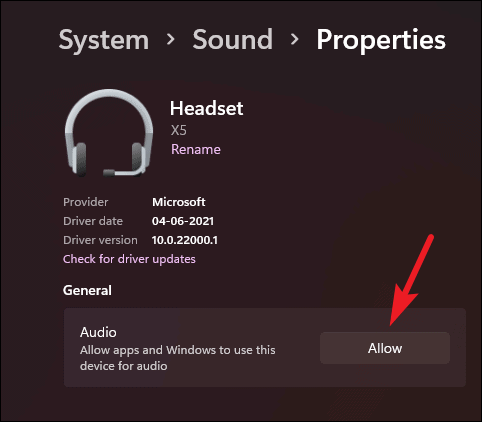
To re-enable the device:
- While still in the device properties, click on Allow to enable the microphone again.
If you’ve navigated away and need to re-enable a disabled microphone later:
- Return to Settings > System > Sound.
- Scroll down and click on All sound devices.
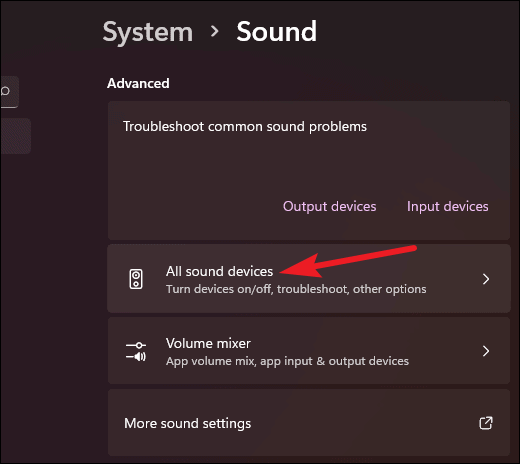
- Under Input devices, select the microphone you want to enable.
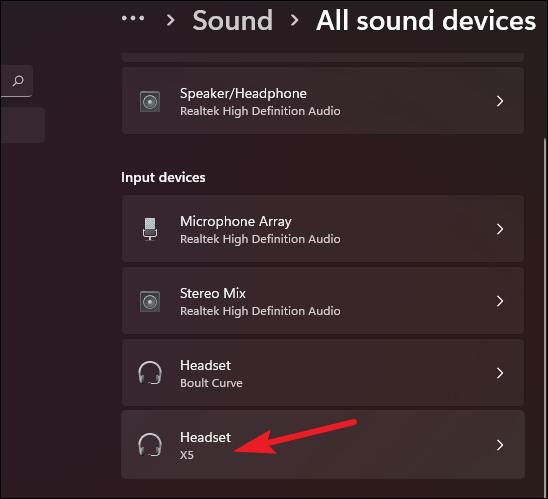
- Click on Allow to enable the microphone device.
Disable microphone access for apps only
If you prefer to disable microphone access for specific apps rather than disabling the microphone entirely, you can adjust the settings as follows:
- Open Settings and navigate to Privacy & Security.
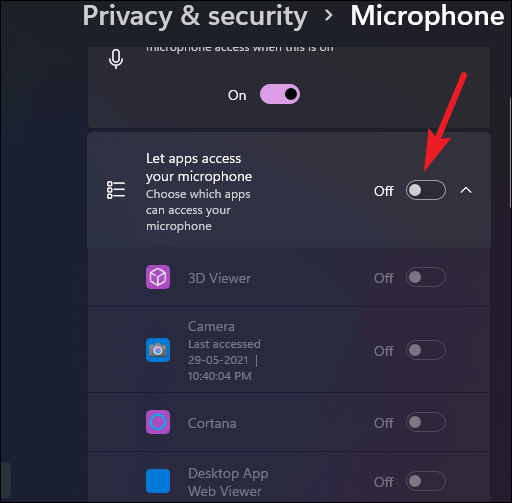
- Click on Microphone under the App permissions section.
Here, you’ll see a list of apps that have access to your microphone. You can manage access in two ways:
- To disable microphone access for all Microsoft Store apps, toggle off the switch next to Let apps access your microphone.
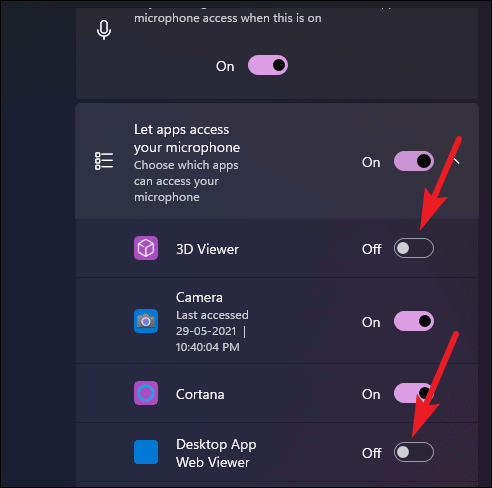
- To disable microphone access for individual apps, toggle off the switch next to each app you want to restrict.
Note that this list includes only Microsoft Store apps. For desktop apps:
- Scroll down to Let desktop apps access your microphone and toggle this switch off to prevent all desktop apps from accessing the microphone.
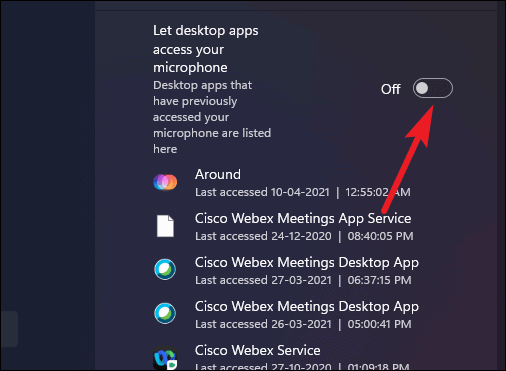
Currently, Windows 11 does not allow you to disable microphone access for individual desktop apps separately.
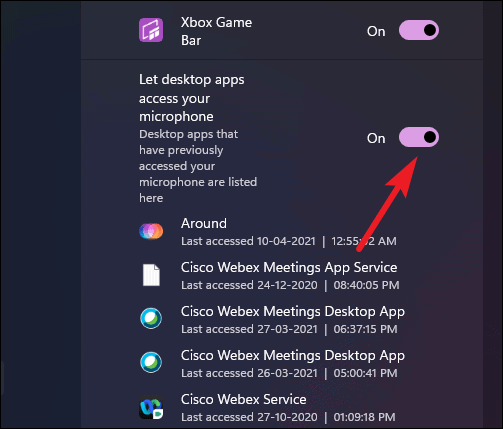
To allow desktop apps to access your microphone again, toggle the switch back on.
By customizing your microphone settings in Windows 11, you can control which apps have access to your microphone and manage individual devices as needed. This ensures your privacy and allows you to use your microphone exactly how you want.


