Enhance your privacy and security over the internet by enabling DNS over HTTPS natively on Windows 11
Enhance your privacy and security over the internet by enabling DNS over HTTPS natively on Windows 11
by Parth Sawhney
Protecting your online privacy is more important than ever. Windows 11 offers a built-in feature called DNS over HTTPS (DoH) that encrypts your DNS queries, safeguarding your internet activity from potential snoopers and cyber threats. By enabling DoH, you ensure that your DNS requests are encrypted, making your browsing experience more secure.
How Does DNS Over HTTPS Work?
Every time you access a website, your computer sends a request to a DNS server to find the corresponding IP address. If these DNS queries are not encrypted, they can be intercepted or modified by malicious actors. DNS over HTTPS encrypts these queries using the HTTPS protocol, ensuring that your requests remain confidential and are not tampered with during transmission. This not only enhances your privacy but also protects you from attacks like man-in-the-middle.
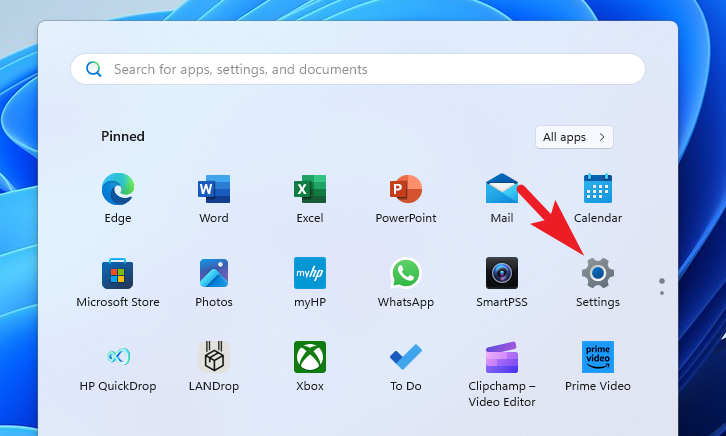
Open the Settings app on your Windows 11 computer. You can do this by clicking on the ‘Settings’ icon in the Start Menu or by pressing the Windows+I keyboard shortcut.
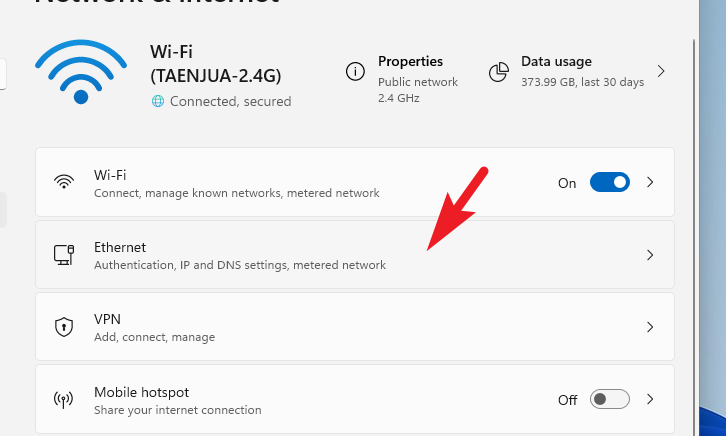
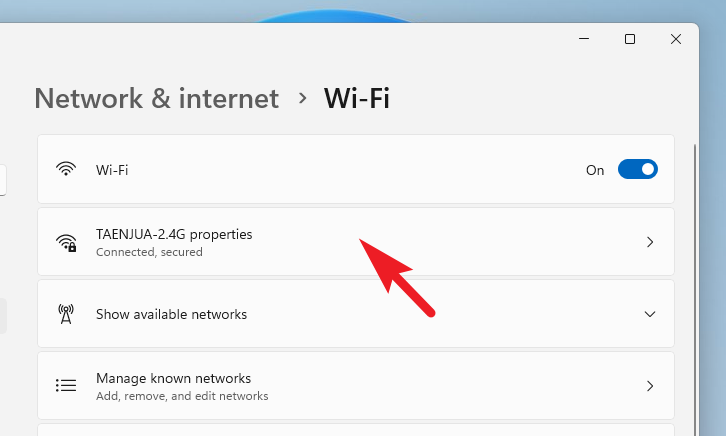
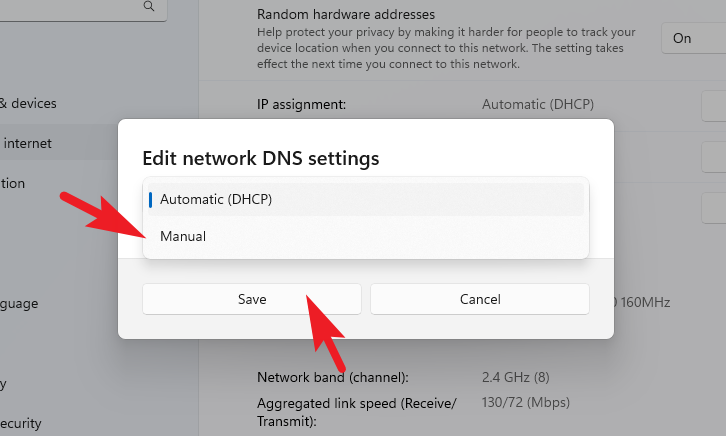
If you selected ‘Wi-Fi’ in the previous step, click on your connected network to access its settings. If you chose ‘Ethernet’, proceed to the next step.
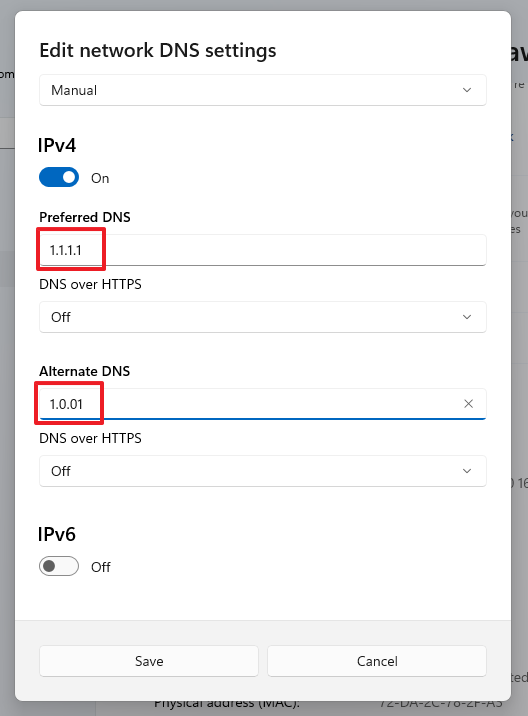
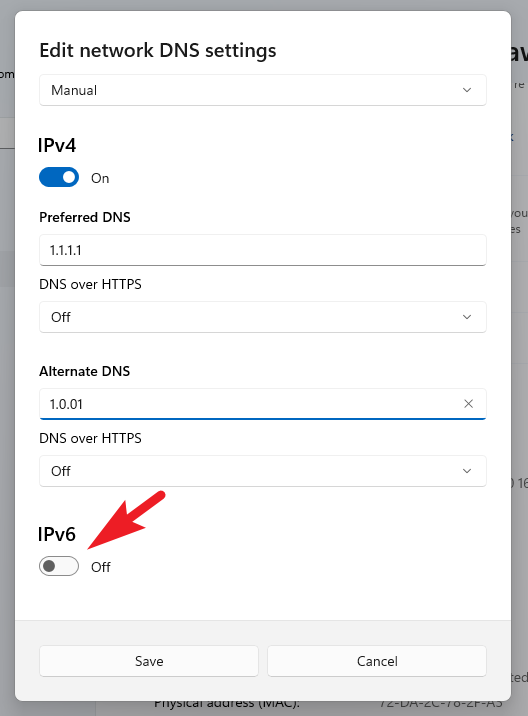
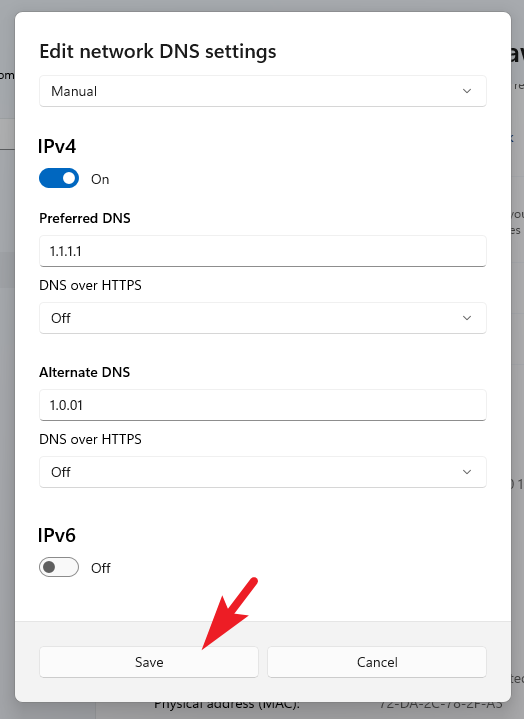
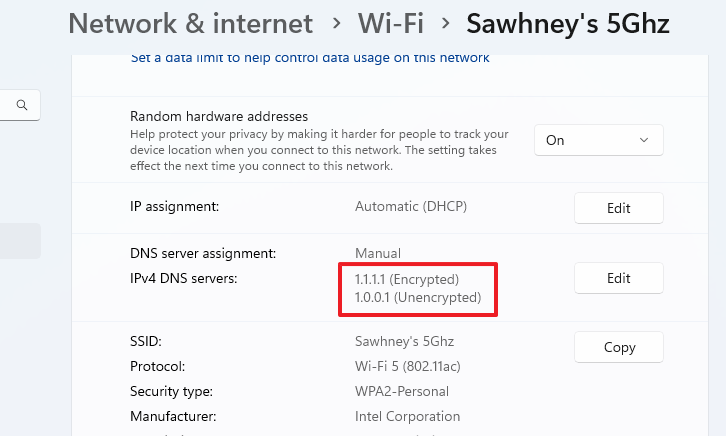
Enable the ‘IPv4’ toggle to access the IPv4 DNS settings. Under ‘Preferred DNS’ and ‘Alternate DNS’, input the IP addresses of DNS servers that support DoH. Reliable and free-to-use options include Cloudflare (1.1.1.1 and 1.0.0.1), Google (8.8.8.8 and 8.8.4.4), and Quad9 (9.9.9.9 and 149.112.112.112). Enter these addresses accordingly to set up your DNS over HTTPS.
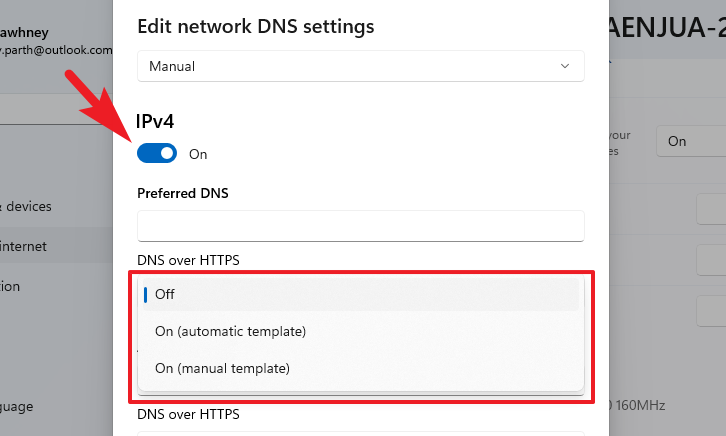
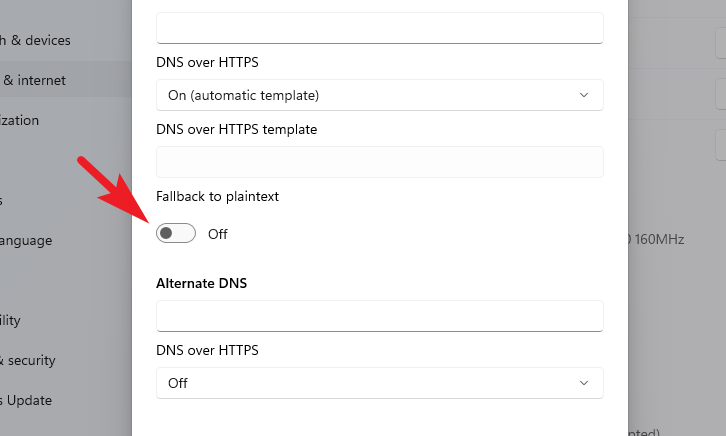
Under the ‘DNS over HTTPS’ option, select ‘On (Automatic Template)’ from the drop-down menu. This setting ensures your DNS queries are encrypted automatically. If you need to specify a custom template, you can choose ‘On (Manual Template)’, but the automatic option suffices for most users.
Make sure that the ‘Fallback to plaintext’ option is turned off. Disabling this ensures that if encrypted DNS queries fail, the system will not revert to unencrypted DNS, thus maintaining your privacy at all times.
If your internet service provider uses IPv6 addresses, enable the ‘IPv6’ toggle and enter the corresponding DNS server addresses. If you’re unsure whether you use IPv6, it’s safe to leave this option turned off.
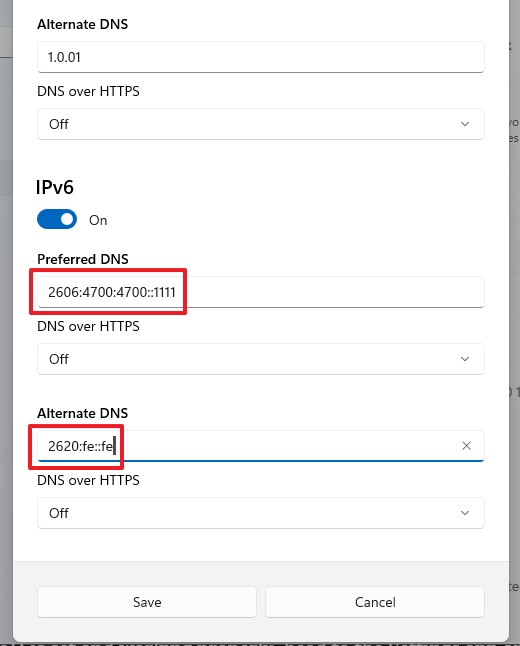
For IPv6 DNS servers that support DoH, you can use Cloudflare (2606:4700:4700::1111 and 2606:4700:4700::1001), Google (2001:4860:4860::8888 and 2001:4860:4860::8844), or Quad9 (2620:fe::fe and 2620:fe::fe:9). Enter these addresses in the ‘Preferred DNS’ and ‘Alternate DNS’ fields under the IPv6 settings.
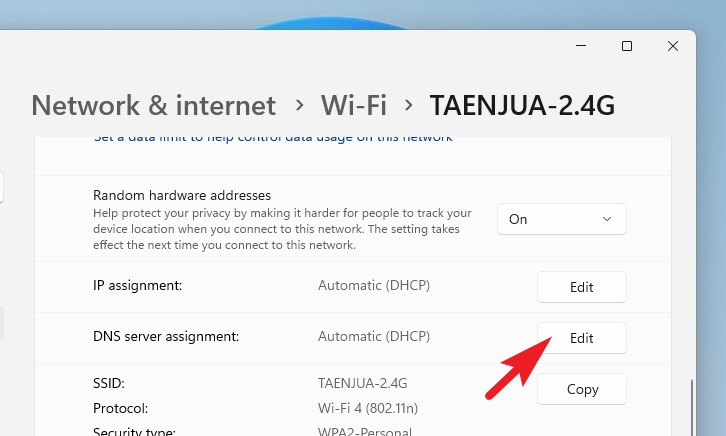
Scroll down to the ‘DNS server assignment’ section. Here, you should see the status listed as ‘Encrypted’, indicating that DNS over HTTPS is active and working.
By enabling DNS over HTTPS on your Windows 11 system, you’ve taken an essential step toward enhancing your online security and privacy. This encryption ensures that your DNS queries remain confidential, protecting you from potential threats and keeping your browsing experience secure.