
Windows 11 offers an automatic sign-in feature that can streamline the update process by using your sign-in credentials to complete updates without manual input. However, if you prefer to keep your system secure and prevent automatic sign-ins after restarts, you can disable this feature. Here’s how to enable or disable the automatic sign-in after updates.
Enable or disable automatic sign-in after update from Windows Settings
You can easily adjust the automatic sign-in settings through the Windows Settings app:
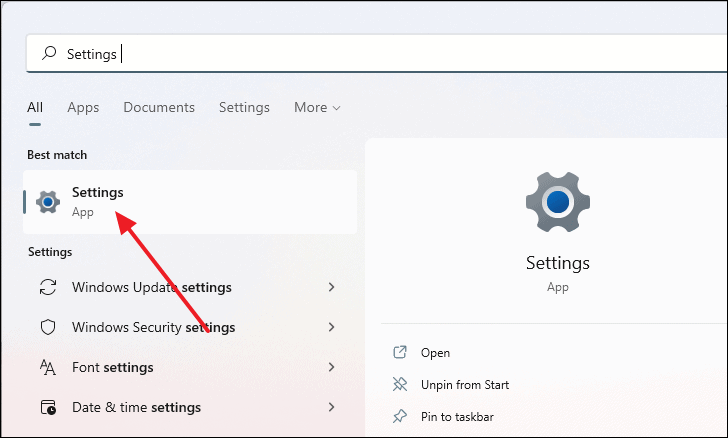
- Open the Settings app by pressing
Windows+Ion your keyboard.
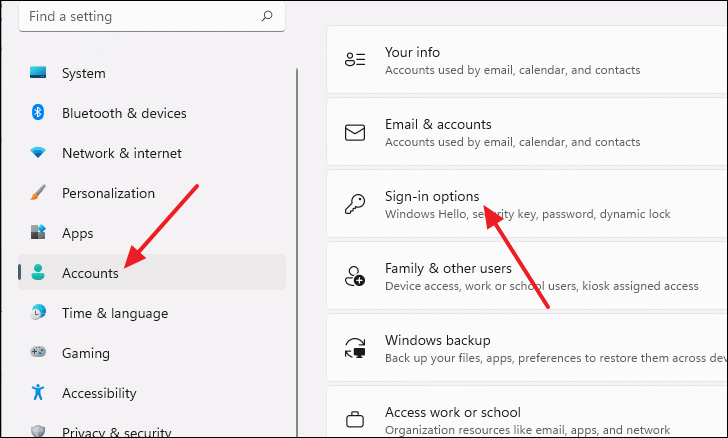
- In the Settings window, select Accounts from the left-hand menu, then click on Sign-in options on the right side.
- Scroll down to the Additional settings section and find the option titled “Use my sign-in info to automatically finish setting up after an update”.
- Toggle the switch to On to enable automatic sign-in, or to Off to disable it.
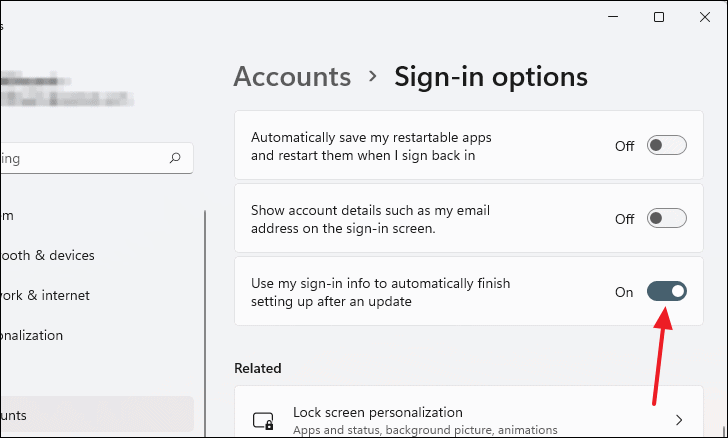
Once you’ve adjusted the toggle, the automatic sign-in feature will be enabled or disabled based on your preference.
Enable or disable automatic sign-in after update via the Group Policy Editor
The Group Policy Editor allows for more advanced configurations and is especially useful for system administrators:
- Press
Windows+Rto open the Run dialog box.
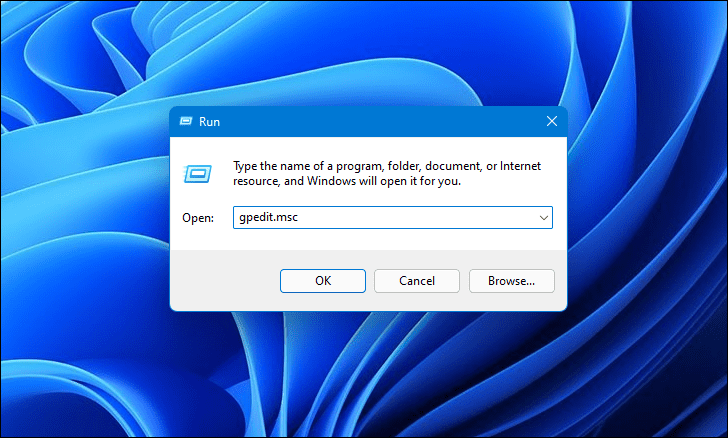
- Type
gpedit.mscinto the Run dialog and pressEnterto launch the Local Group Policy Editor. - In the left pane, navigate to Computer Configuration > Administrative Templates > Windows Components.
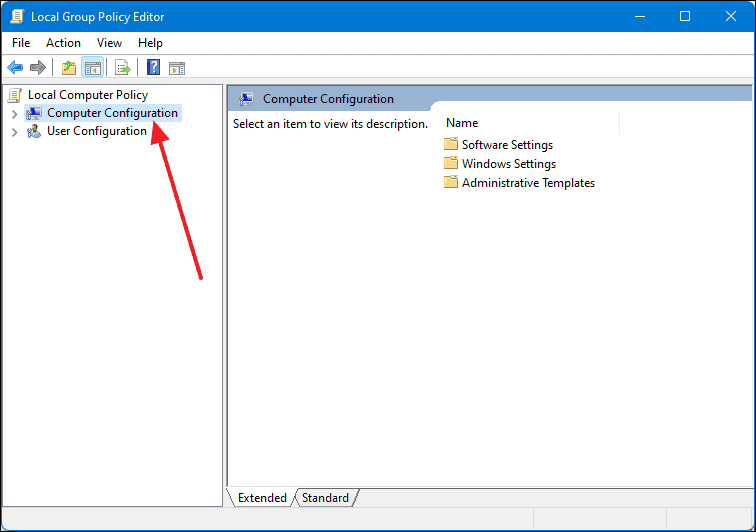
- Scroll down and select the Windows Logon Options folder.

- In the right pane, find and double-click on the policy named “Sign-in and lock last interactive user automatically after a restart”.
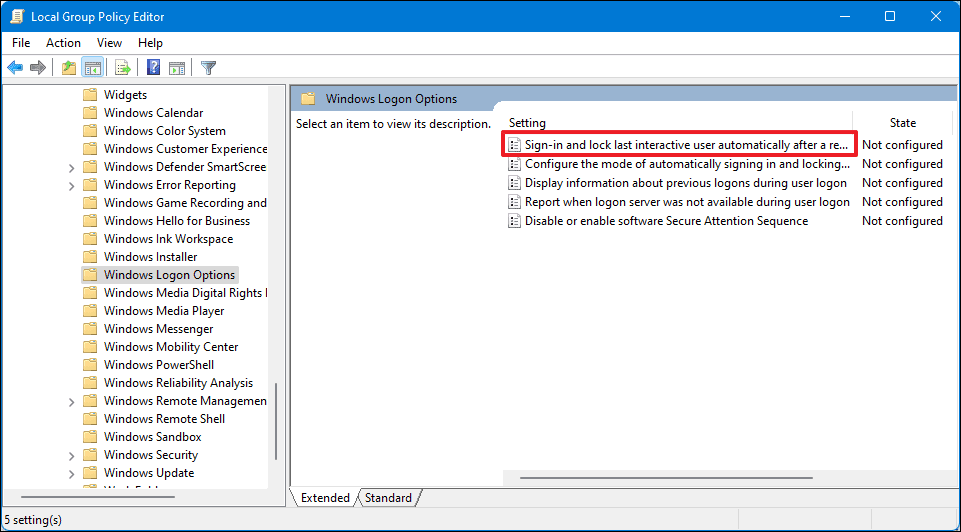
- To enable automatic sign-in, select the Enabled option. To disable it, choose Disabled.
- Click OK to apply the changes.

By configuring this policy, you enforce the setting at the system level, which overrides the user settings in the Settings app.
Adjusting the automatic sign-in feature allows you to balance convenience with security according to your needs. Whether through the Settings app or the Group Policy Editor, Windows 11 provides flexibility to control this behavior.


