
Enabling network discovery in Windows 11 lets you see other computers and devices connected to your local network, making file sharing and remote access straightforward. If you’re unable to view other devices on your network, it’s likely that network discovery is turned off. Here’s how you can enable it and see all devices connected to your network.
Enable network discovery from Control Panel
To ensure that your computer can see other devices on the network, you need to turn on network discovery through the Control Panel. Follow these steps:
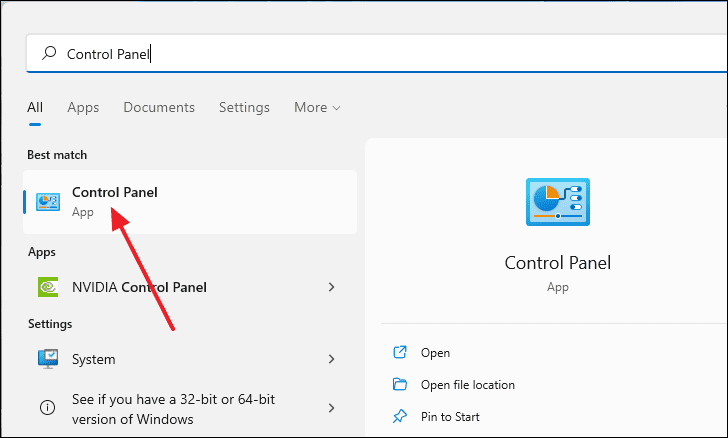
- Open the Control Panel by typing “Control Panel” in the Start menu search bar and selecting it from the results.
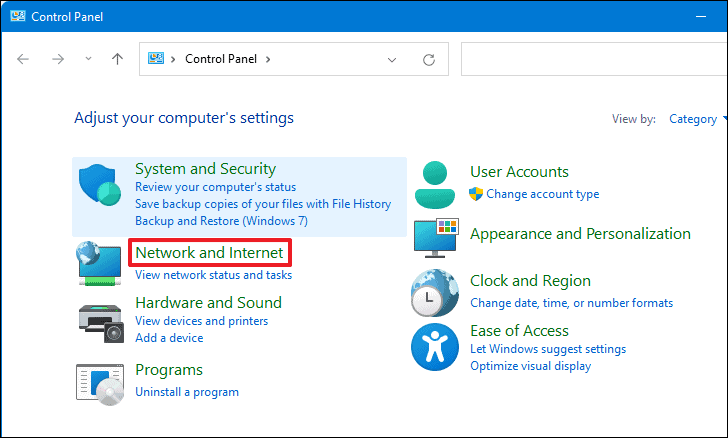
- Click on Network and Internet when the Control Panel opens.
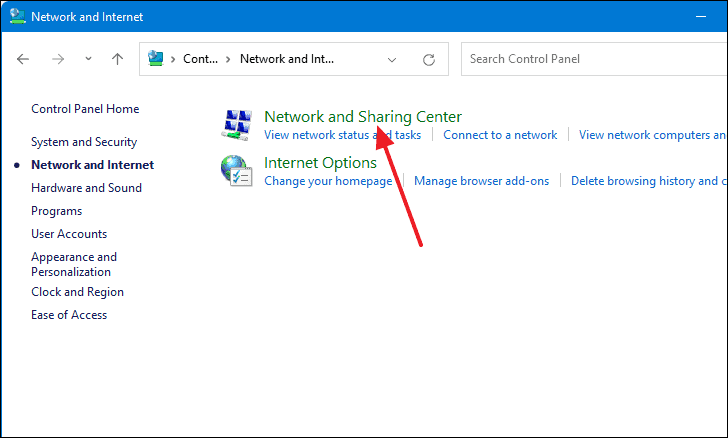
- Select Network and Sharing Center from the next menu.
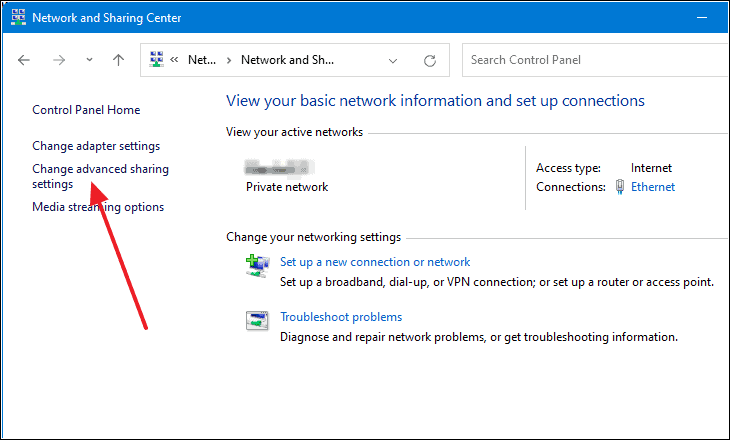
- In the left sidebar, click on Change advanced sharing settings.
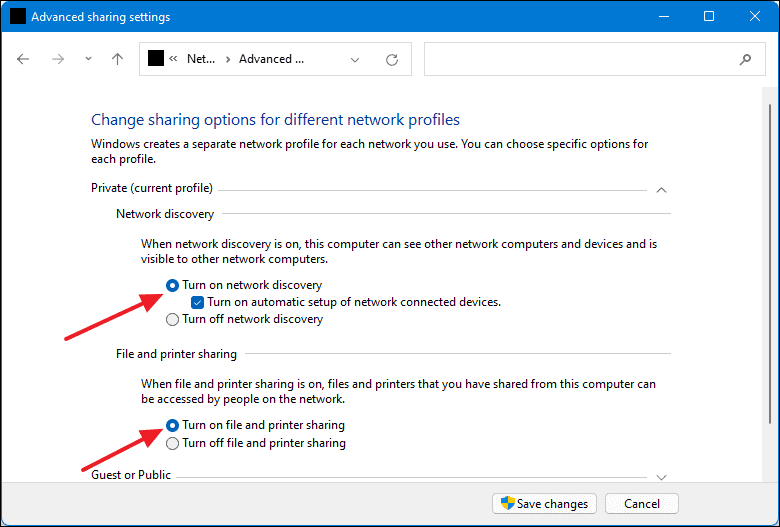
- Expand the Private (current profile) section if it’s not already open.
- Under Network discovery, select Turn on network discovery and check the box for Turn on automatic setup of network connected devices.
- In the File and printer sharing section, choose Turn on file and printer sharing.
- Click Save changes to apply the settings.
Enable network discovery in File Explorer
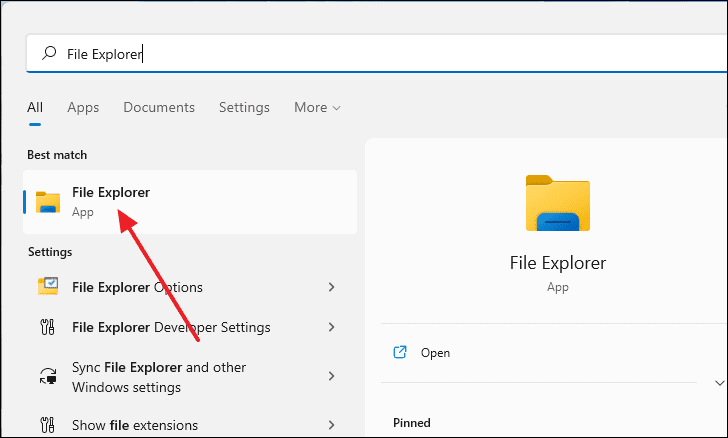
If you prefer to enable network discovery through File Explorer, you can do so with the following steps:
- Open File Explorer by pressing
Windows+Eor searching for it in the Start menu.
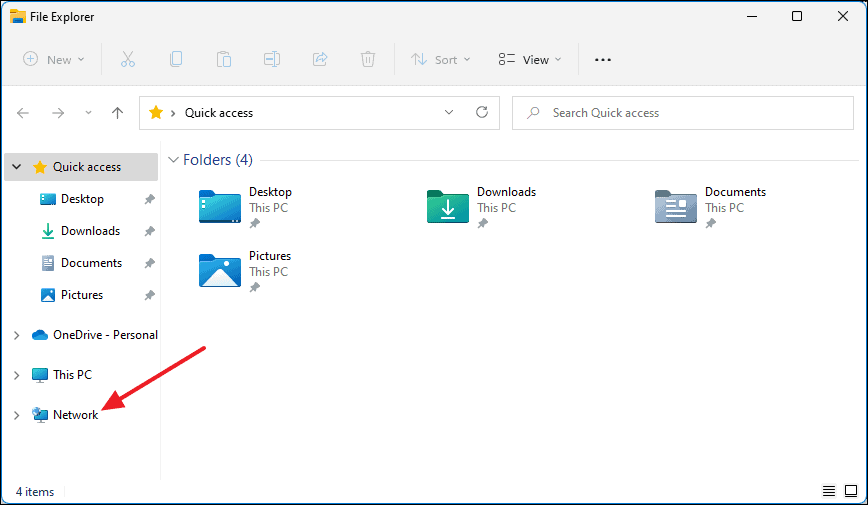
- In the left-hand menu, click on Network.
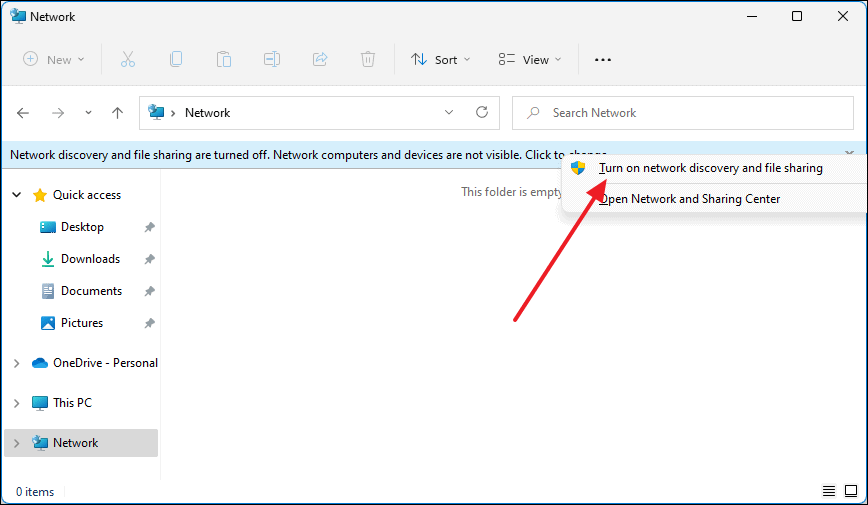
- If a notification appears stating that network discovery is turned off, click on the message that says “Network discovery and file sharing are turned off. Network computers and devices are not visible. Click to change…”
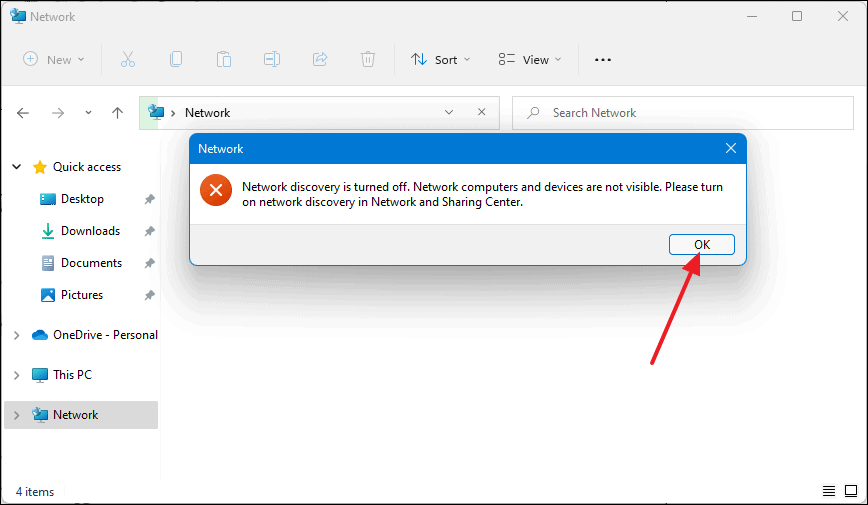
- Choose Turn on network discovery and file sharing from the prompt.
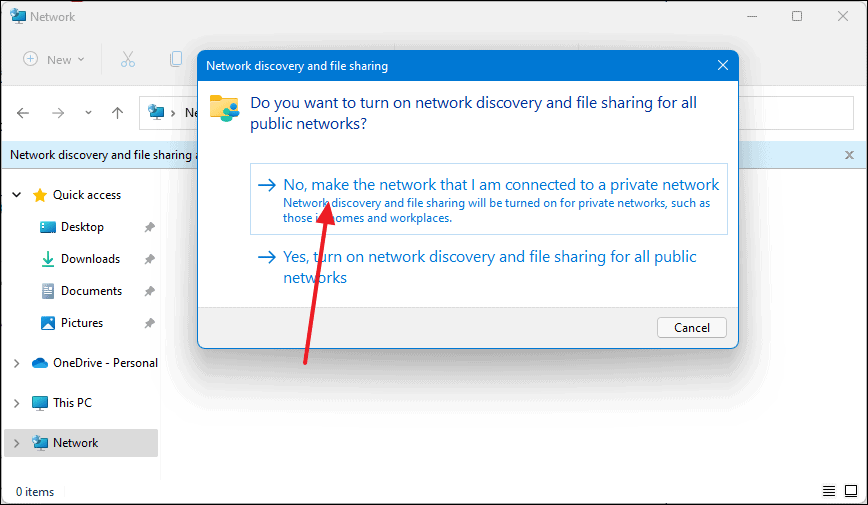
- When prompted whether to make your network private or public, select No, make the network that I am connected to a private network.
- Wait for File Explorer to refresh. You should now see the other devices connected to your network.

Allow network discovery through Windows Firewall
Sometimes, the Windows Firewall might block network discovery. To ensure that network discovery is allowed through the firewall, follow these steps:
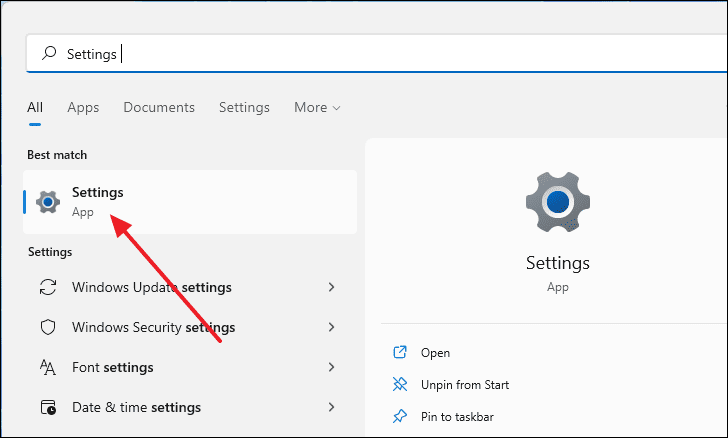
- Open Settings by pressing
Windows+ior searching for it in the Start menu.
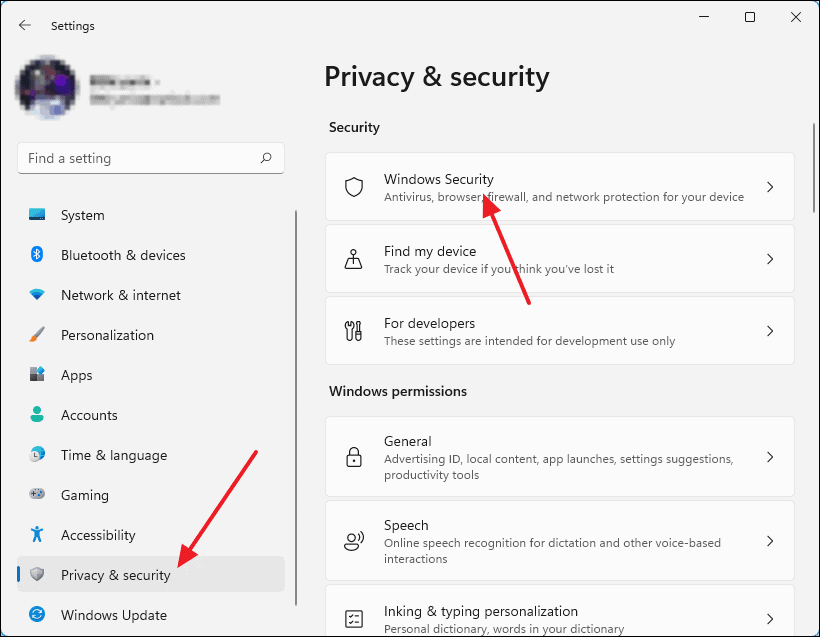
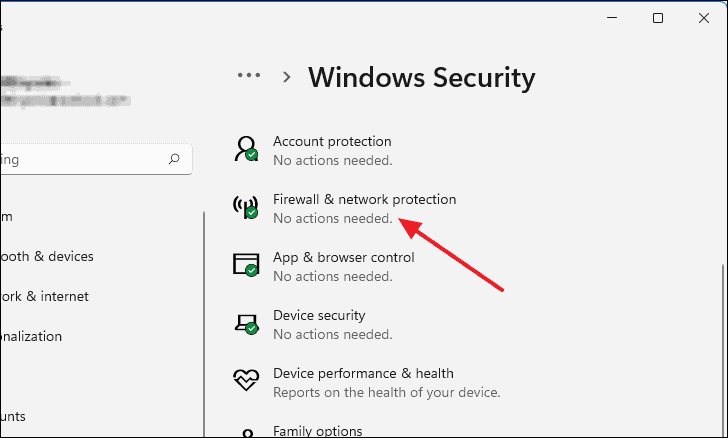
- Go to Privacy & security in the left sidebar, then select Windows Security on the right.
- Scroll down and click on Firewall & network protection.
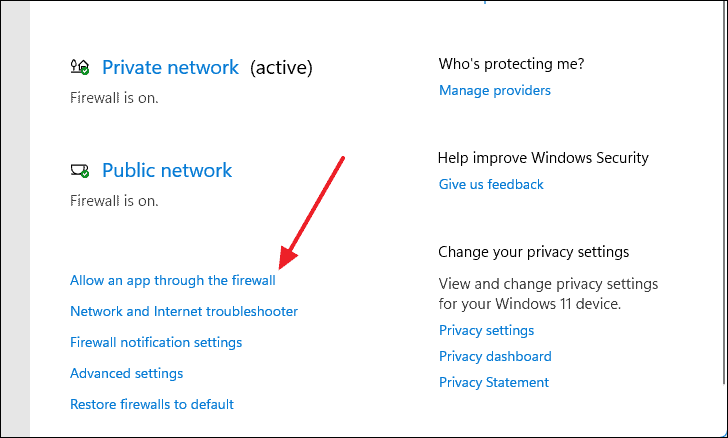
- In the new window that opens, select Allow an app through the firewall.
- Click on Change settings to enable modifying the firewall permissions.
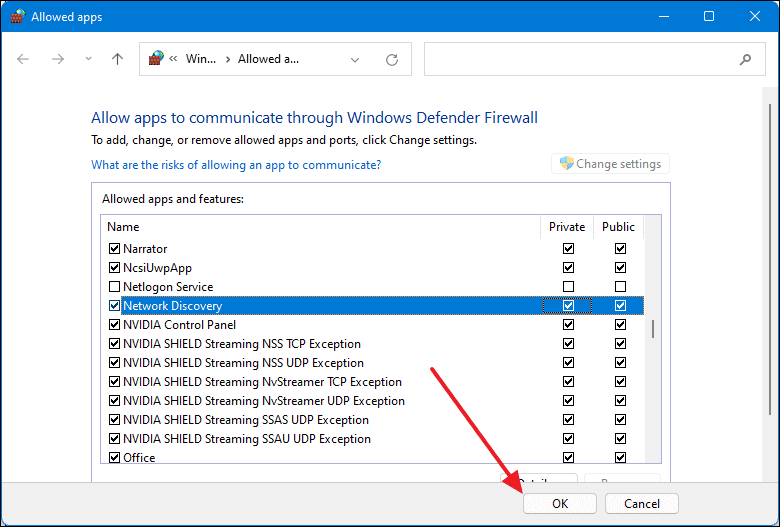
- Scroll down to find Network Discovery. Ensure both Private and Public checkboxes are checked.
- Click OK to save the changes.
View connected devices using Command Prompt
If you want to quickly see the list of devices connected to your network, you can use the Command Prompt:
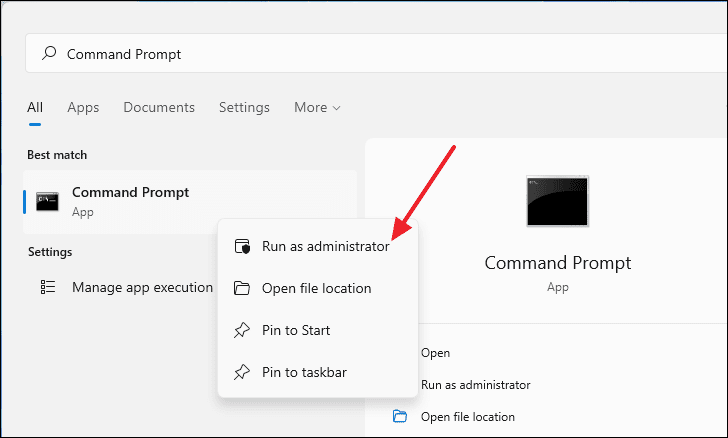
- Type Command Prompt in the Windows search bar, right-click on it, and select Run as administrator.
- In the Command Prompt window, type the following command and press
Enter:
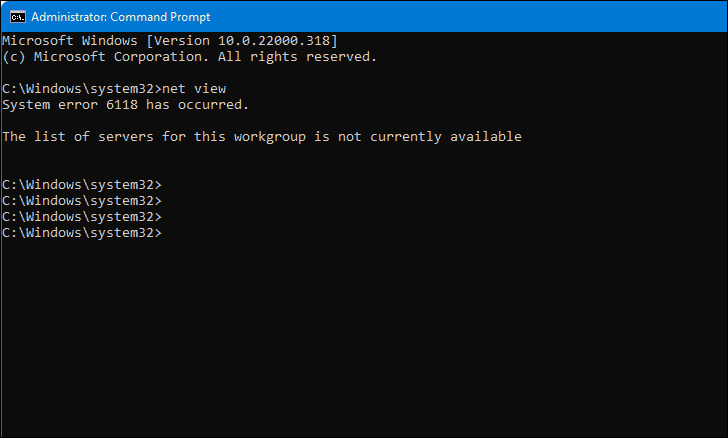
net view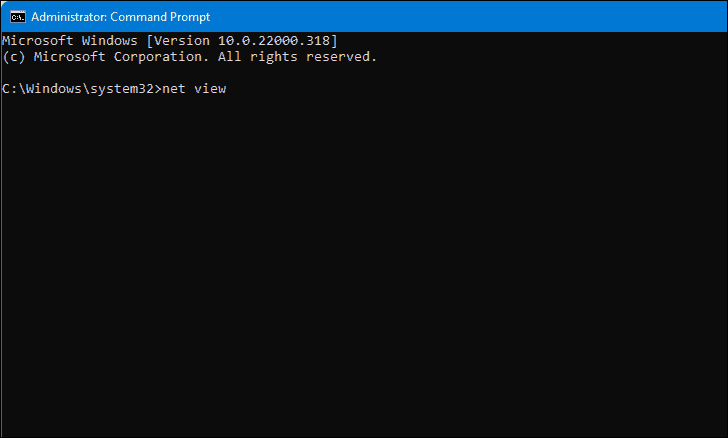
- The command will display a list of all computers connected to your network. If you receive a message saying “The list of servers for this workgroup is not currently available”, it means network discovery is disabled or there are no other devices connected.
By ensuring that network discovery is enabled and allowed through your firewall, you can easily view and interact with other devices on your Windows 11 network.


