When a Windows 11 drive runs out of room, the fastest path back to free space is identifying the biggest files first, then deciding what to delete, move, or archive. Windows 11 includes several built-in tools that can surface large files in seconds, from File Explorer’s size filters to Storage settings and PowerShell.
Find large files with File Explorer search
File Explorer accepts Advanced Query Syntax (AQS) tokens that filter files by size, type, and date. This is the quickest way to find big files without installing anything.
Windows + E to open File Explorer, then click the drive you want to scan (for example, the C: drive or This PC for everything).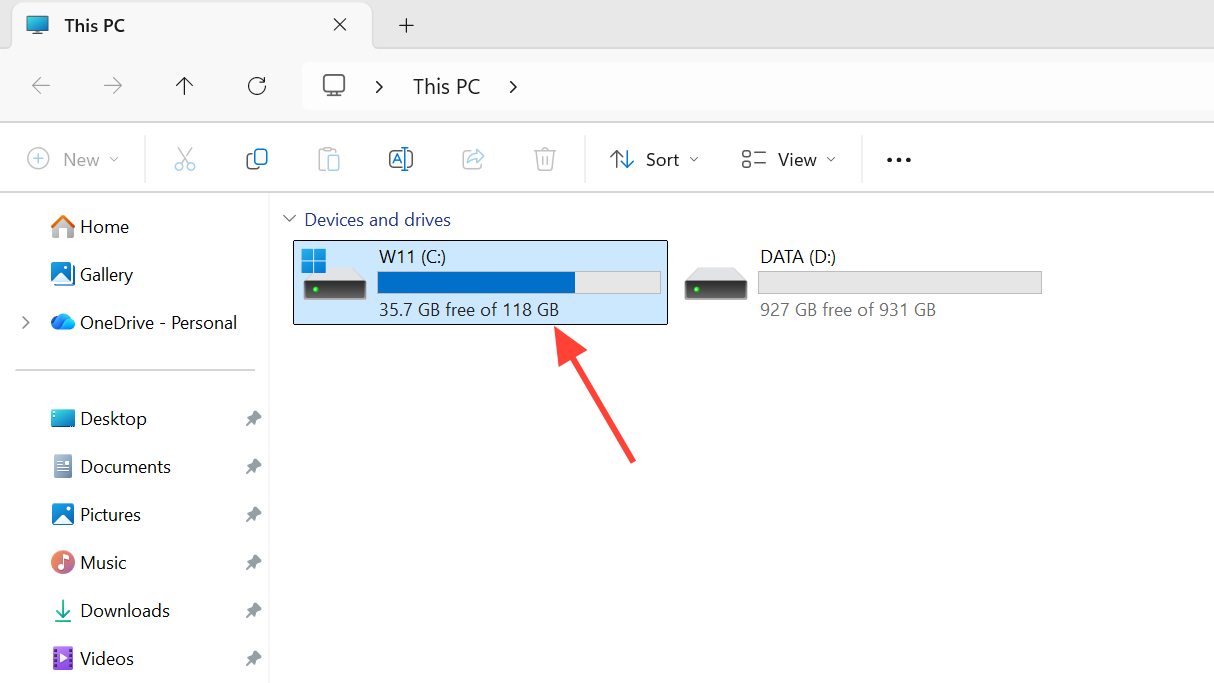
| Search token | Matches files |
|---|---|
size:large | 128 MB to 1 GB |
size:huge | 1 GB to 4 GB |
size:gigantic | Over 4 GB |
size:>500MB | Custom threshold (anything above 500 MB) |
size:>1GB | Custom threshold (anything above 1 GB) |

You can combine tokens for sharper results. For example, kind:video size:>1GB shows only videos larger than a gigabyte and ext:.iso size:>2GB targets disc images. Adding datemodified: helps when you’re hunting for something recent, such as a video export or game install.
Use Storage settings and Cleanup recommendations
Windows 11 has a built-in storage dashboard that highlights large or unused files automatically. It’s the safest starting point because it groups items by category and only suggests things that are generally safe to remove.

The Files synced to the cloud category is especially useful if you use OneDrive. Removing the local copy frees disk space while keeping the file accessible online. You can also enable Storage Sense from the same Storage page to have Windows automatically clear temporary files and empty the Recycle Bin on a schedule.
Check which categories are using the most space
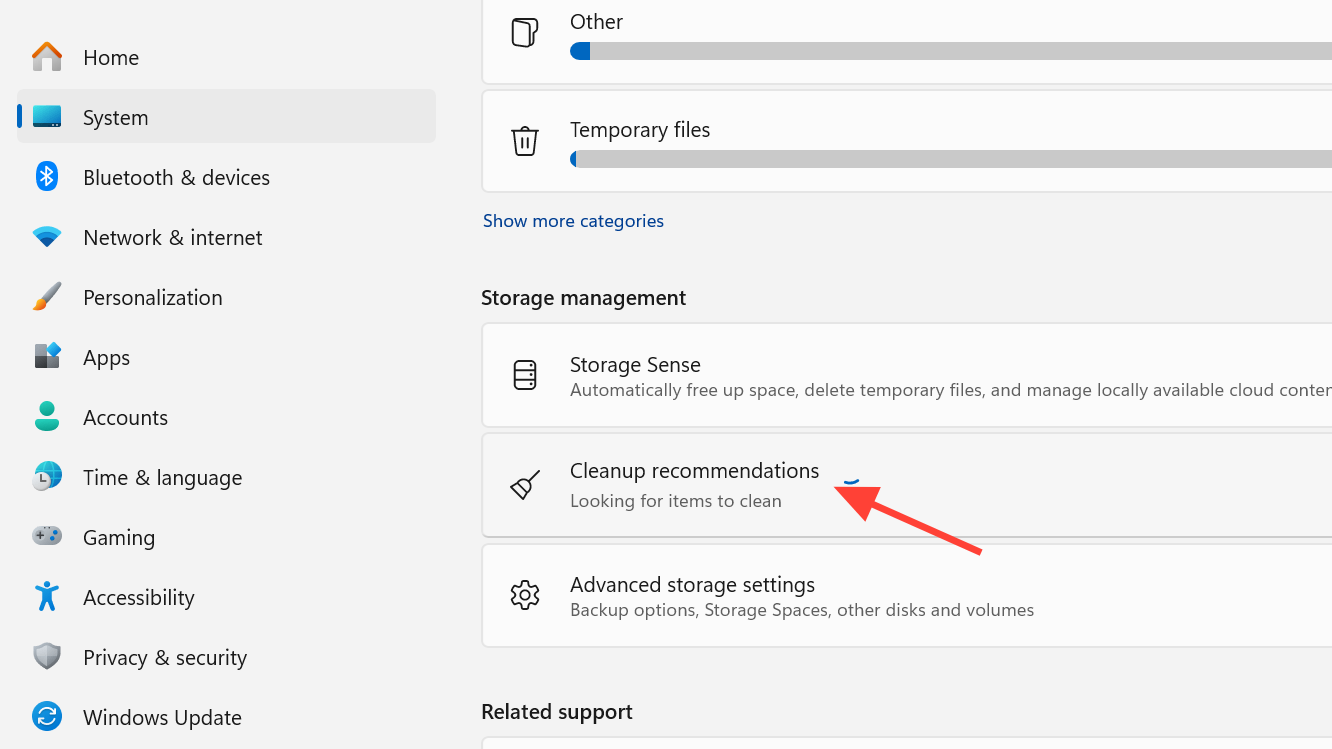
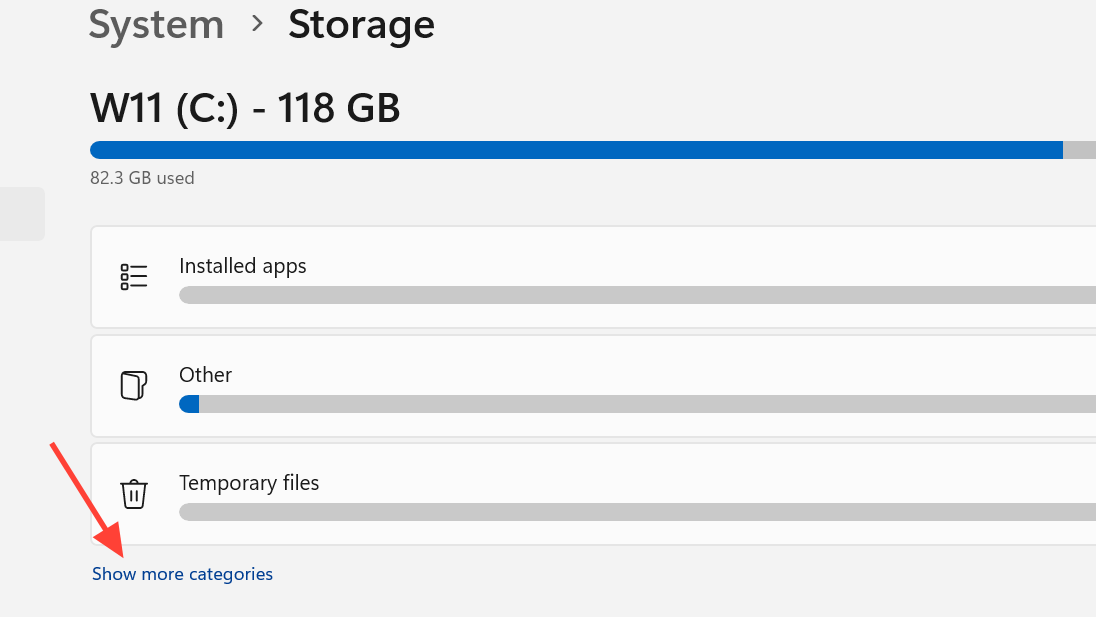
Before hunting for individual files, it helps to see where space is actually going. The Storage page breaks down usage by category, so you can decide whether the problem is apps, system files, or personal documents.
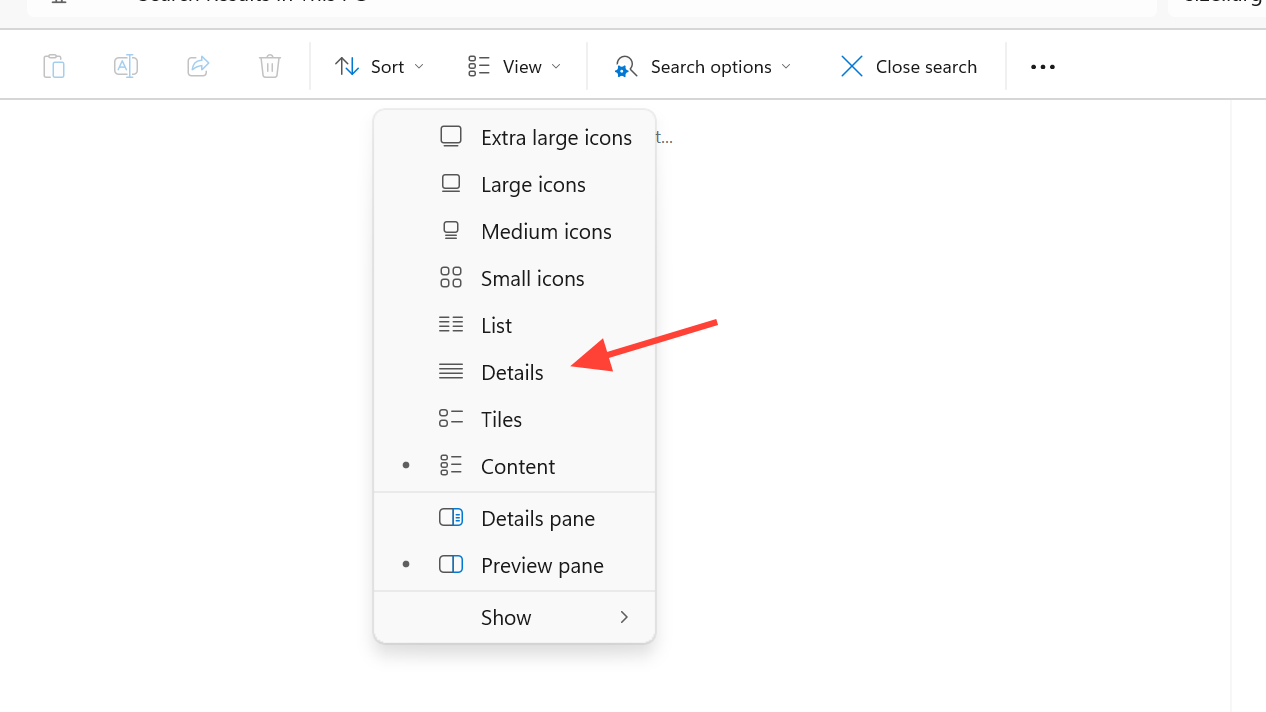
From Settings, go to System, then Storage. Windows shows a bar chart of the space used by category on the system drive. Click Show more categories to expand the full list. To see other drives, scroll to Advanced storage settings and select Storage used on other drives.
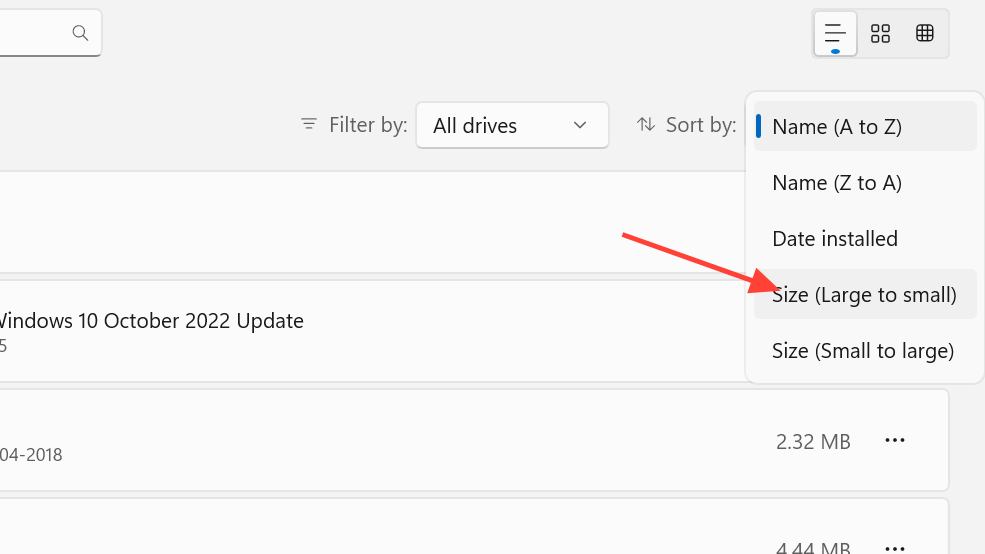
If installed apps are the issue, open Settings, go to Apps, then Installed apps, and sort by Size. Games, creative suites, and development tools often occupy tens of gigabytes and can be uninstalled or moved to another drive from this list.
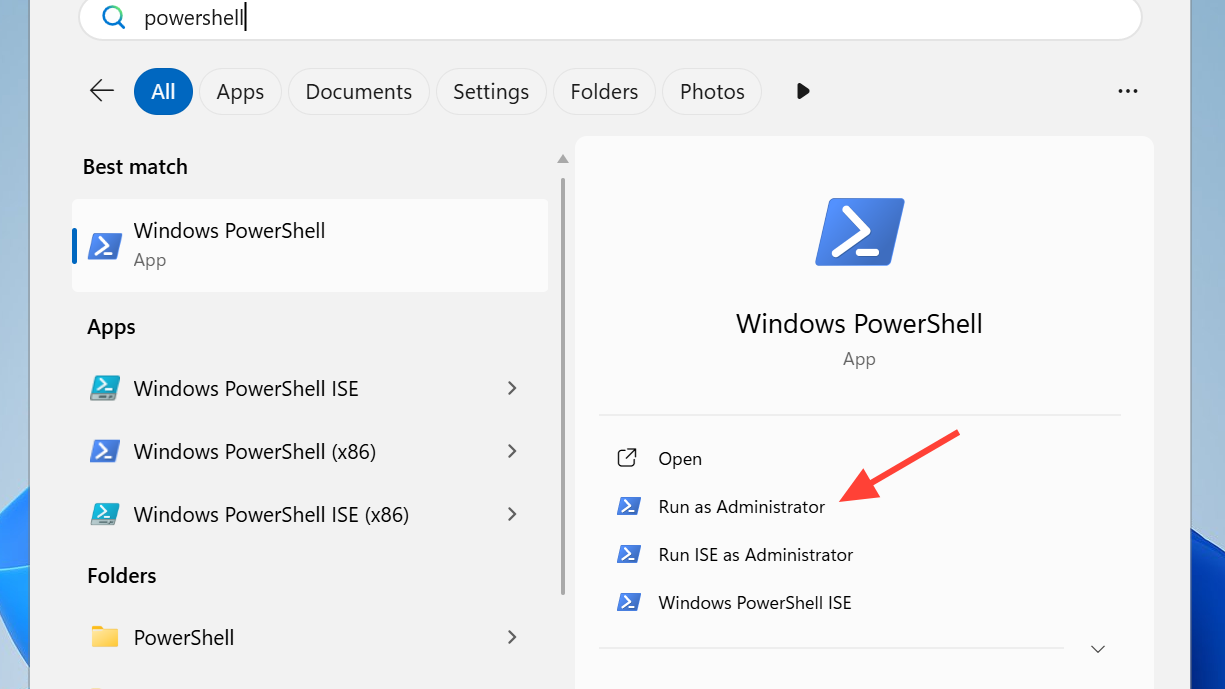
List the biggest files with PowerShell
PowerShell is the most thorough option when you want a scriptable, drive-wide list of the largest files, including locations that aren’t indexed by File Explorer.
C:\ to target a different drive or folder.
Get-ChildItem -Path 'C:\' -File -Recurse -Force -ErrorAction SilentlyContinue |
Sort-Object -Property Length -Descending |
Select-Object -First 50 @{Name='Size(GB)';Expression={[math]::Round($_.Length/1GB,2)}}, FullName
List the 50 largest files under C:\ with size in GB
| Export-Csv -Path C:\largest_files.csv -NoTypeInformation to the command.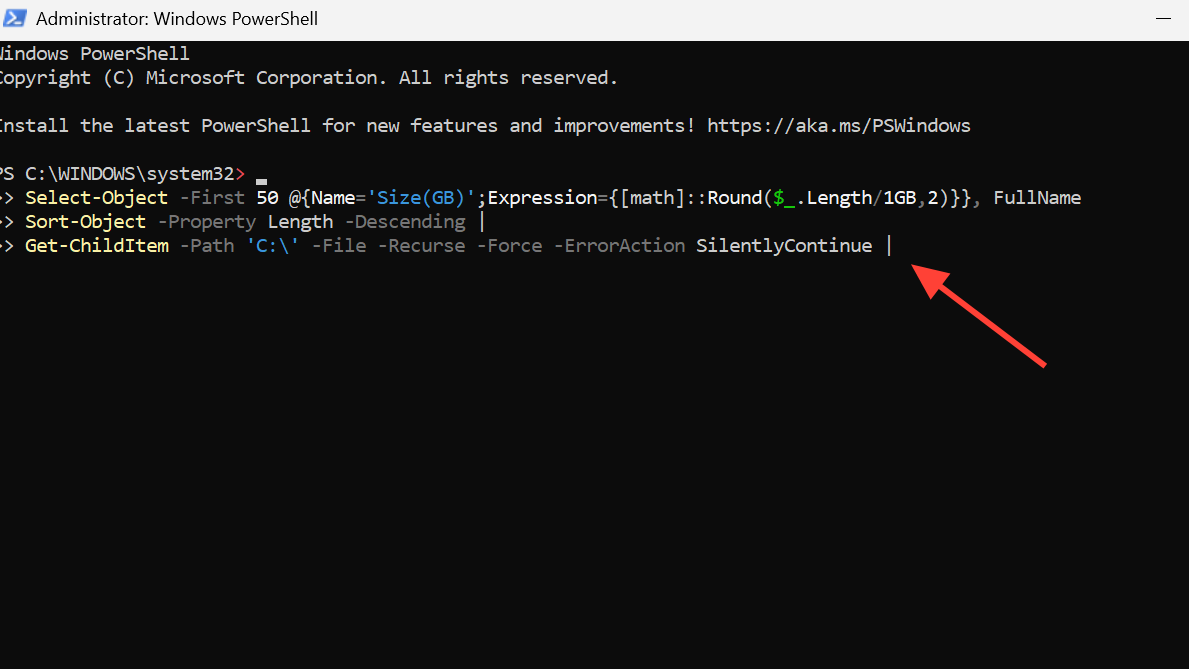
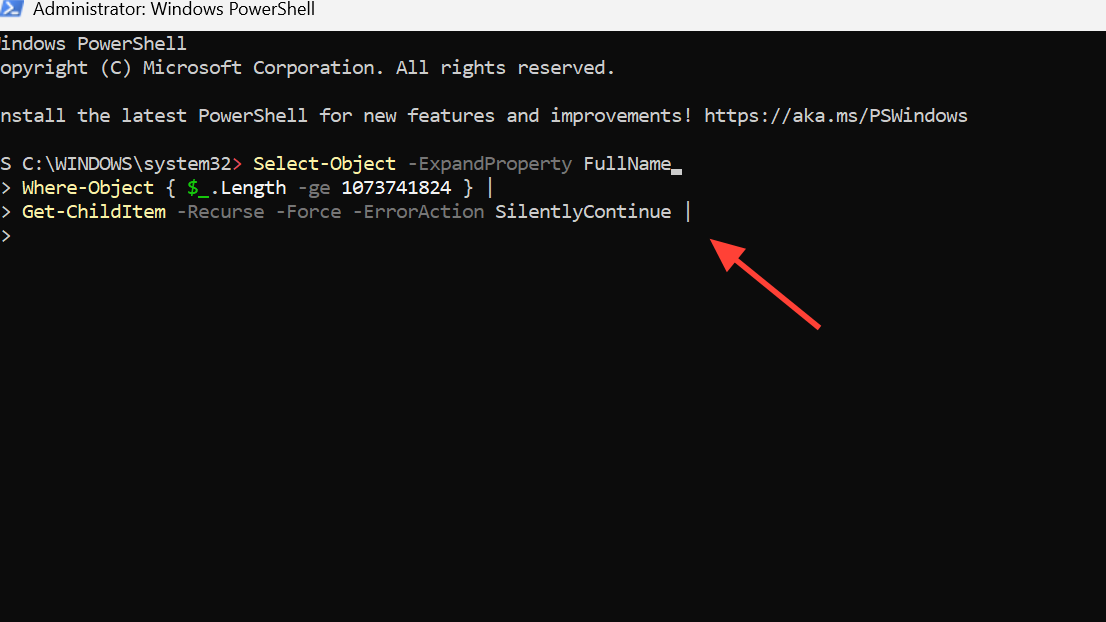
If you only want files above a specific size, use a filter instead. The command below returns the full path of every file larger than 1 GB (1,073,741,824 bytes). Adjust the number to change the threshold.
Get-ChildItem -Recurse -Force -ErrorAction SilentlyContinue |
Where-Object { $_.Length -ge 1073741824 } |
Select-Object -ExpandProperty FullName
Find every file larger than 1 GB
The -Force flag includes hidden and system files, while -ErrorAction SilentlyContinue prevents the scan from stopping on protected folders. Scanning an entire system drive can take several minutes, so target a specific folder like C:\Users or C:\ProgramData when you can.
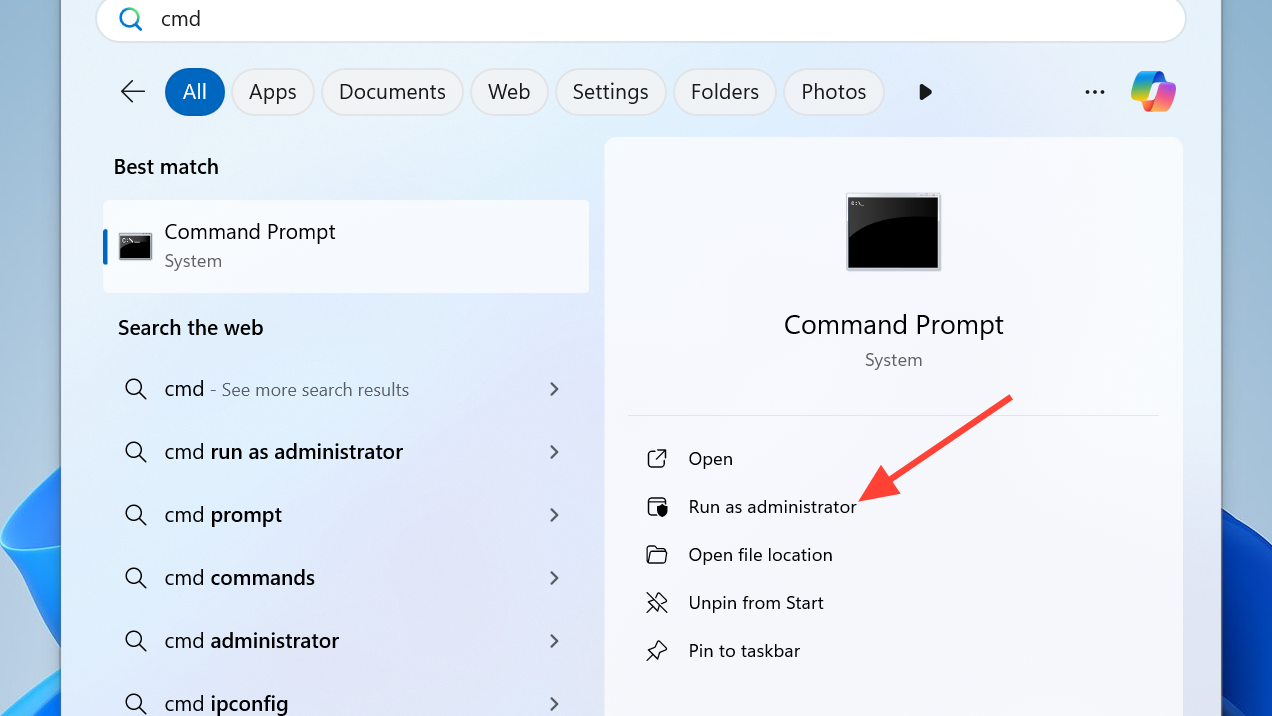
Find large files with Command Prompt
If you prefer Command Prompt, the forfiles utility can produce a text file listing every file above a chosen size.
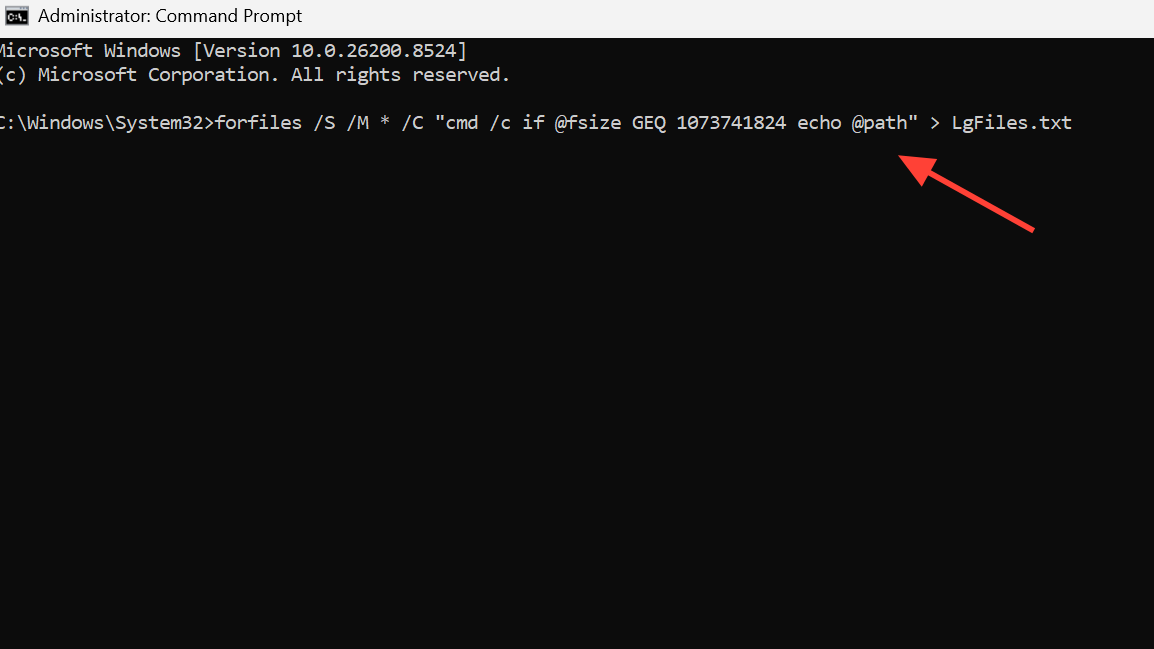
cd C:\) and run the command below. It writes the path of every file larger than 1 GB into LgFiles.txt.
forfiles /S /M * /C "cmd /c if @fsize GEQ 1073741824 echo @path" > LgFiles.txt
Export paths of files over 1 GB to LgFiles.txt
LgFiles.txt in Notepad to review the results. Replace 1073741824 with a different byte value to change the size threshold (for example, 536870912 for 512 MB).Comparing the built-in methods
| Method | Best for | Speed |
|---|---|---|
| File Explorer search | Quick visual review of one drive or folder | Fast on indexed locations |
| Storage settings | Safe, guided cleanup with categories | Moderate; scans on demand |
| PowerShell | Whole-drive lists, CSV export, scripting | Slower on full system scans |
| Command Prompt (forfiles) | Exporting a plain-text list of large files | Slower; no progress indicator |
What to do once you’ve found the big files
Not every large file should be deleted. Game installers, ISO downloads, old video exports, and forgotten backups are usually safe to remove or move. System files in Windows, Program Files, and hidden folders like WinSxS should generally be left alone, because removing them can break the operating system or installed apps.
For files you want to keep but don’t need locally, move them to an external drive, a NAS, or cloud storage. OneDrive’s Files On-Demand option keeps a placeholder on the PC while storing the actual data online. Right-click a file or folder in OneDrive and choose Free up space to remove the local copy without losing access.
To verify your cleanup worked, reopen Settings, go to System, then Storage, and check the free space figure at the top of the page. If the number hasn’t changed after deleting files, empty the Recycle Bin and refresh the view.
If you’re constantly running out of room despite cleanup, the underlying issue is capacity, not clutter. Adding a larger SSD, attaching an external drive for media libraries, or moving game installs to a secondary drive solves the problem at the source.


